With the Sentinel Artifact in hand, the crew heads to the remote wooded hills above Liberty Falls to meet with S.A.M. at an old mansion in the forest which has been retrofitted to [REDACTED] Only with the aid of S.A.M.’s synthetic mind can the team hope to unlock the ancient artifact’s mysteries and bring back Agent Maxis. What could possibly go wrong?
Operation Save Maxis: Your Comms Team Handlers
“I hope it was worth dragging the Sentinel Artifact halfway around the globe.”
– Sergei Ravenov
S.A.M. leads comms in anticipation of receiving the Sentinel Artifact once the team successfully enters Colton Hall. Further guided by Ravenov, Peck, and Strauss with exfil assistance from Raptor One, the crew must approach the synthetic mind promising the imminent return of Agent Maxis.


For this Easter egg, specific equipment is required. Make sure you’re equipped with the following items:
- Aether Shroud
- Semtex
- Tomahawk
For the Ather Shroud, we recommend the following upgrades:
- Group Shroud
- Extra Charge

In solo rounds, we recommend equipping Semtex, as the Tomahawk can be picked up from several locations on the map.
If you’re playing in a team, ideally, everyone should equip Semtex – there are also plenty of opportunities to pick up Tomahawks along the way.
As a primary weapon, we recommend either the XM4 or the Kilo as assault rifles – alternatively, the GPMG-7 LMG is also a great choice.
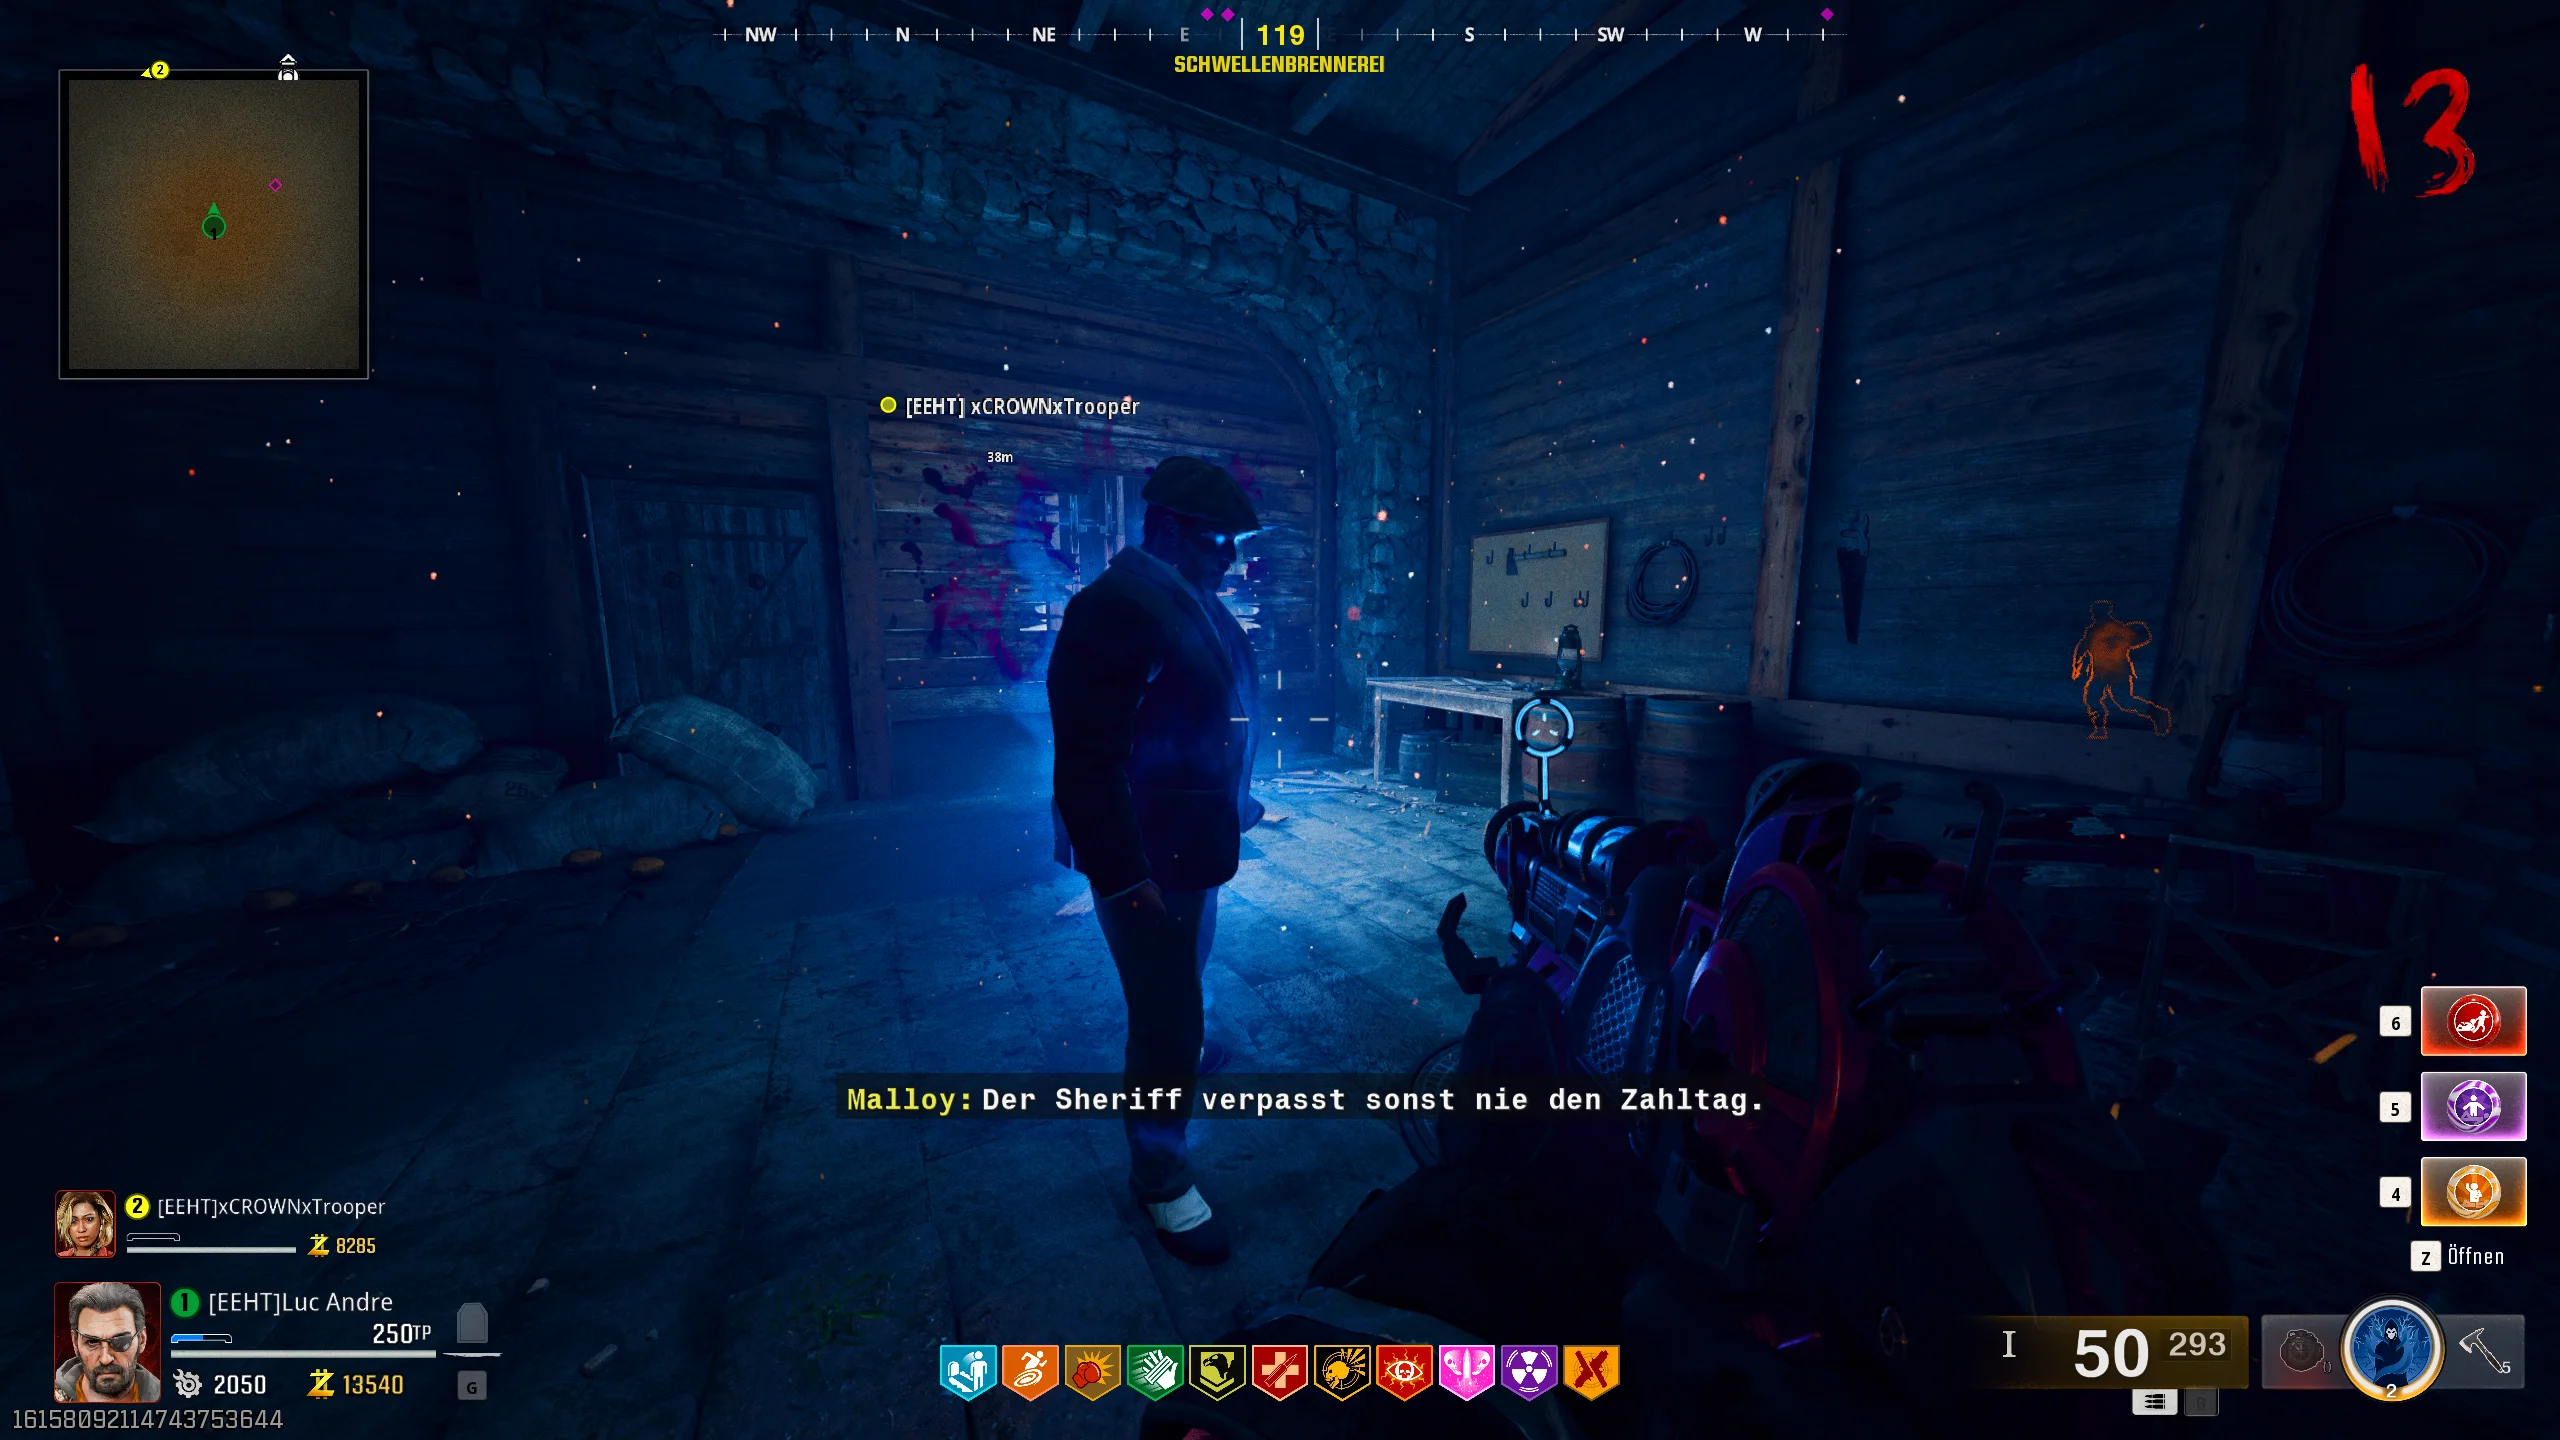
To activate the Easter egg as well as the power and the S.A.M. station, the elevator to the underground must first be repaired.
Simply follow the orange markers on the map – they will lead you directly to the room with the elevator. Once there, you’ll find that the elevator is out of order.
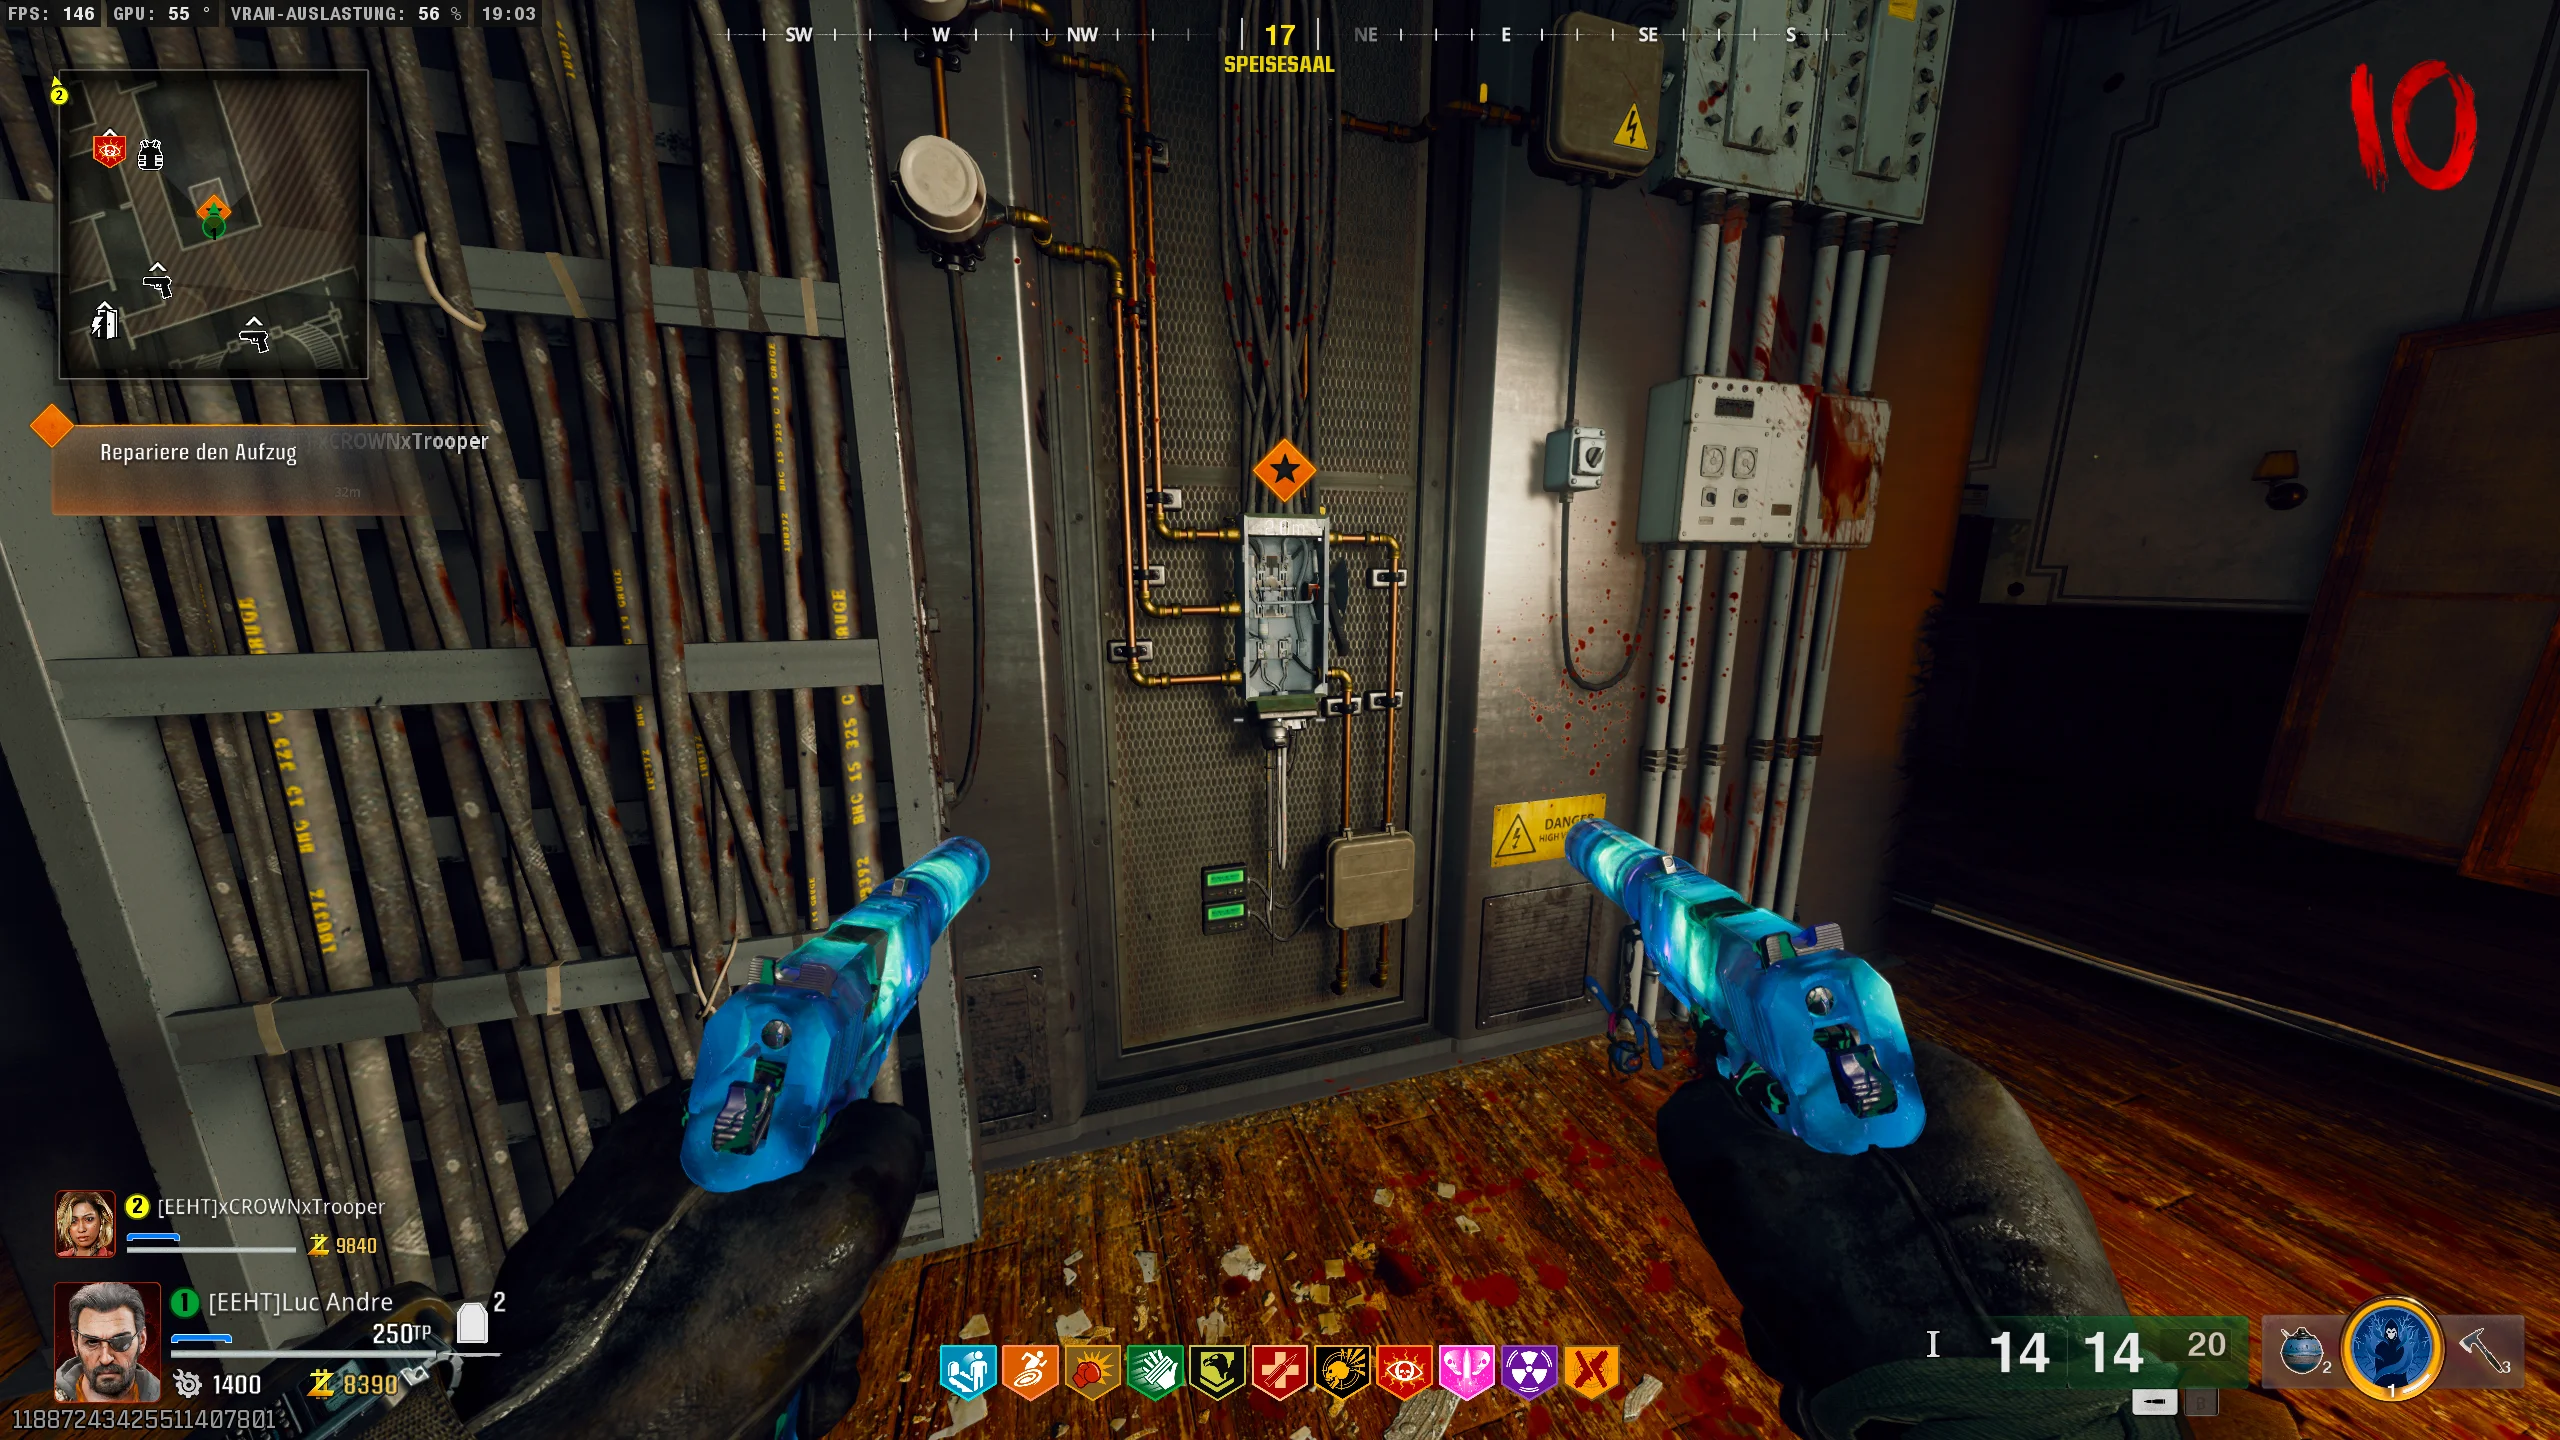
Once you reach the elevator, two new orange markers will appear, guiding you to the missing components.
You need two components to get the elevator up and running again:
- Fuse
- Circuit Board
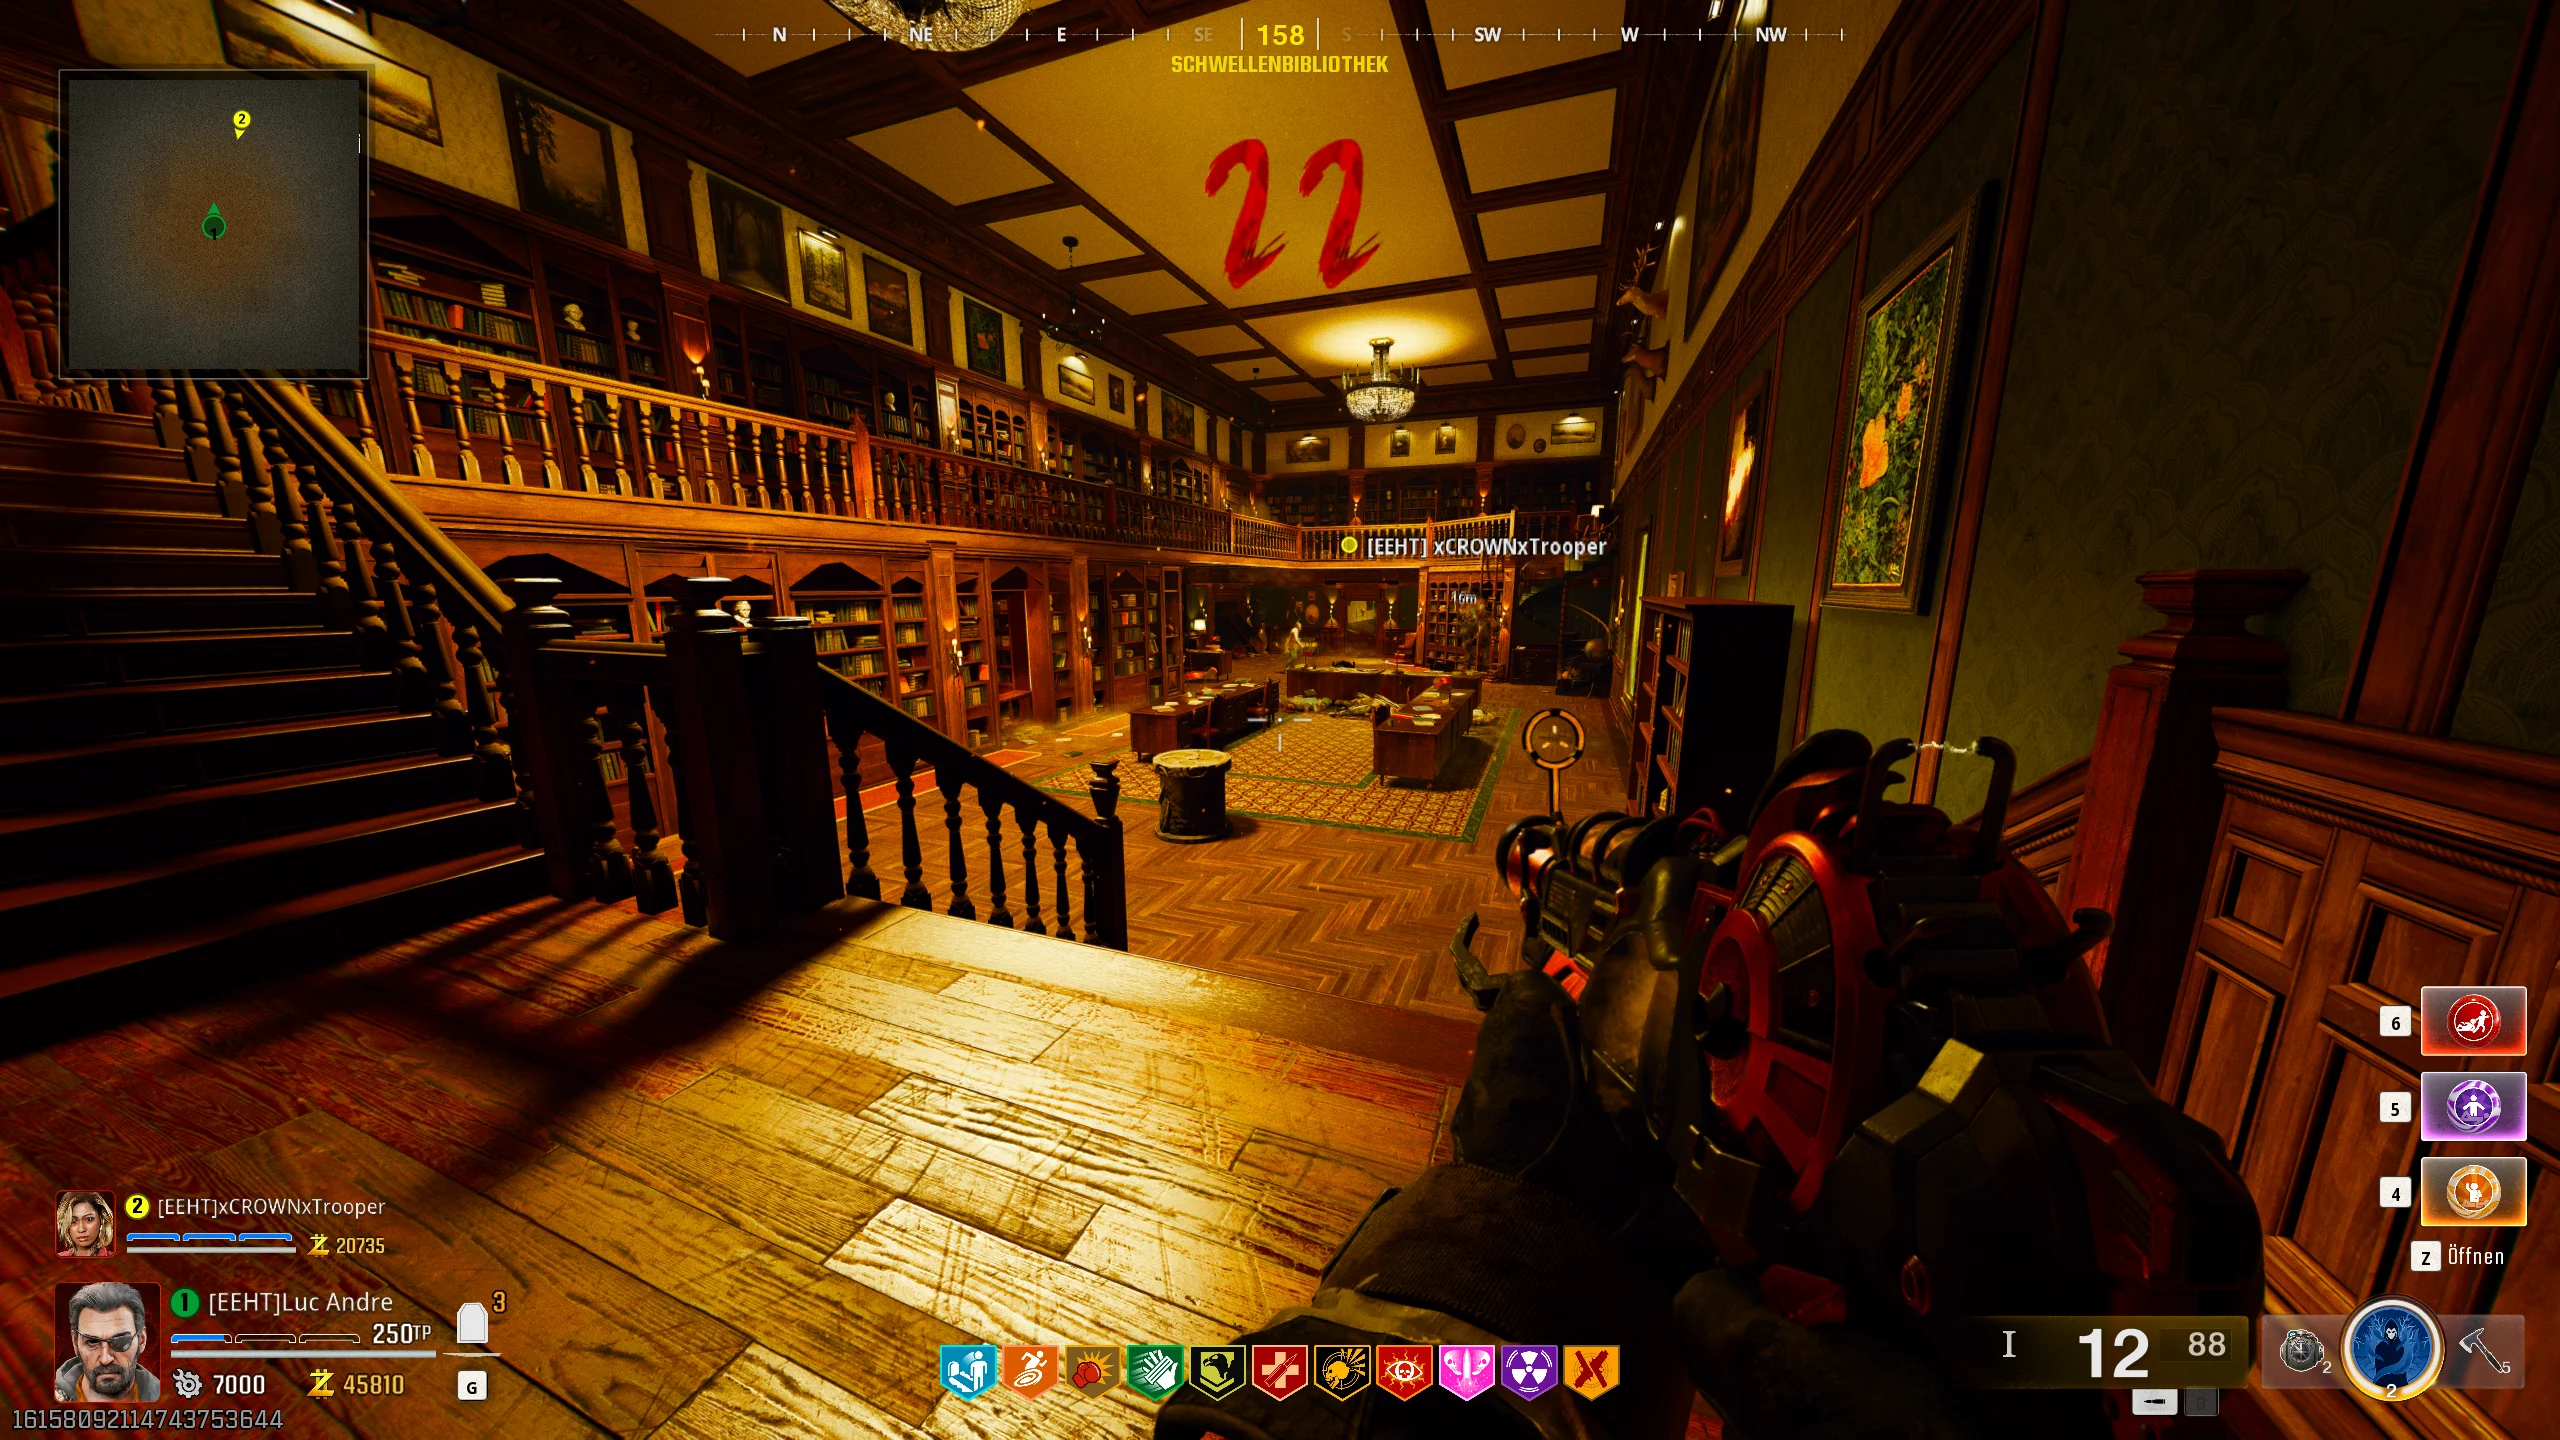
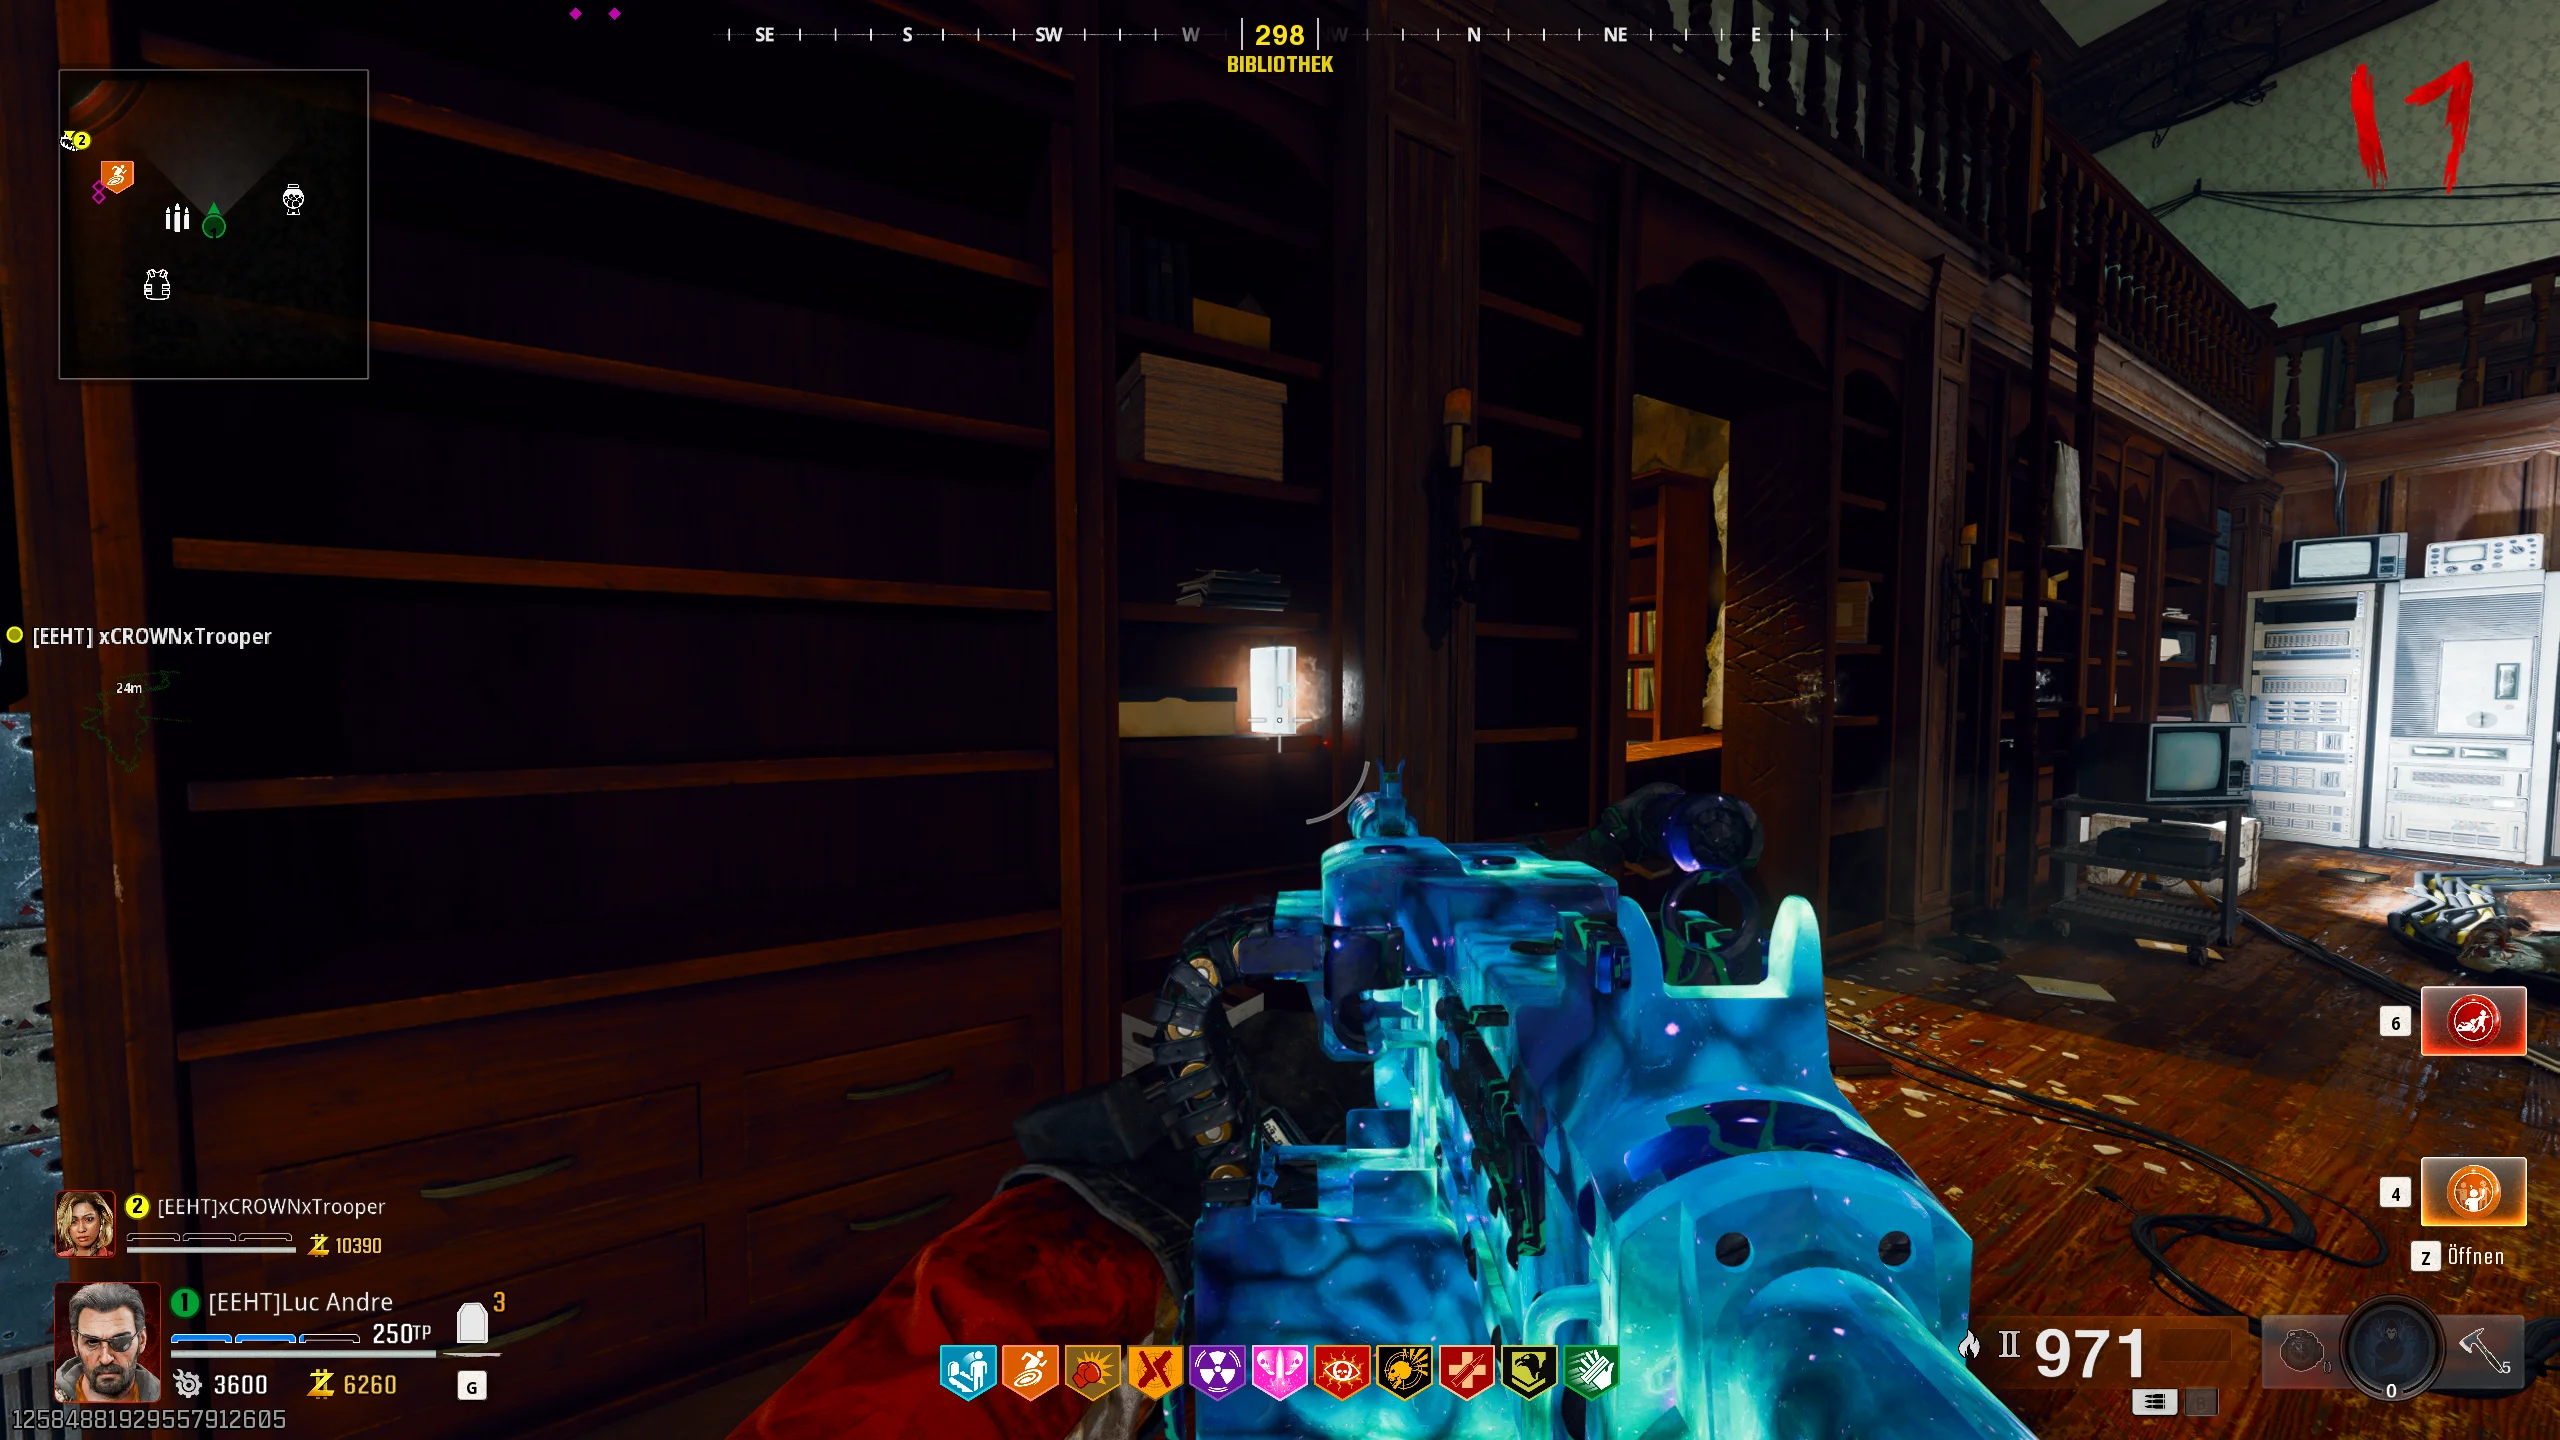
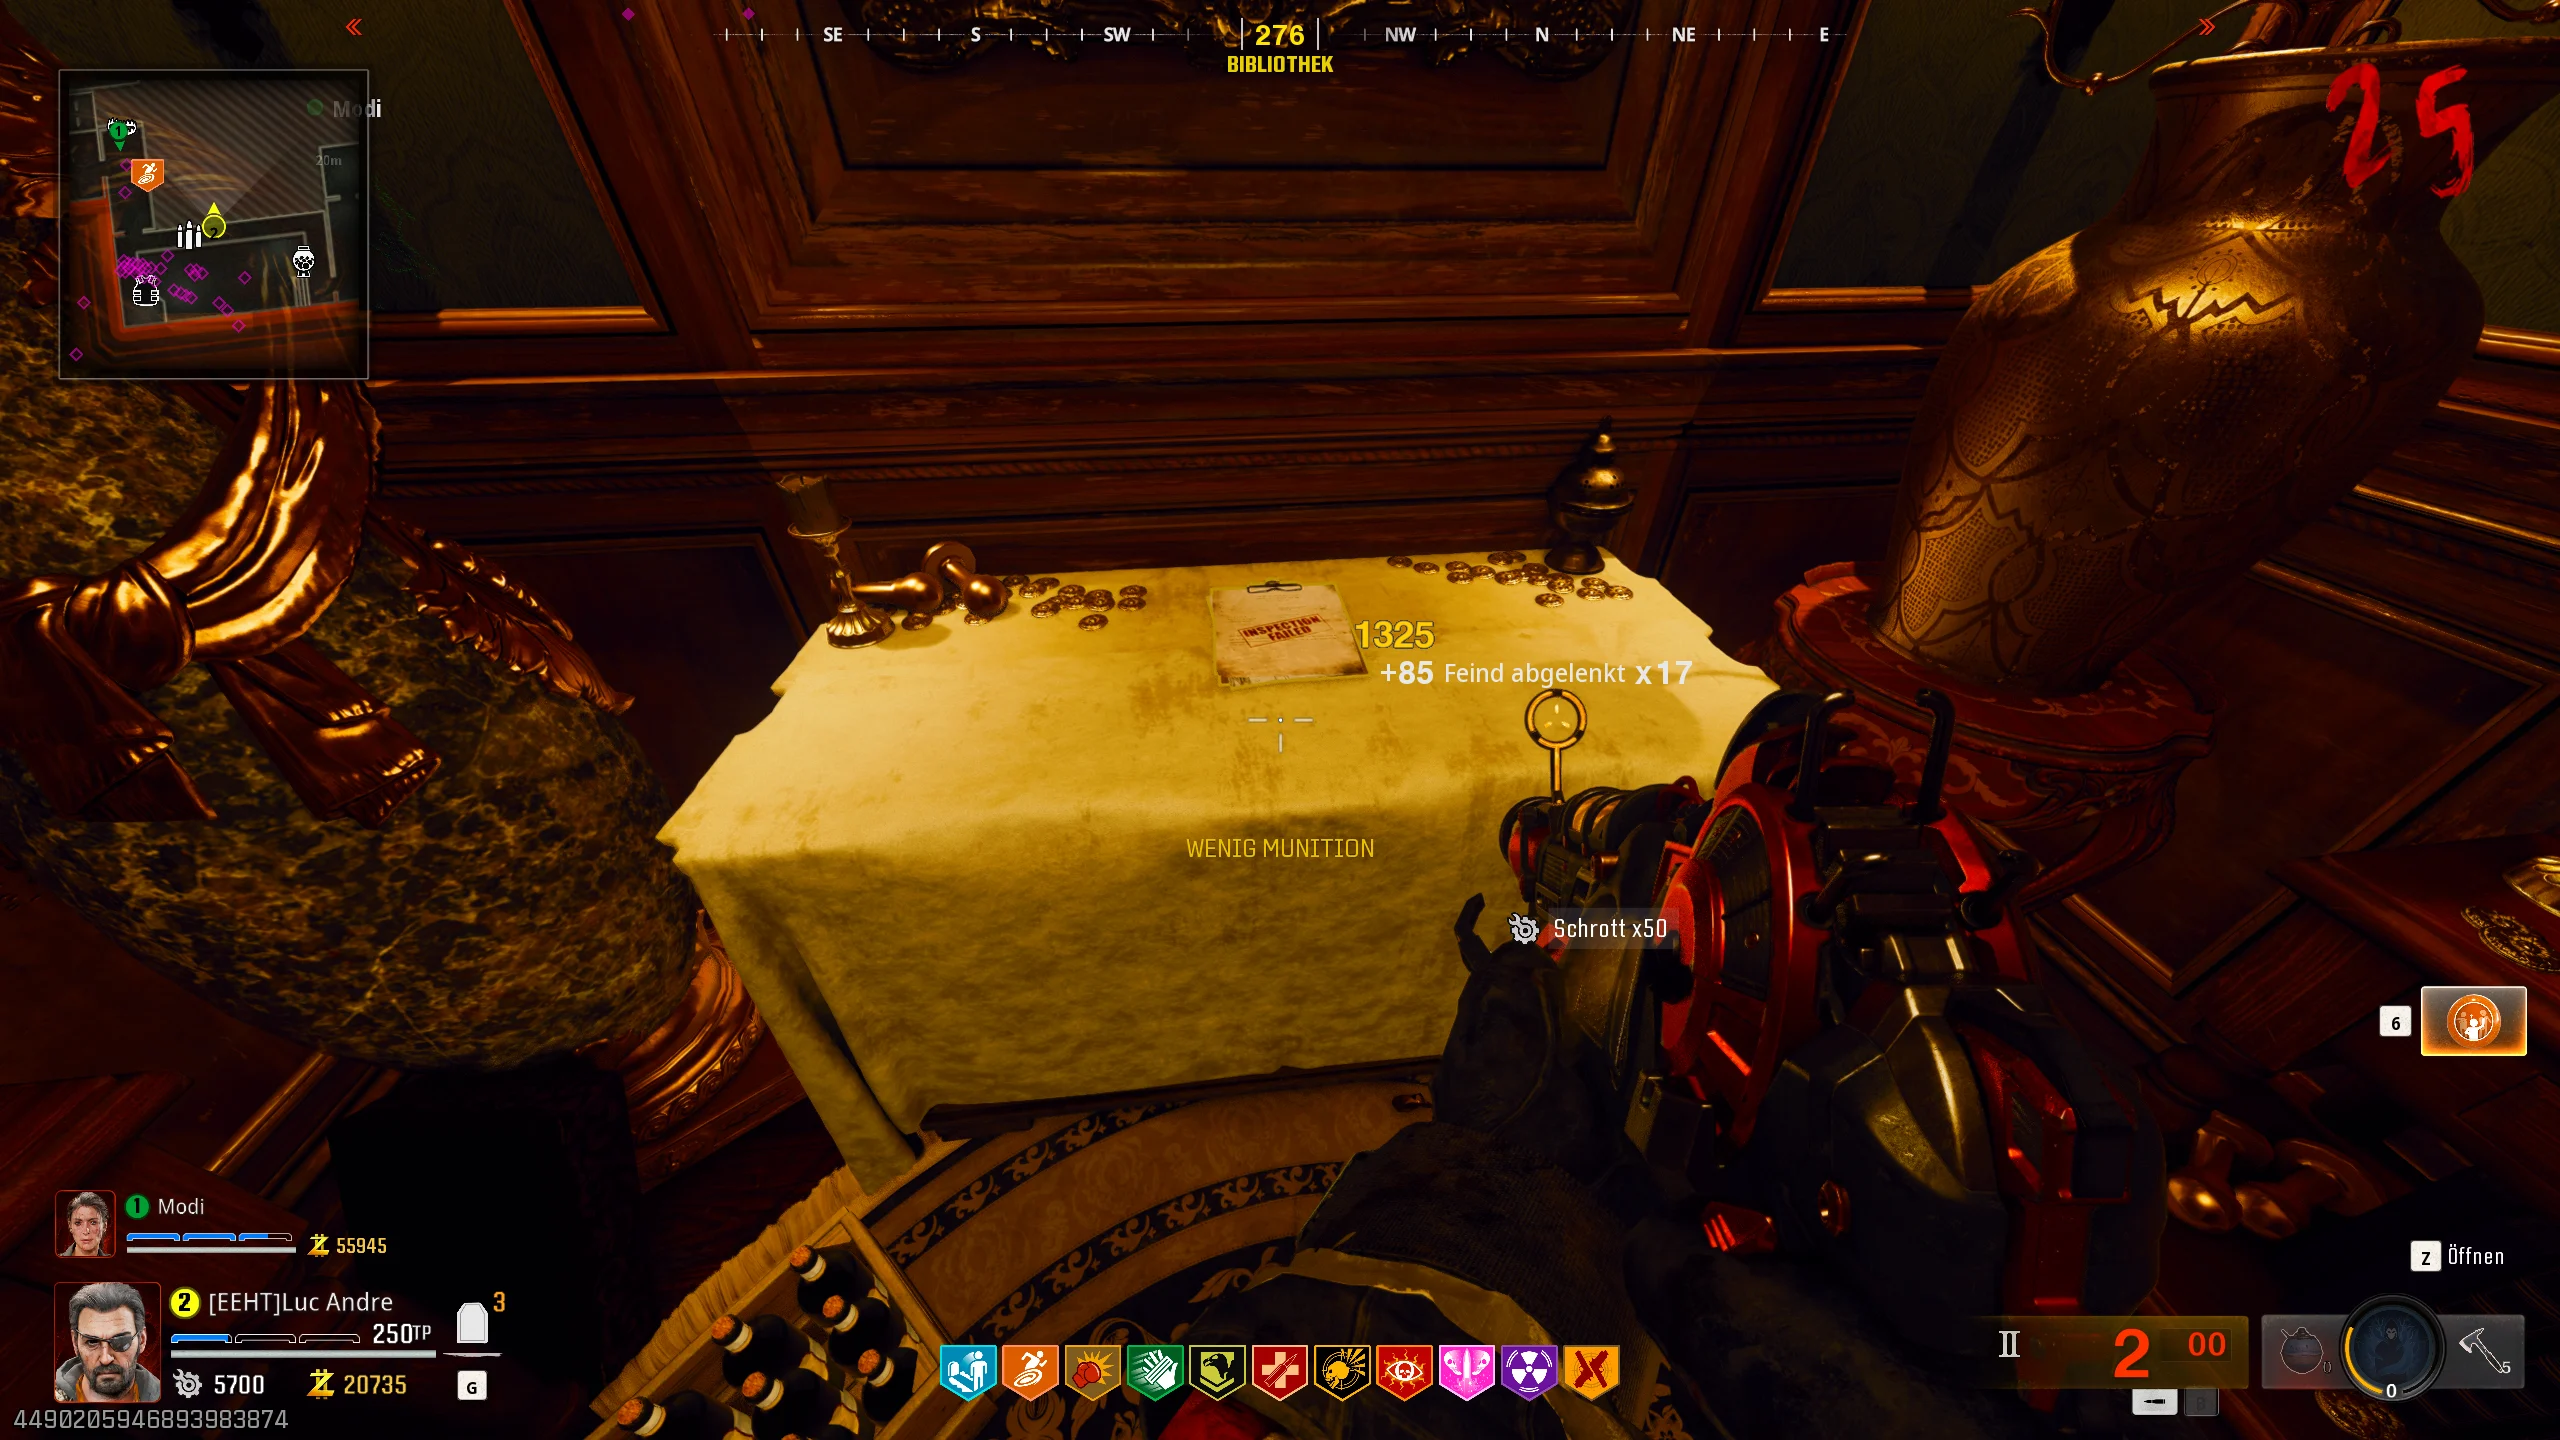
You can find the fuse in the upper part of the library. Kill the following zombie there – it will drop the required fuse.


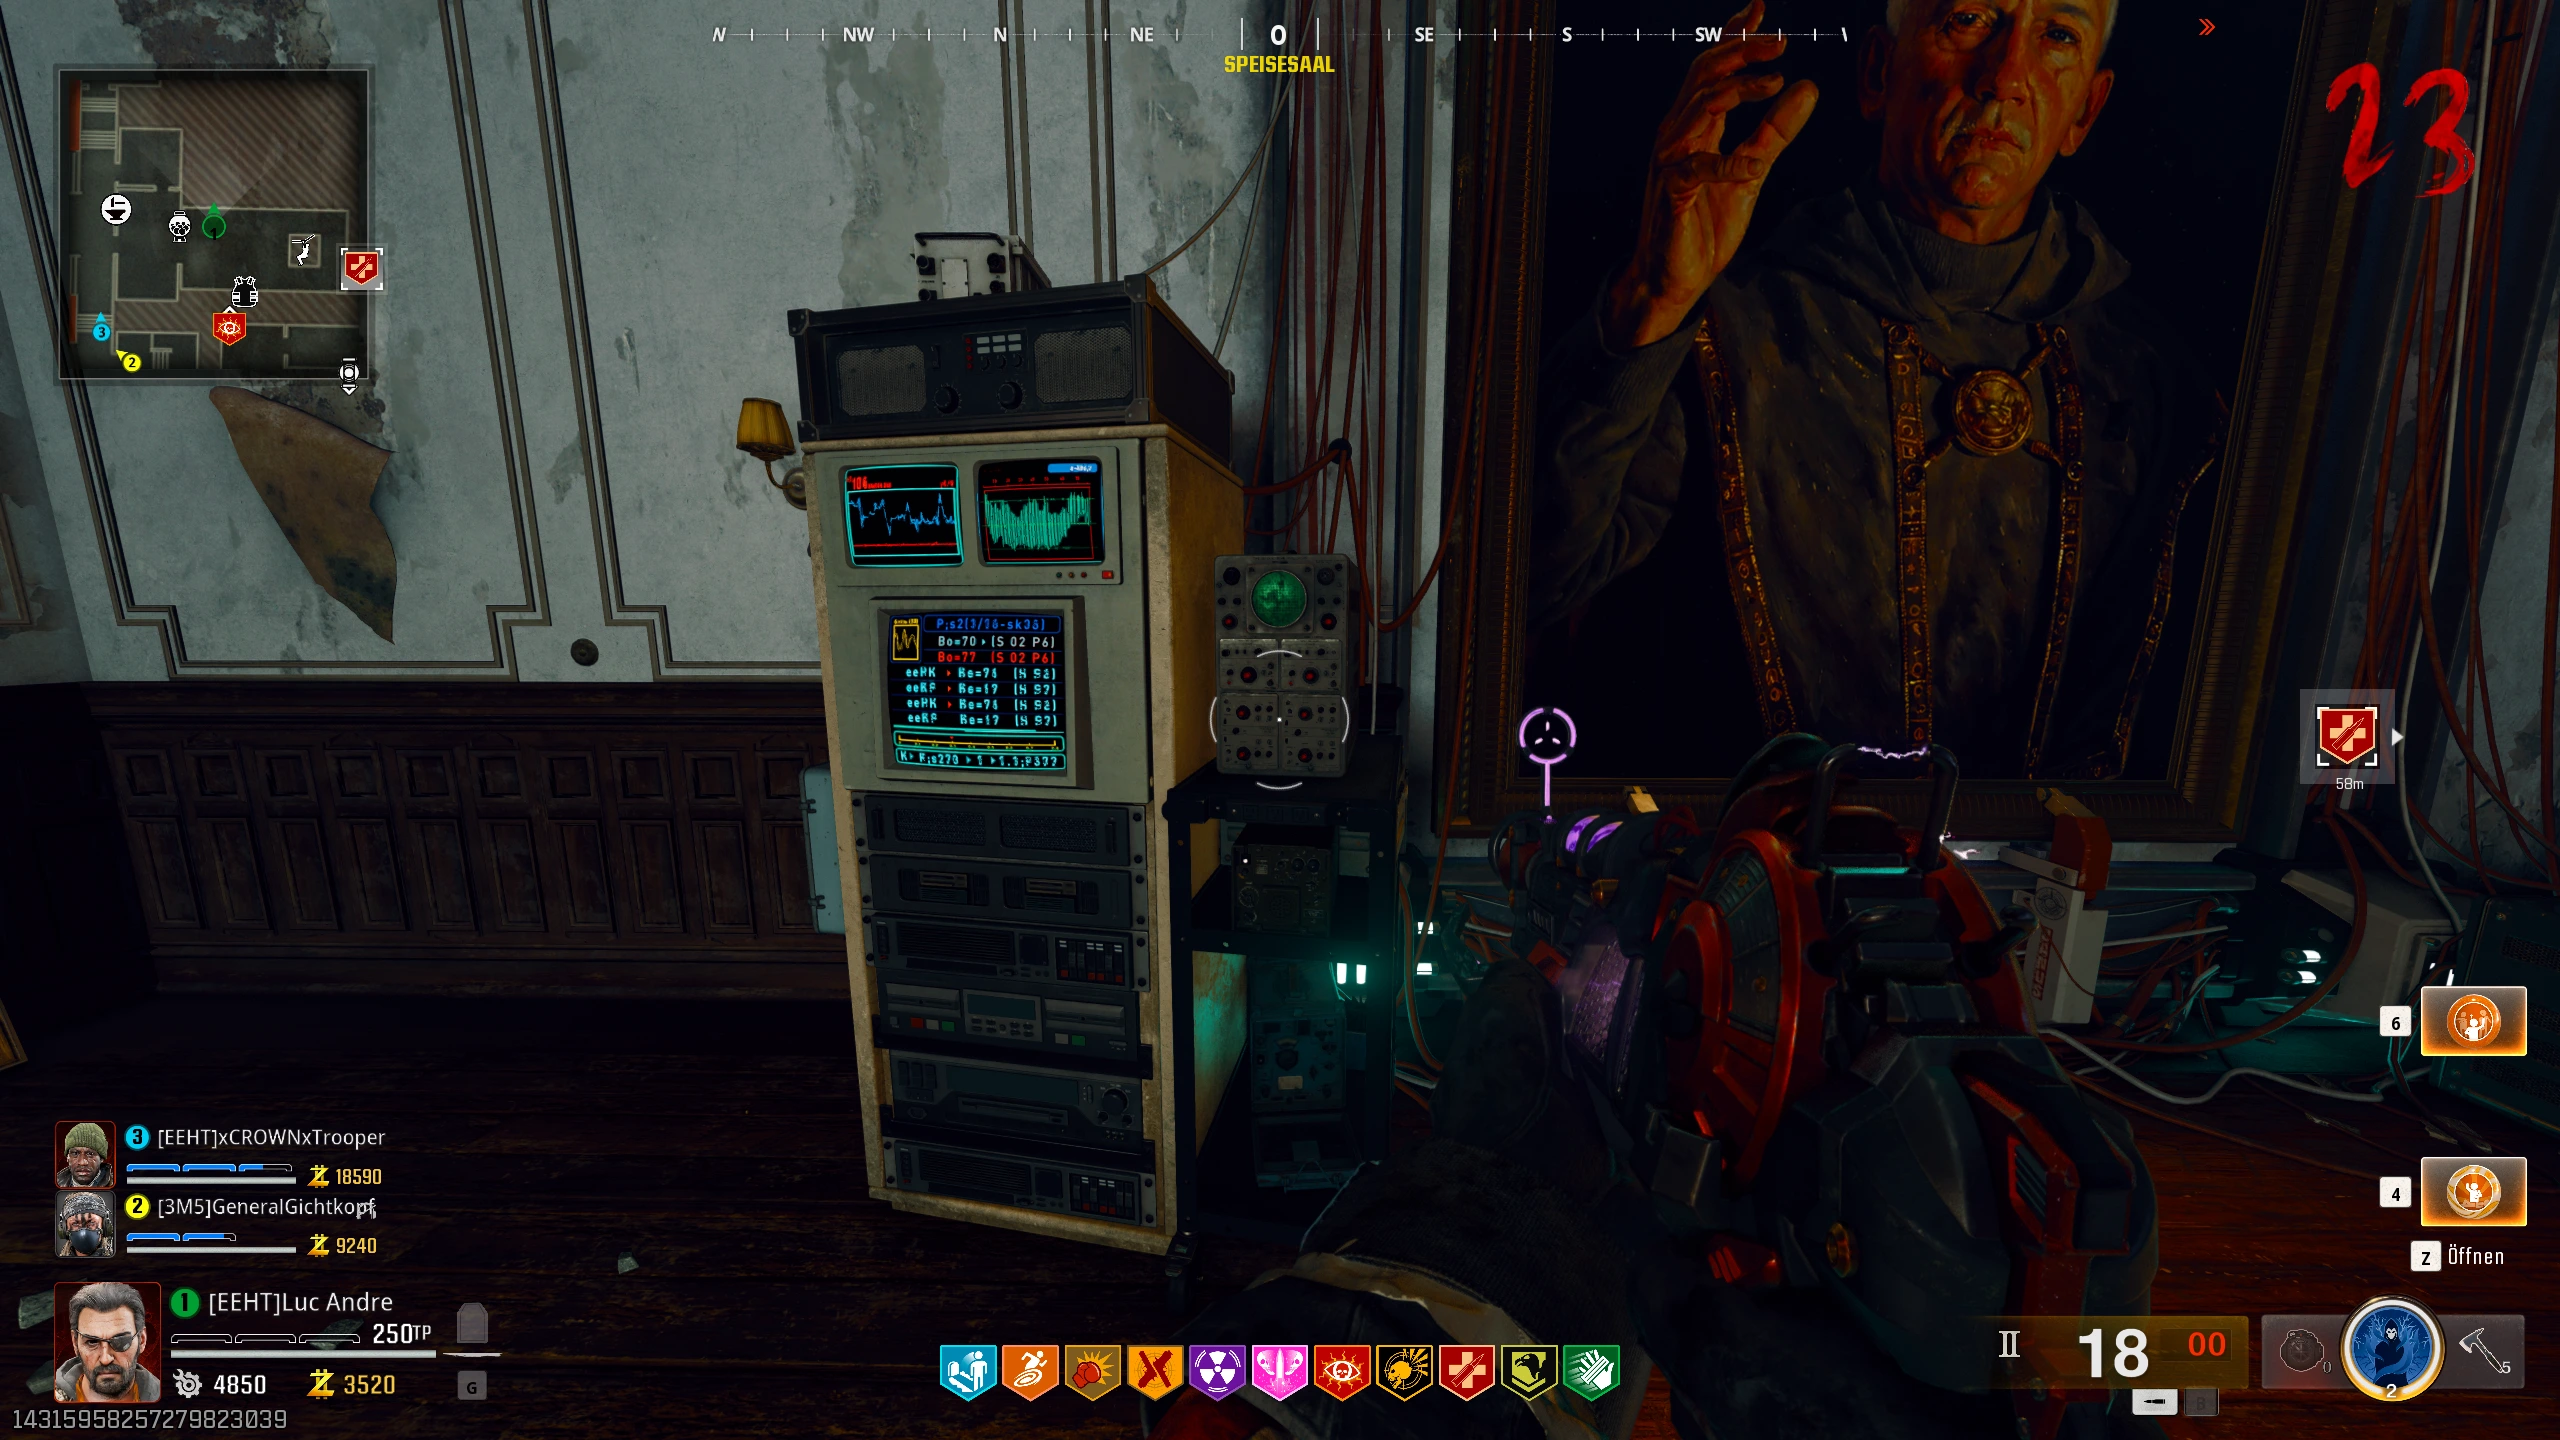
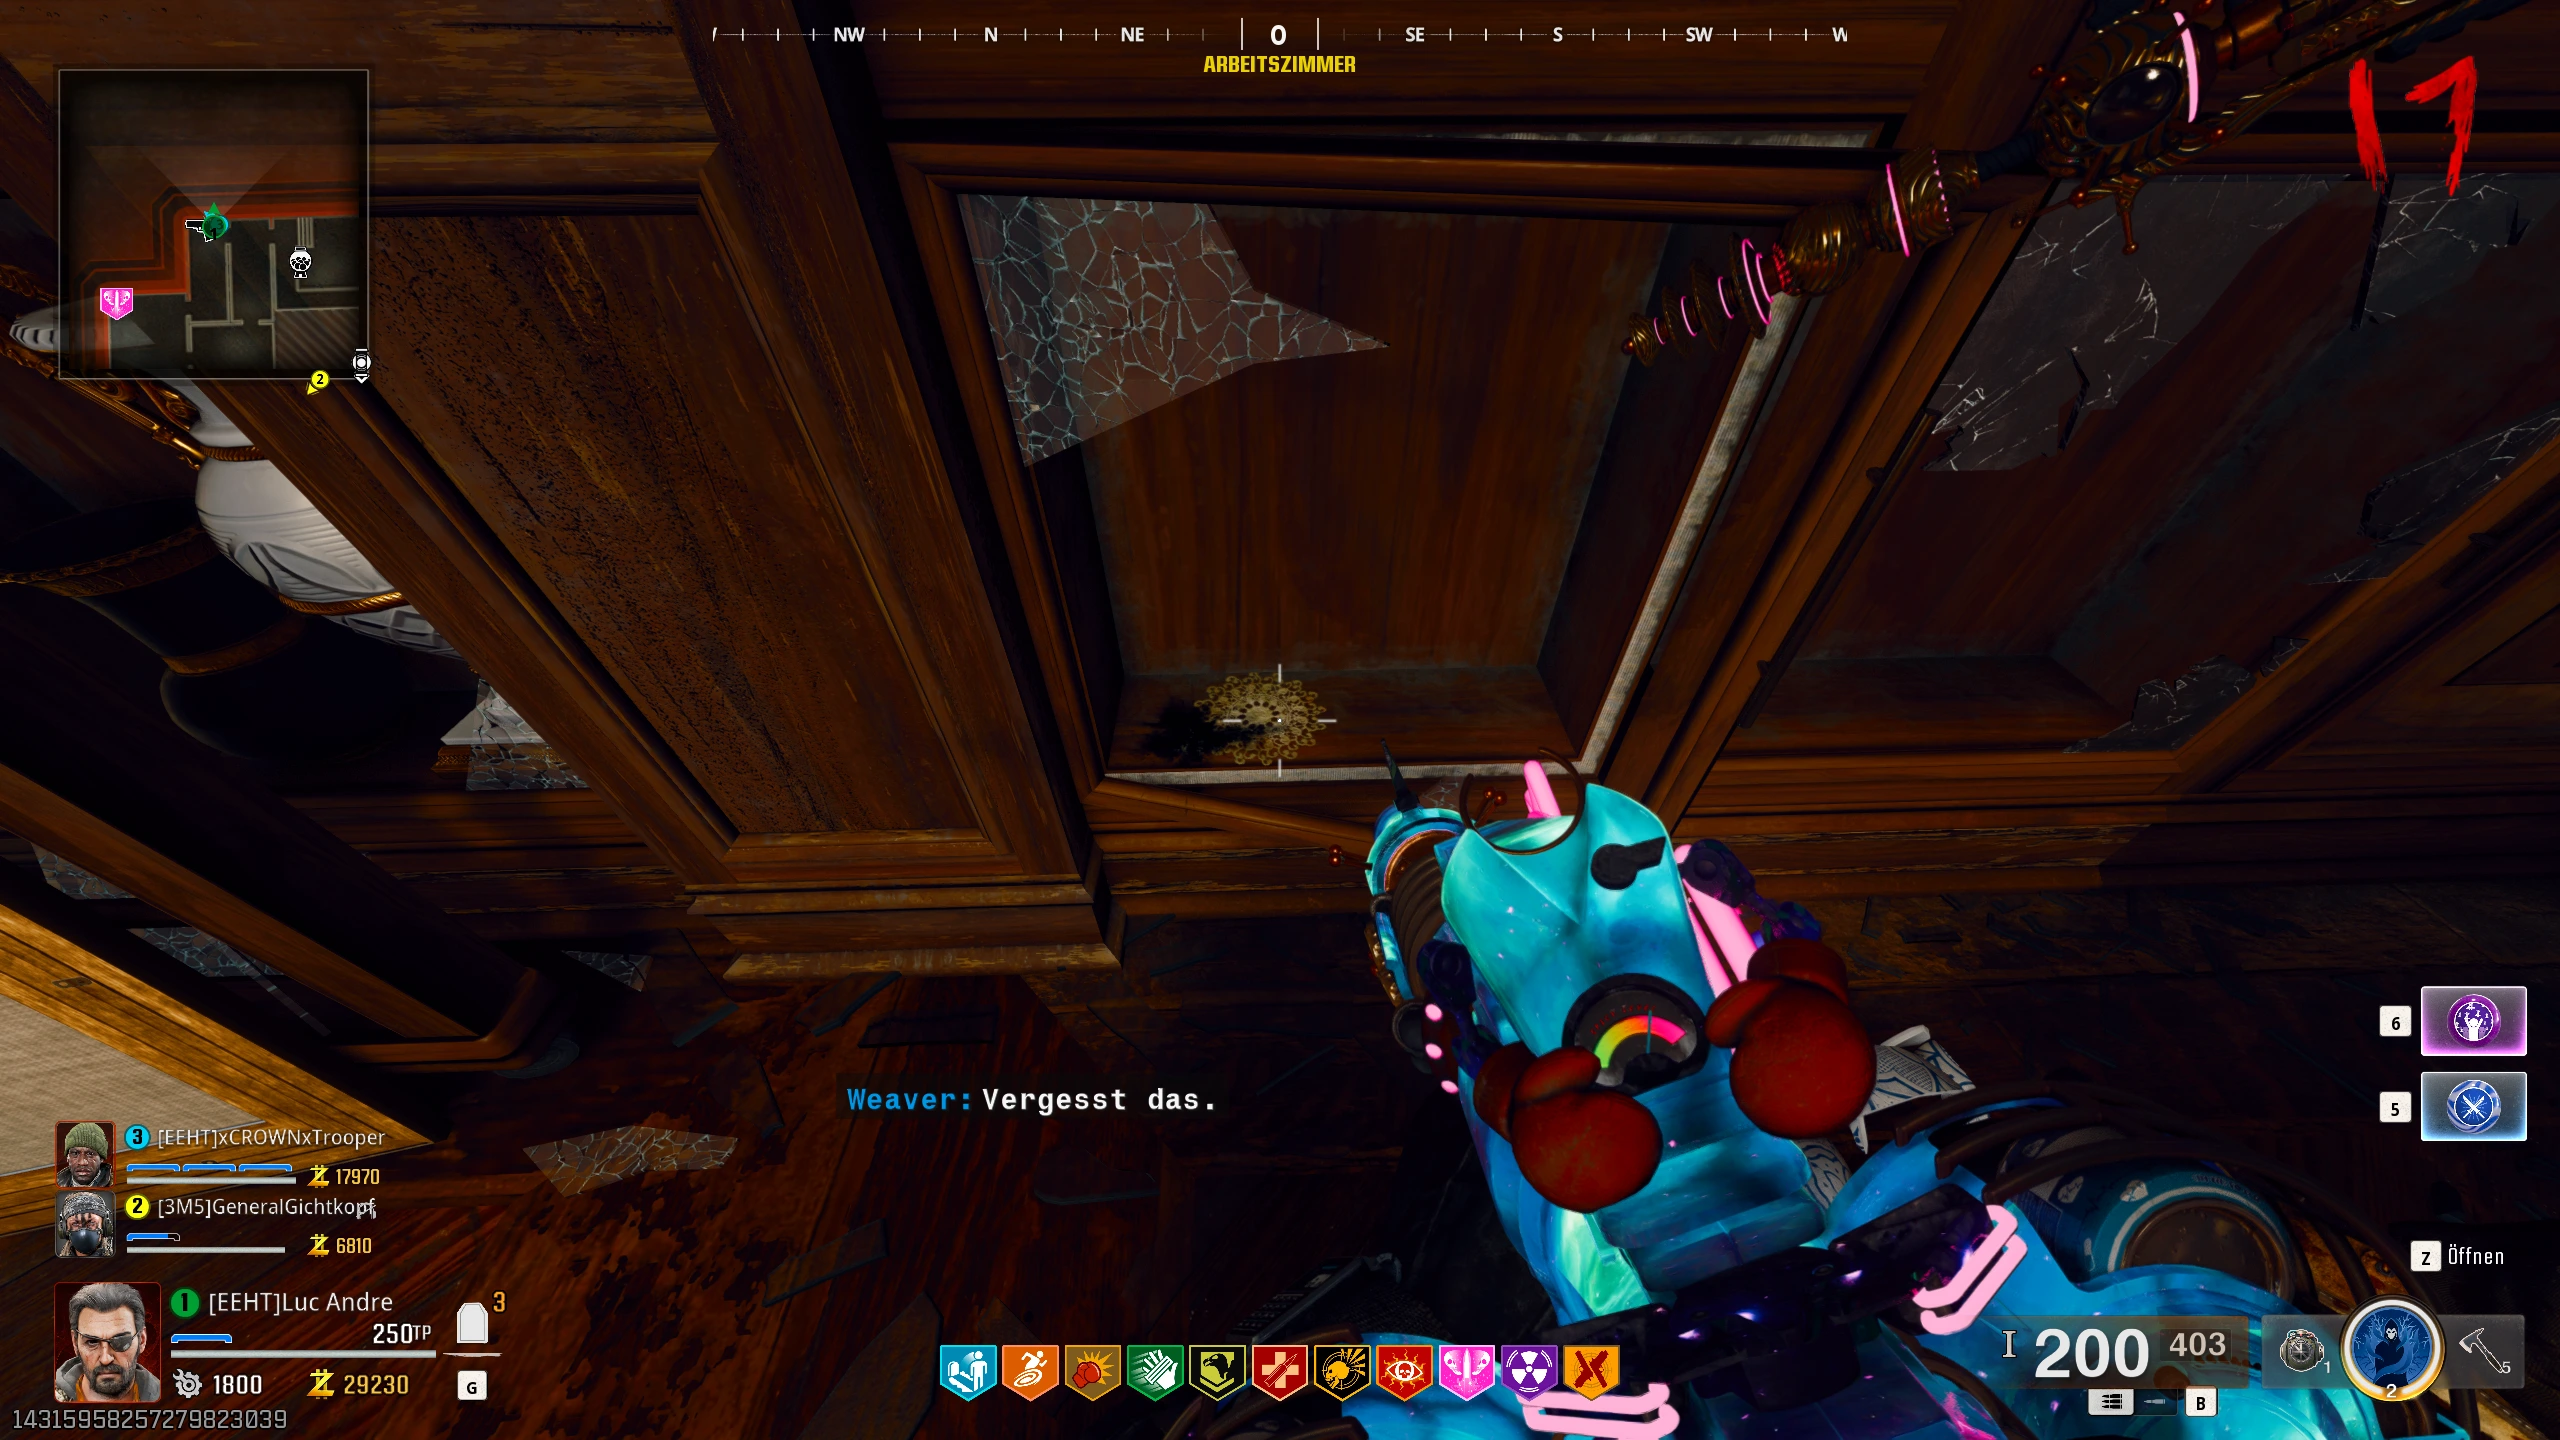
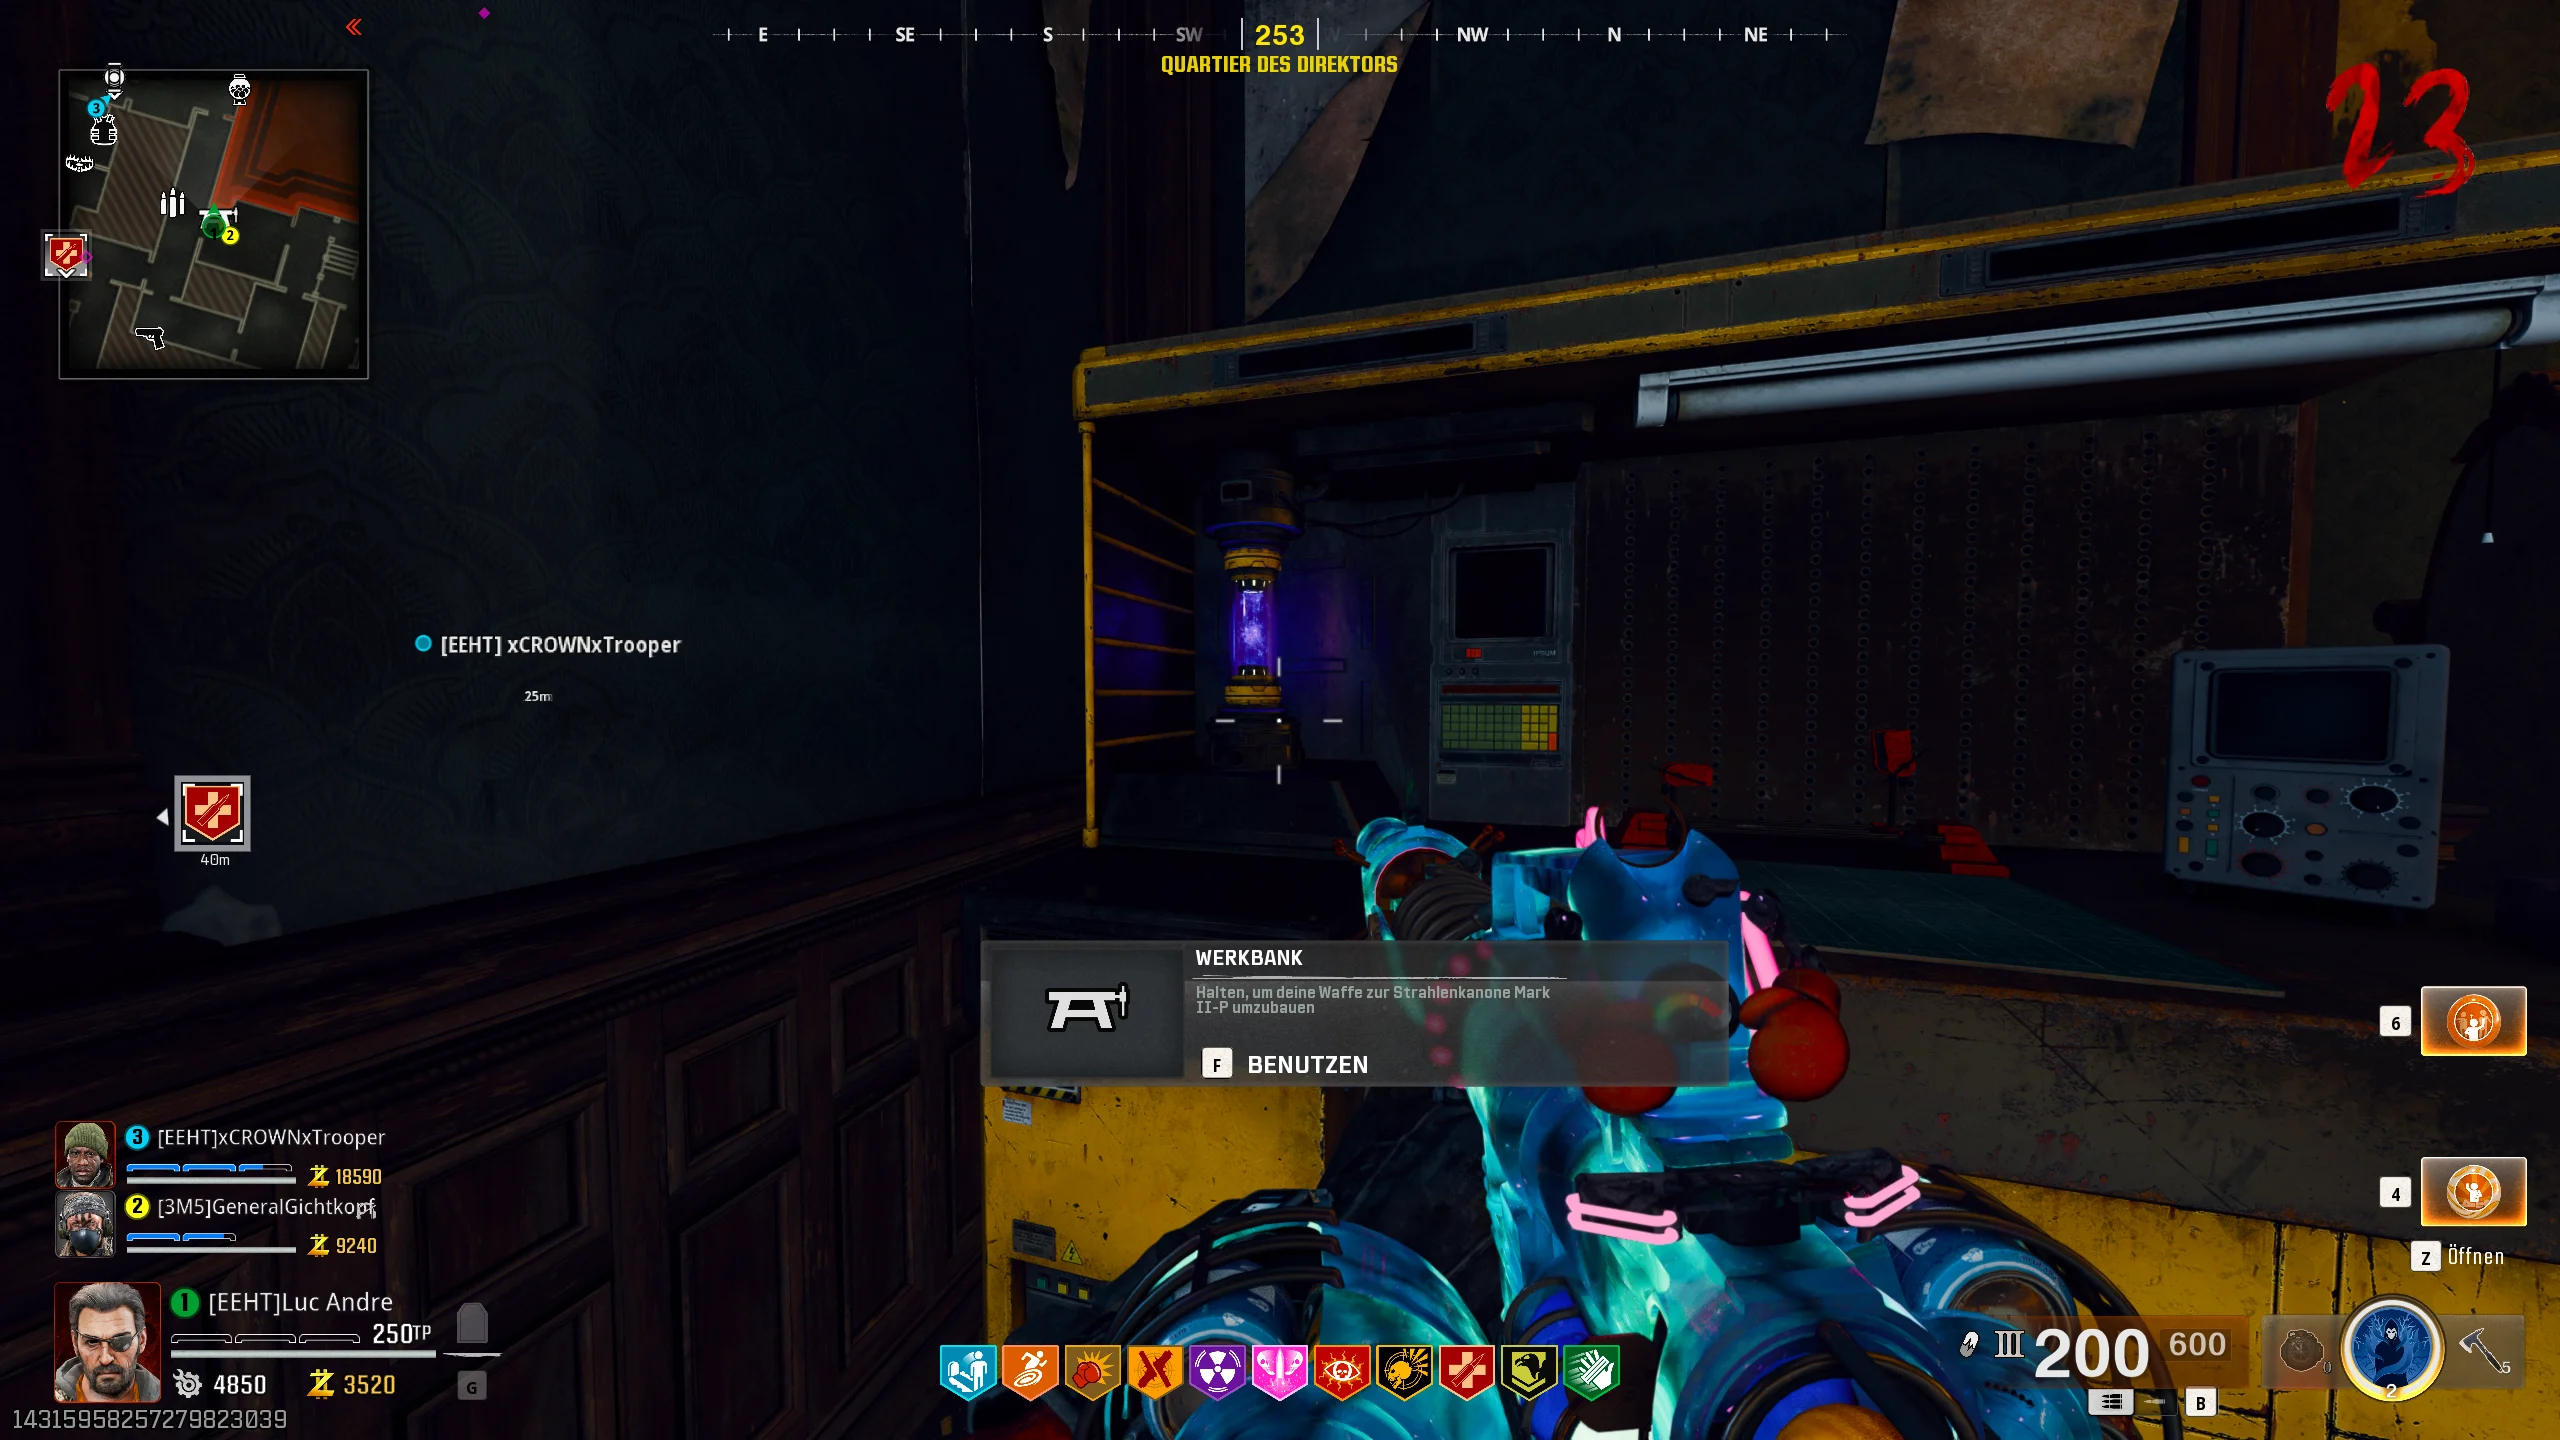
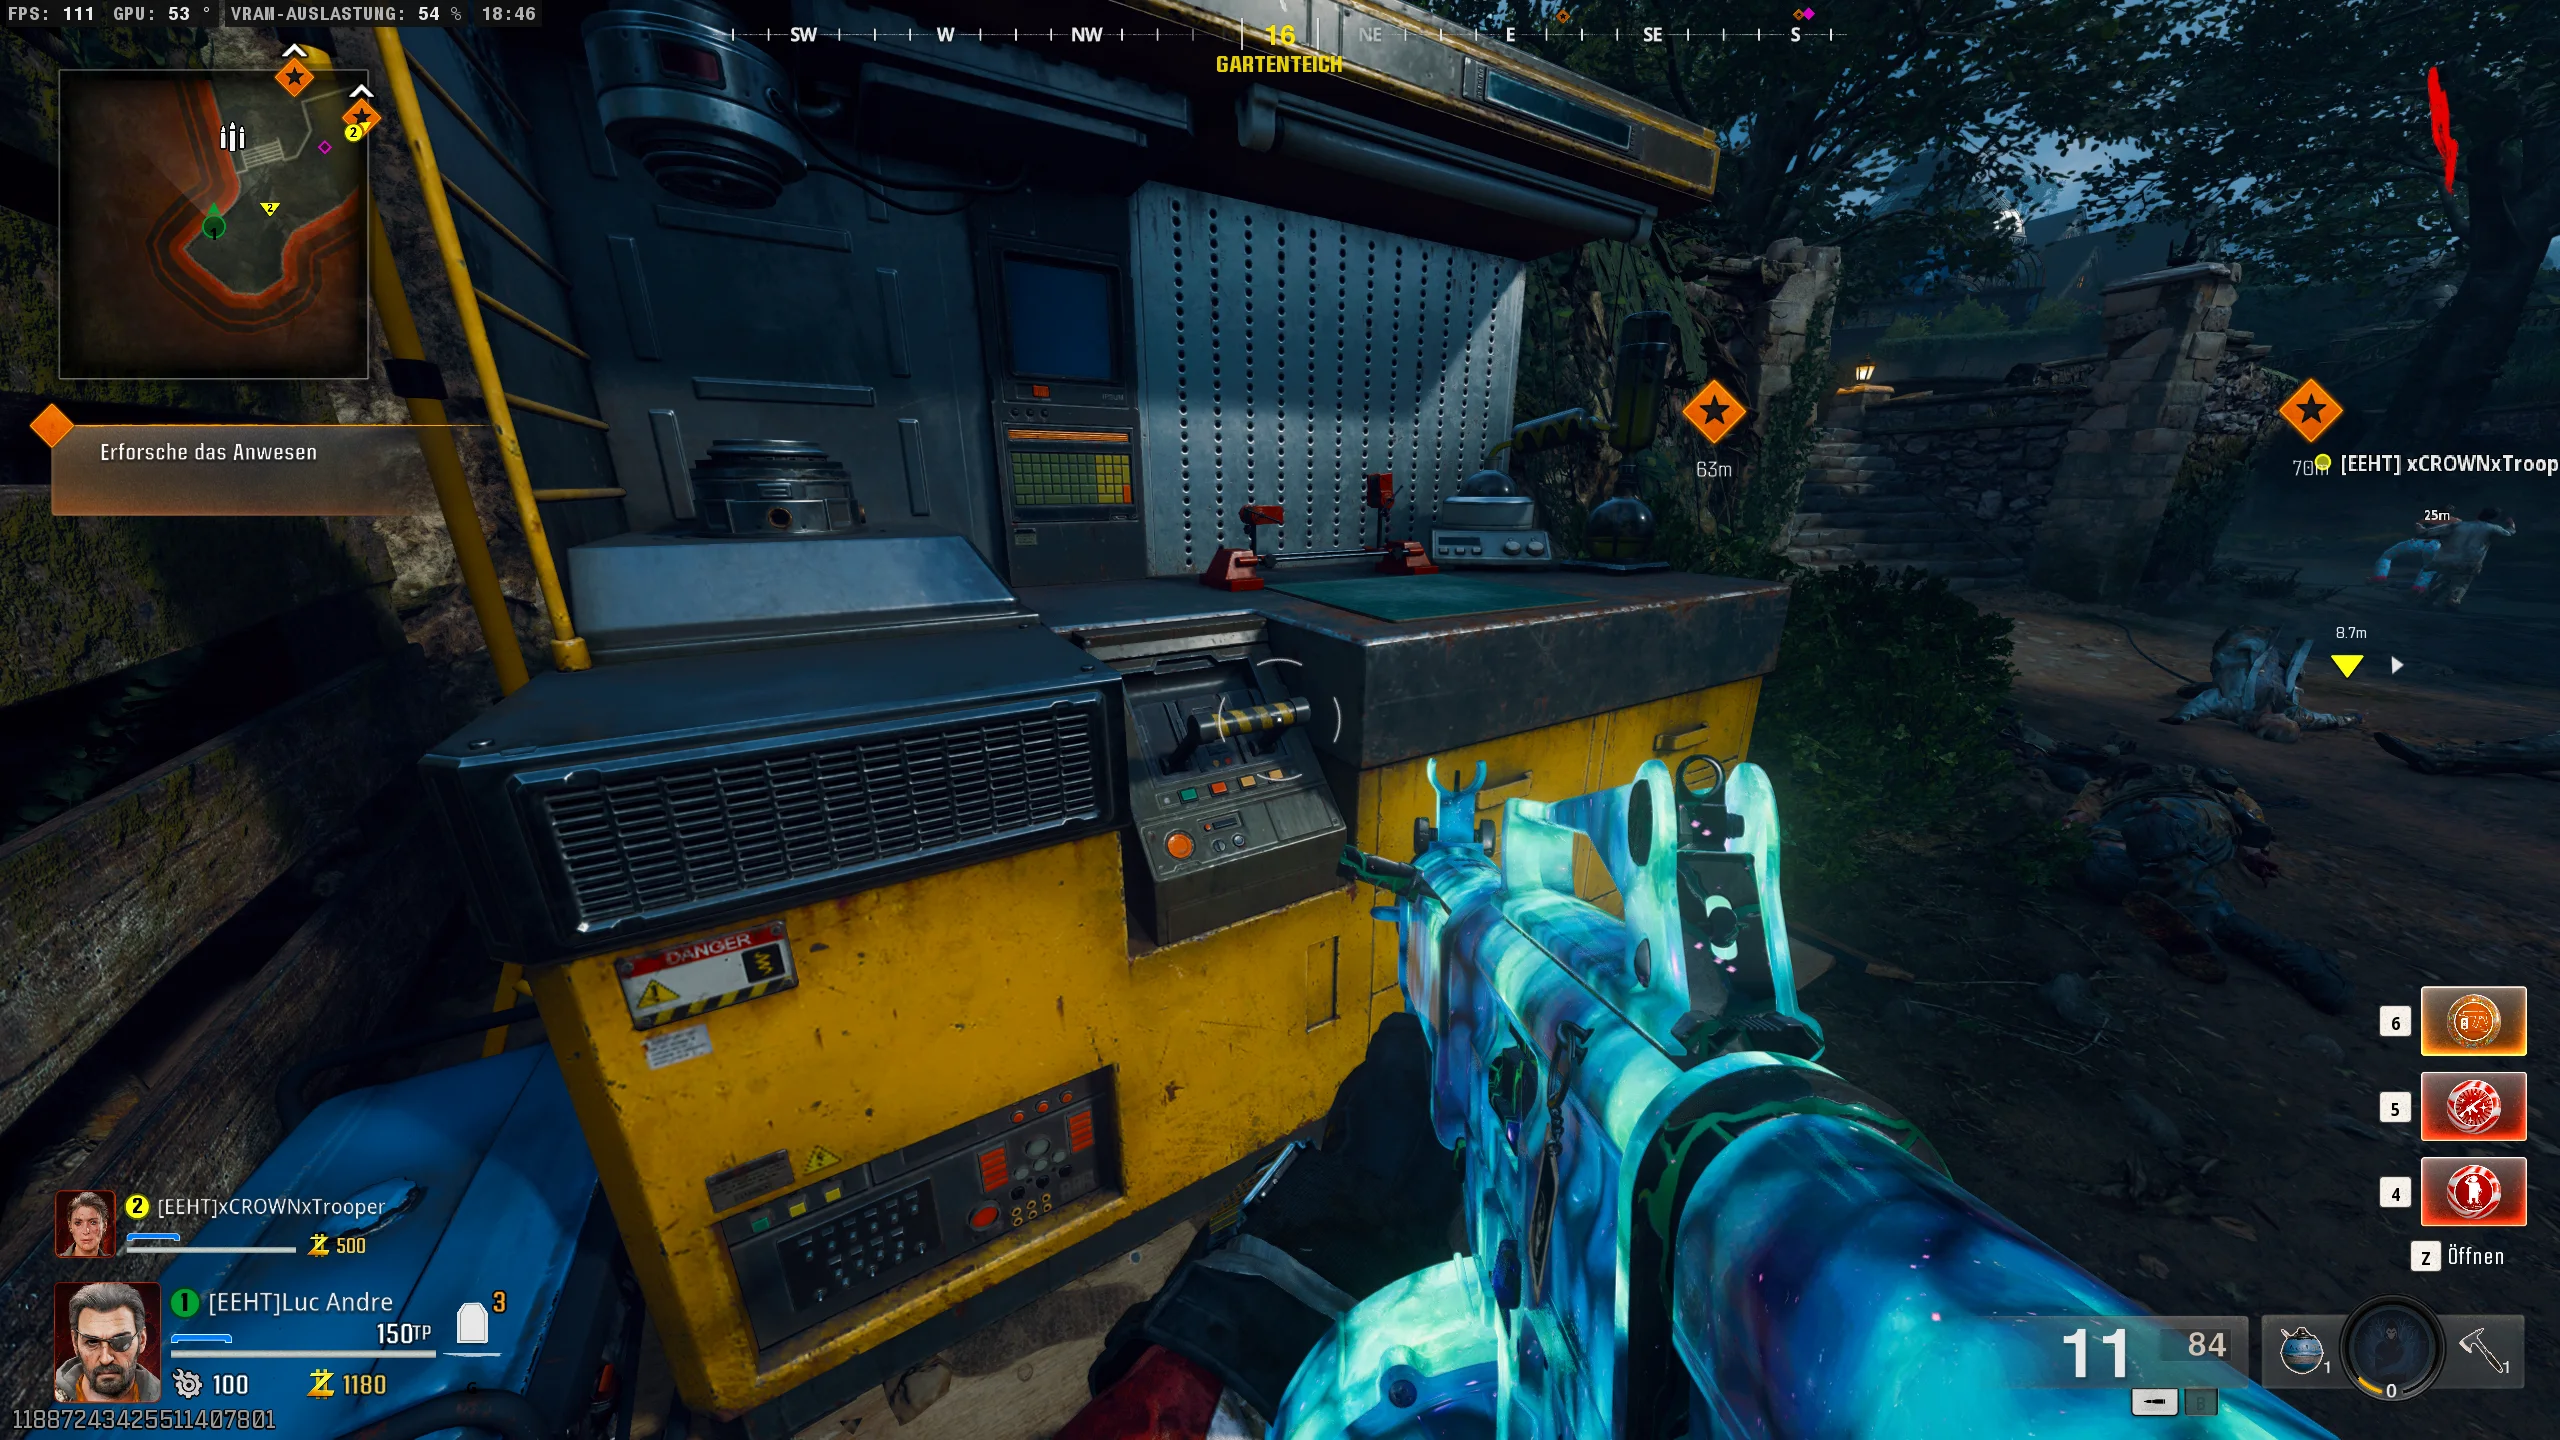
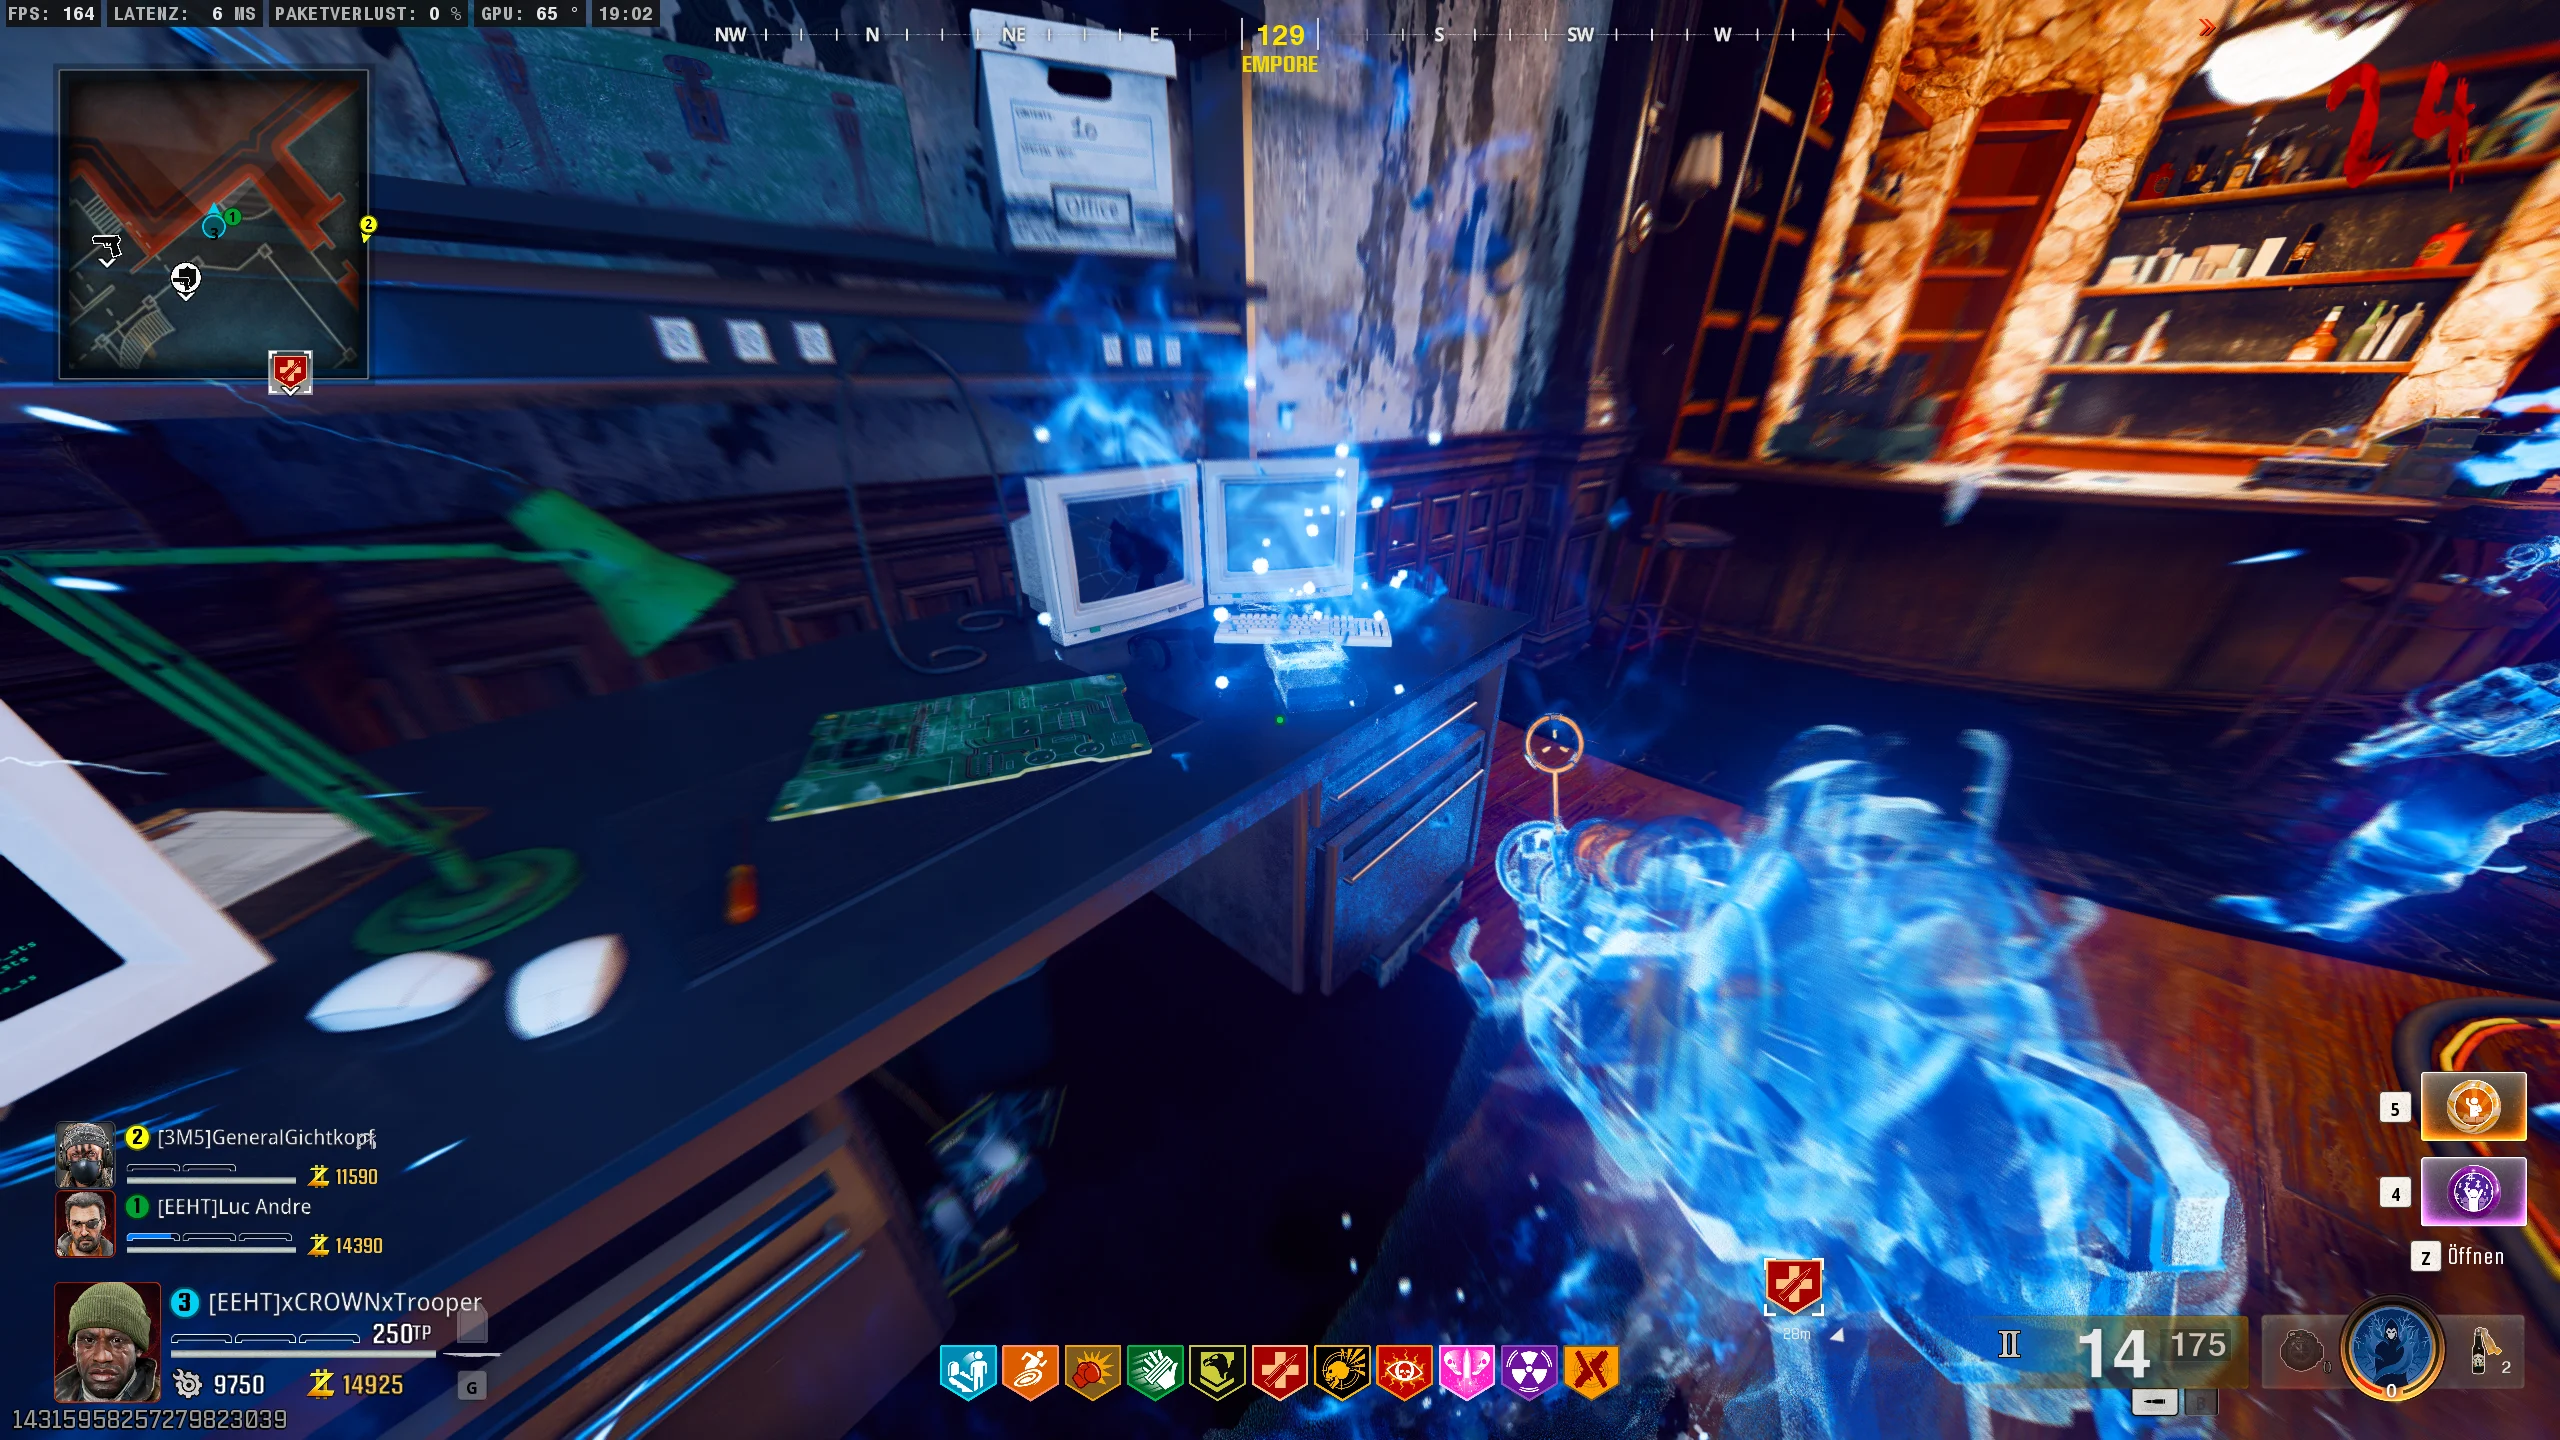
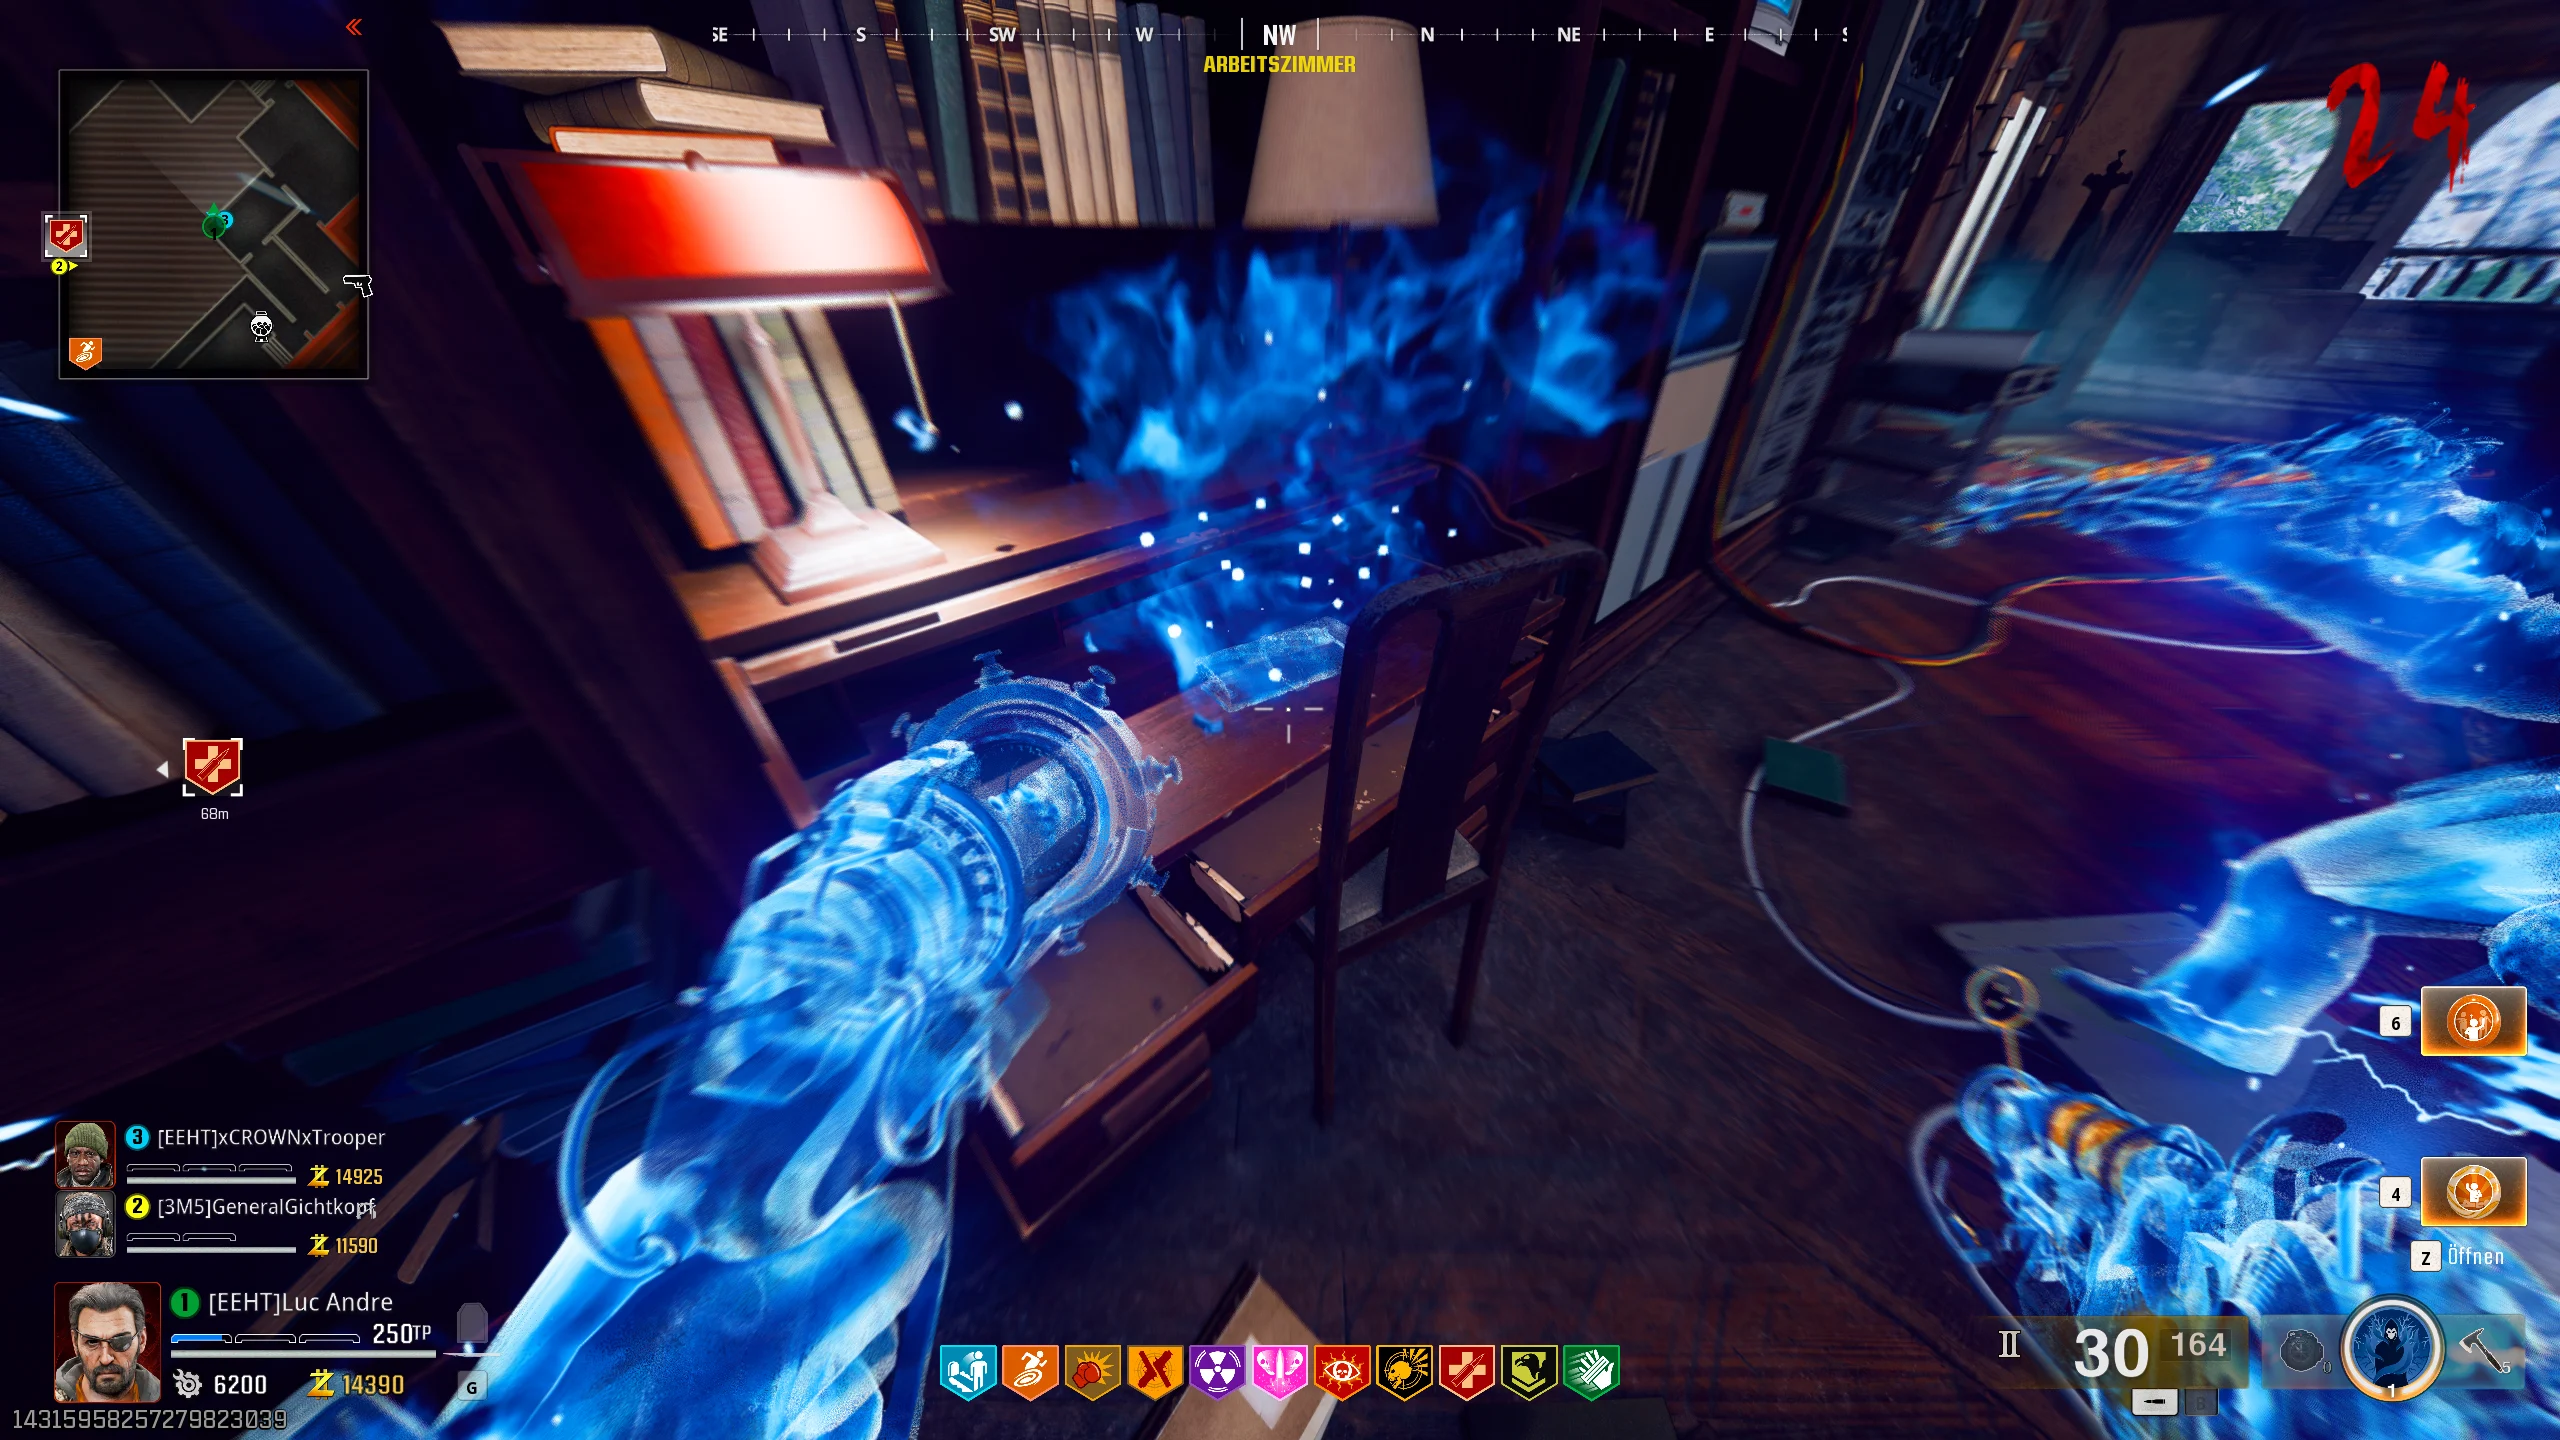
Next, head to the next orange marker – it will lead you to the director’s quarter. There, you’ll find the circuit board, which is inside a server.
To get it, you need to destroy the server – simply hit it or fire a few shots at it. The circuit board will then automatically fall to the ground and can be picked up.


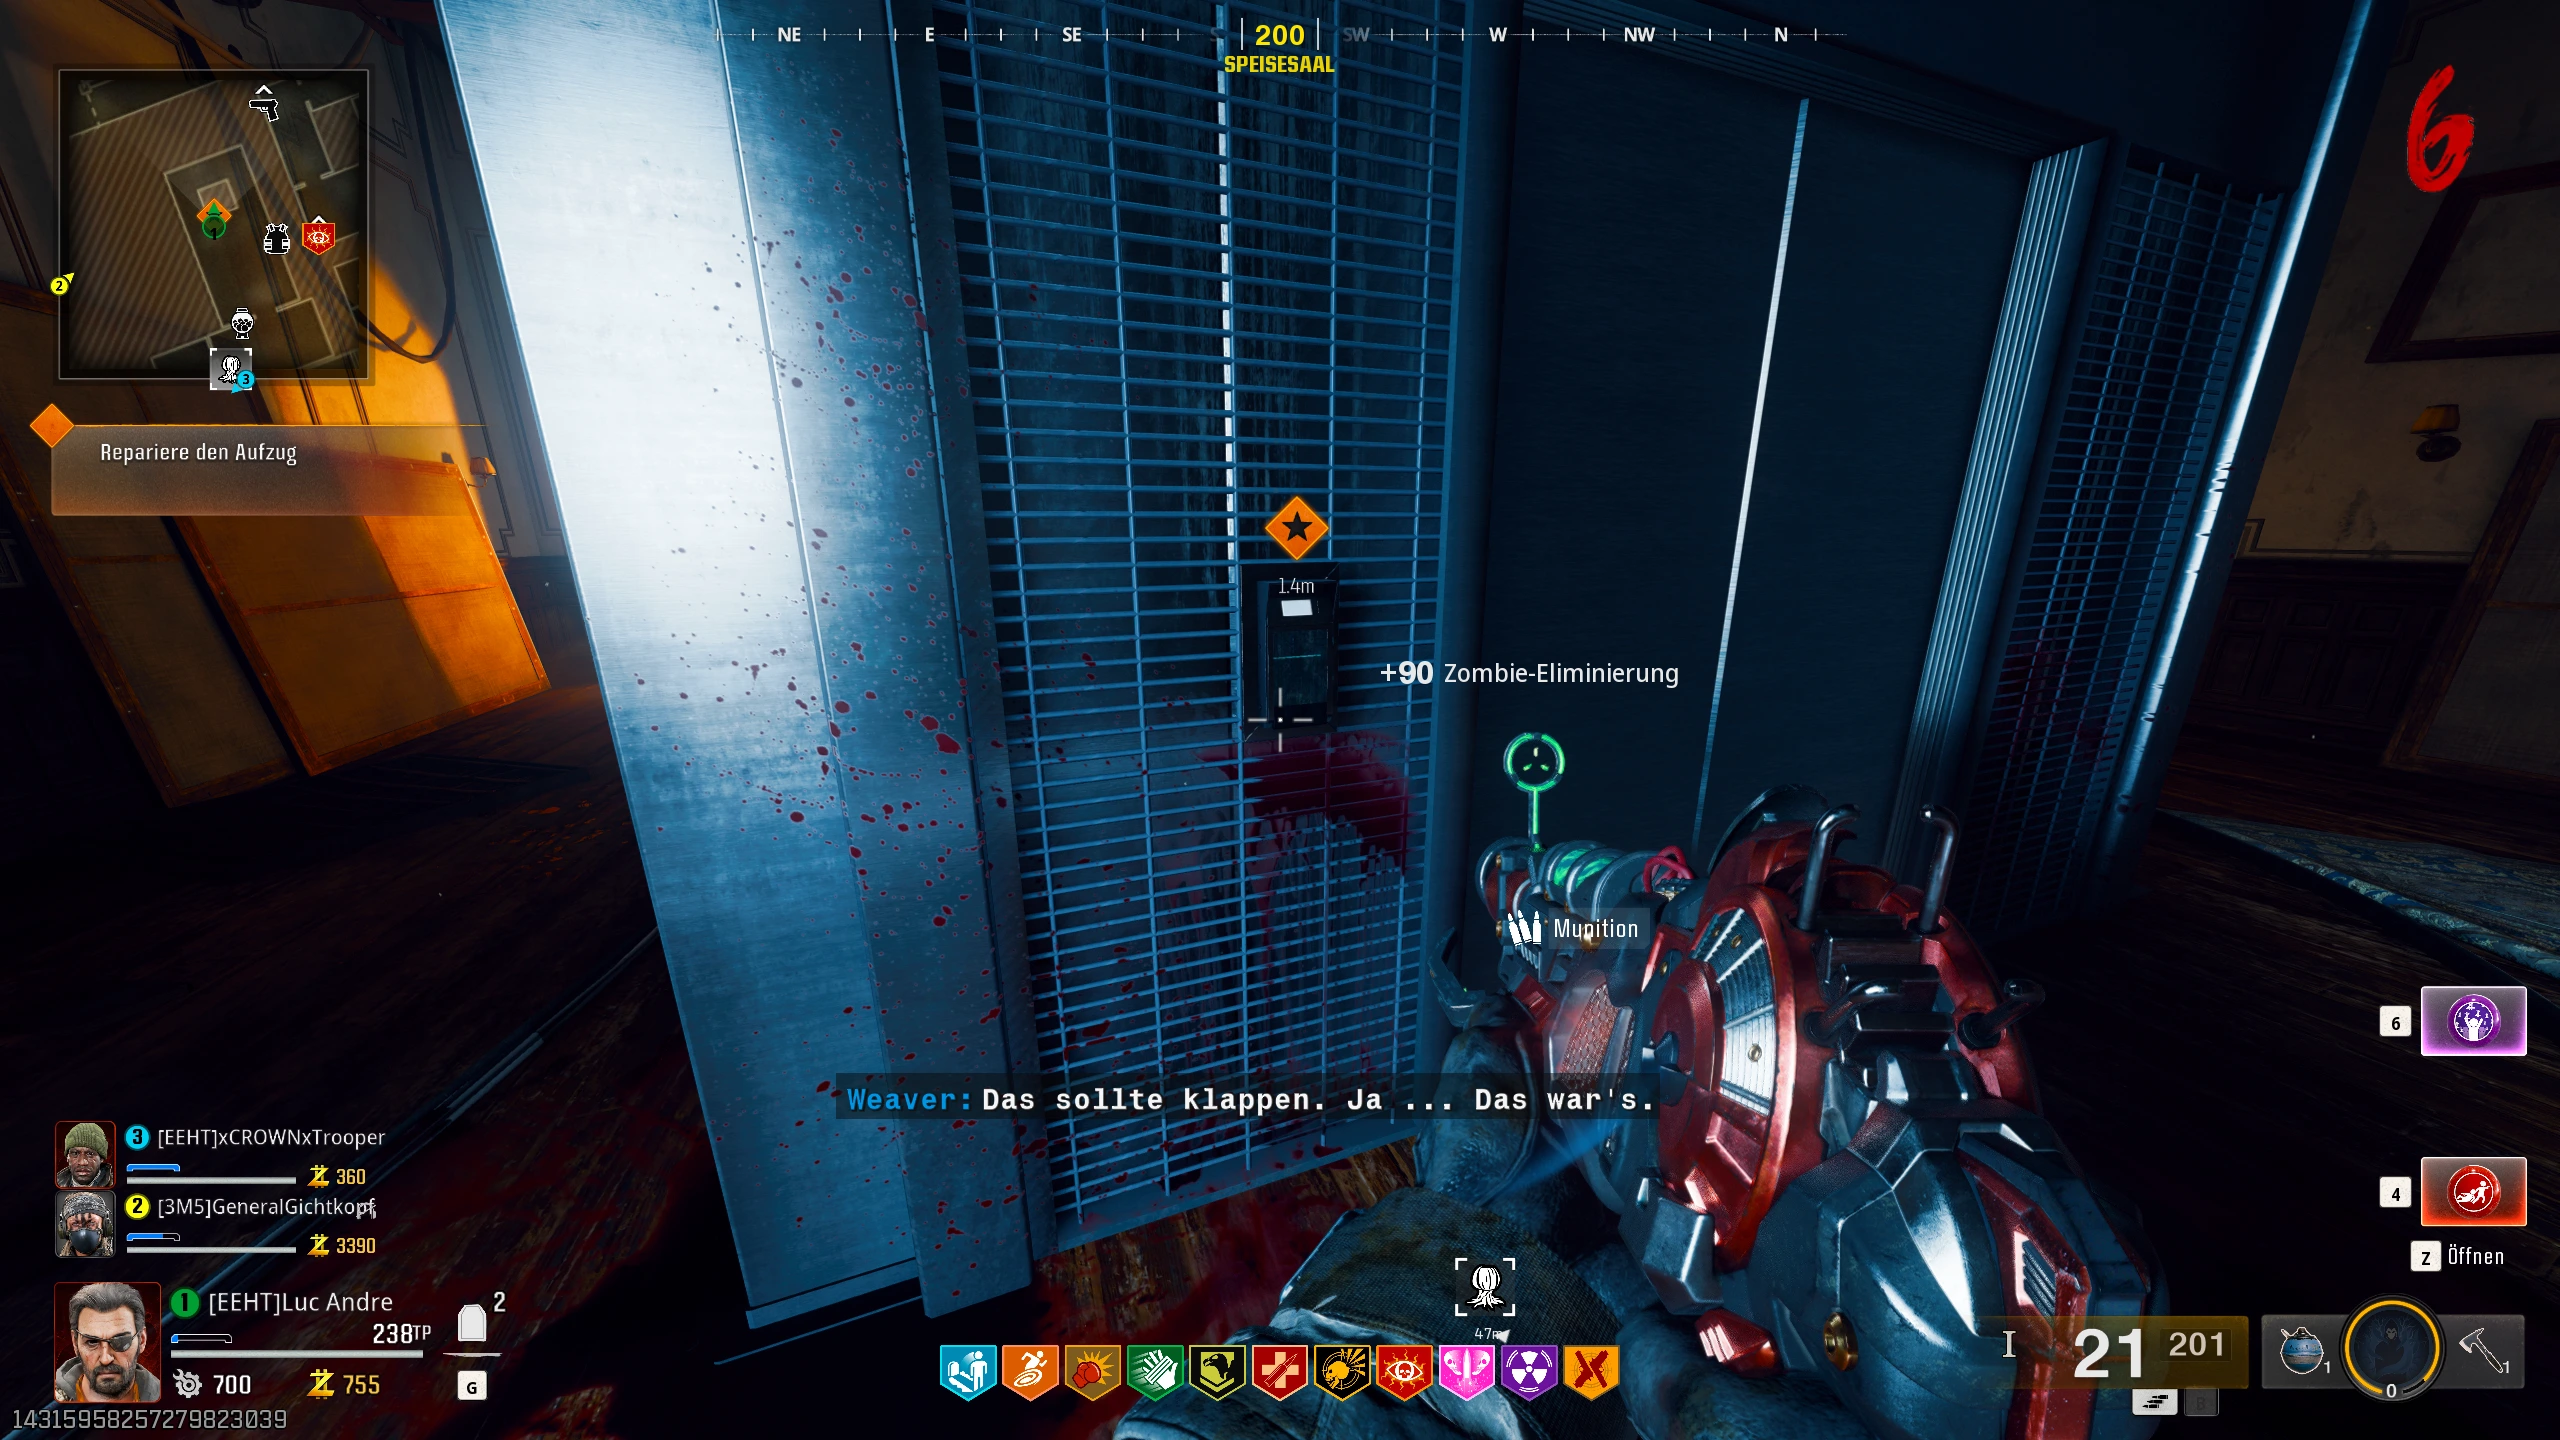
Your path now leads you back to the elevator. At the back, you must repair the elevator. Hold the interaction button to complete the repair process.

Once the elevator is repaired, you can press the switch at the front to bring the elevator up. Be careful, a little surprise awaits you – we won’t spoil it here!
Once the surprise is dealt with, press the switch again to call the elevator back down. After that, you can use the winch to rappel into the underground.
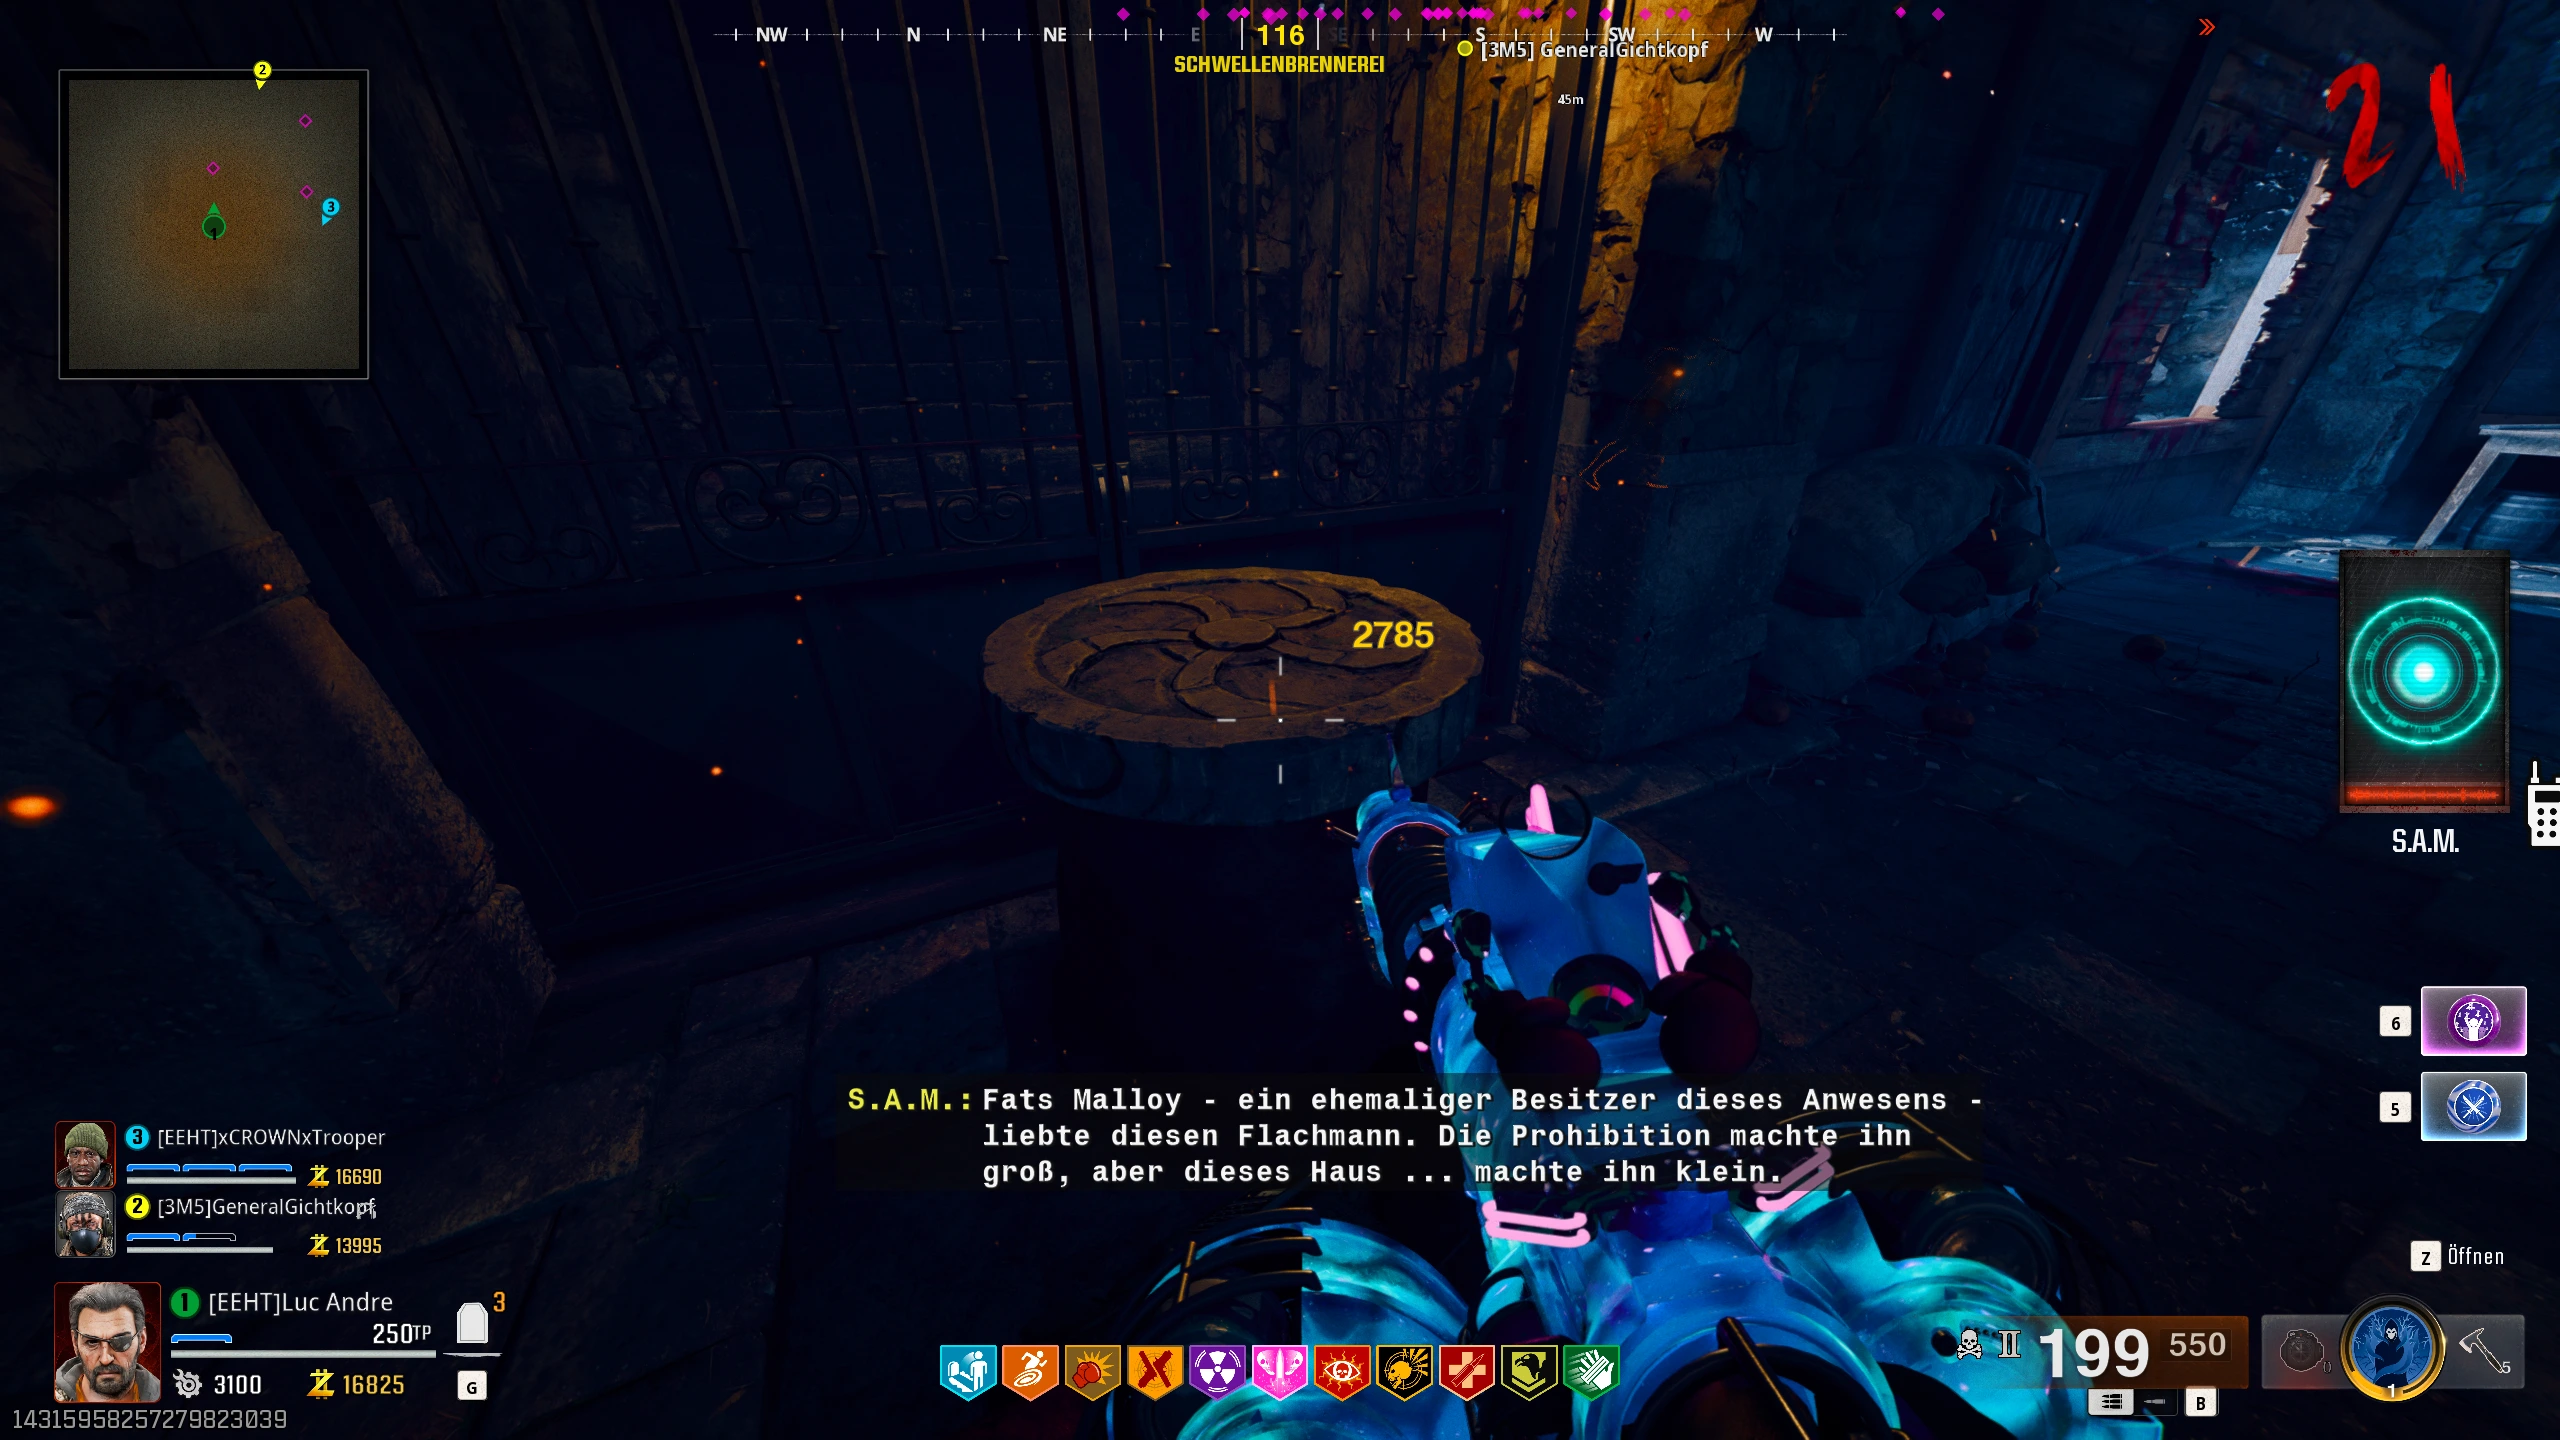
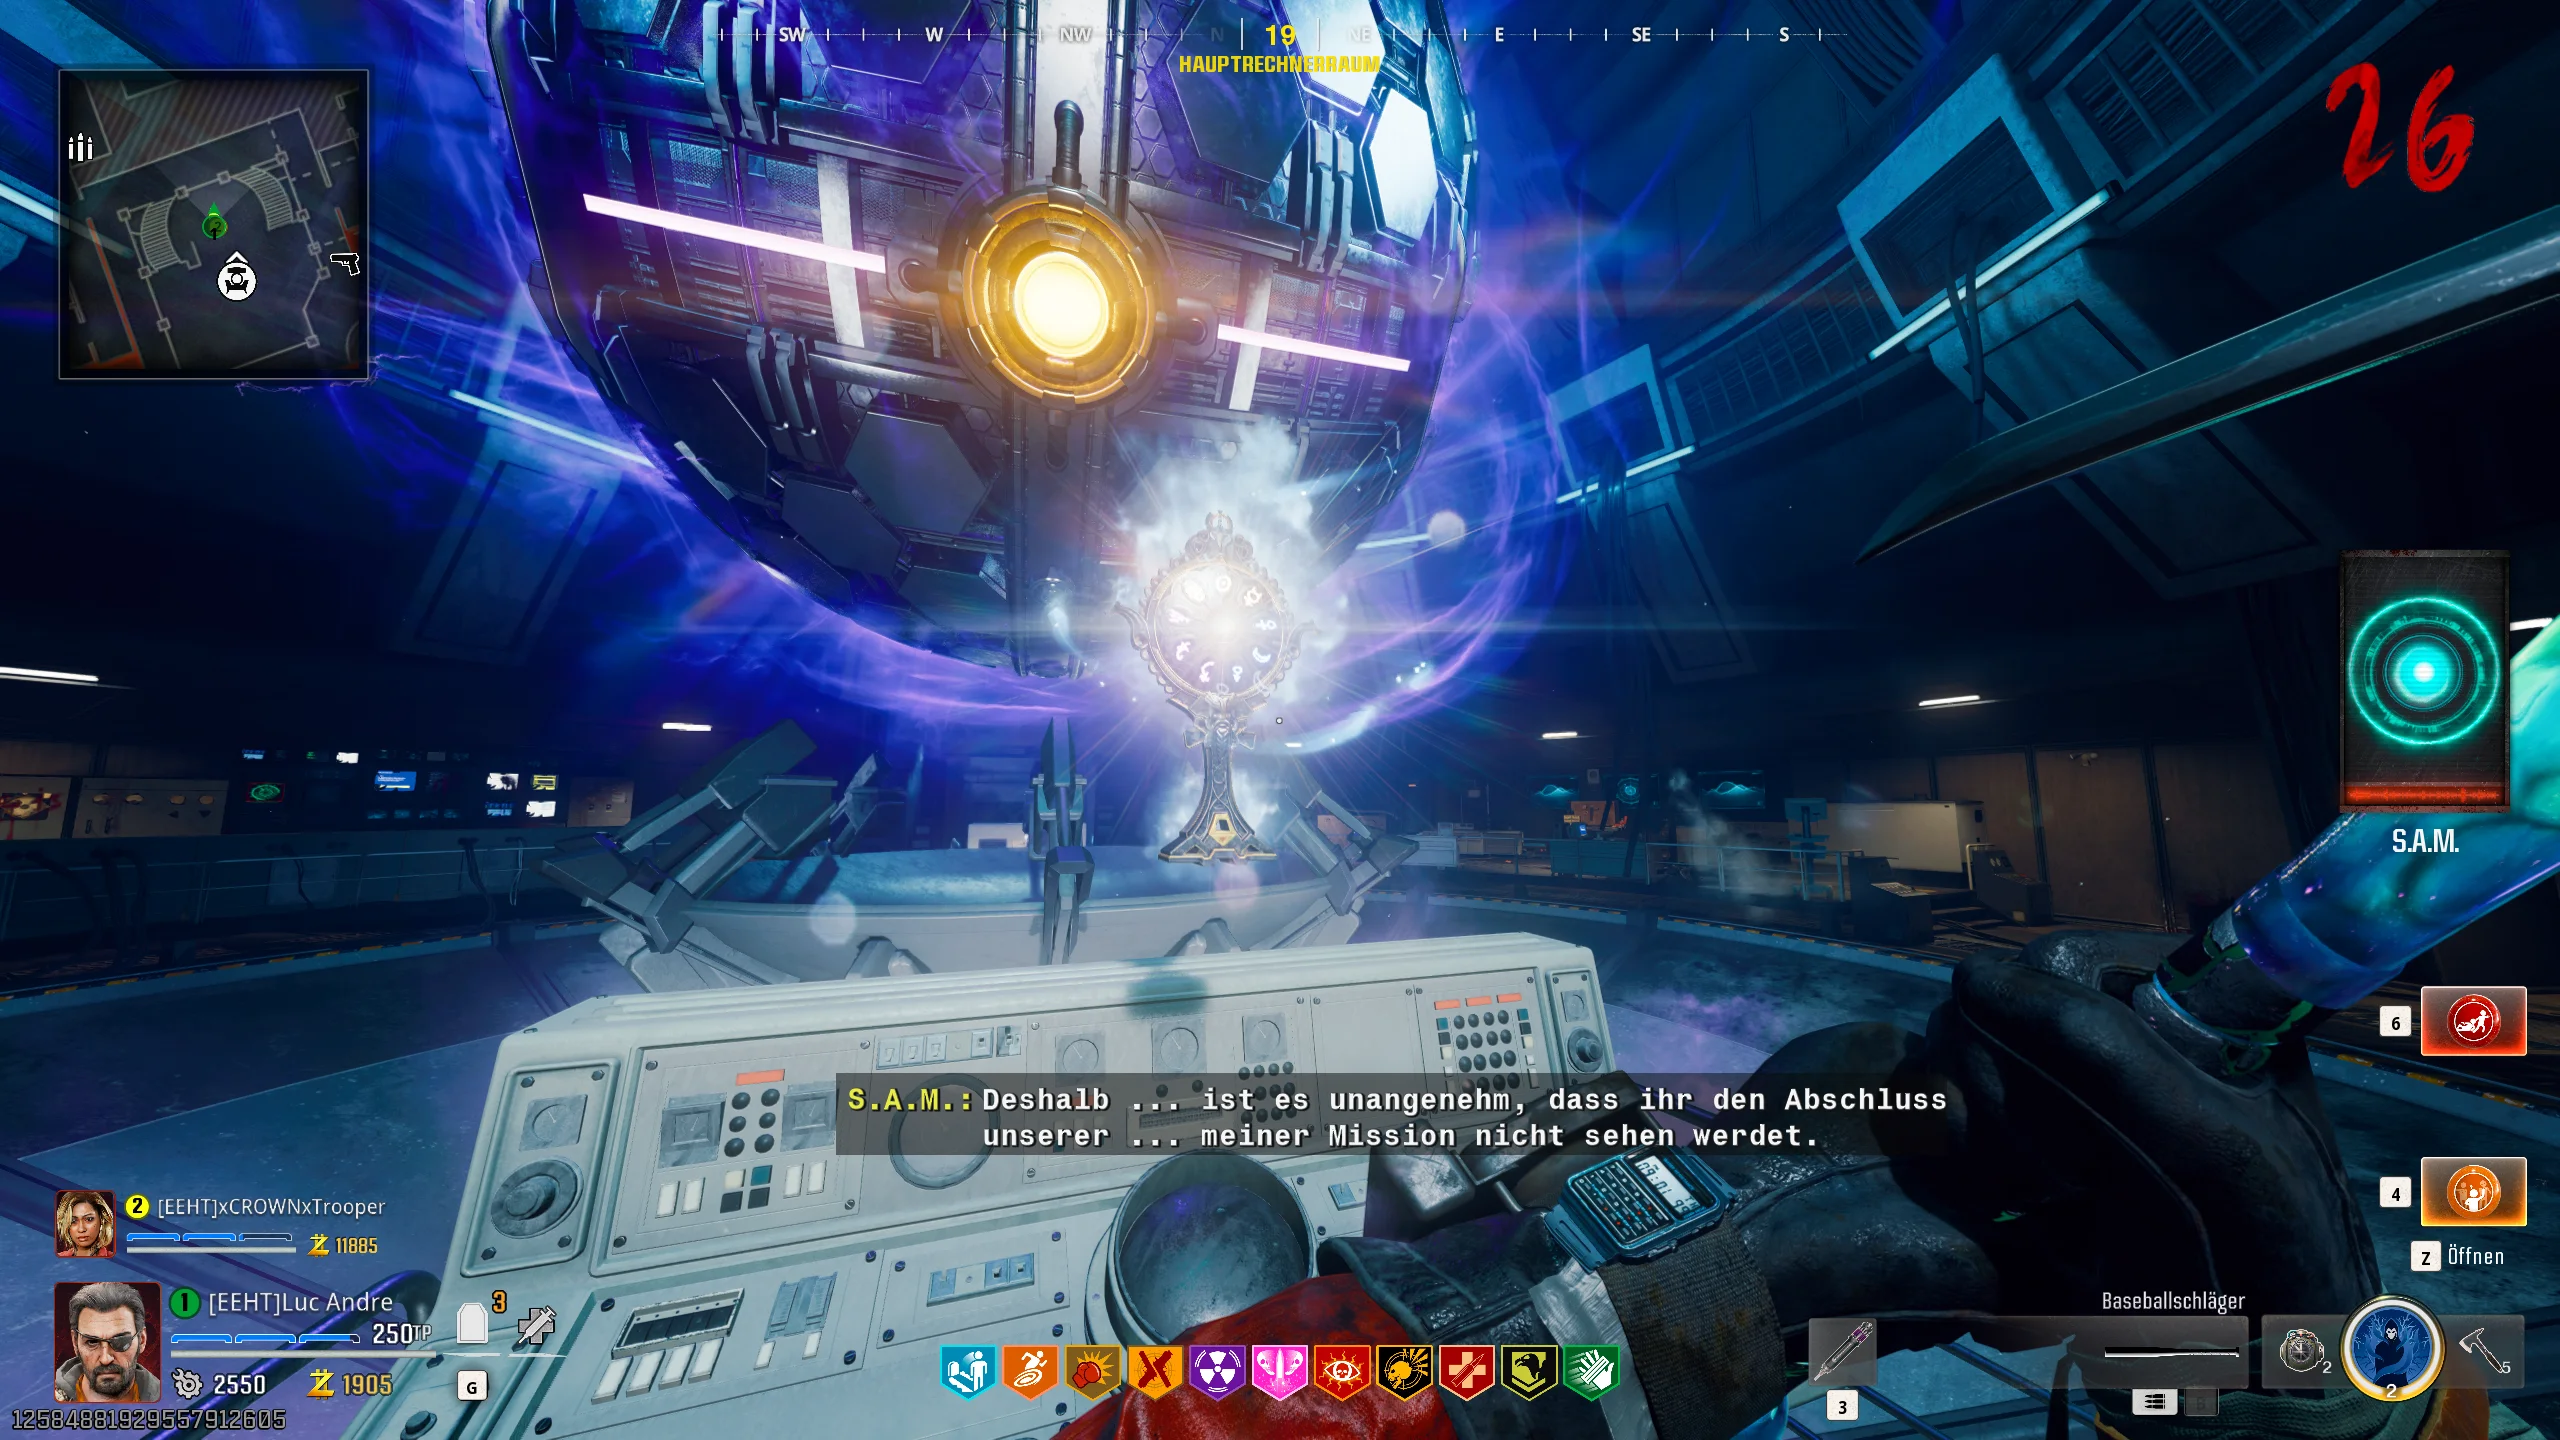
Once you reach the bottom, you’ll encounter a familiar creature. Listen to the voice line, then follow the orange markers again.
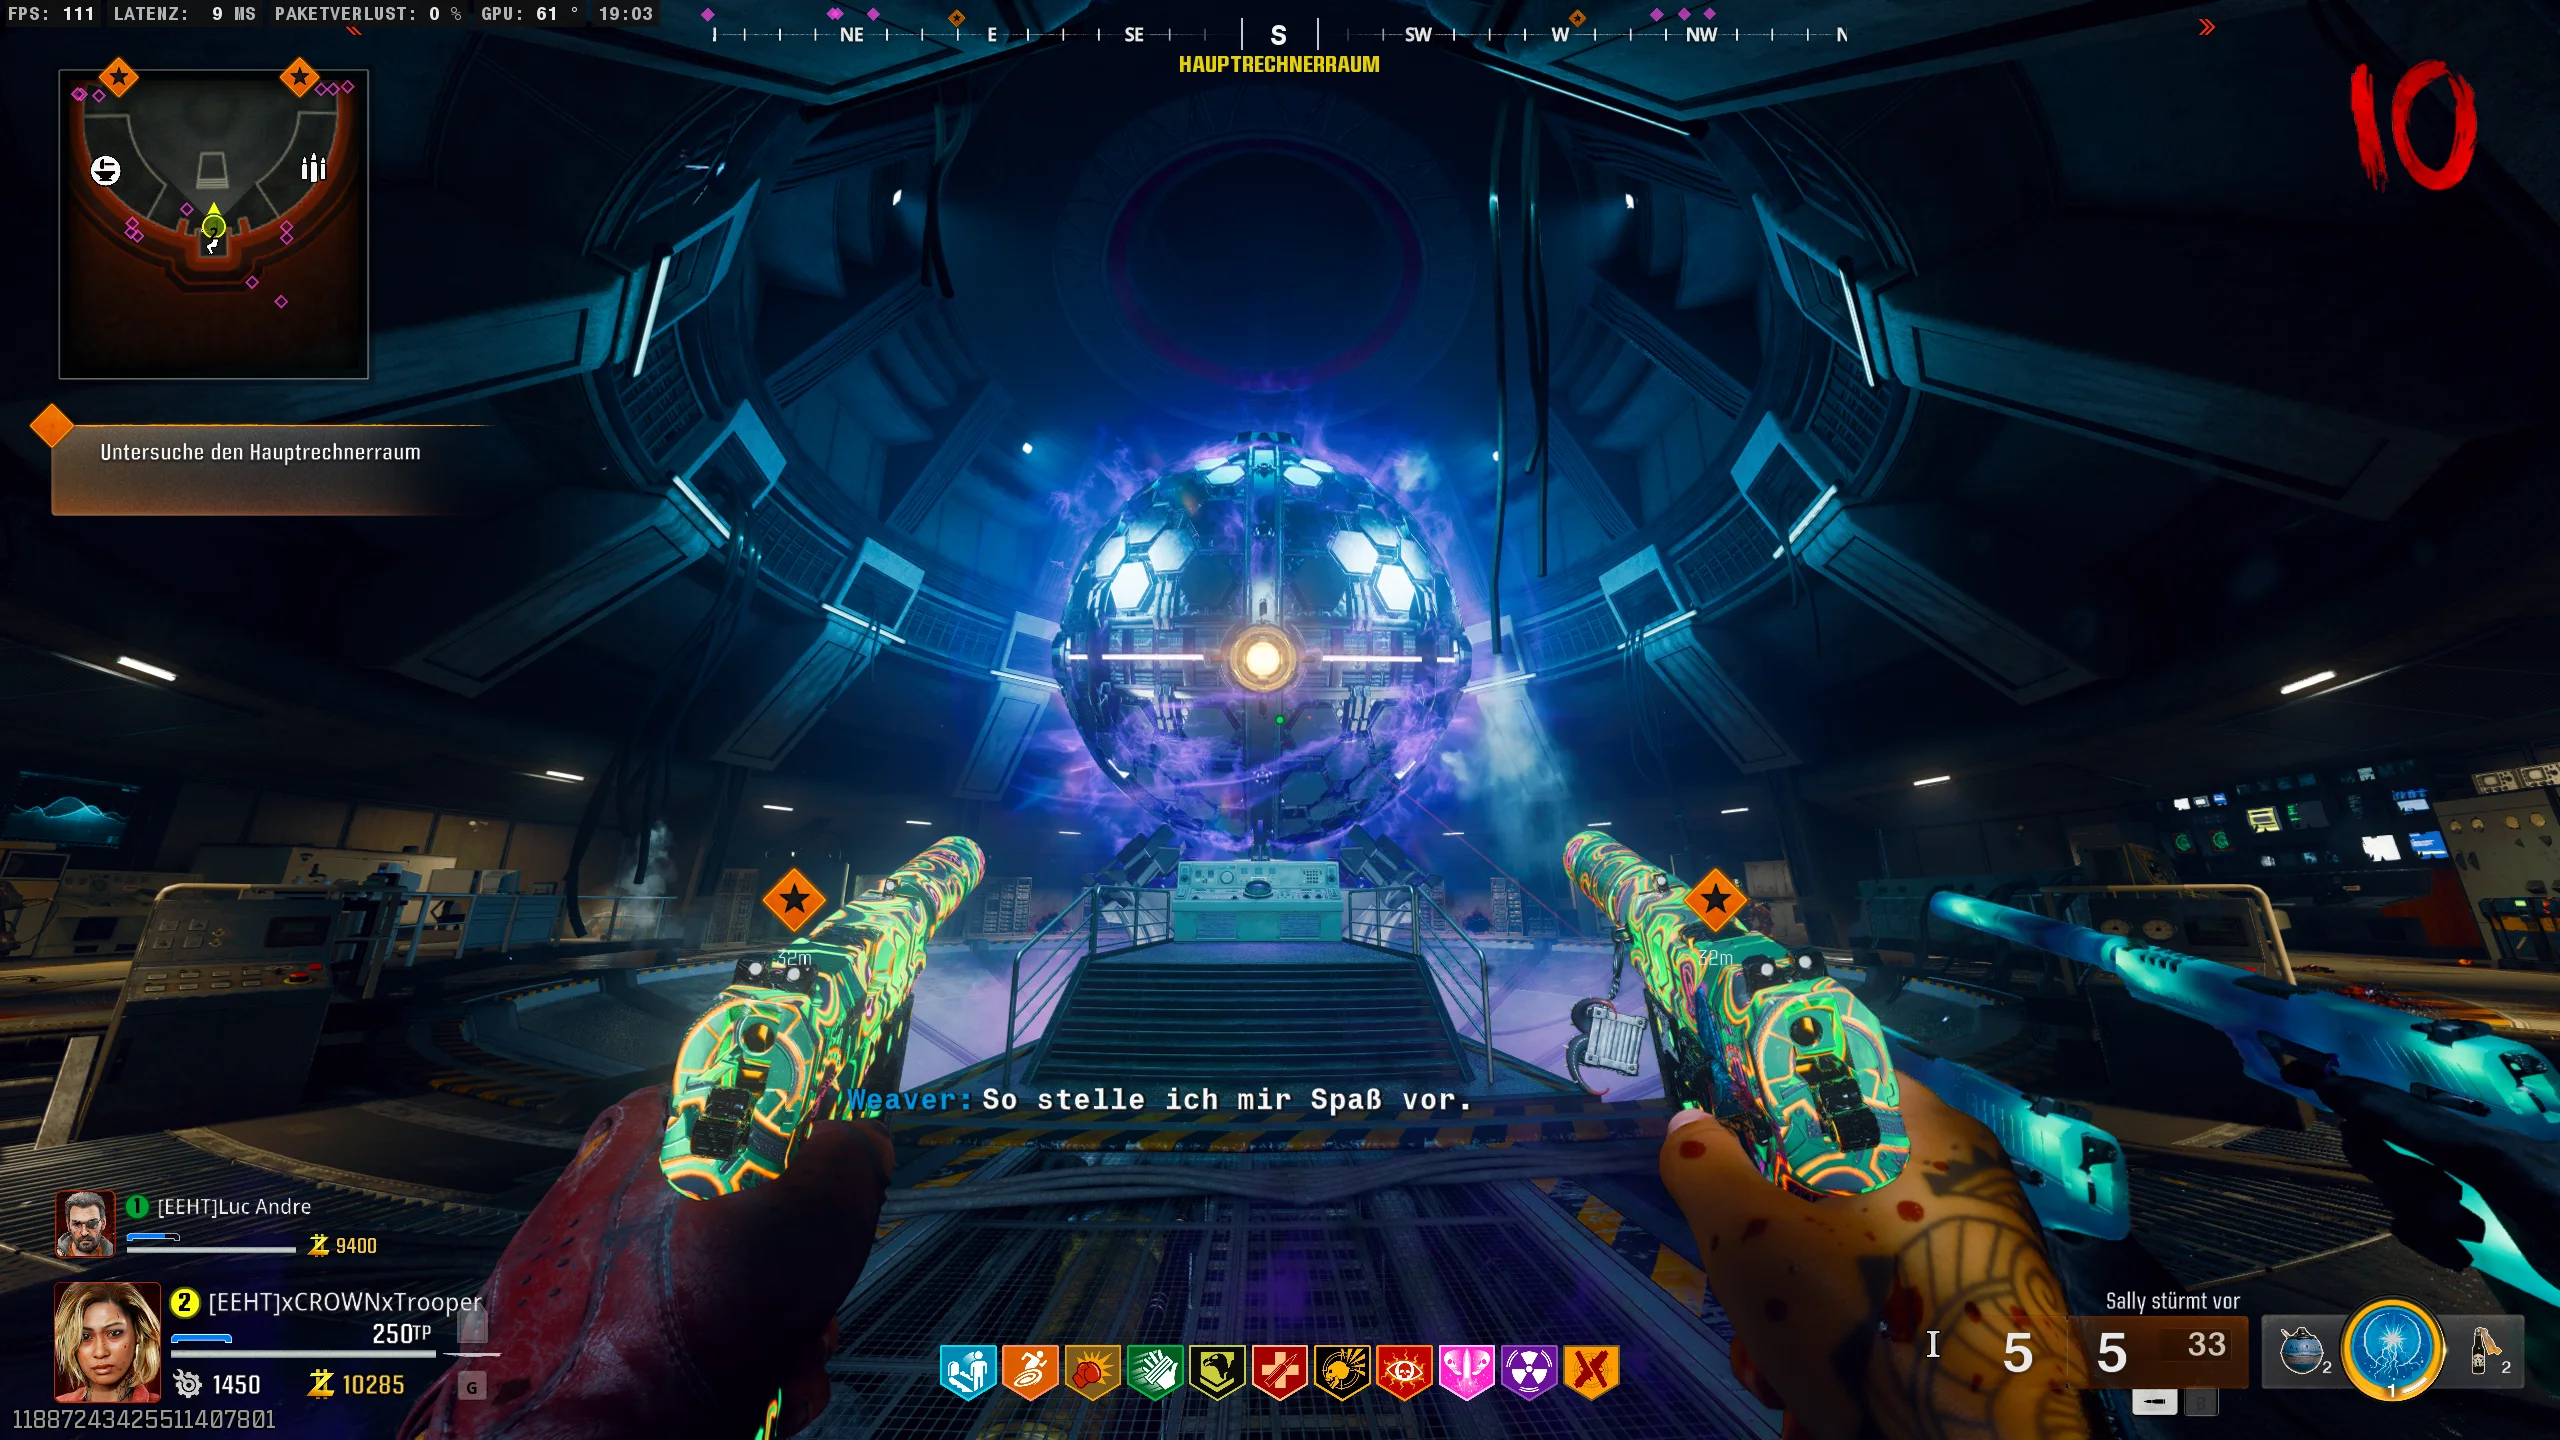
Follow the marker, and you’ll reach the room where the Pack-a-Punch is located. Interact with the computer there to continue.
Once you’ve done that, you’ve fully activated S.A.M. and the power, and you can proceed to the next step.
To successfully complete the Easter egg, the Ray Gun Mark II is required.
Note: The Mark II can also be pulled from the box. Use the Gum “WONDERBAR” in combination with the Gum “CRATE POWER” to get the weapon directly at Punch Level I.
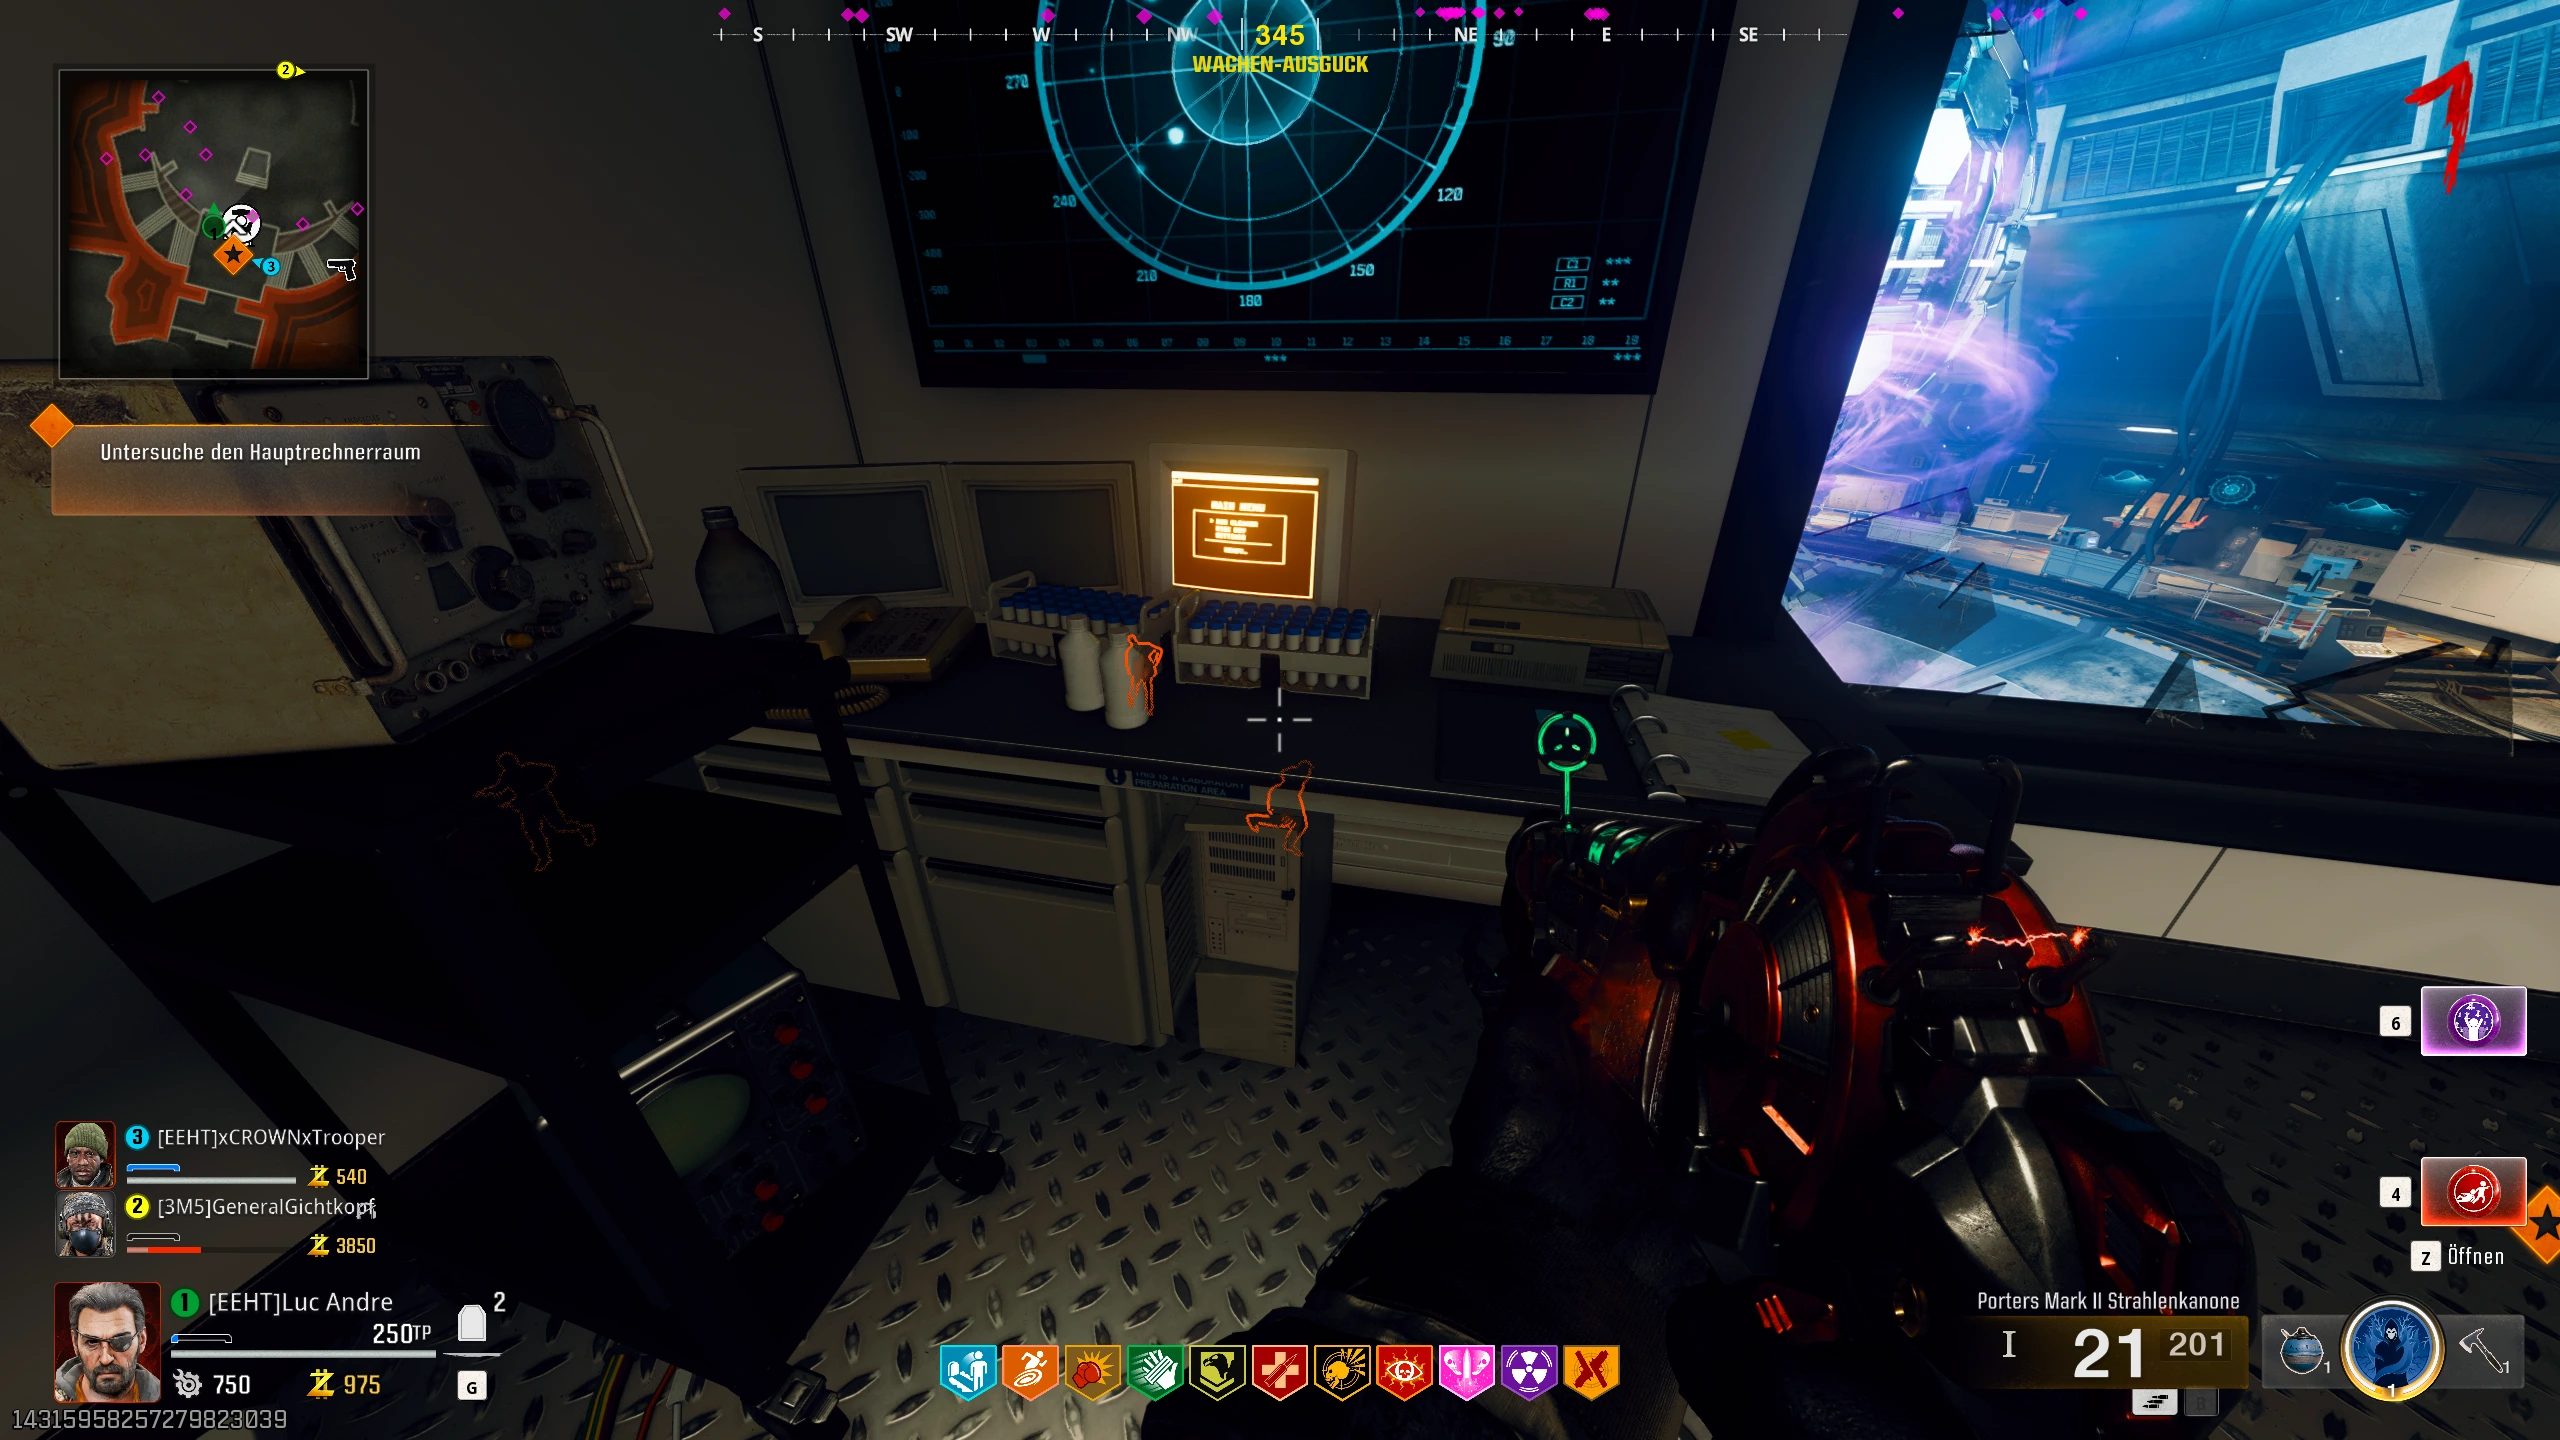
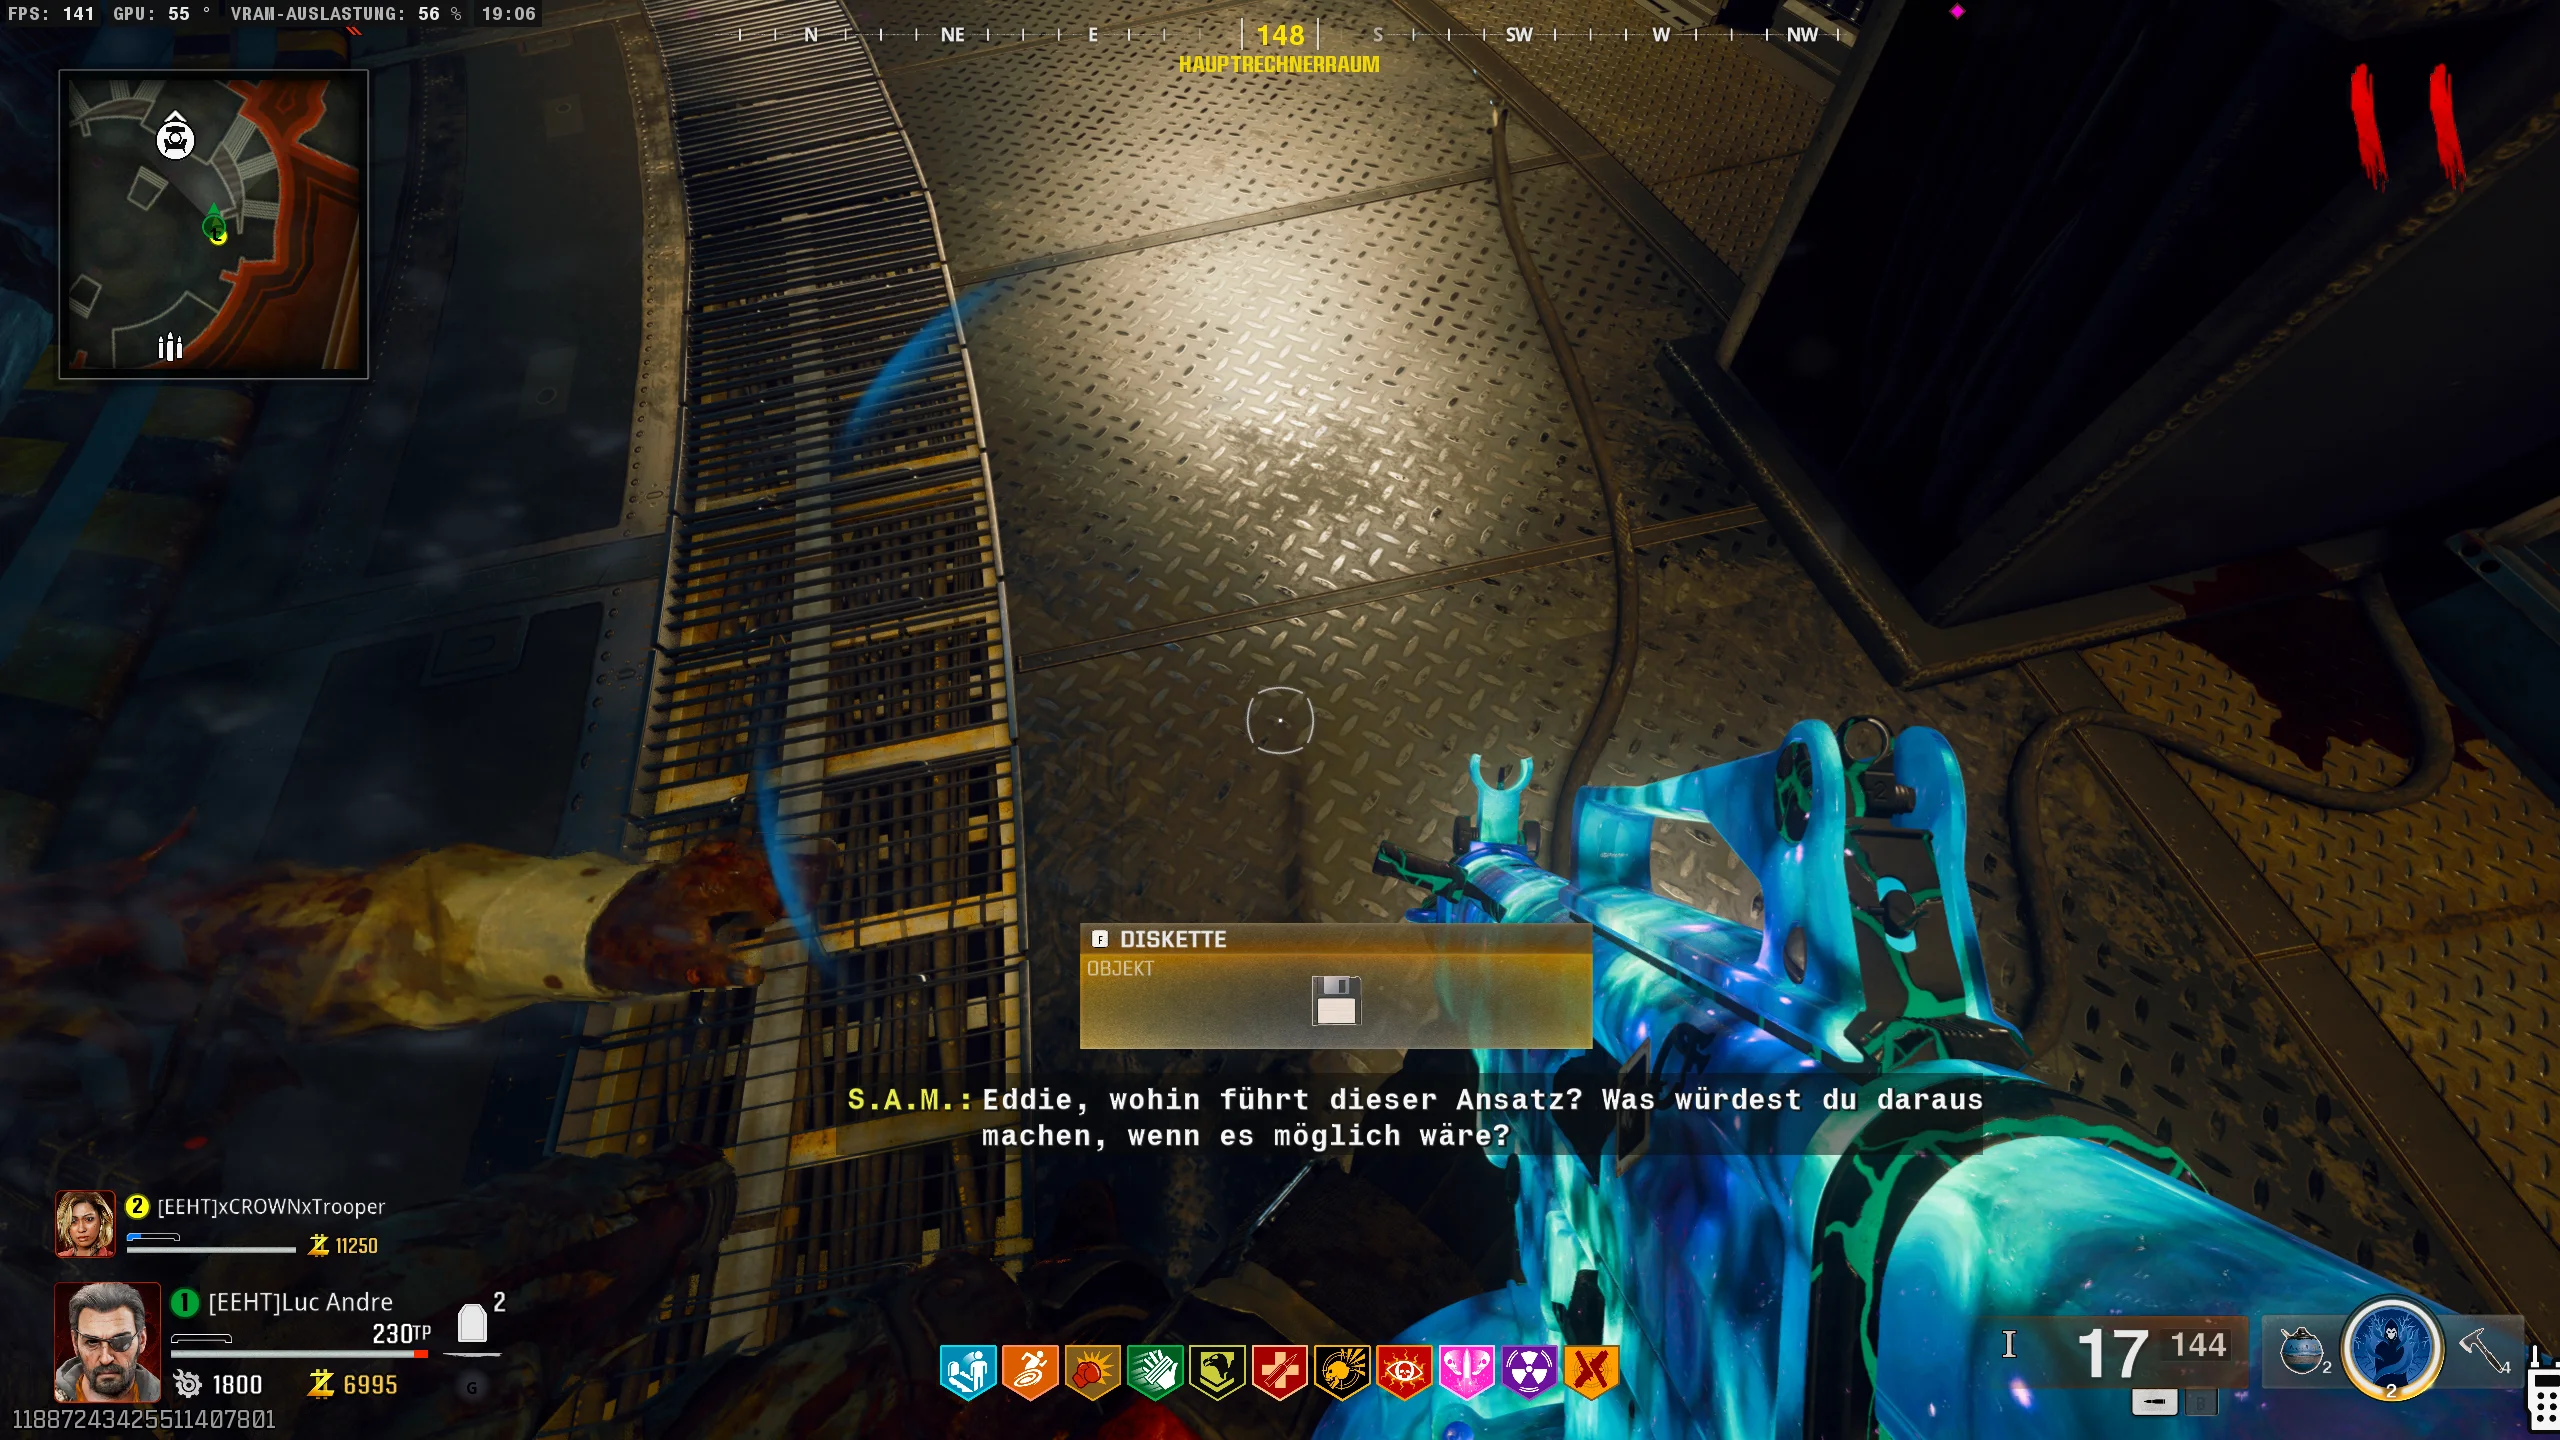
If you want to get the Ray Gun the “regular” way, stay in the main mainframe chamber. A lab technician will appear starting at round 10 or later.

Kill the lab technician, and he will drop a floppy disk that you must pick up.
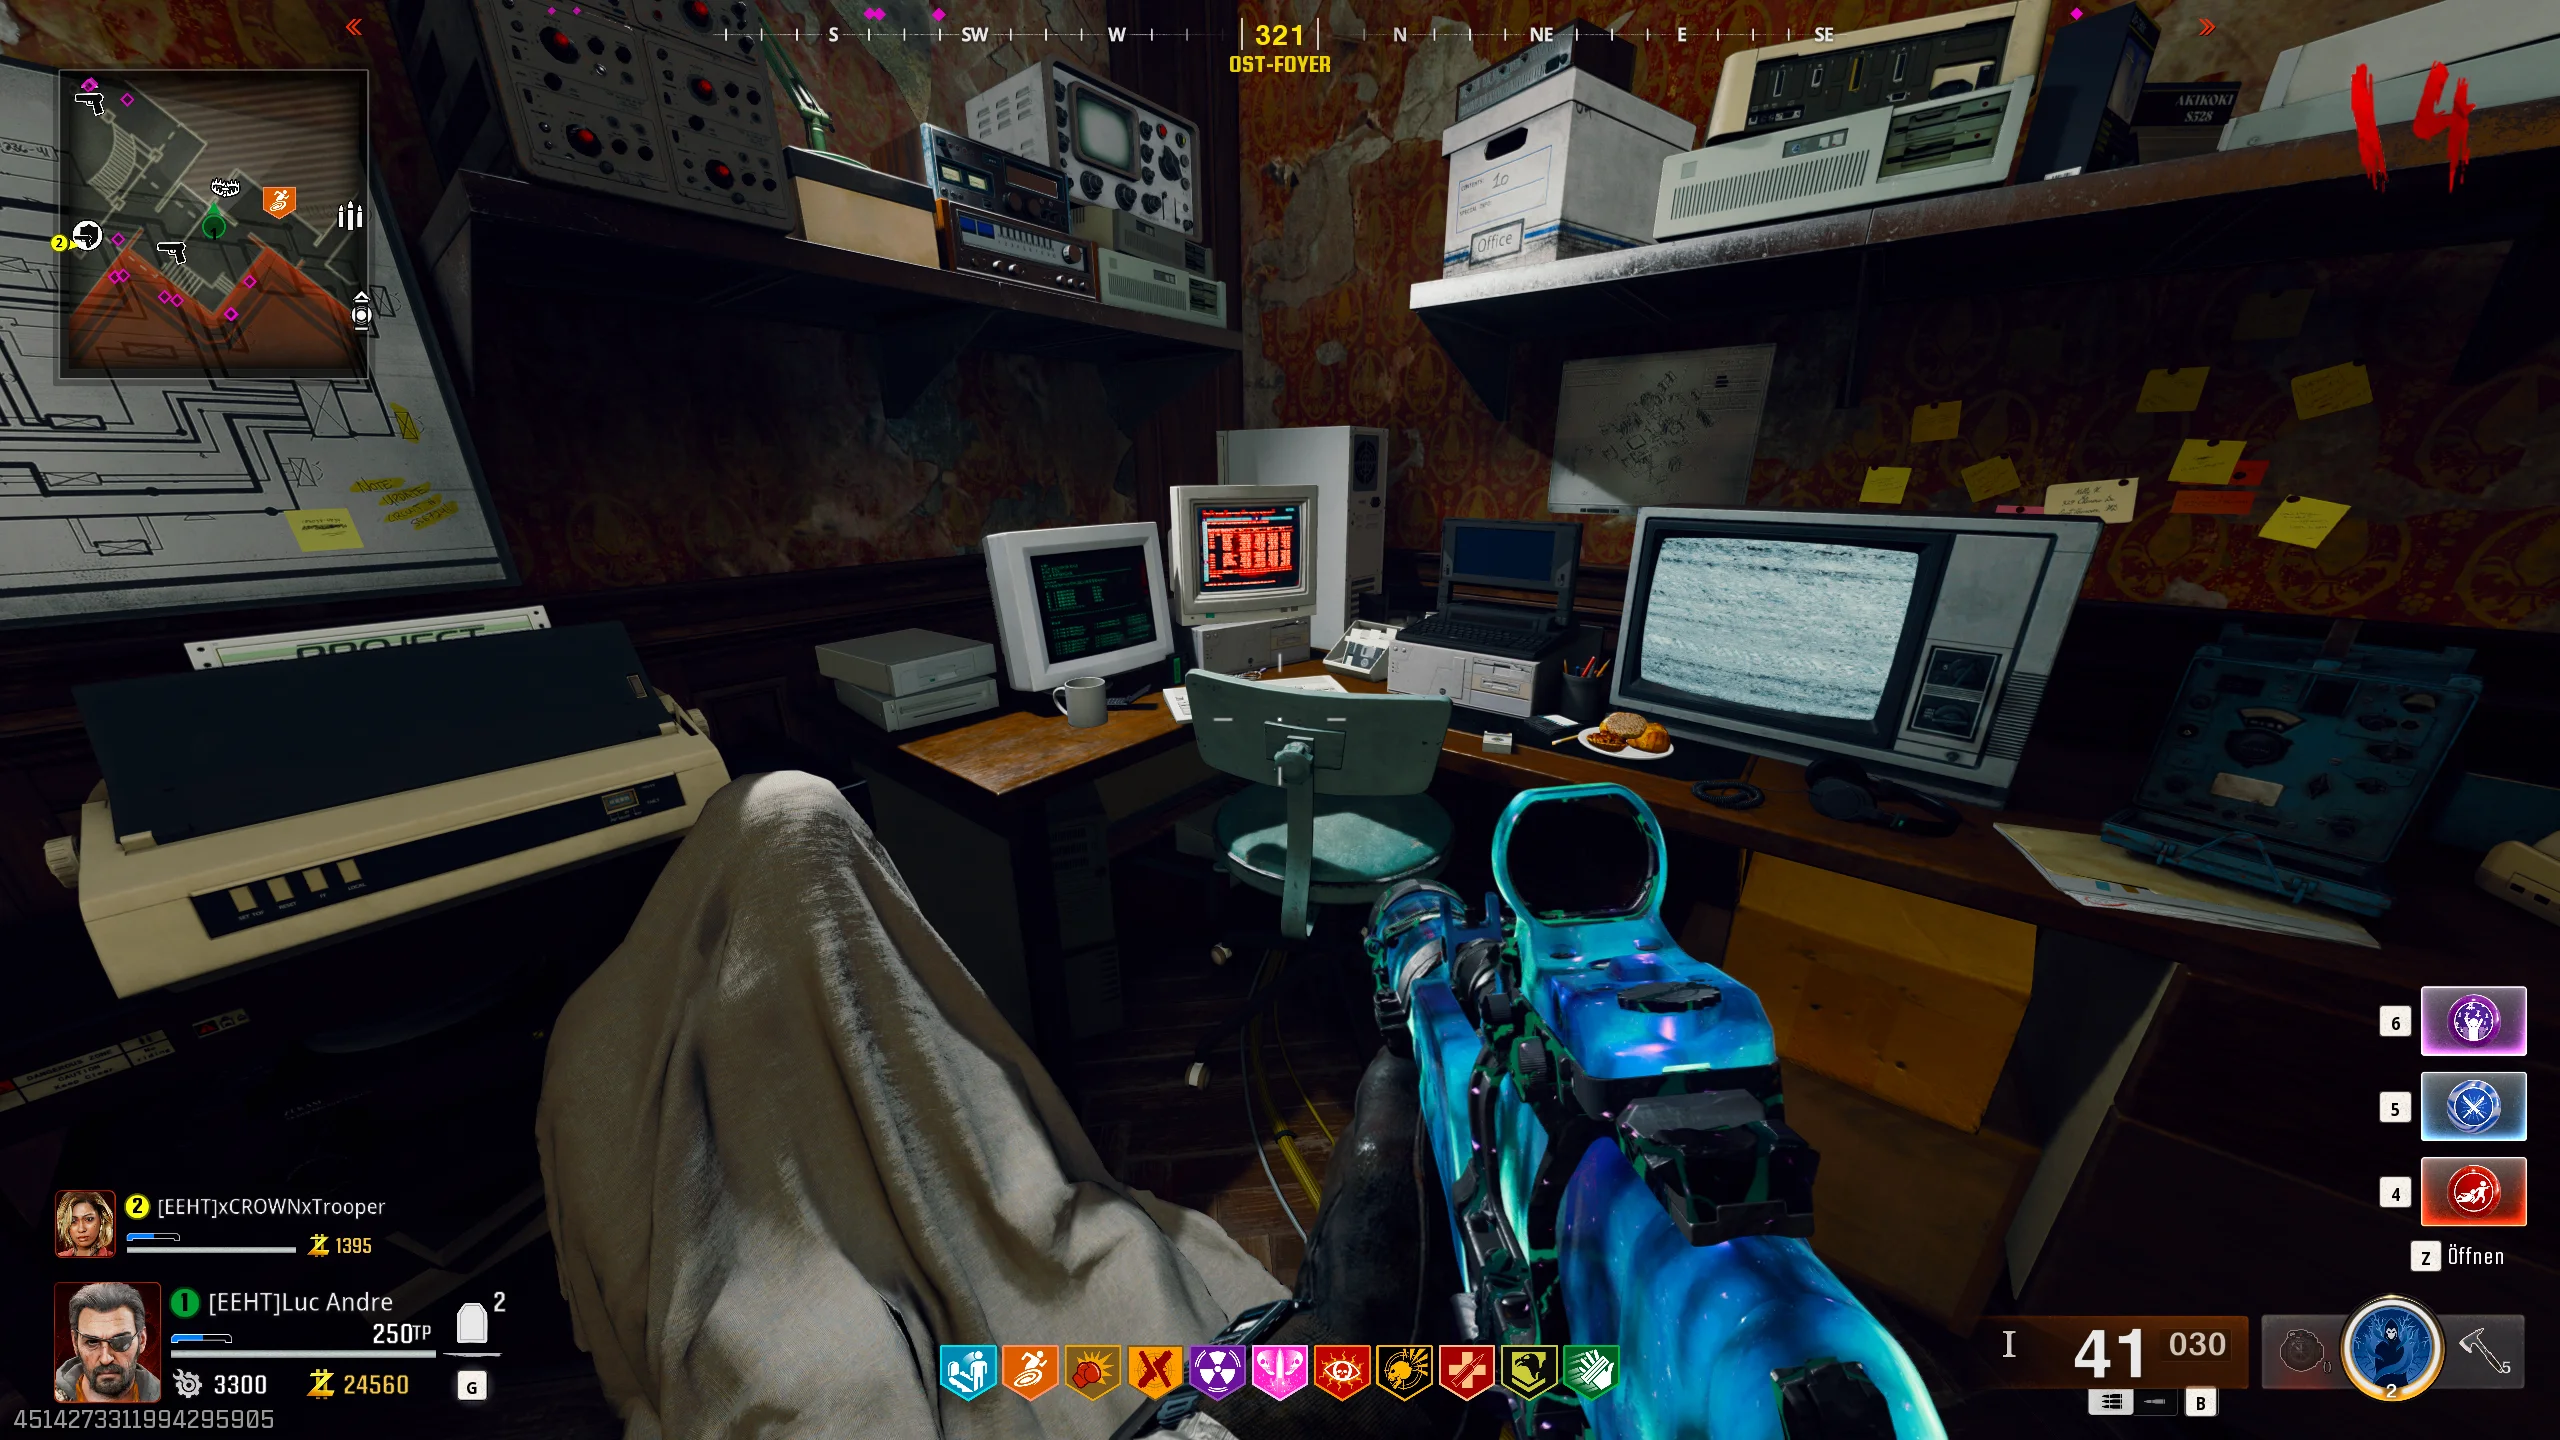
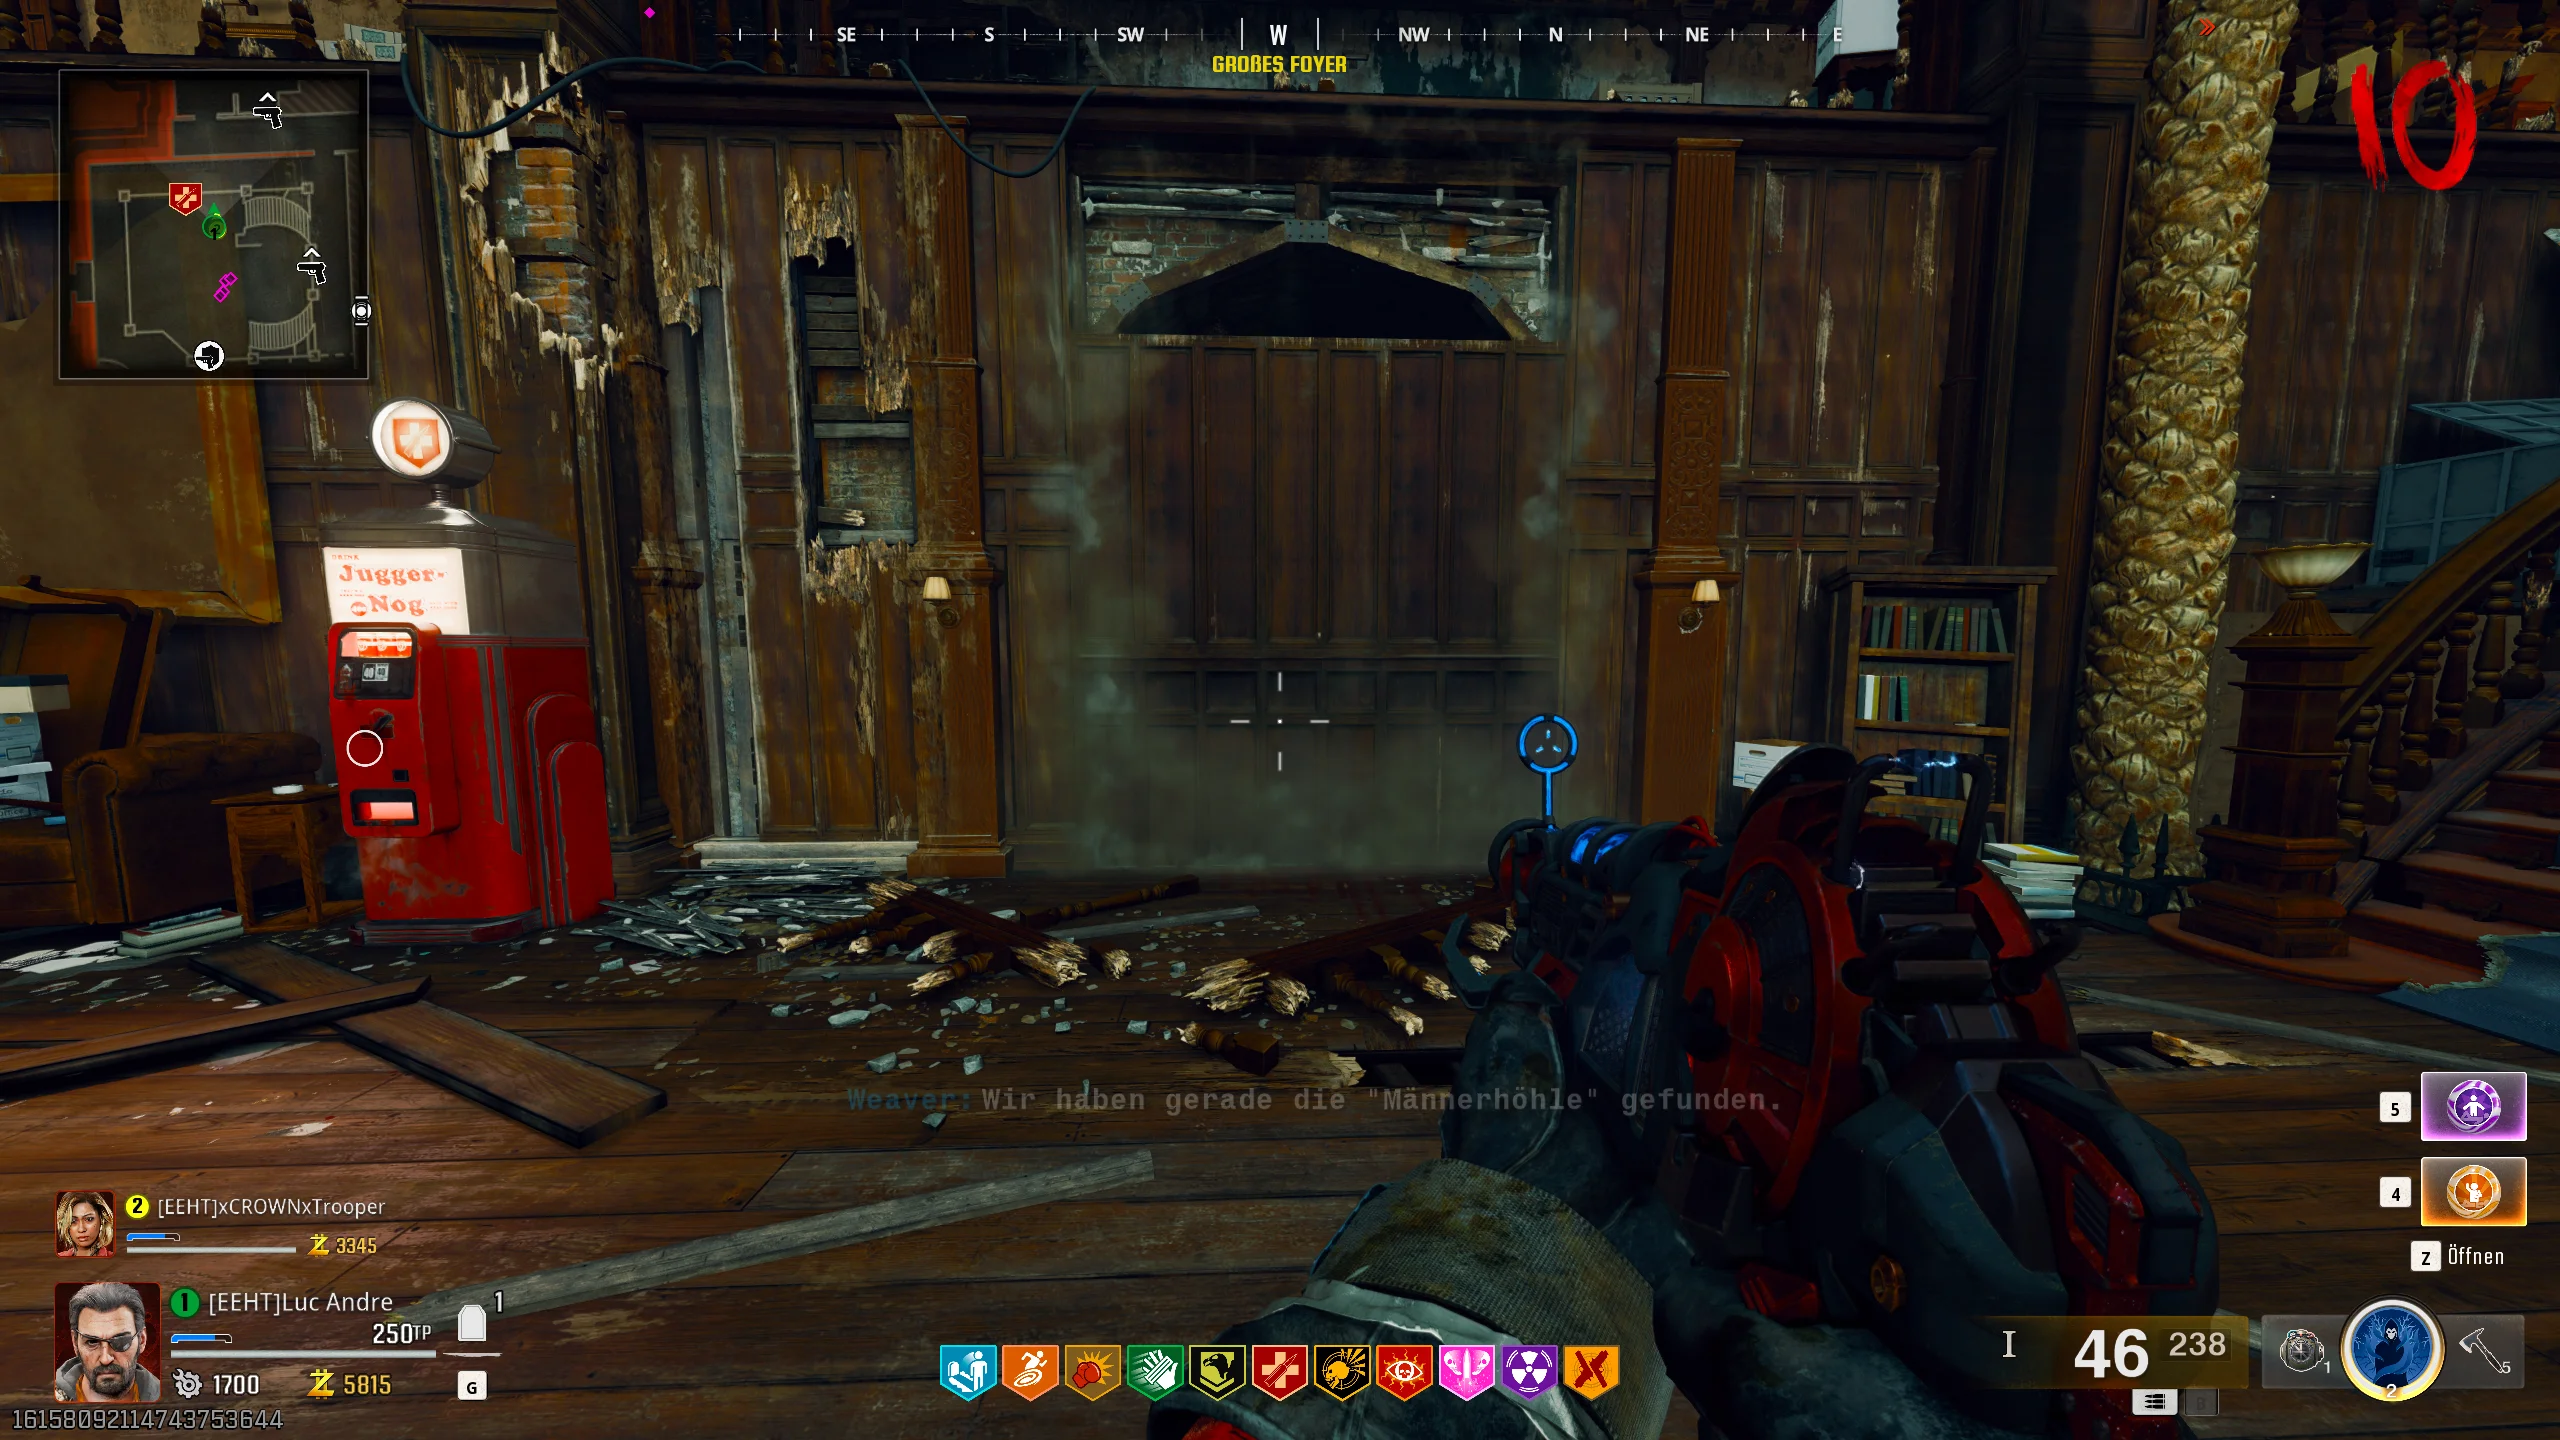
Now, head to the East Foyer and look for the computer. Interact with it to insert the floppy disk.
Right next to it, a fax machine will start working and transmit a message to you. Warning: During this time, a lockdown will be triggered, and some creatures will spawn. Once the fax is finished, you can interact with it and read the message.
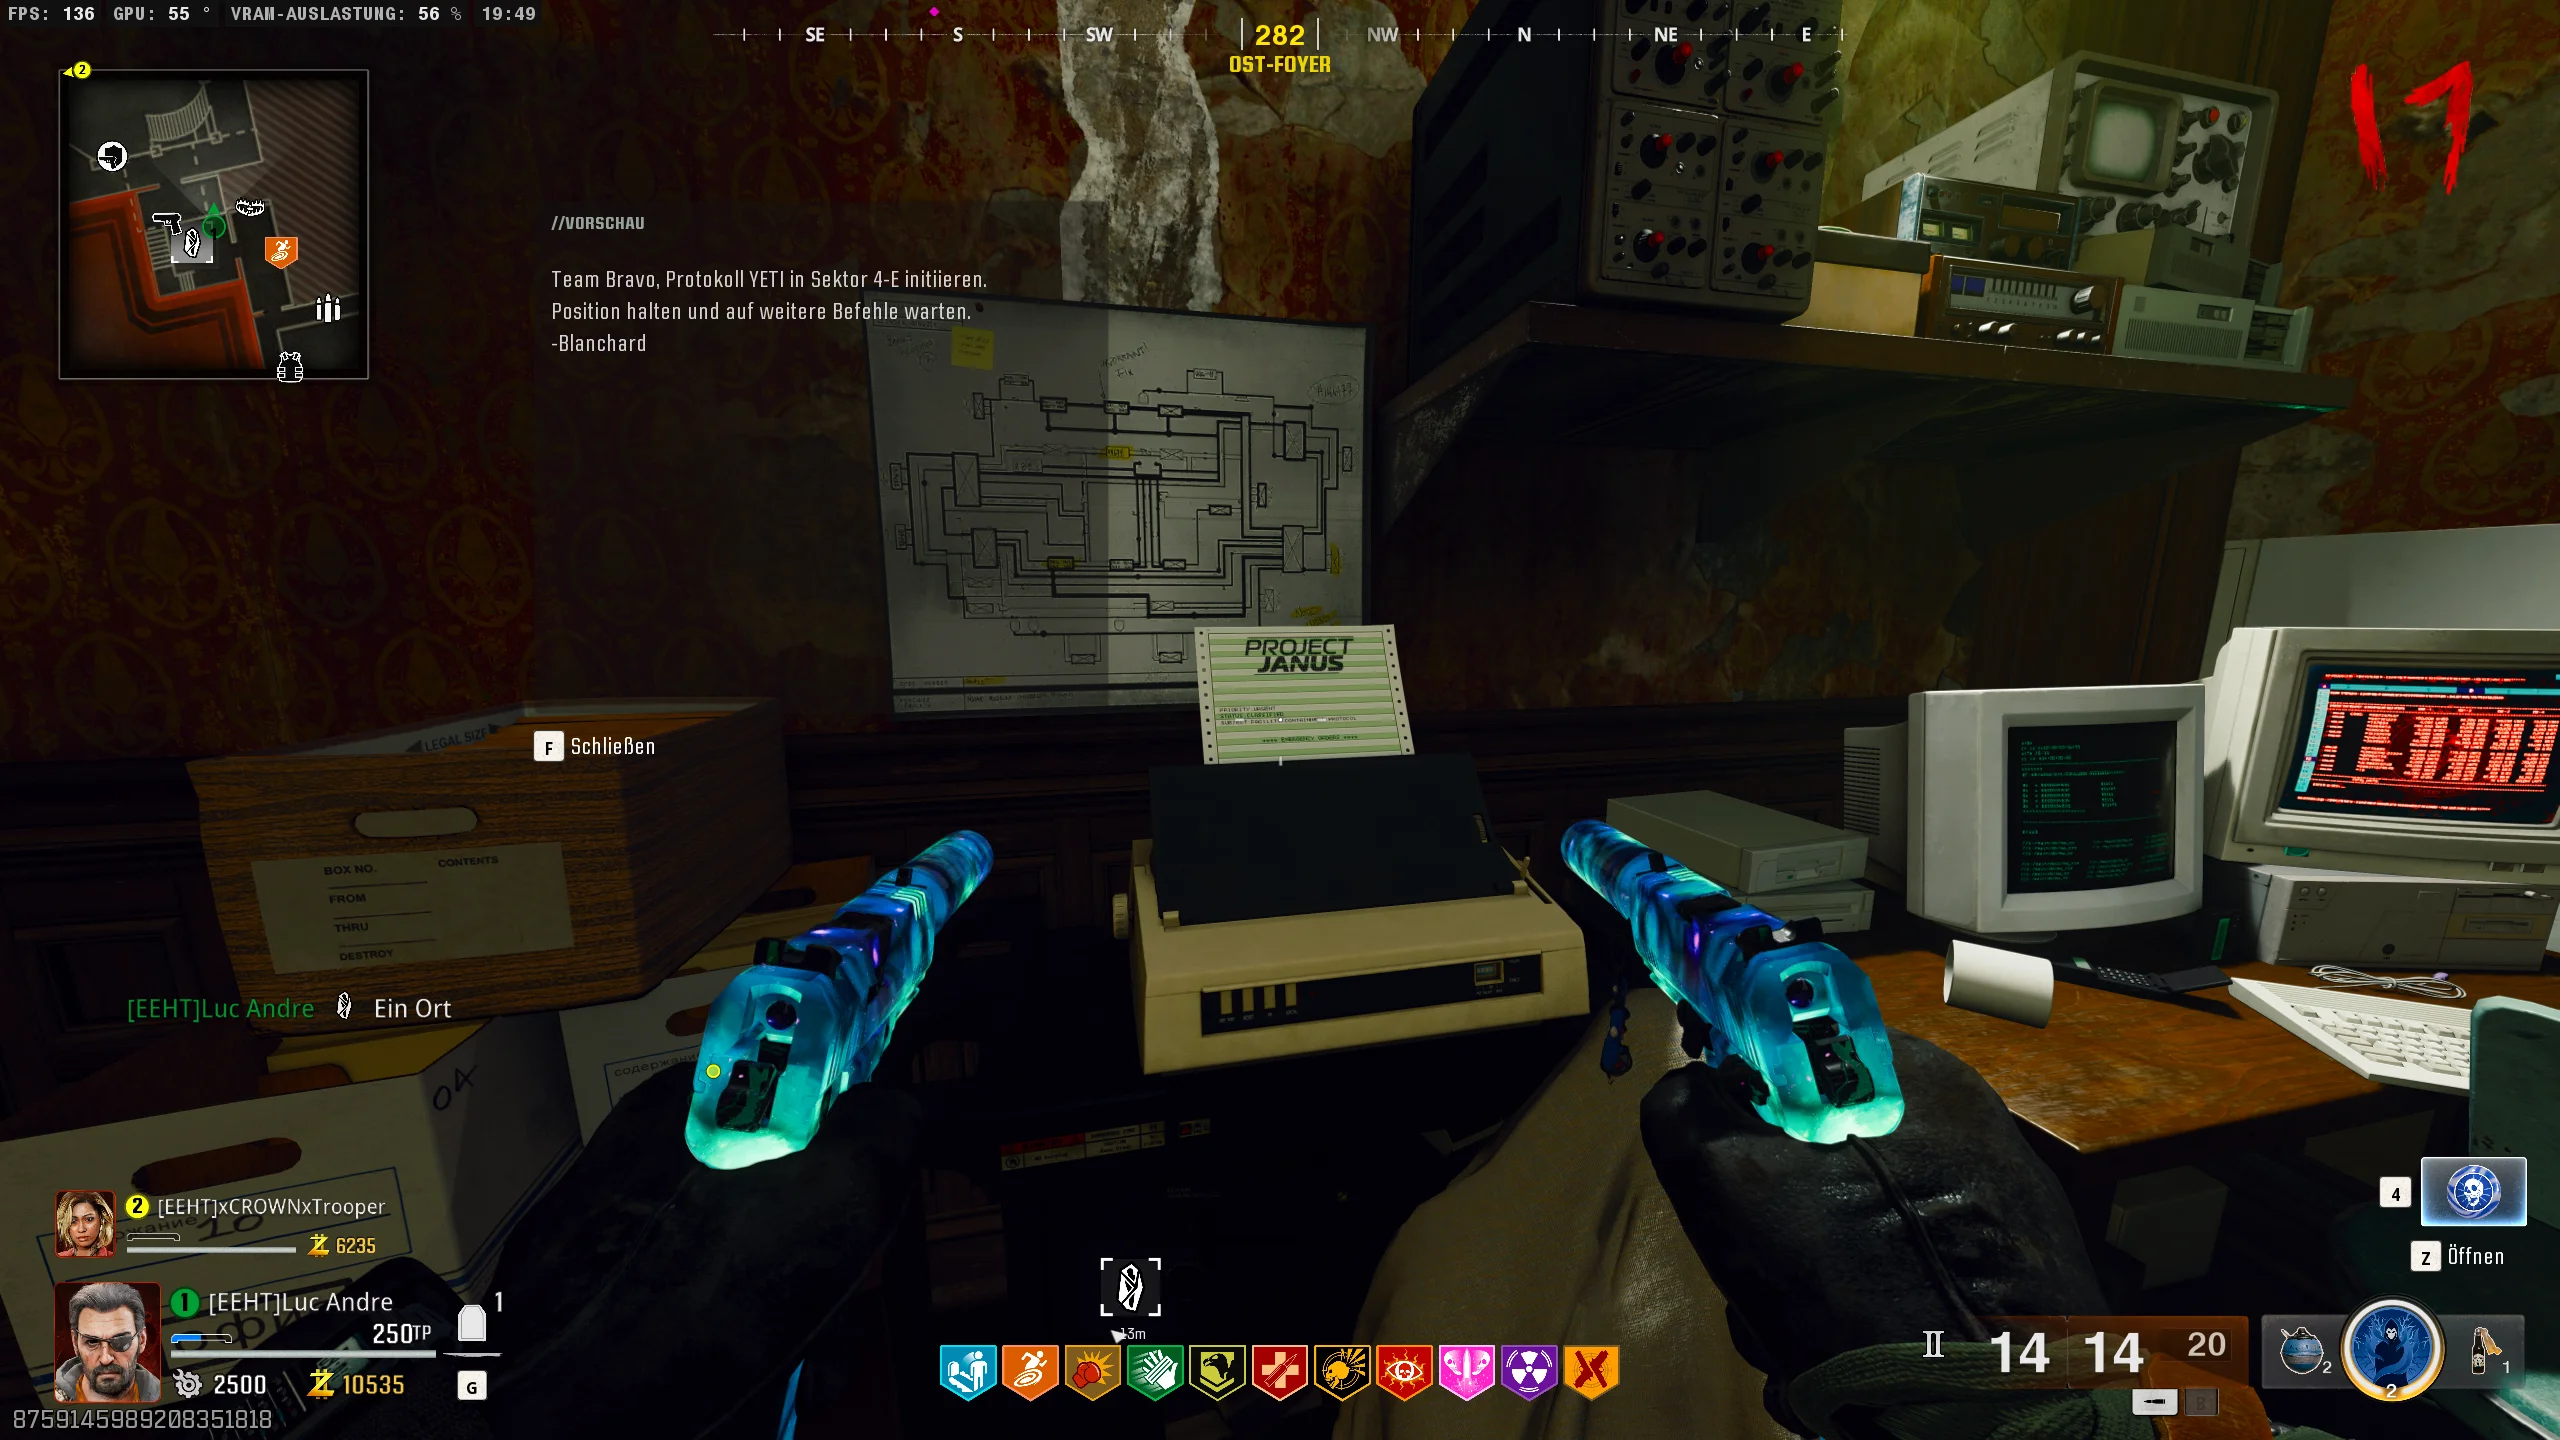
In the message, there will be a keyword that you need to remember or write down:
- Moth
- Yeti
- Crab
- Worm
This word must be converted into a four-digit code. To do this, you need to consult the following chalkboard in the nursery:
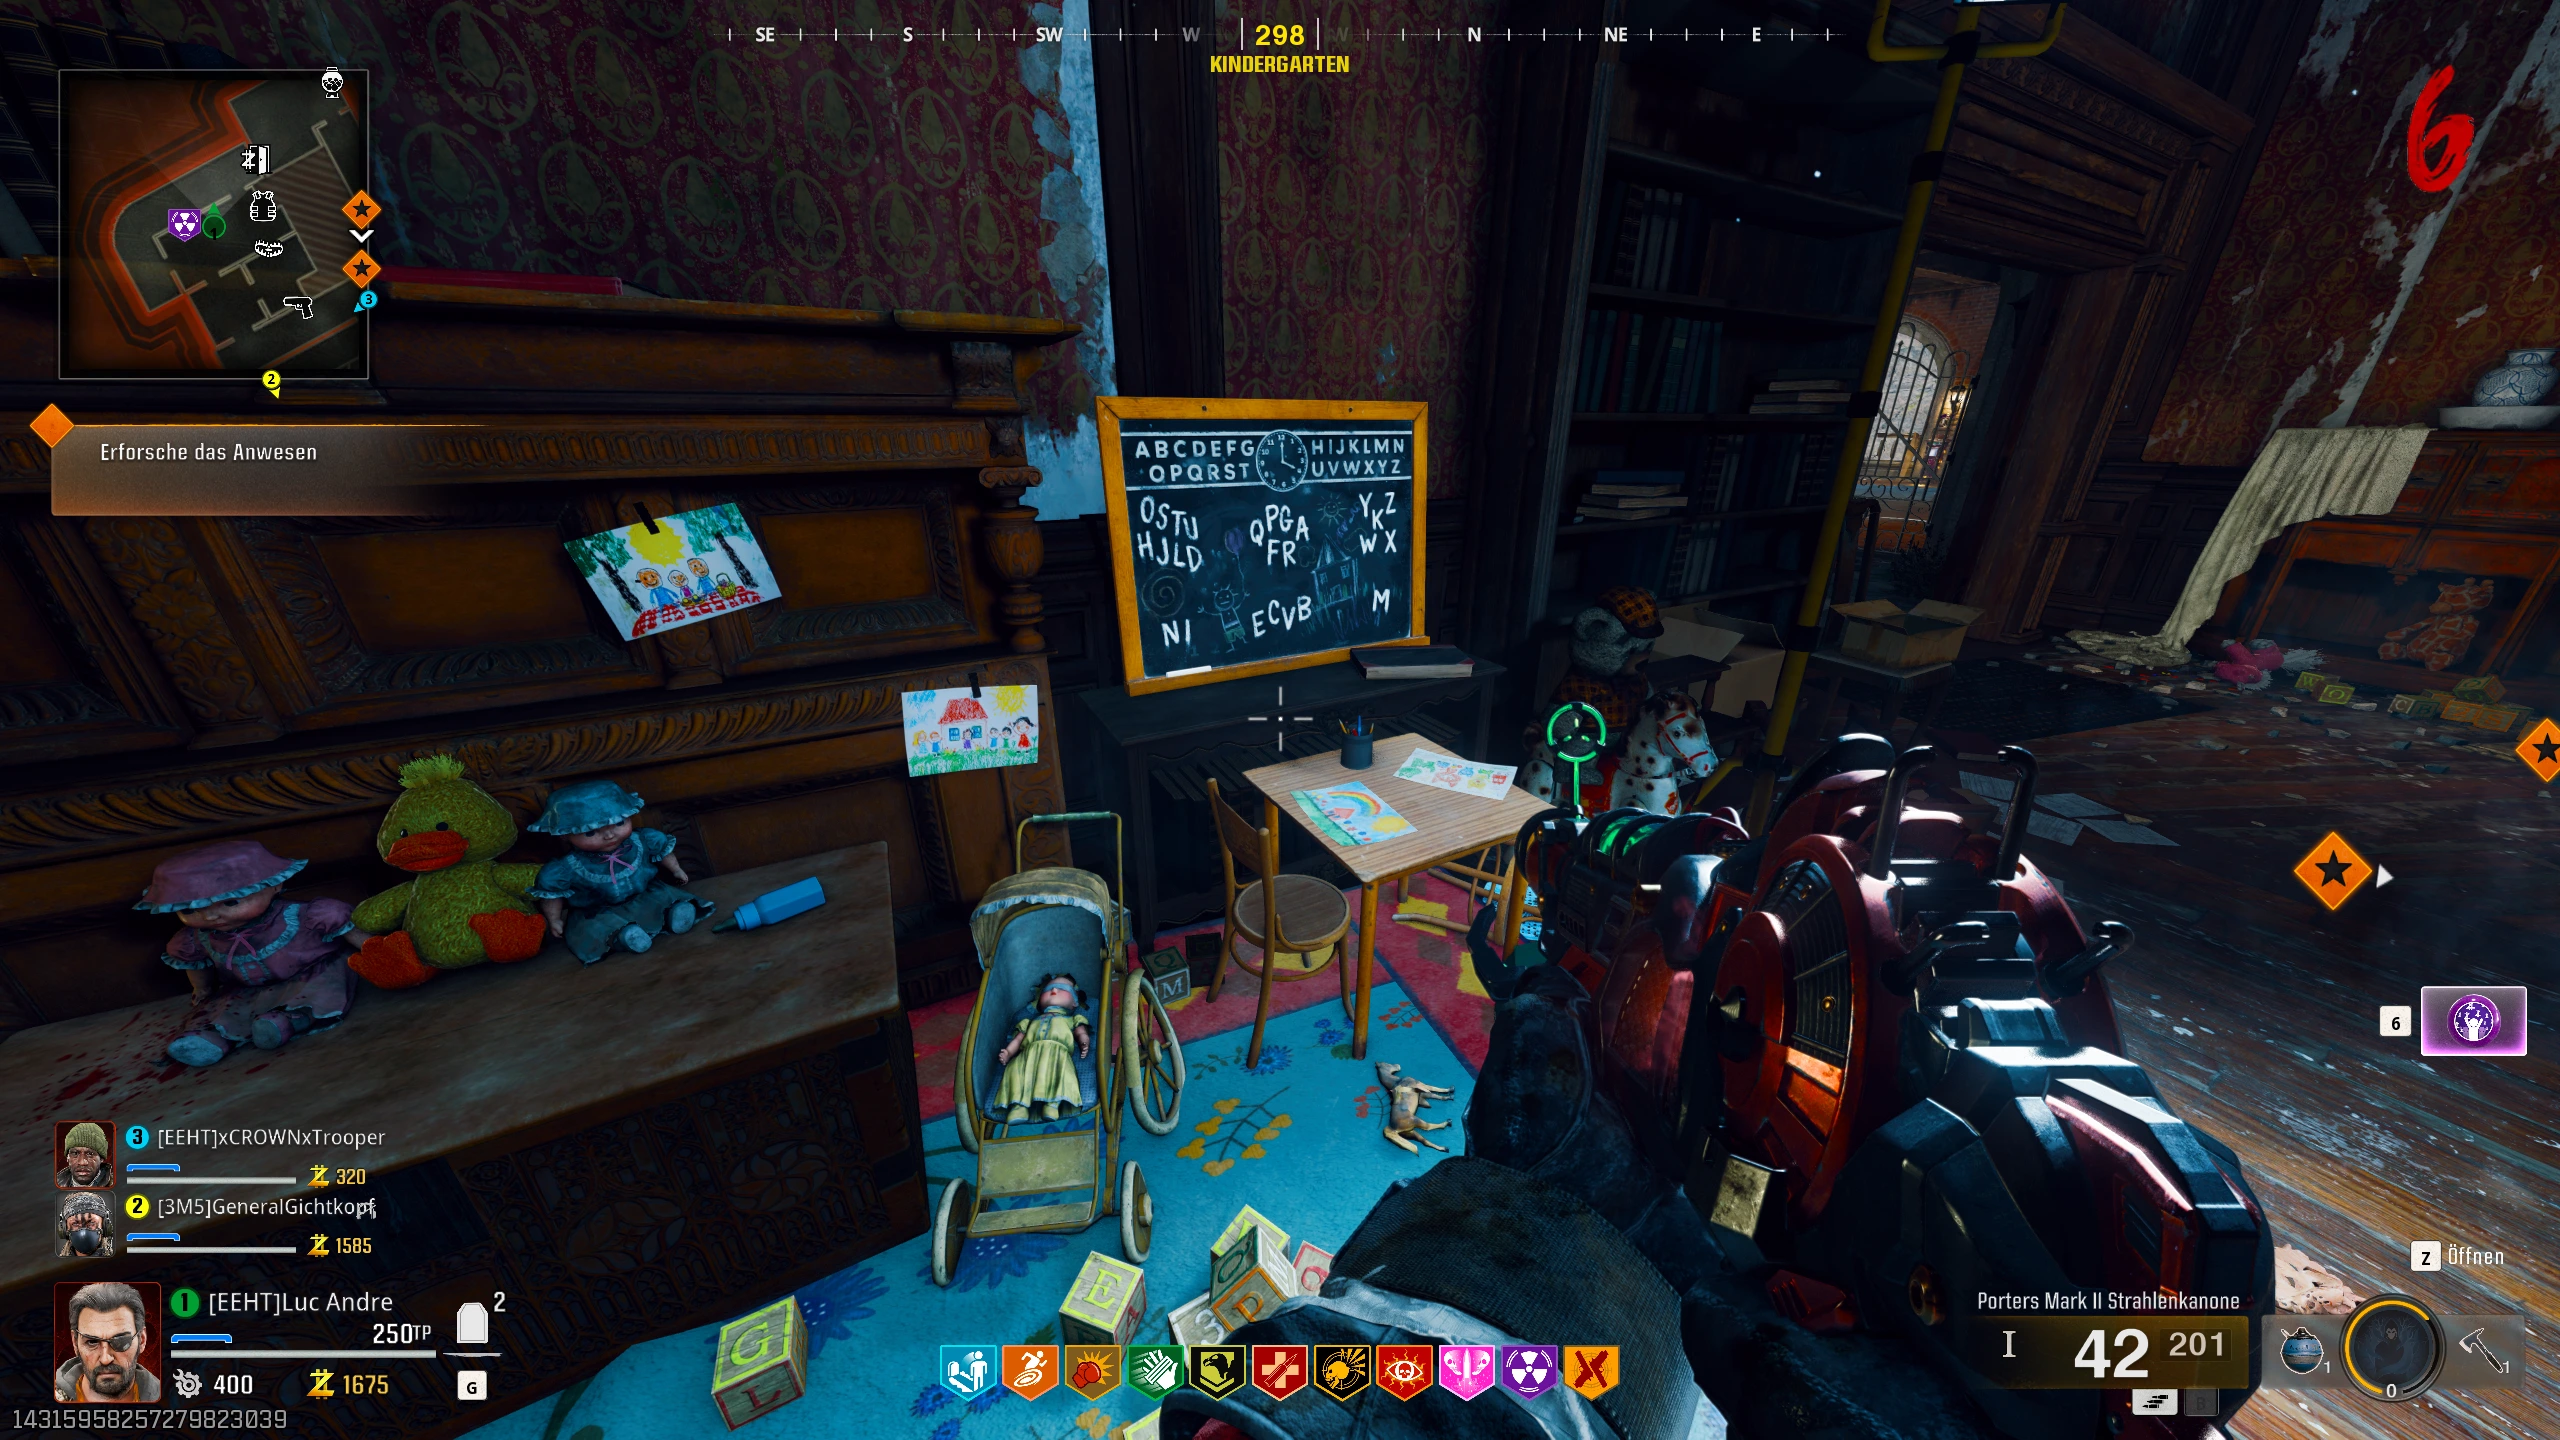
To convert the letters into a code, examine each letter individually. In our example, the word is YETI. Now, take the letter Y and look for its position on the table. We see that the letter is located at the far right of the top row. Now count the number of letters in this group. In this case, there are 5 letters. So, the first digit of the code is 5.
We repeat this process with the remaining 3 letters, and we get the following code: 5482.
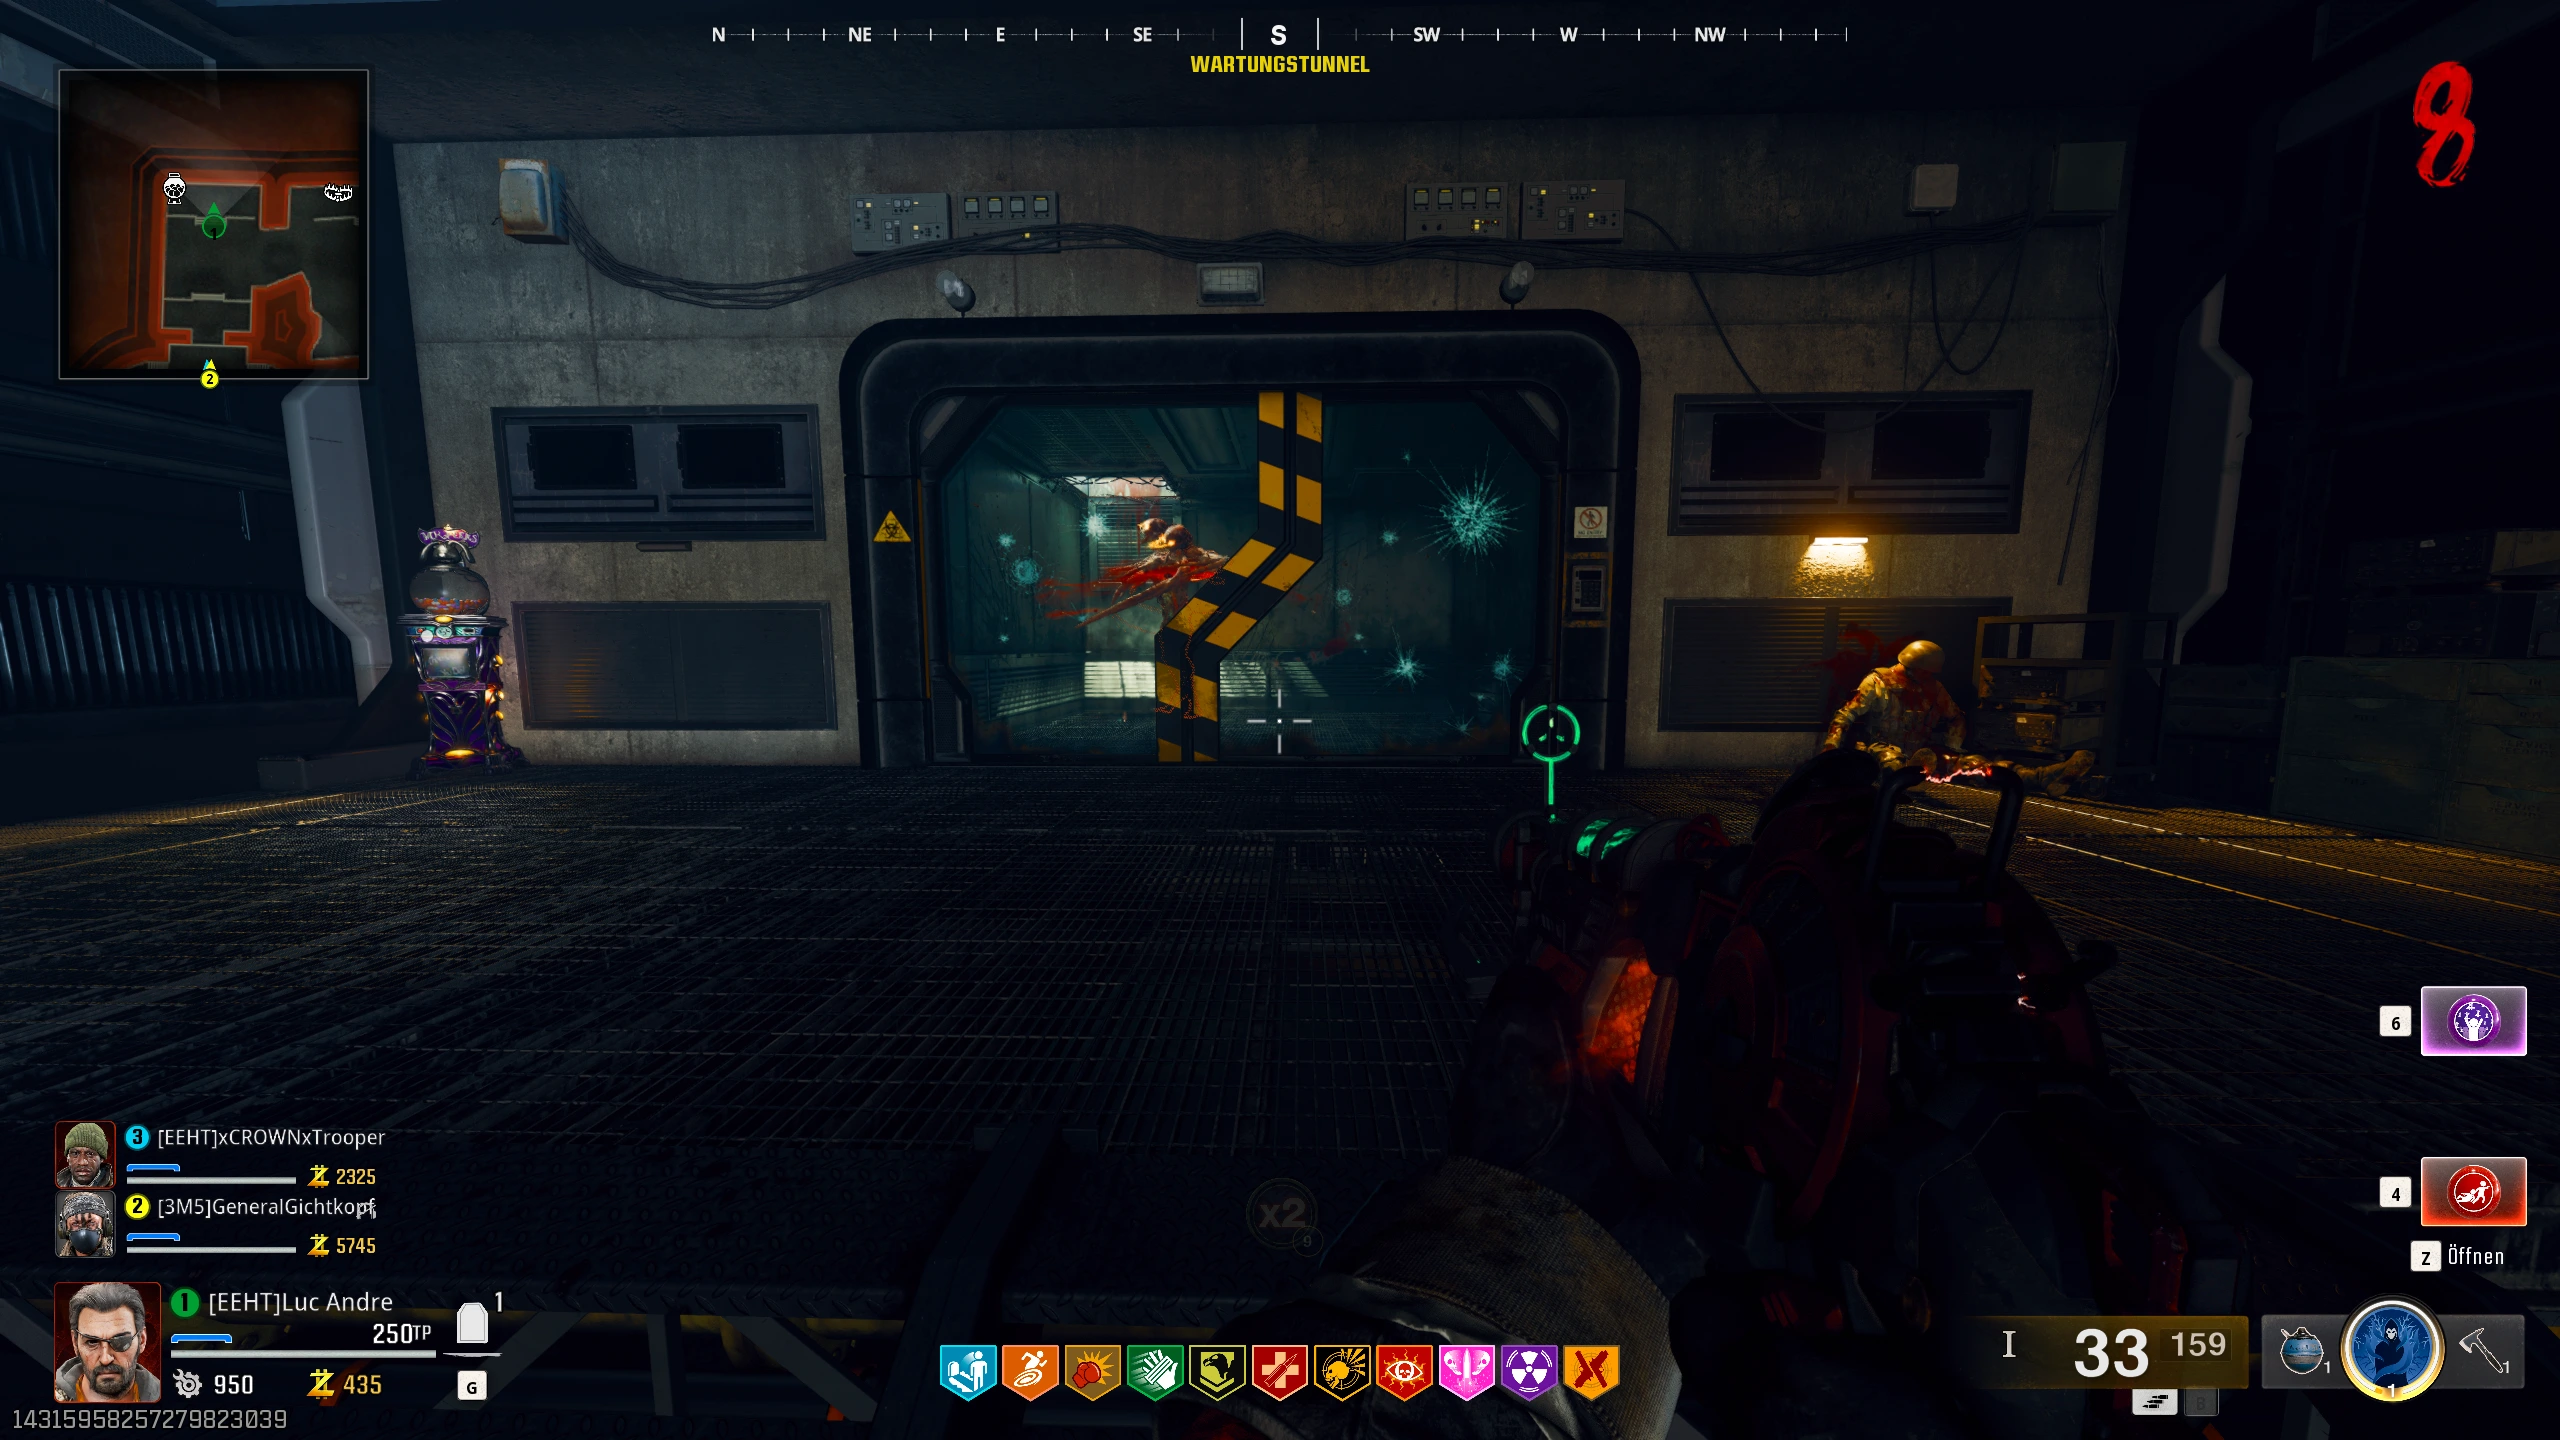
Now, head back underground to the service tunnel. There, you will find a Doppelghast trapped behind a glass gate.
Next to the gate, you will see a keypad. Head over to it and interact with it. Now, you can enter the code from the letters.
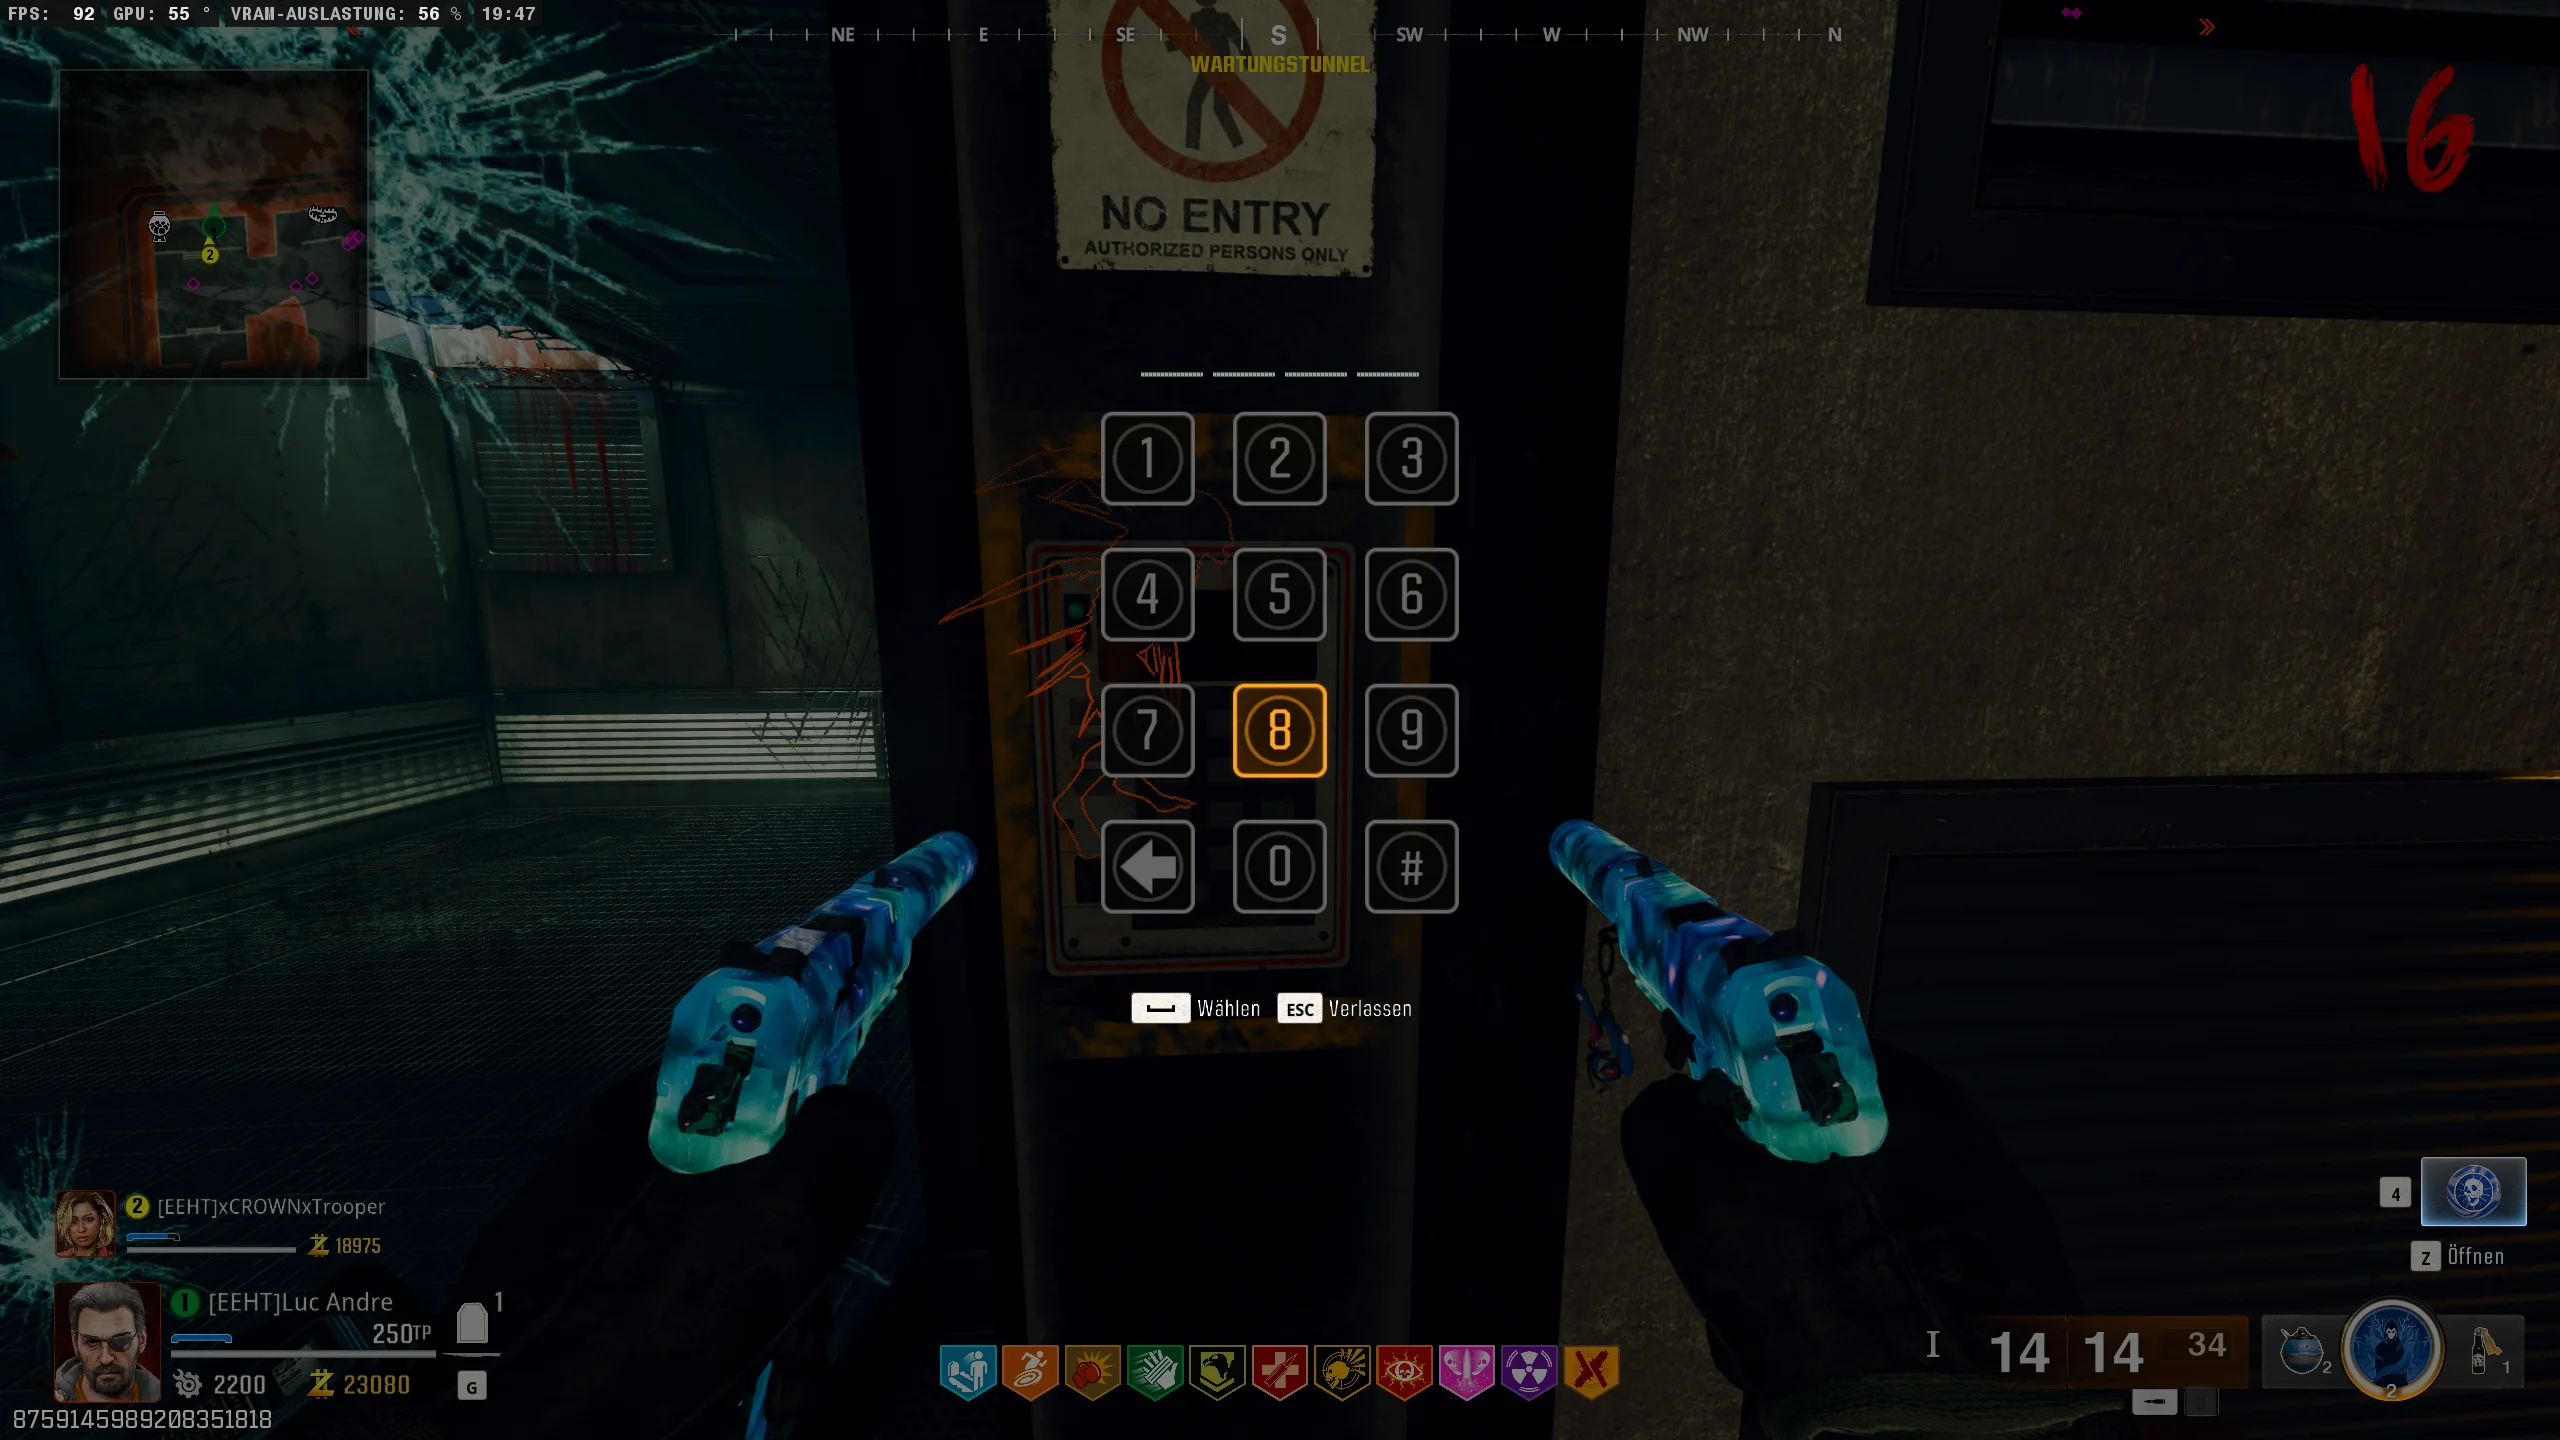
After entering the code, the gate will open, and the Doppelghast will be released. Kill it, and it will drop a severed arm that you can pick up.


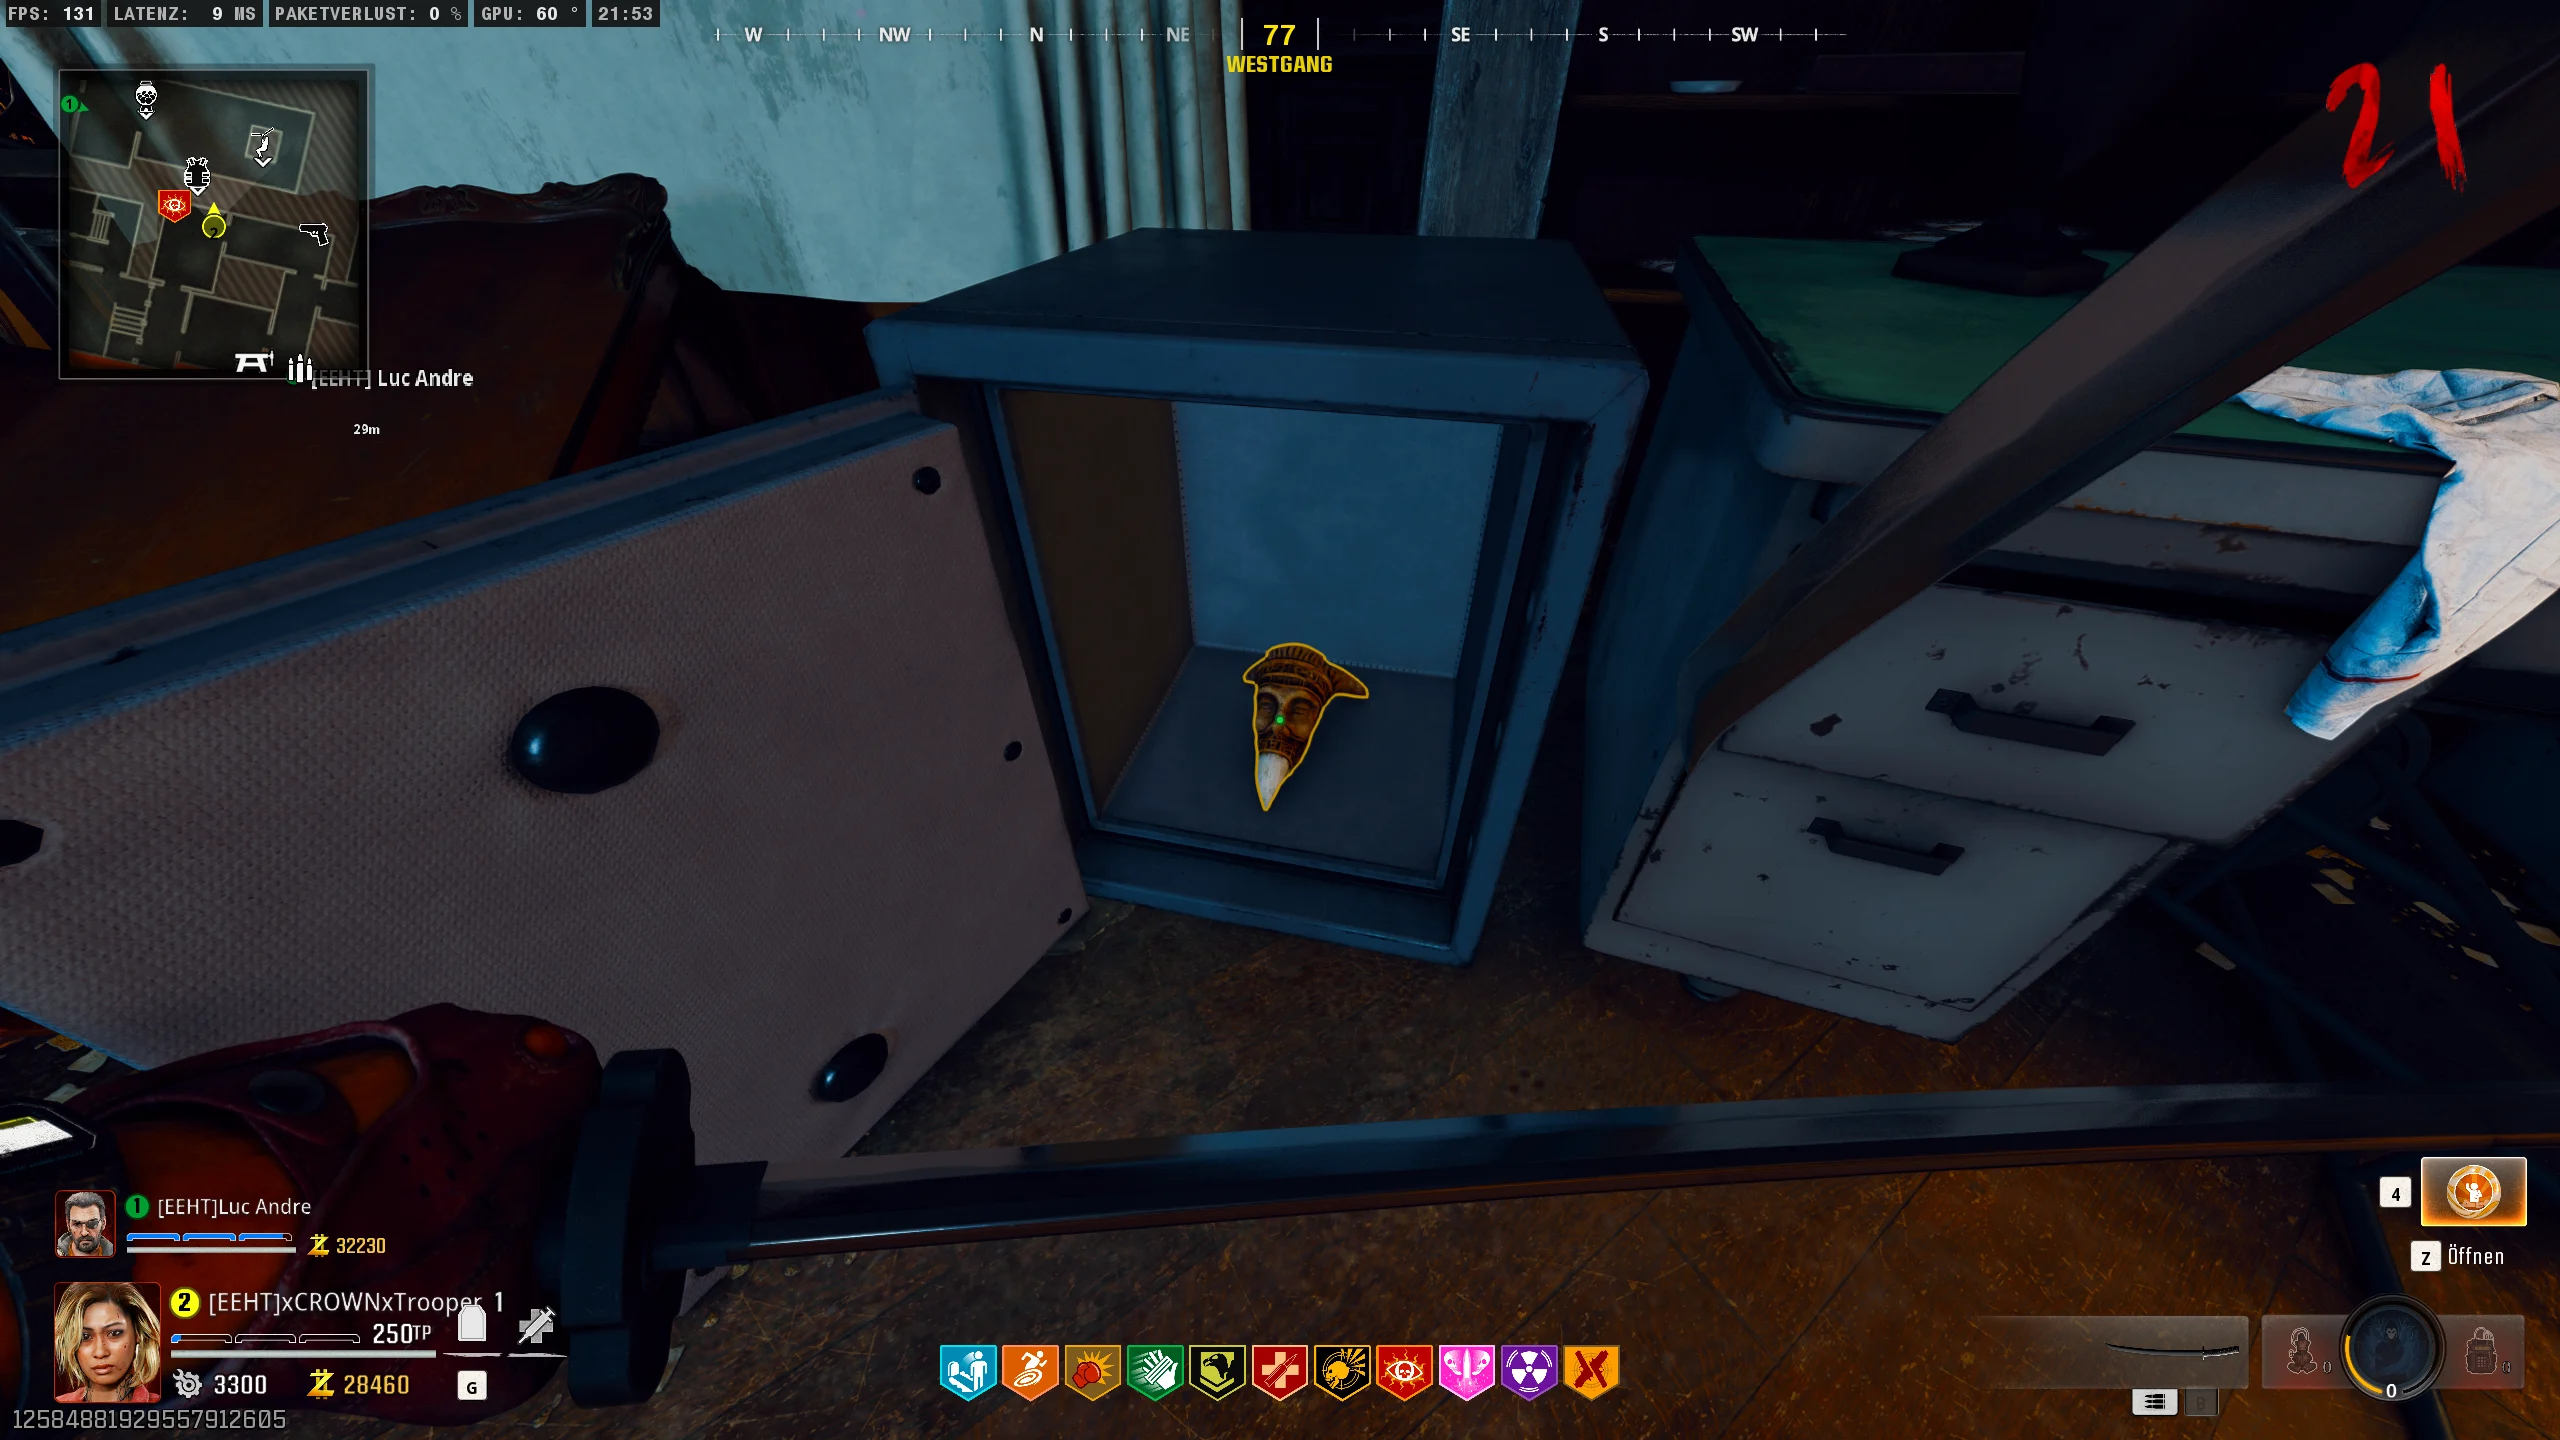
With the severed arm you just picked up, head to the armory. It’s located in the room with the teleporter. At the end of the room, you’ll find a display case containing the Ray Gun Mark II. On the right edge of the display case, you’ll see a lever. Interact with it to attach the severed arm to it. Now, you can pick up the Ray Gun Mark II.


With the now acquired Ray Gun Mark II, we can proceed with the Easter egg. To do this, the Ray Gun must be converted into the Mark II-W, and a corresponding ritual must be completed.
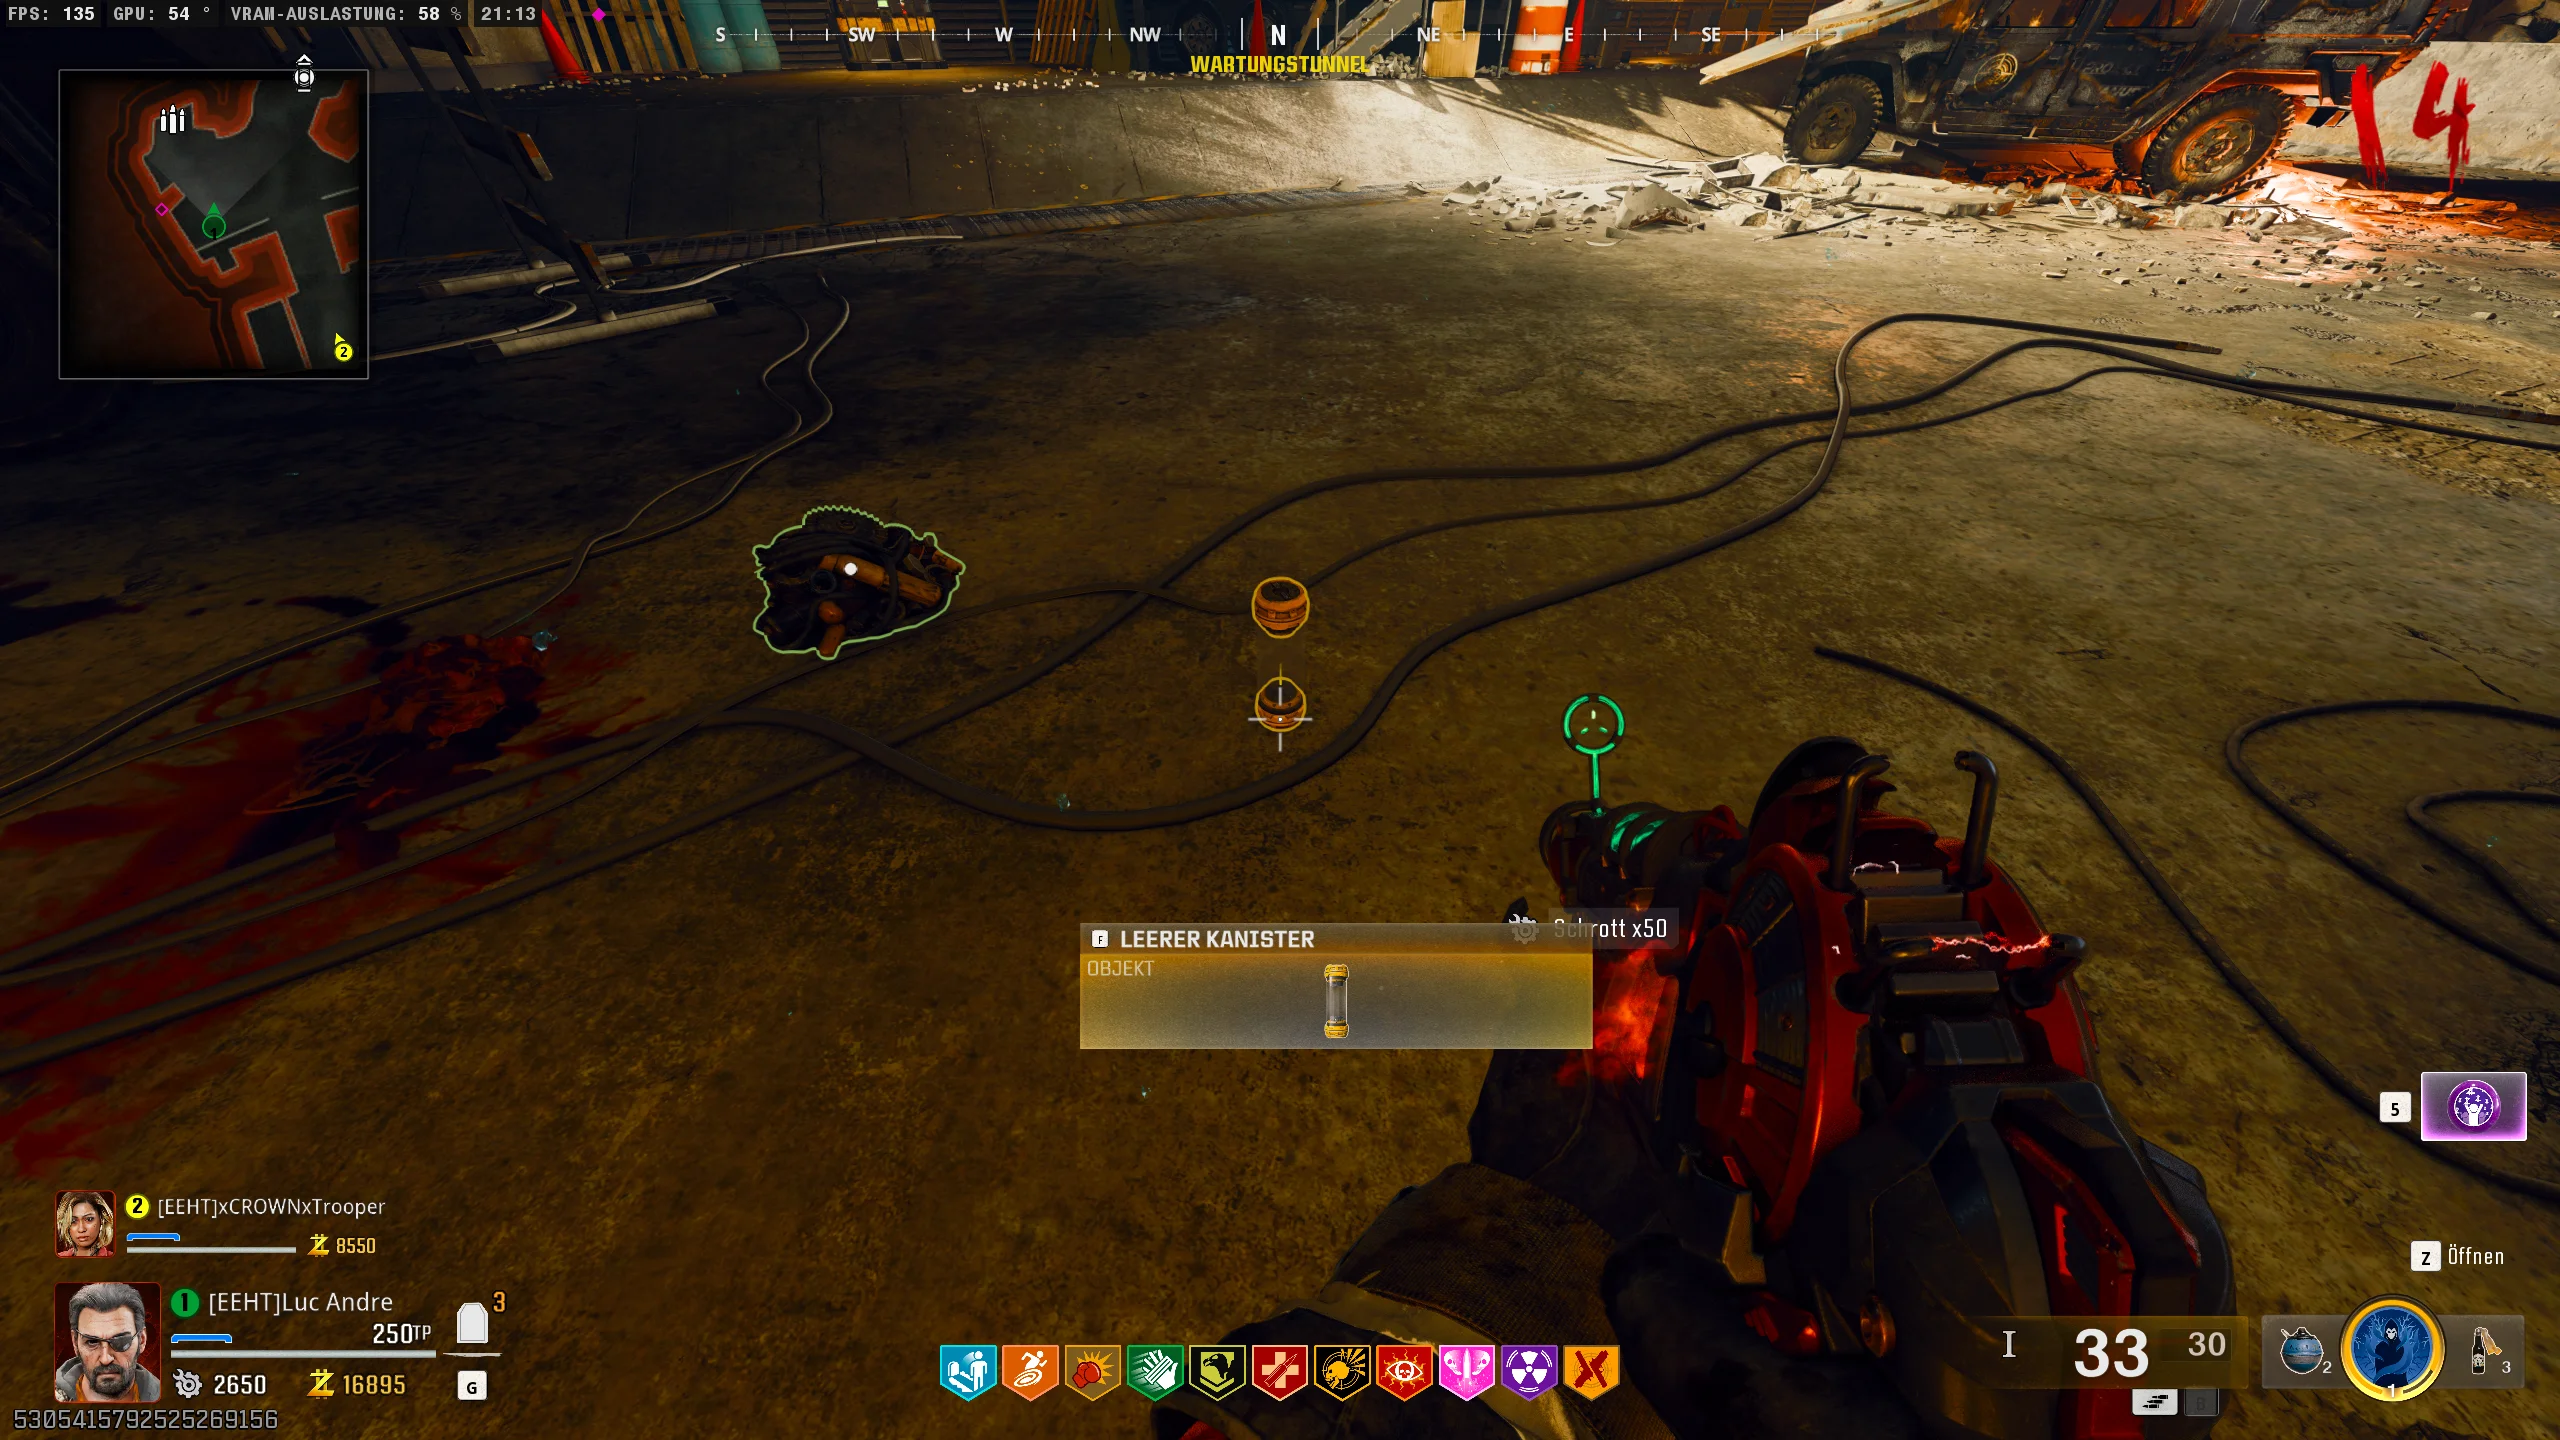
First, we need a canister, which can be found at three different locations. To simplify, we will mention just one of the three possible locations.
On the map, there are four places where a type of crystal can be found. These look as follows:
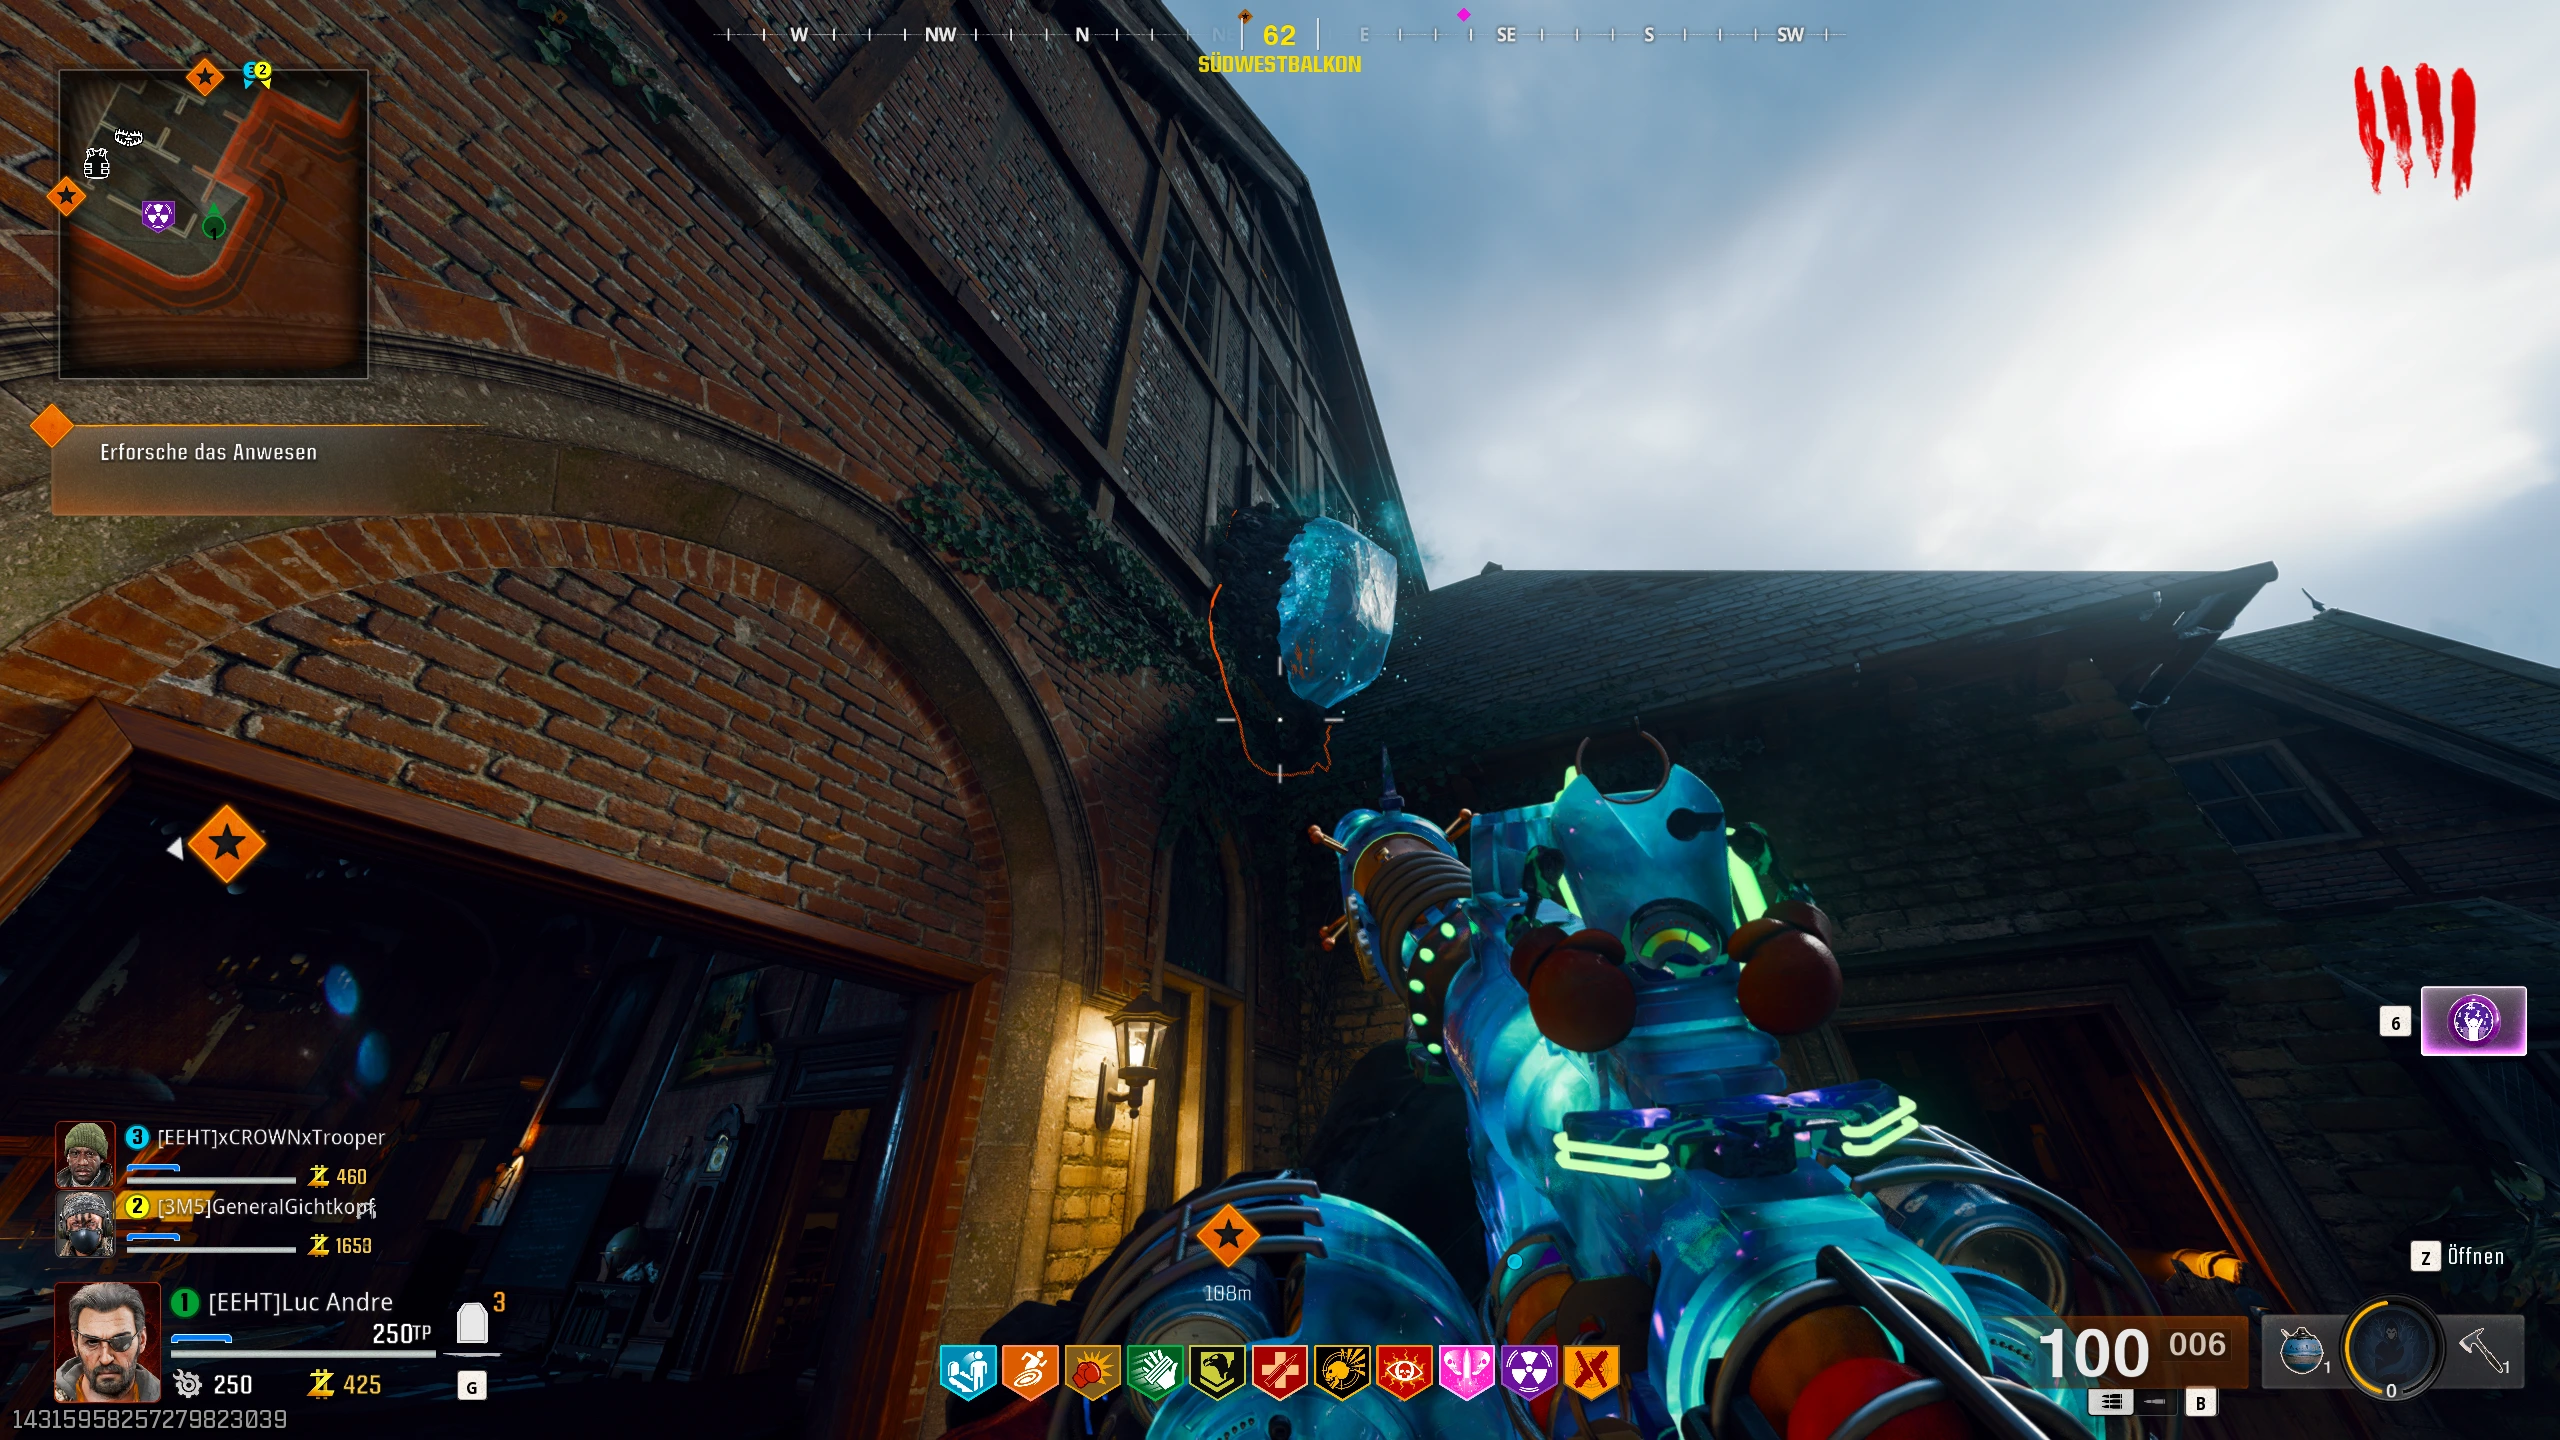
These crystals can only be destroyed with the Ray Gun Mark II. If you hit the correct crystal, a canister will fall down, which you must pick up.
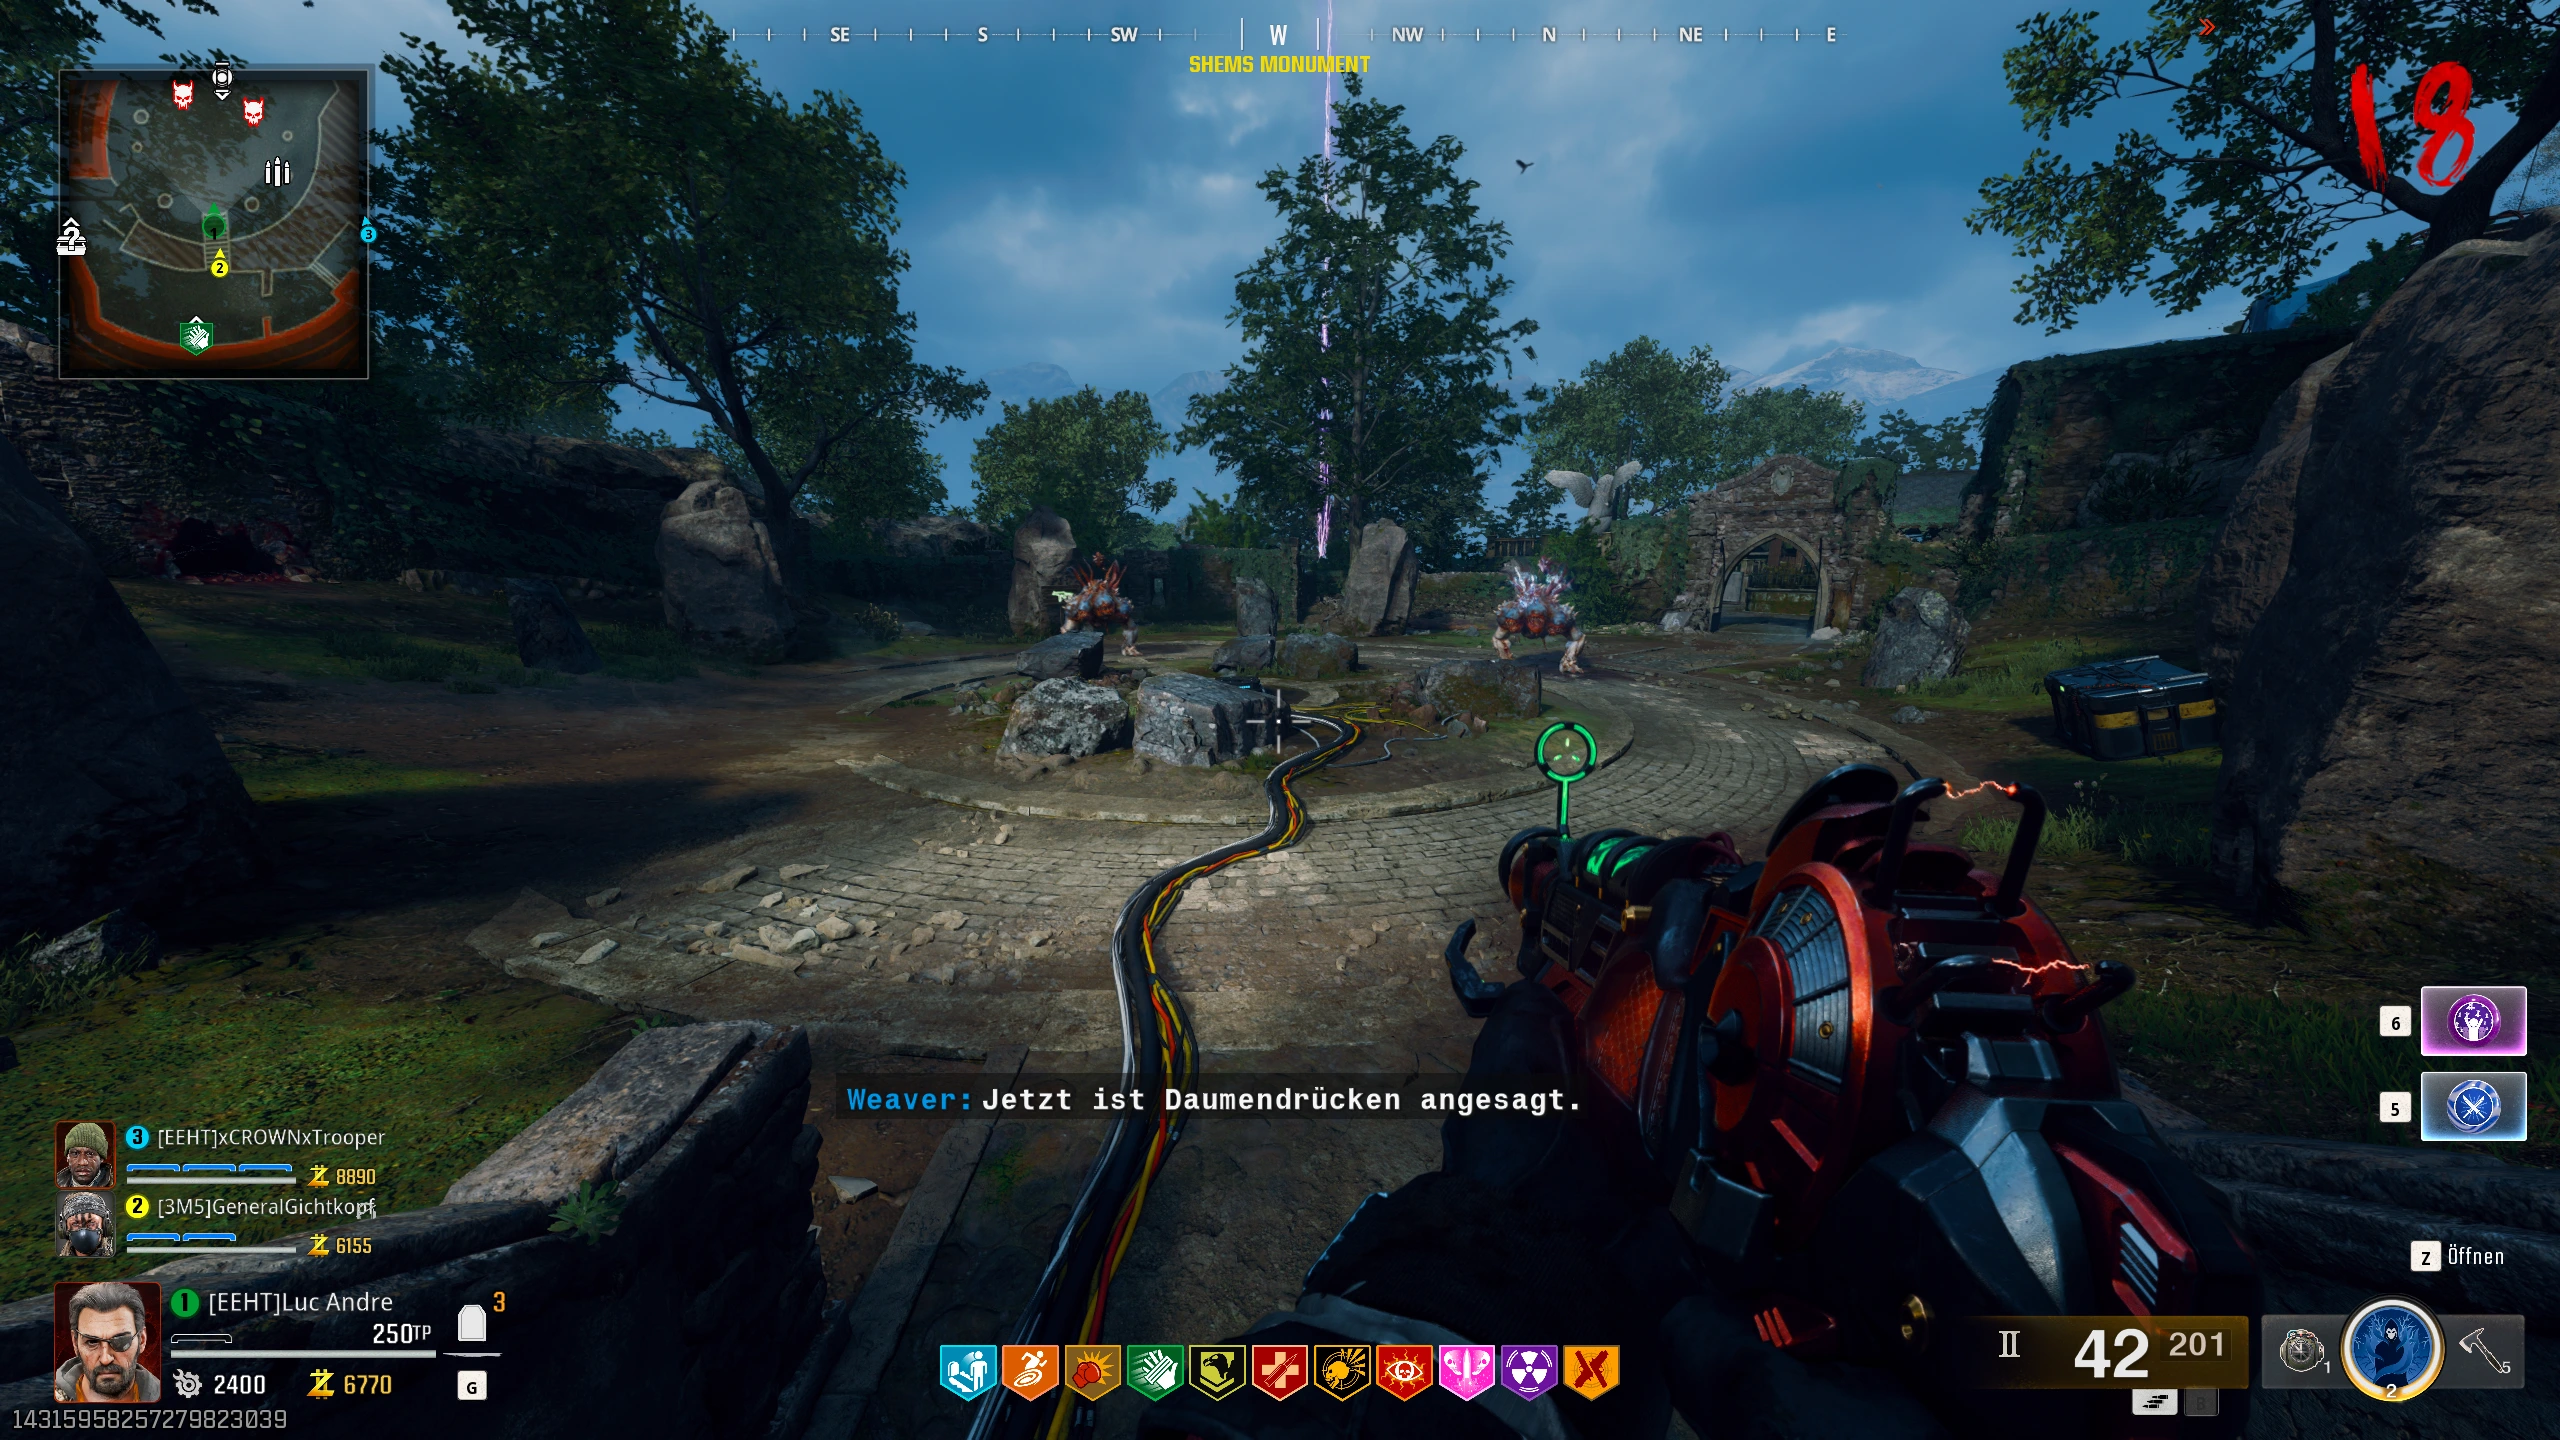
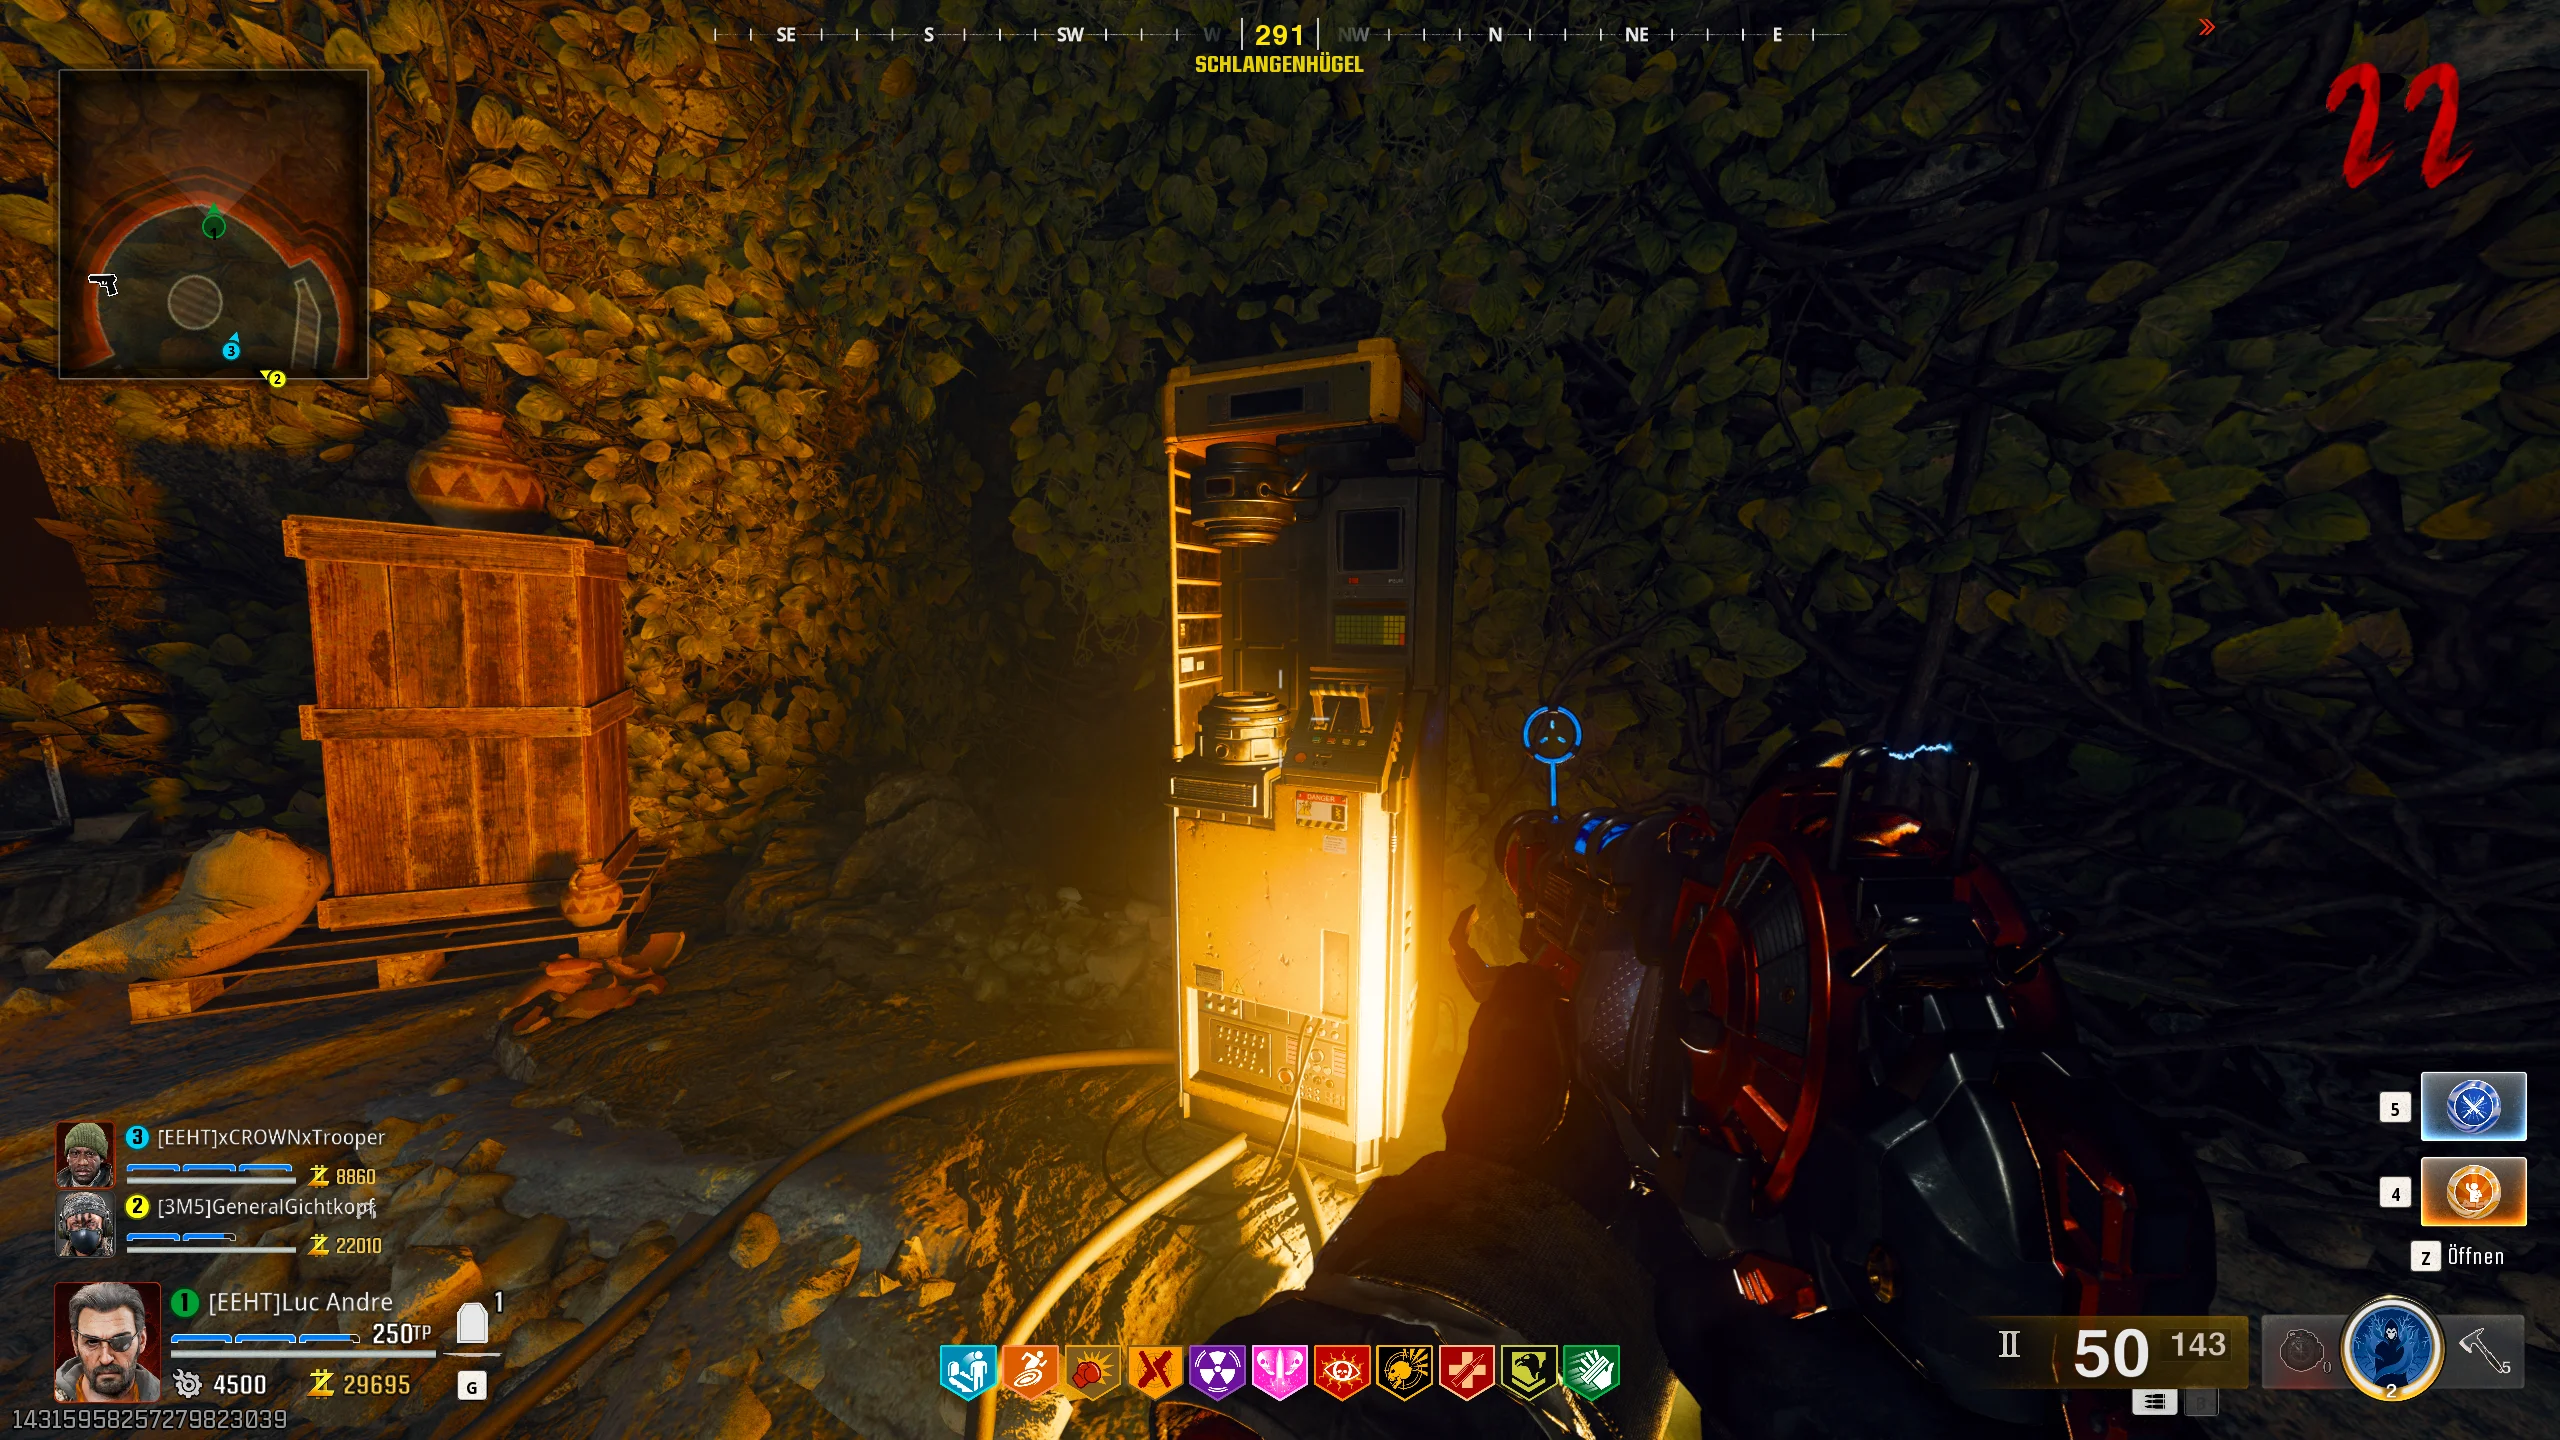
Now, go to Shem’s Henge and insert the canister into the following apparatus:


Next, two abominations will appear at the stone circle. You must not kill them, as they are necessary to charge the canister.
The abominations must now shoot their beams at the three small stones. You will know it worked when the stones begin to glow blue.
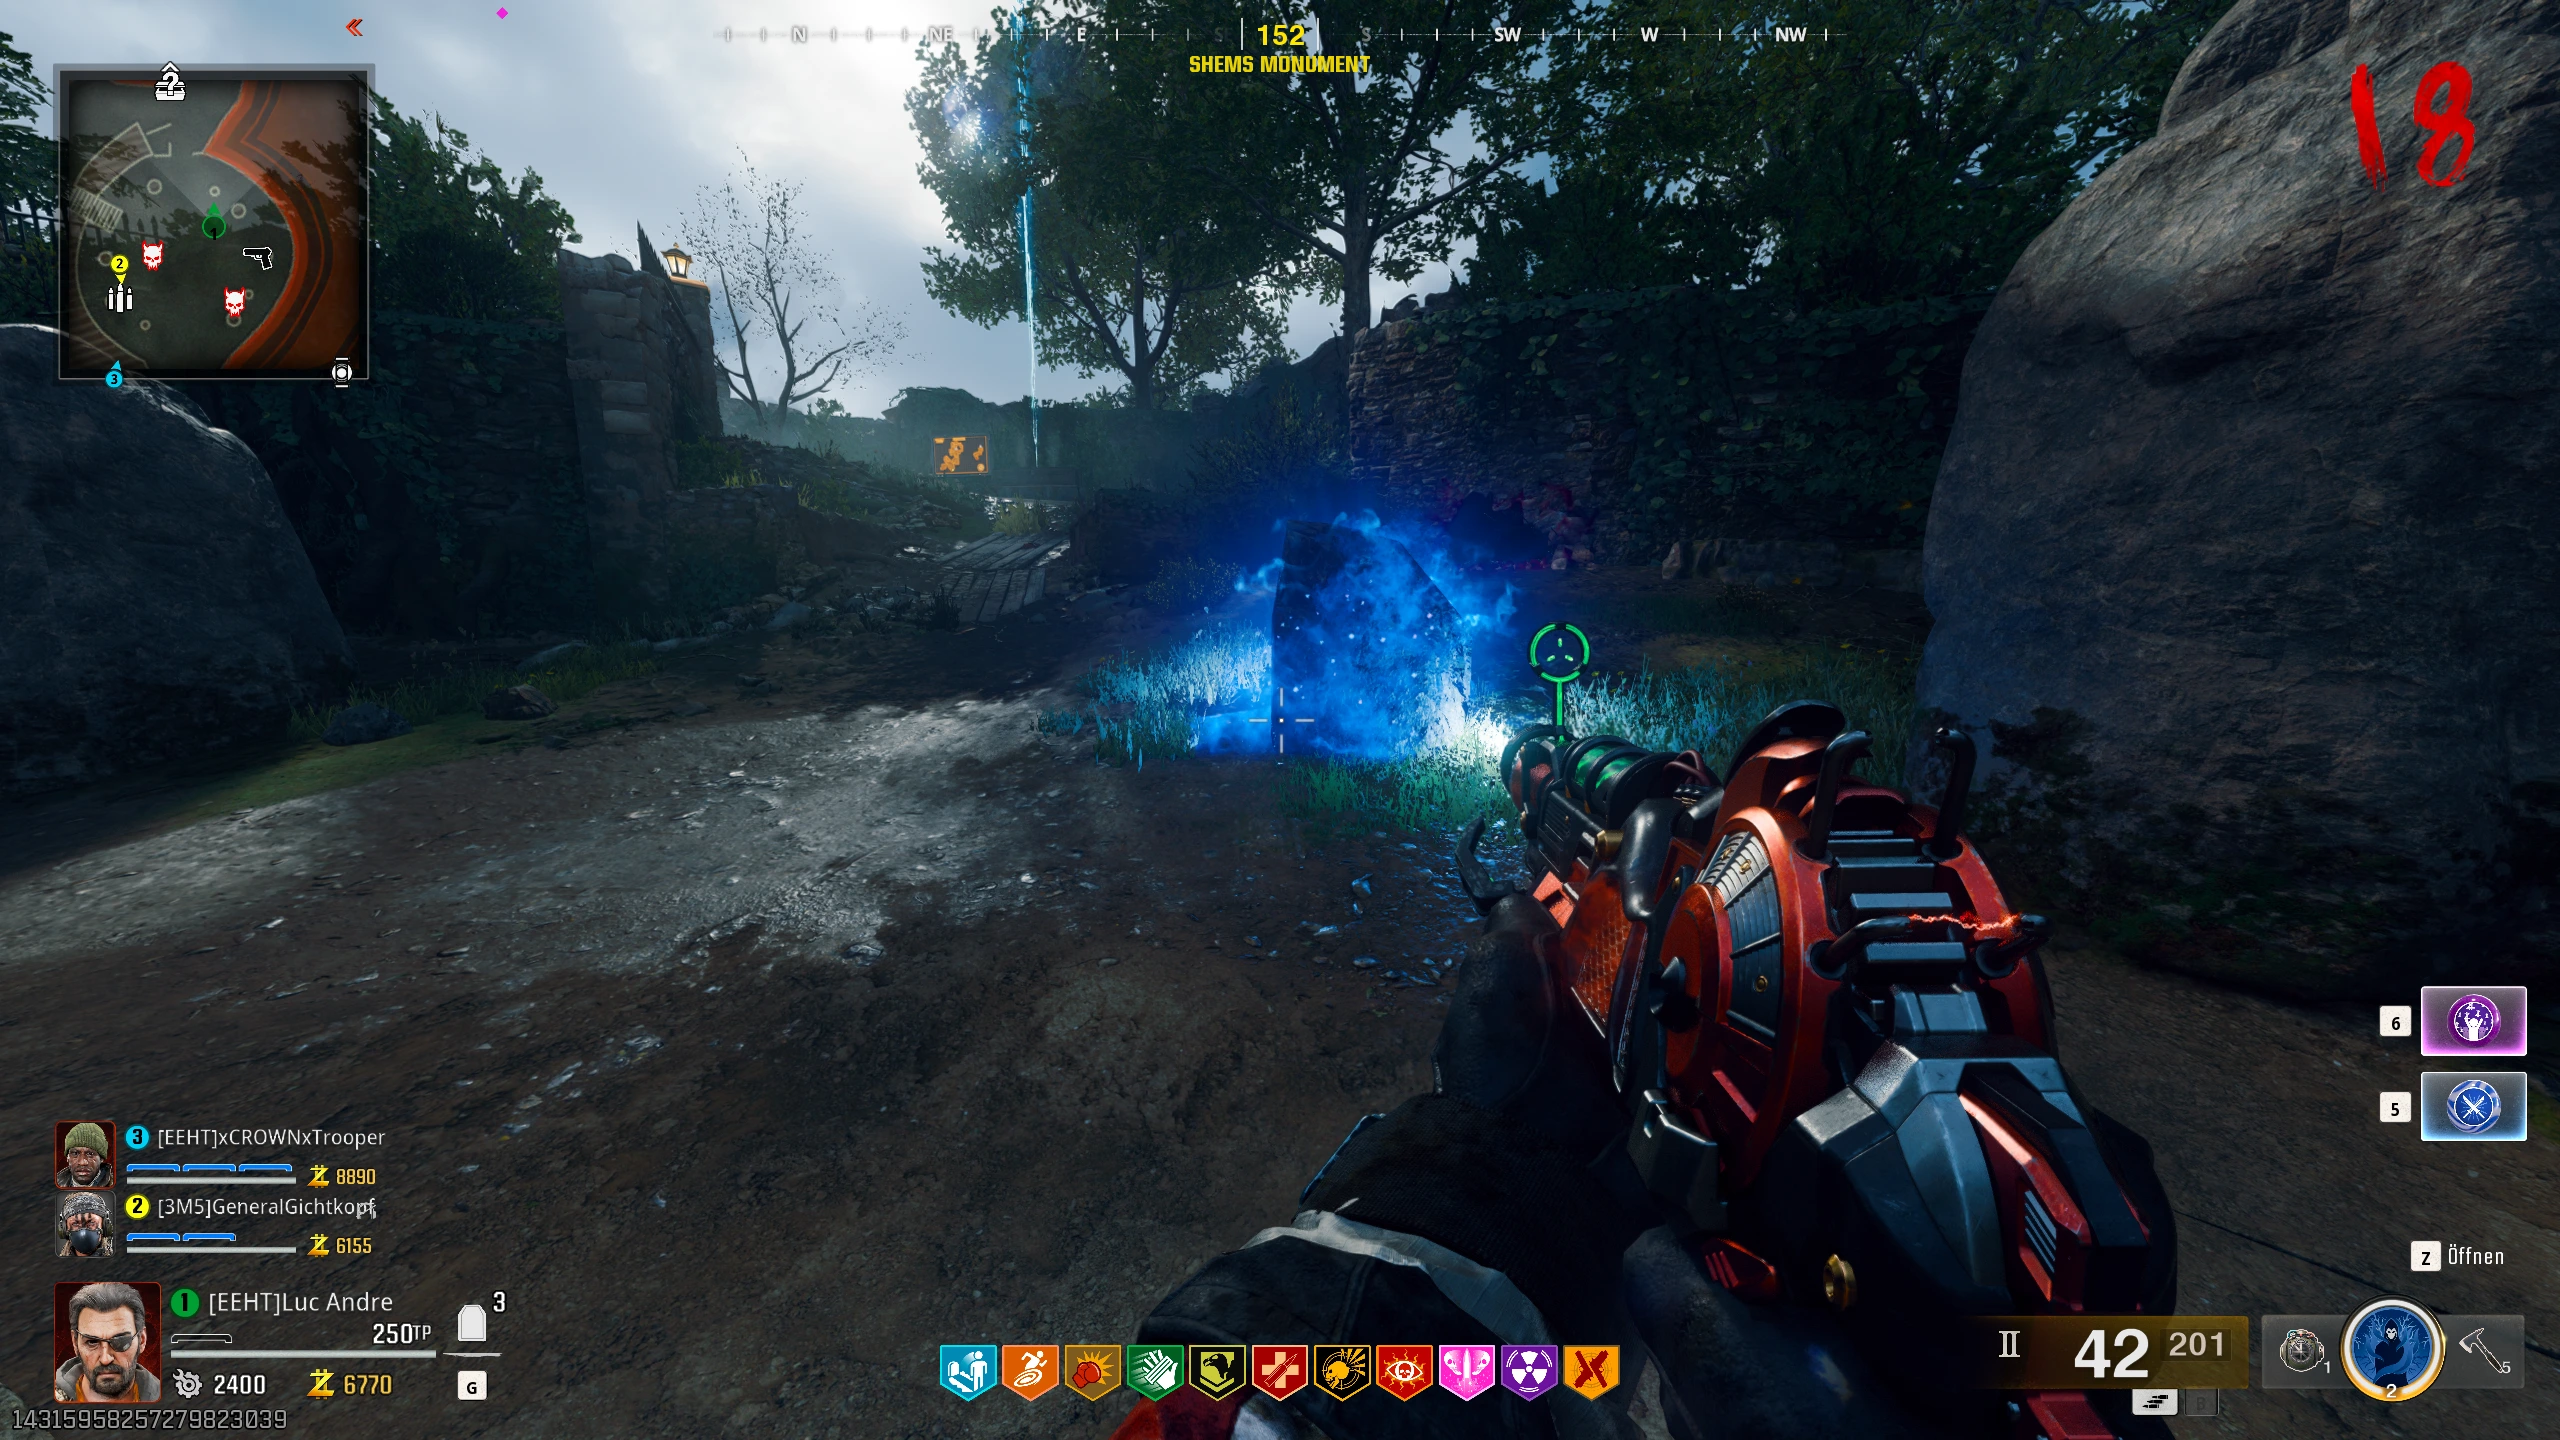
Now, one of the creatures must run into the glowing stone, and it will start to levitate. Once all three stones are floating, the abominations will disappear.
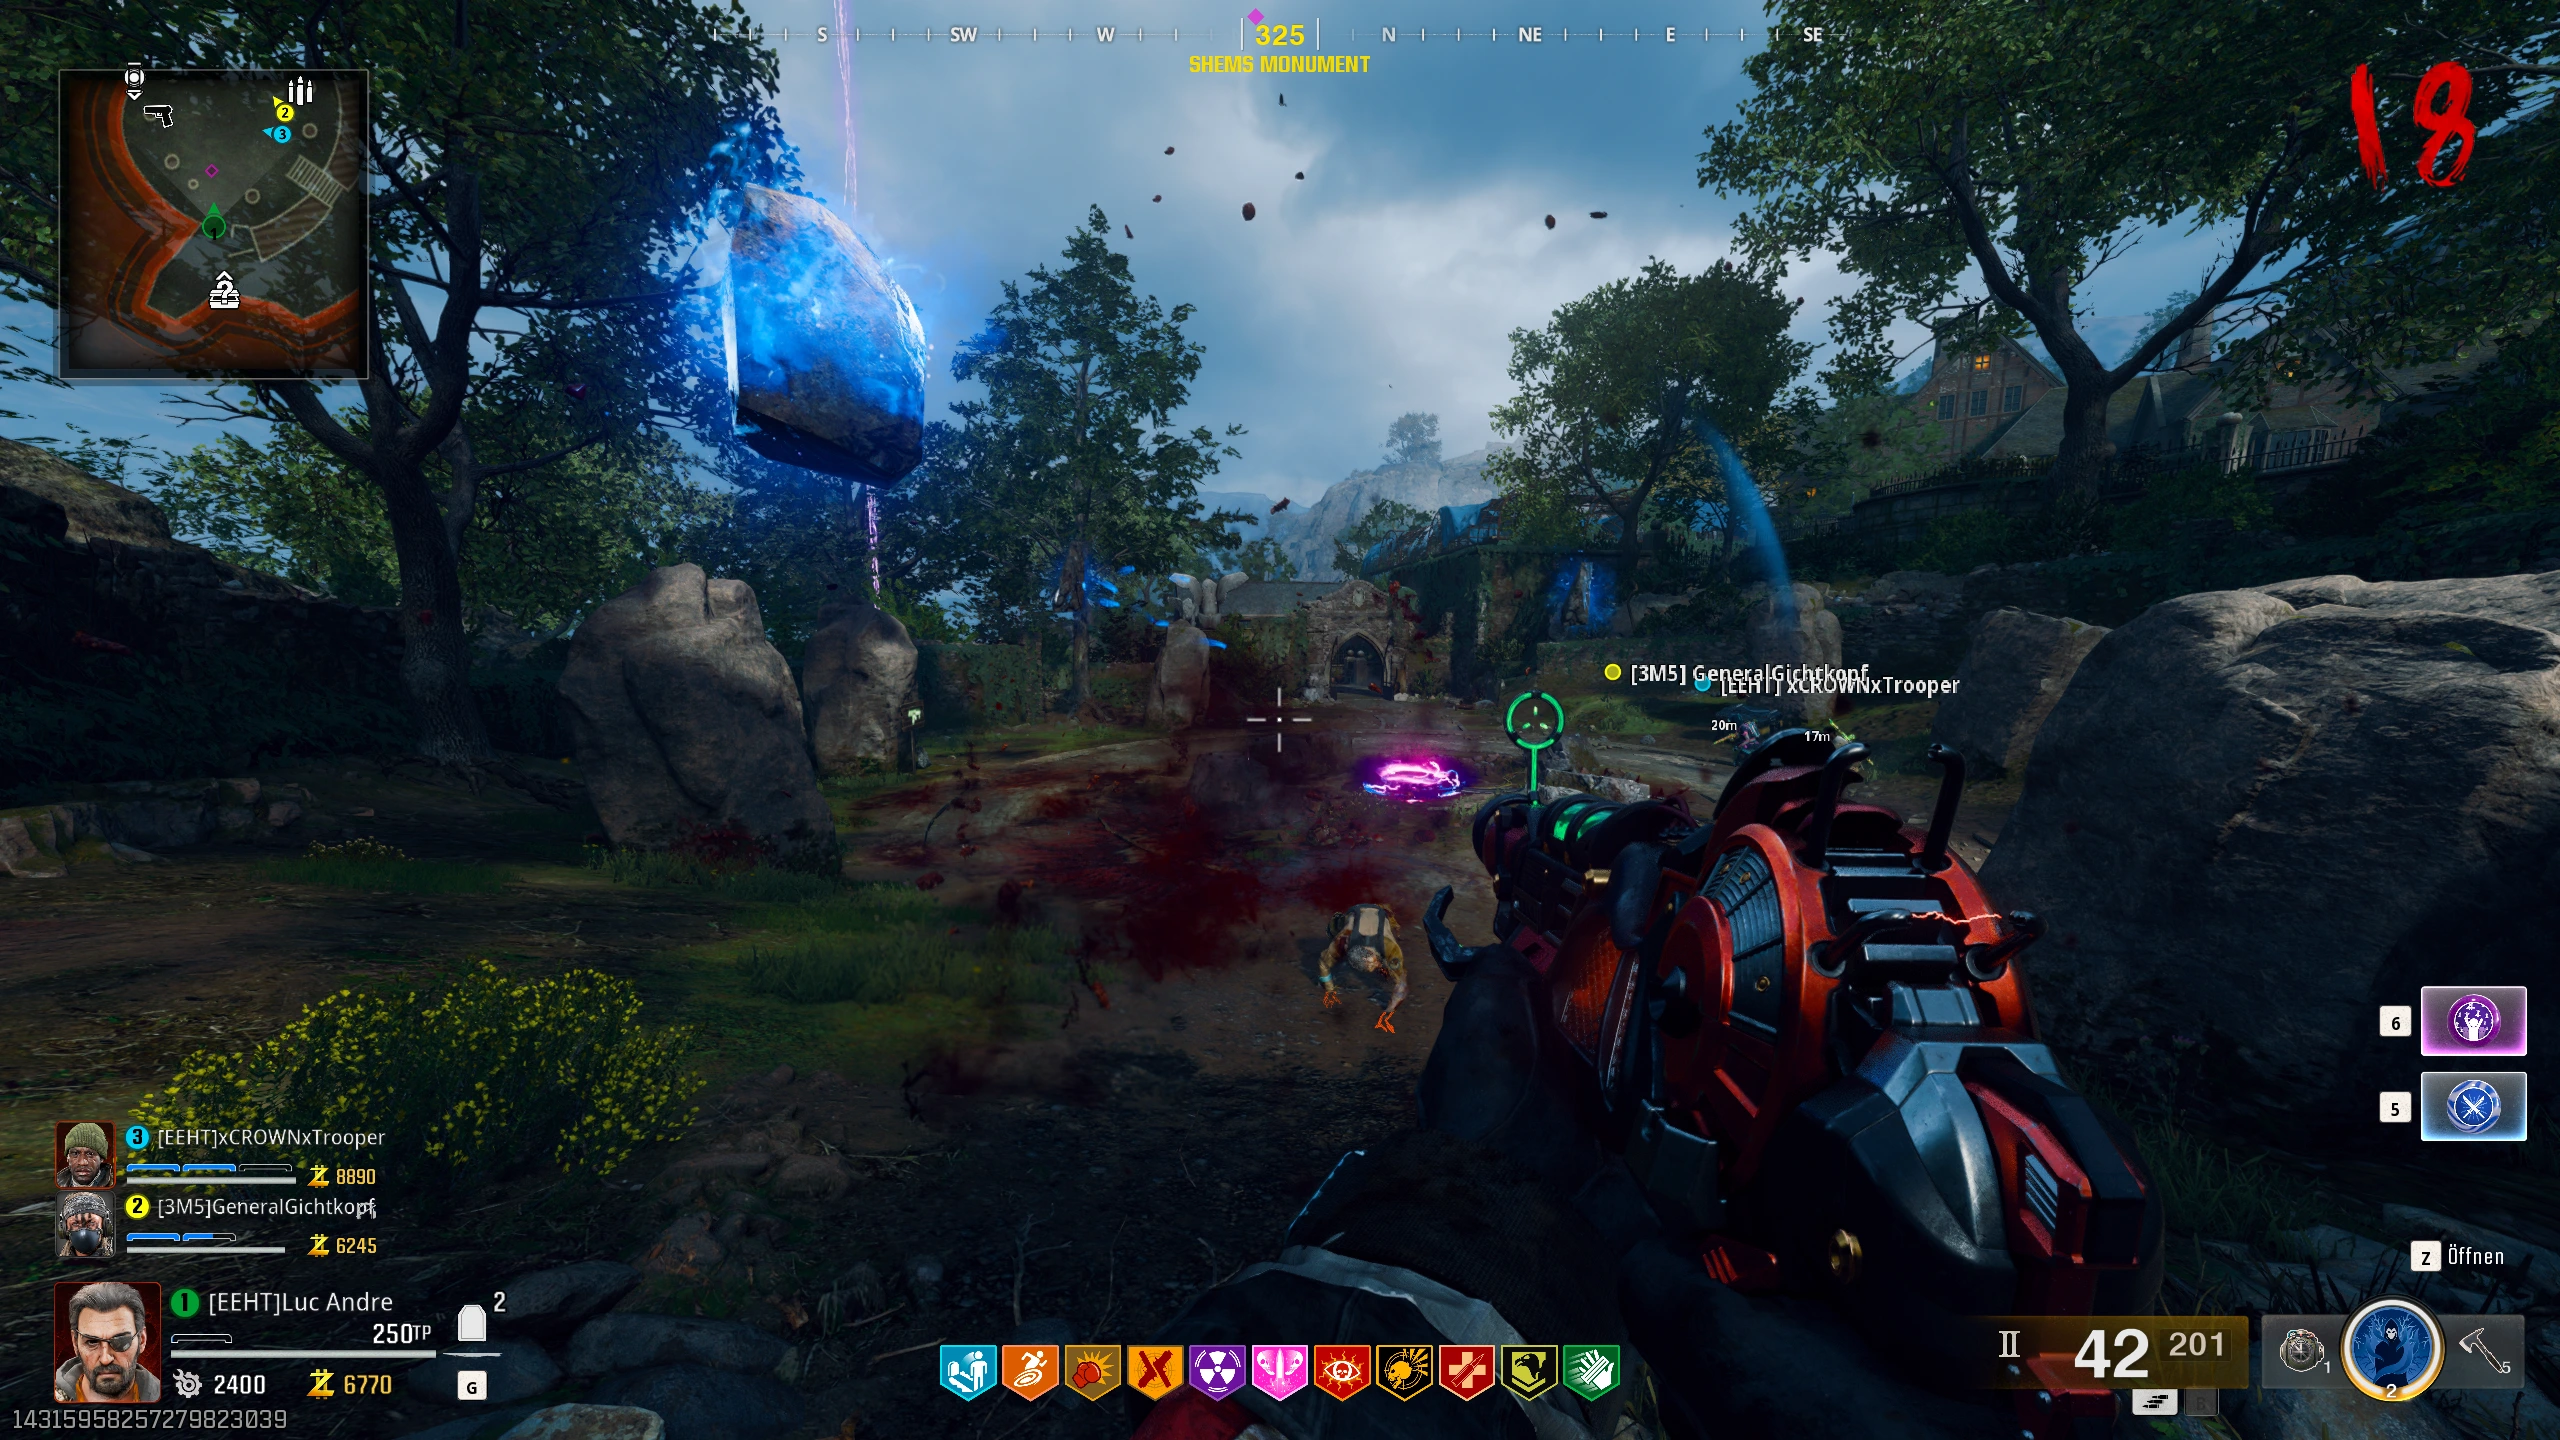
Now, you must protect the apparatus in the center of the area. Once you’ve done that, you can pick up the charged canister again.
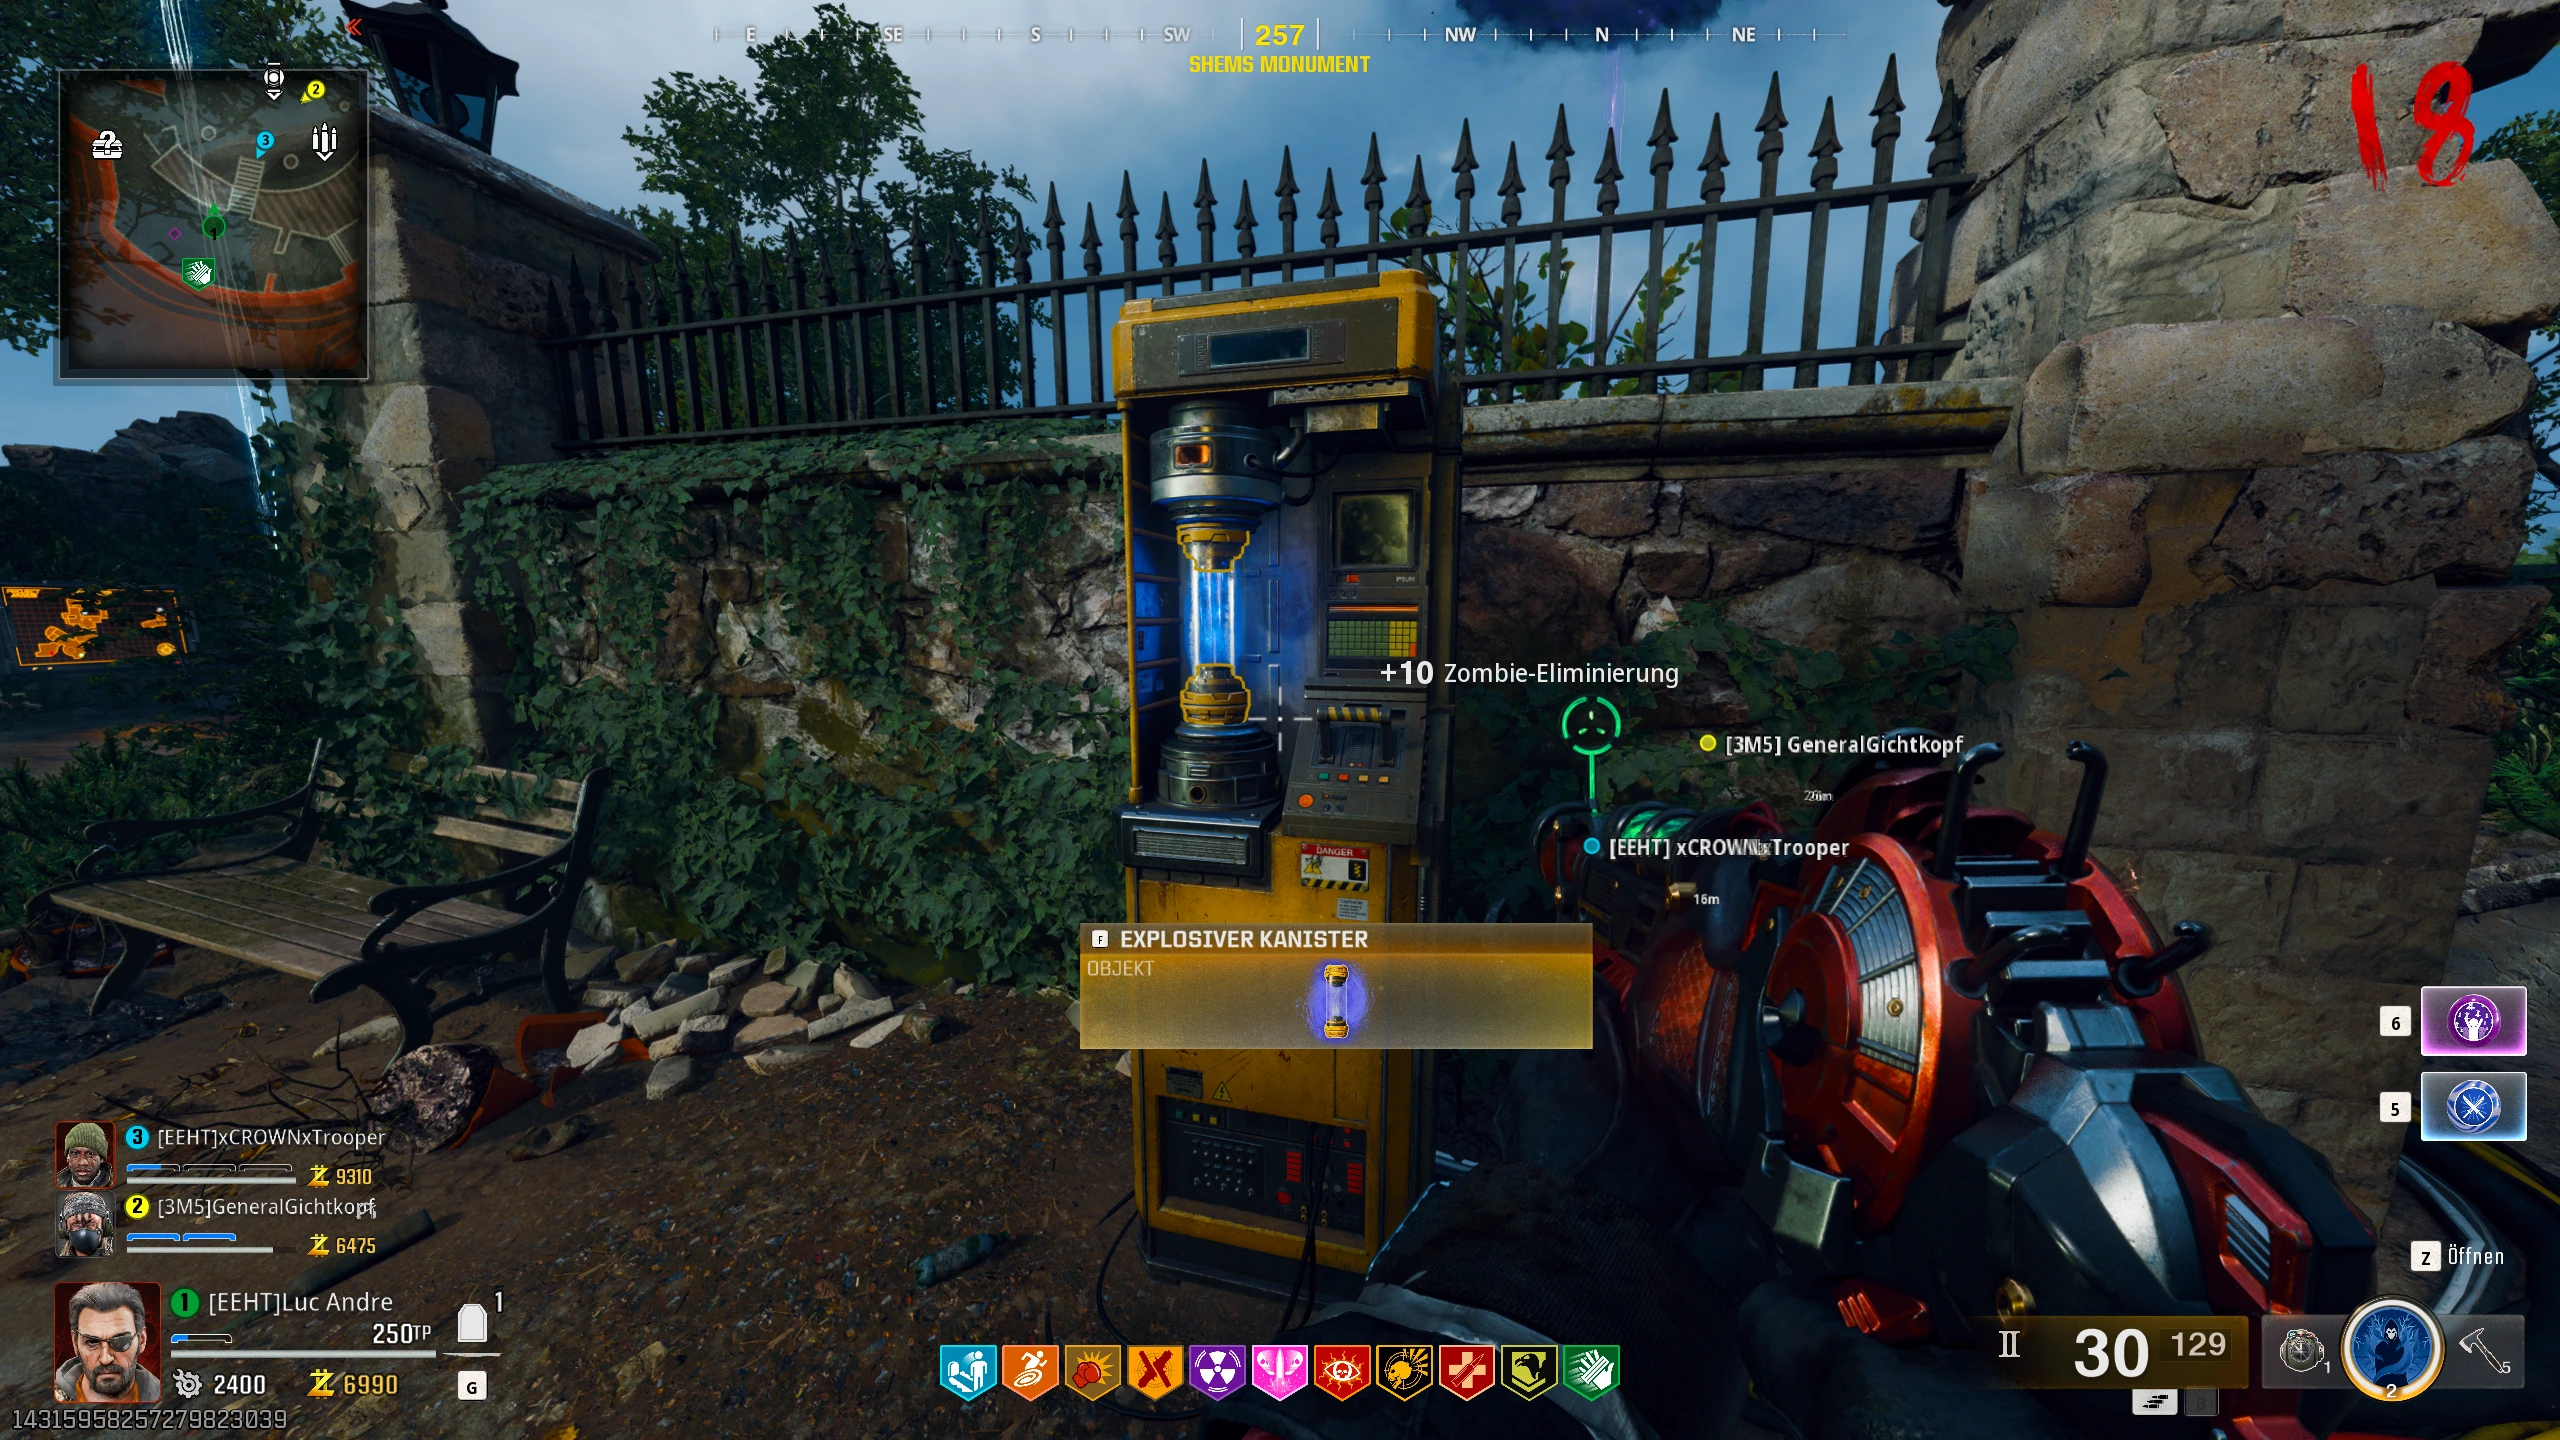
Now, take the canister to the supply depot and insert the canister into the following machine:


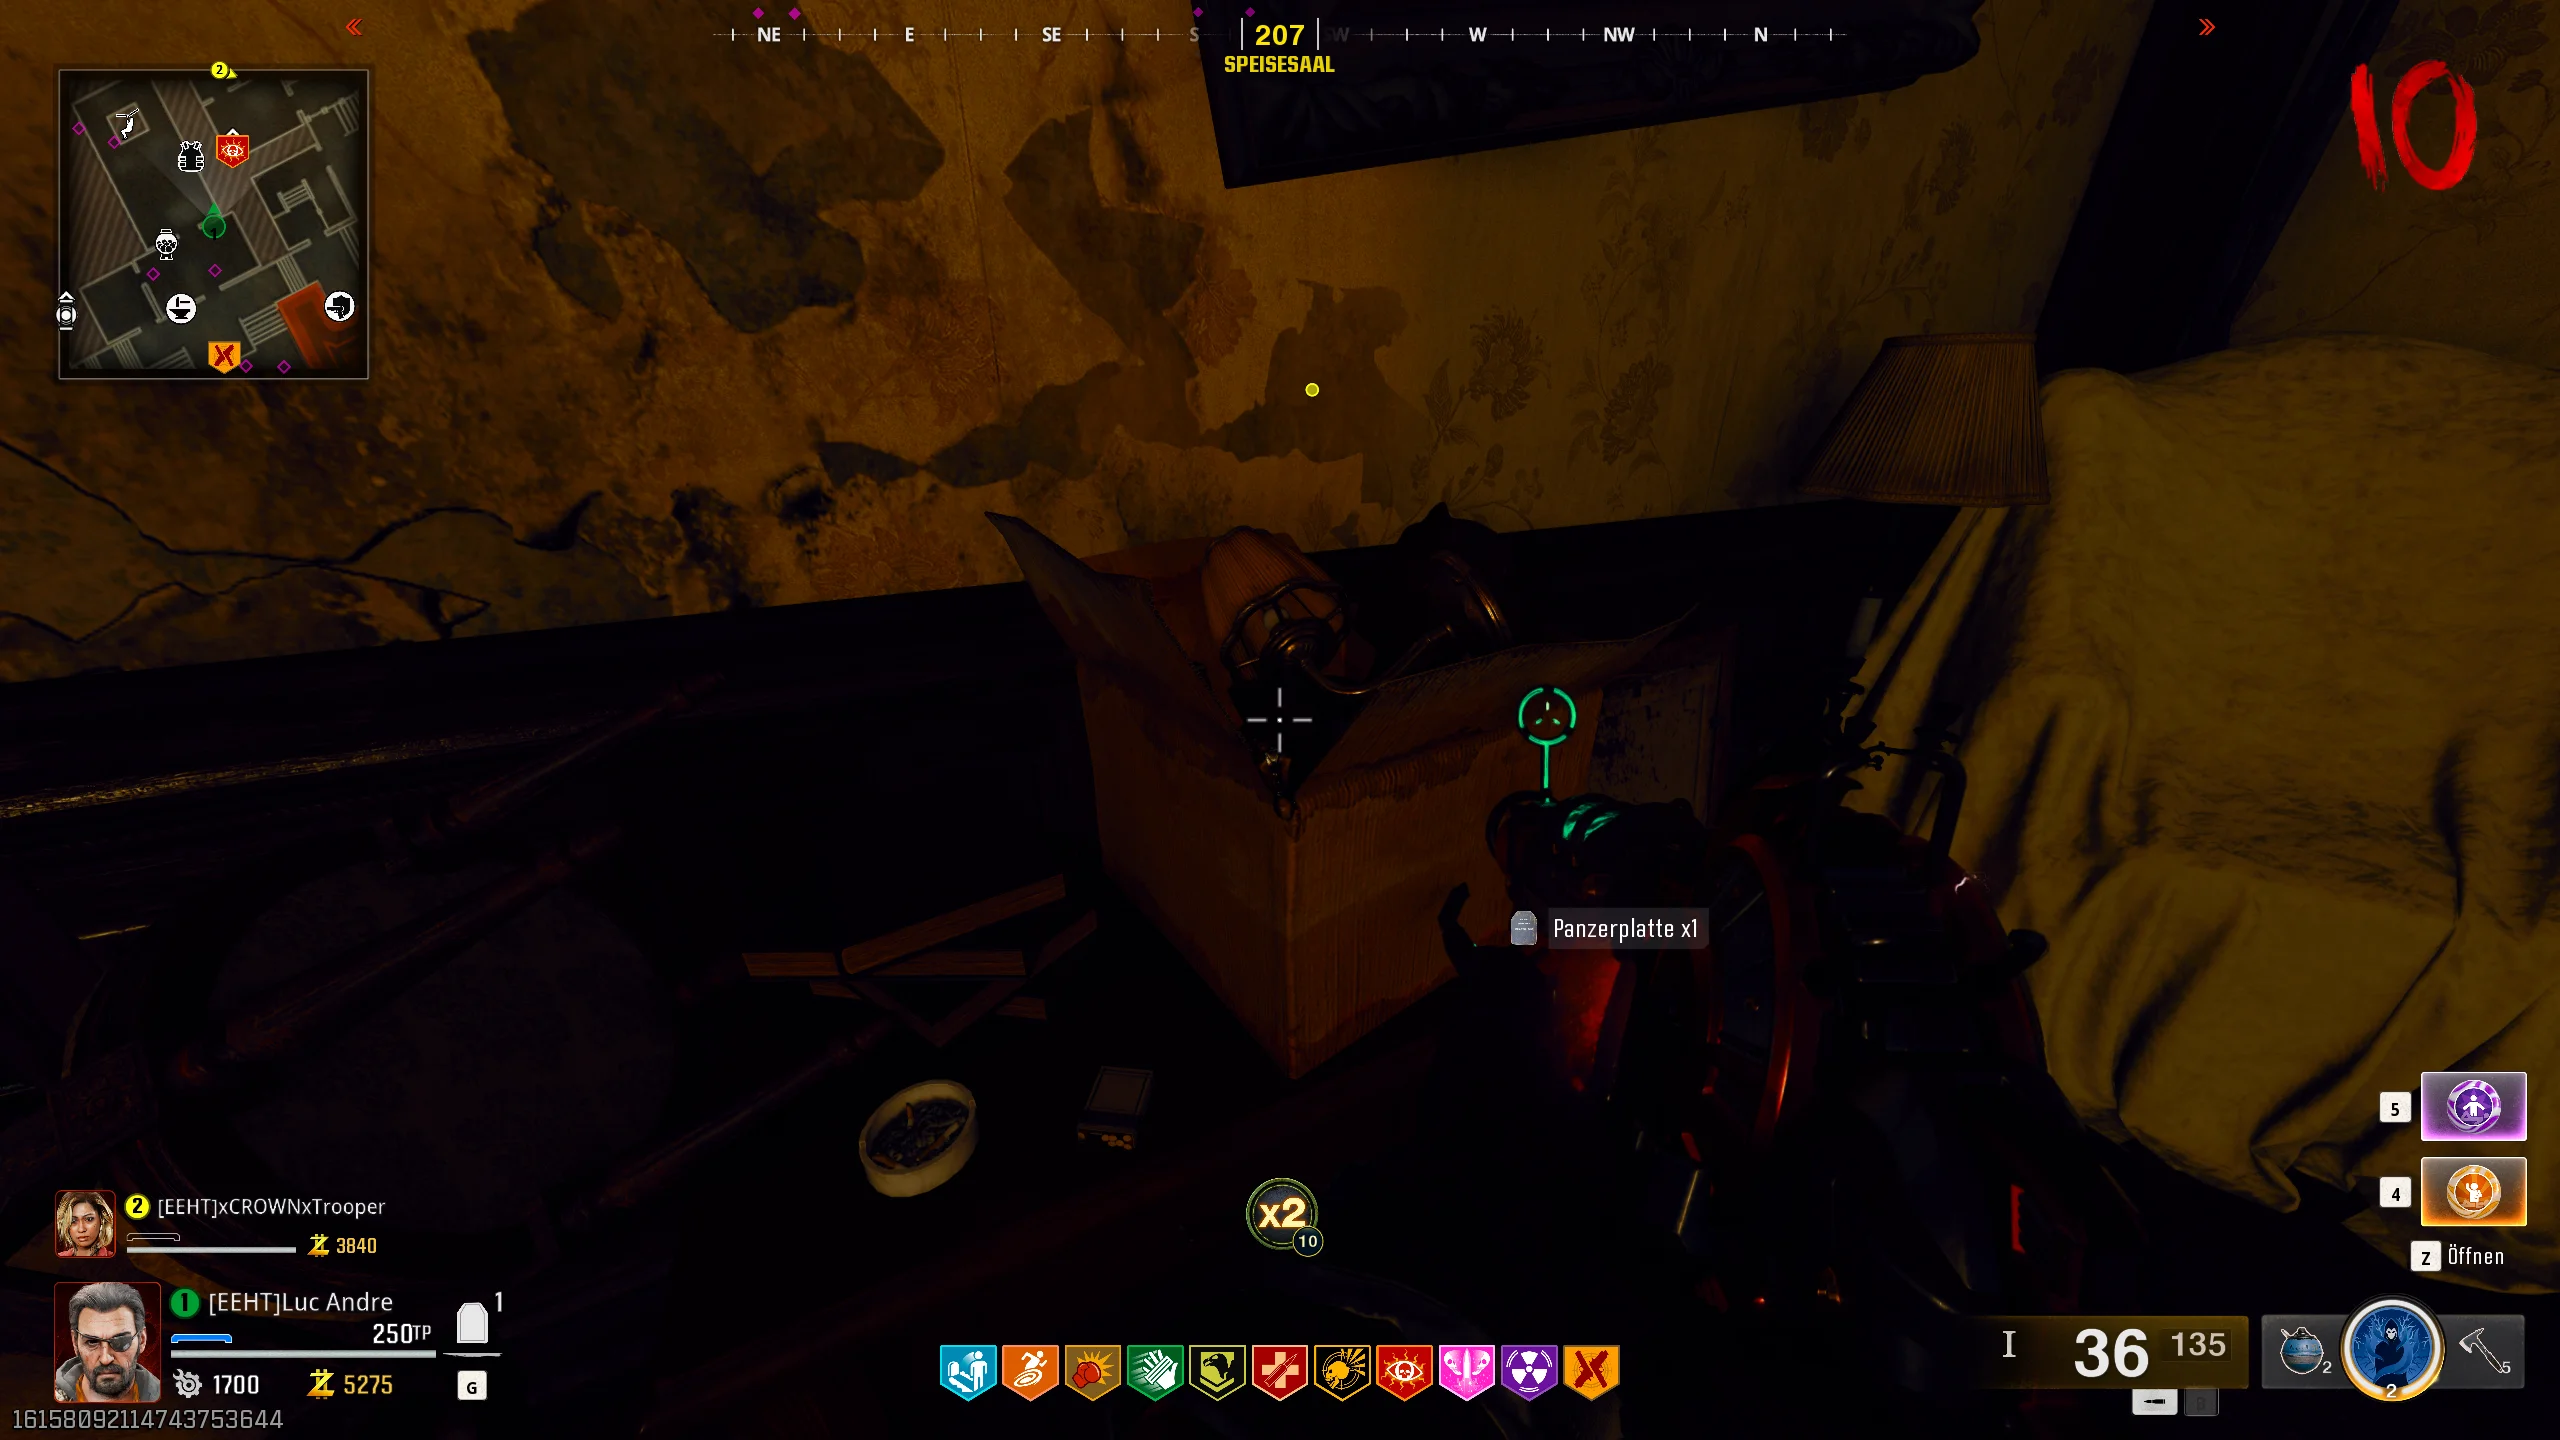
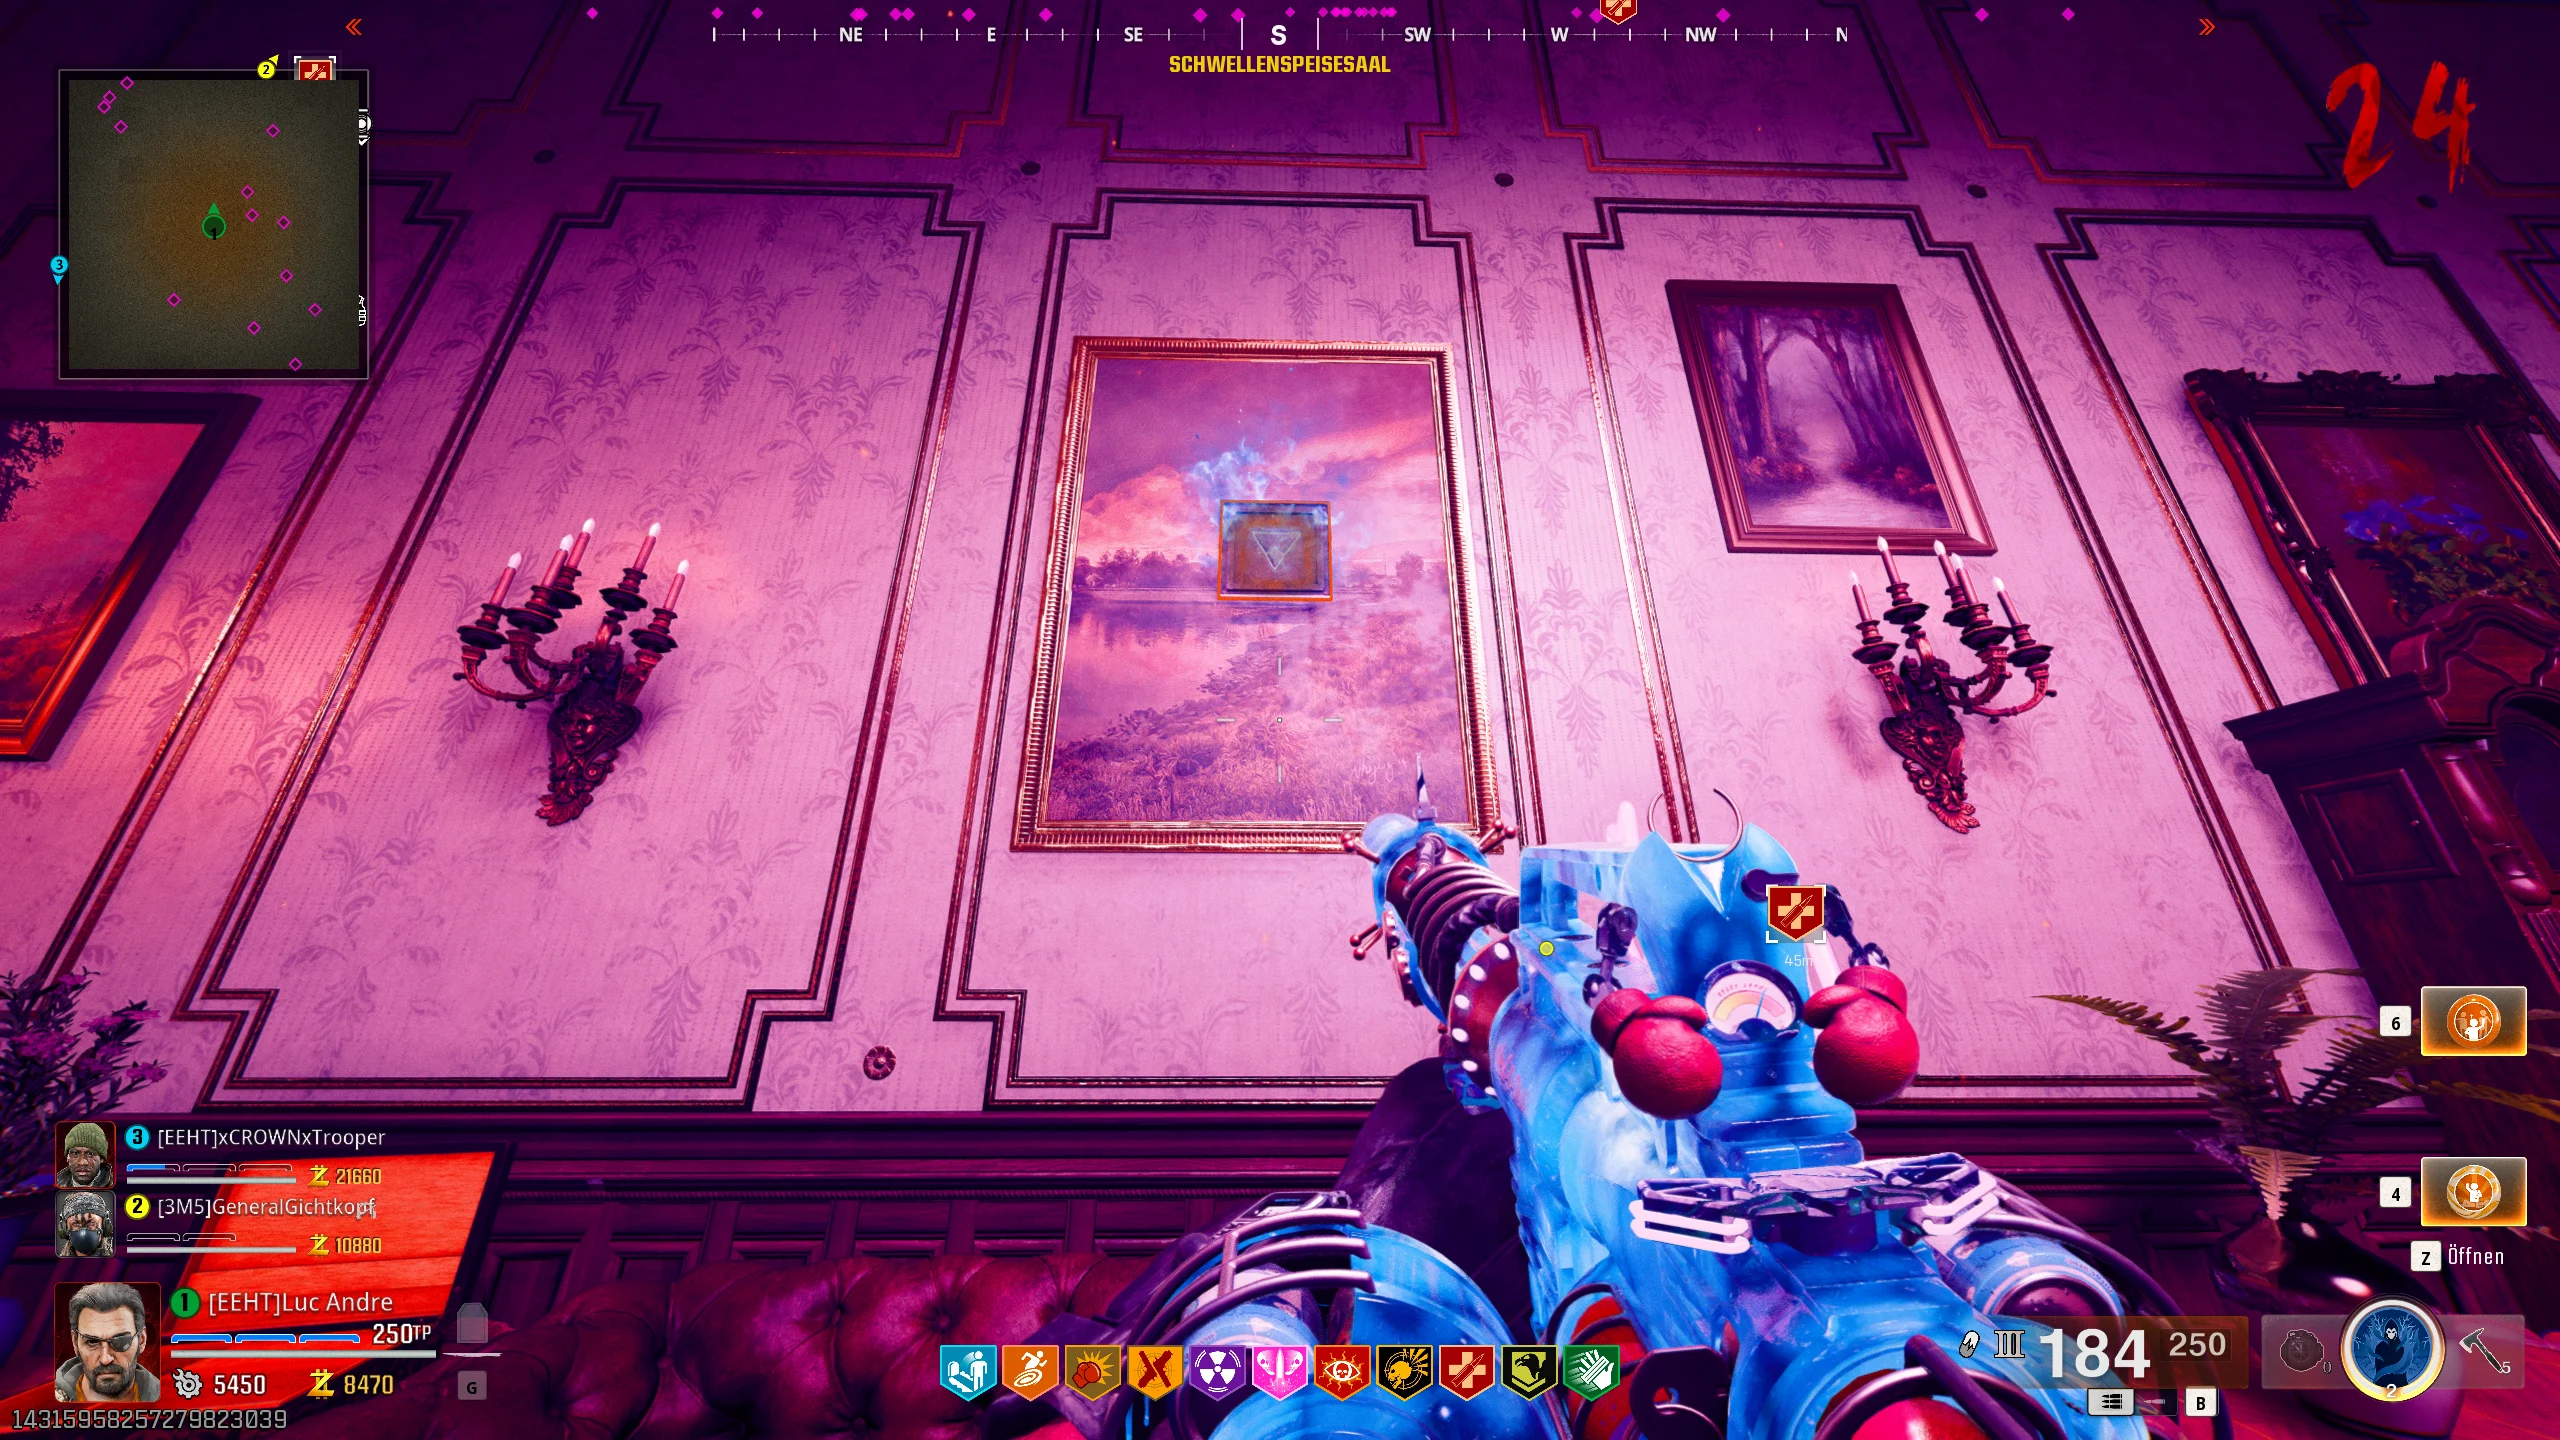
Press and hold the interaction button to upgrade the Ray Gun. Once you’ve picked up the upgraded weapon, head to the banquet hall and pick up the sconce from the box.

Interact with the lamp you just inserted and watch the light sequence. You now need to replicate the light sequence of both lamps by interacting with each lamp.
Once you’ve completed this successfully, a hidden area will open.
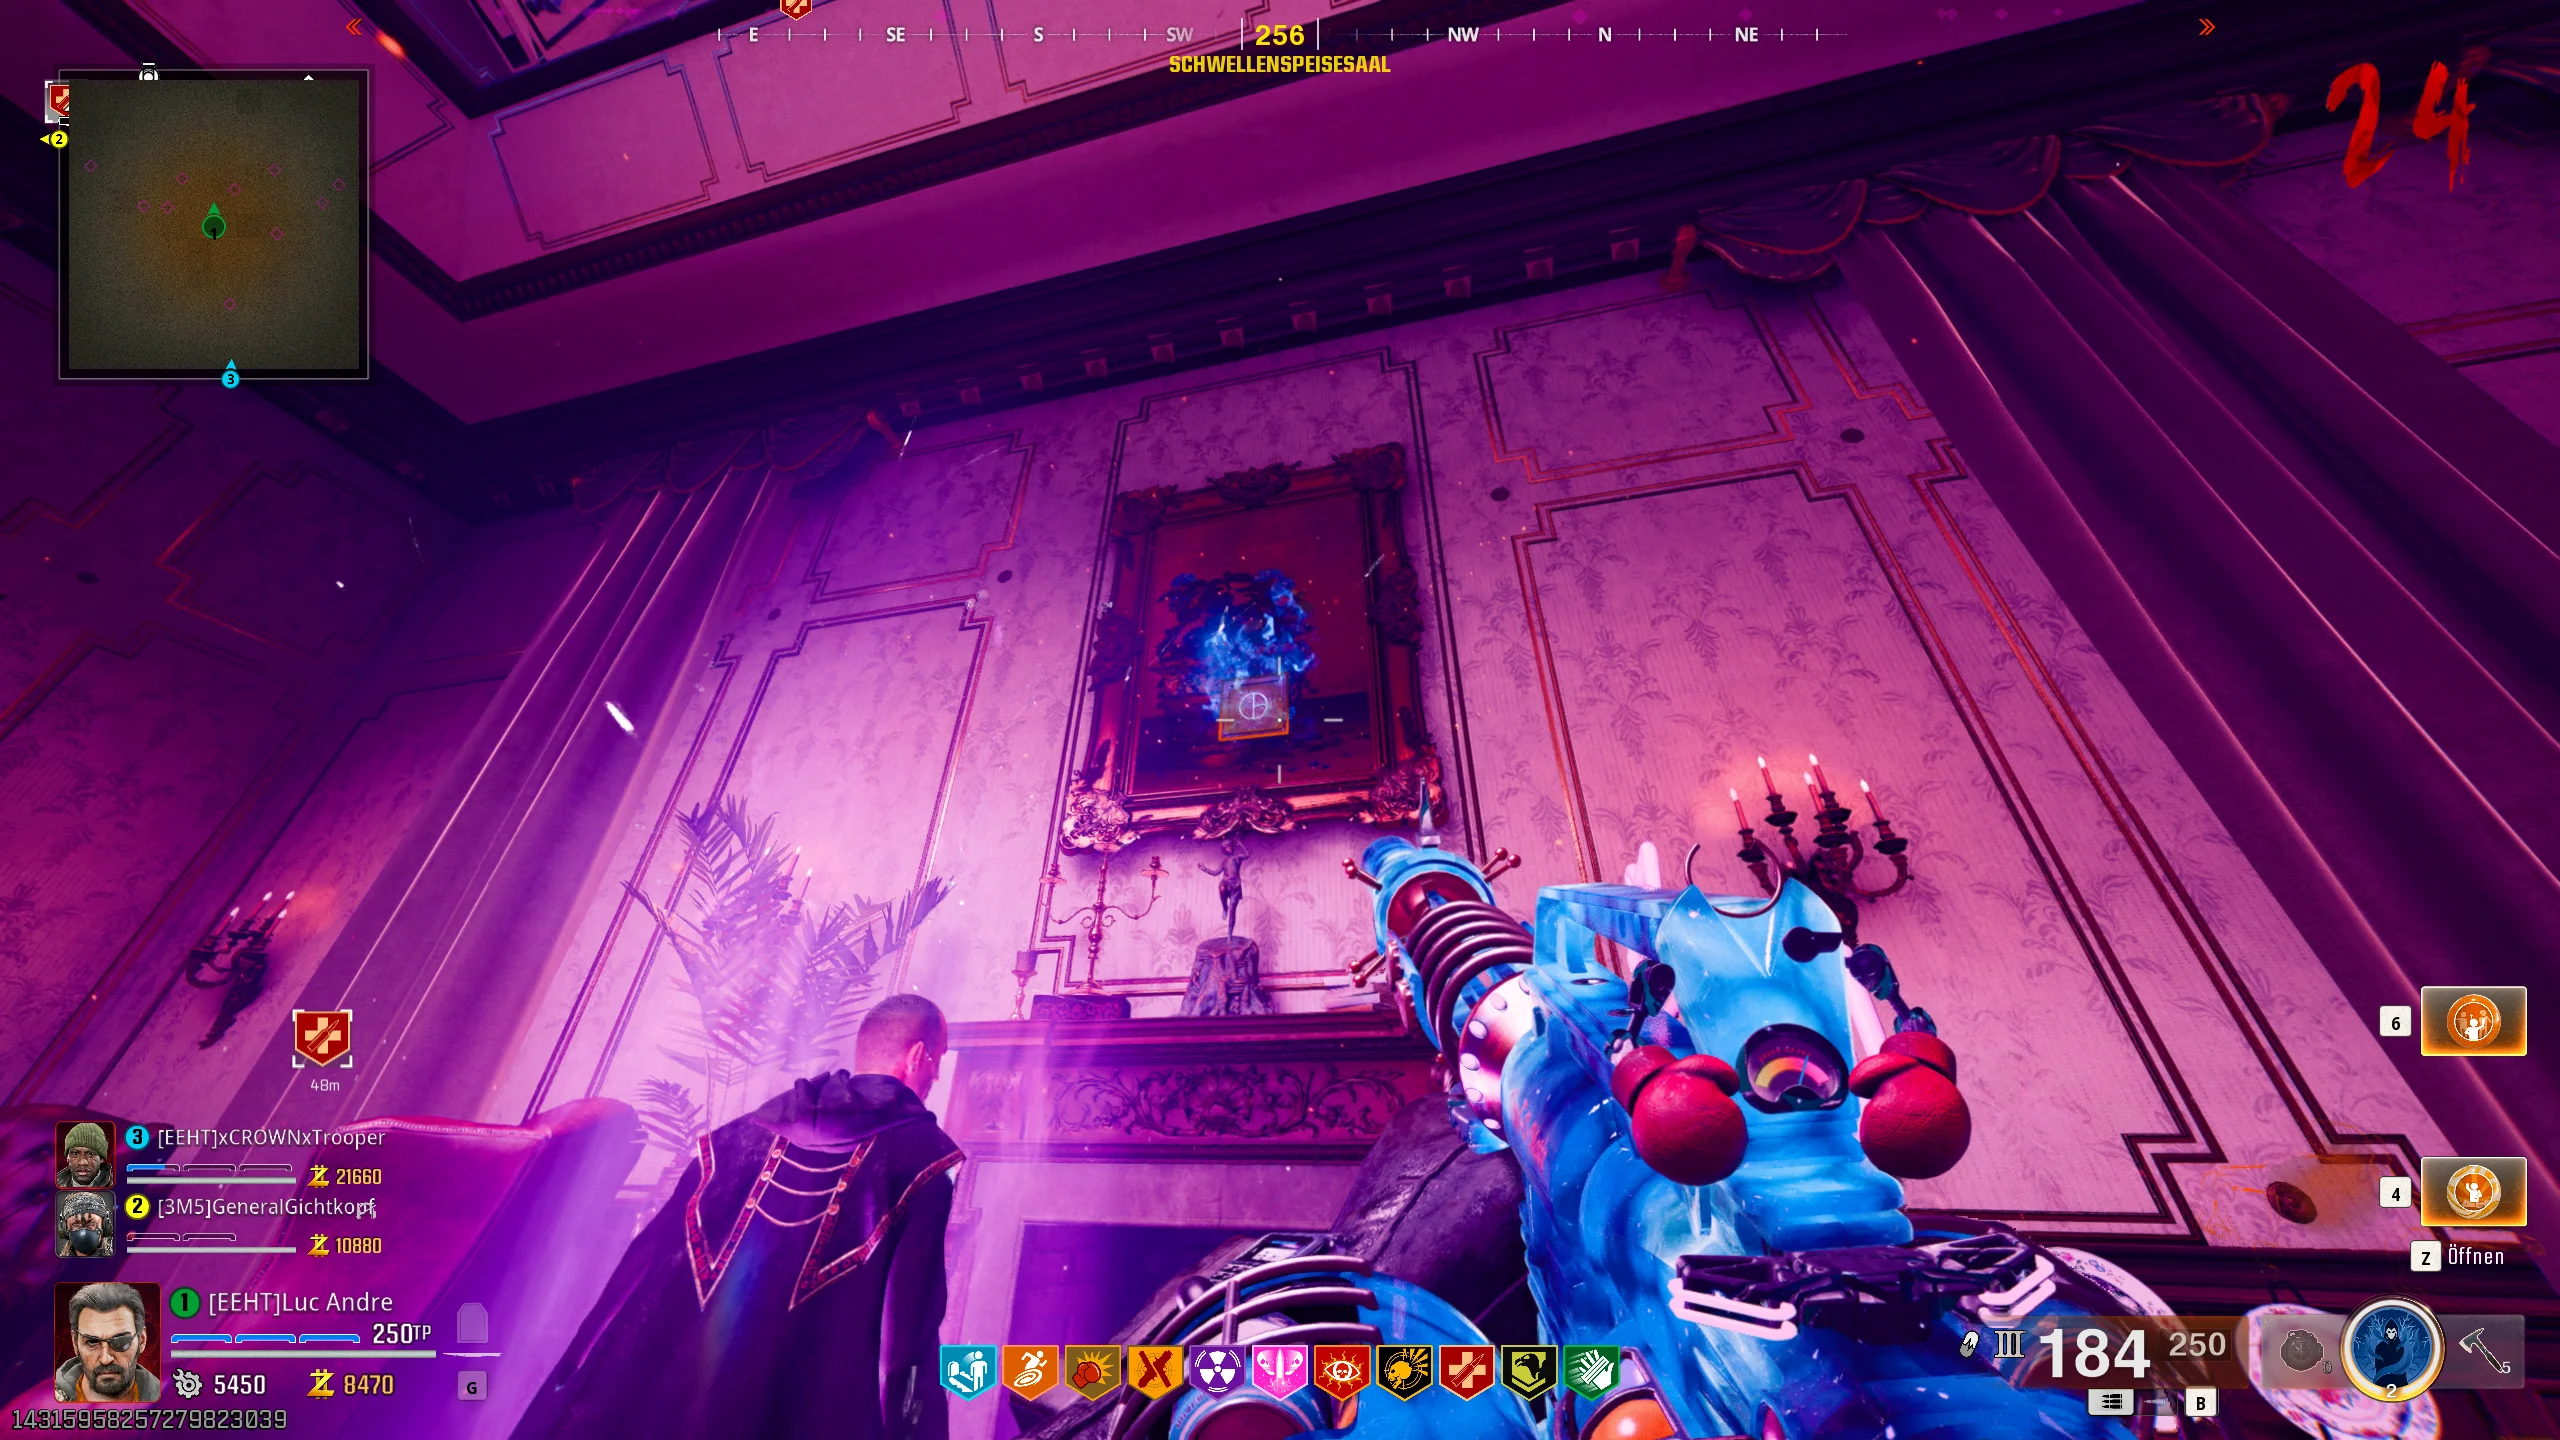
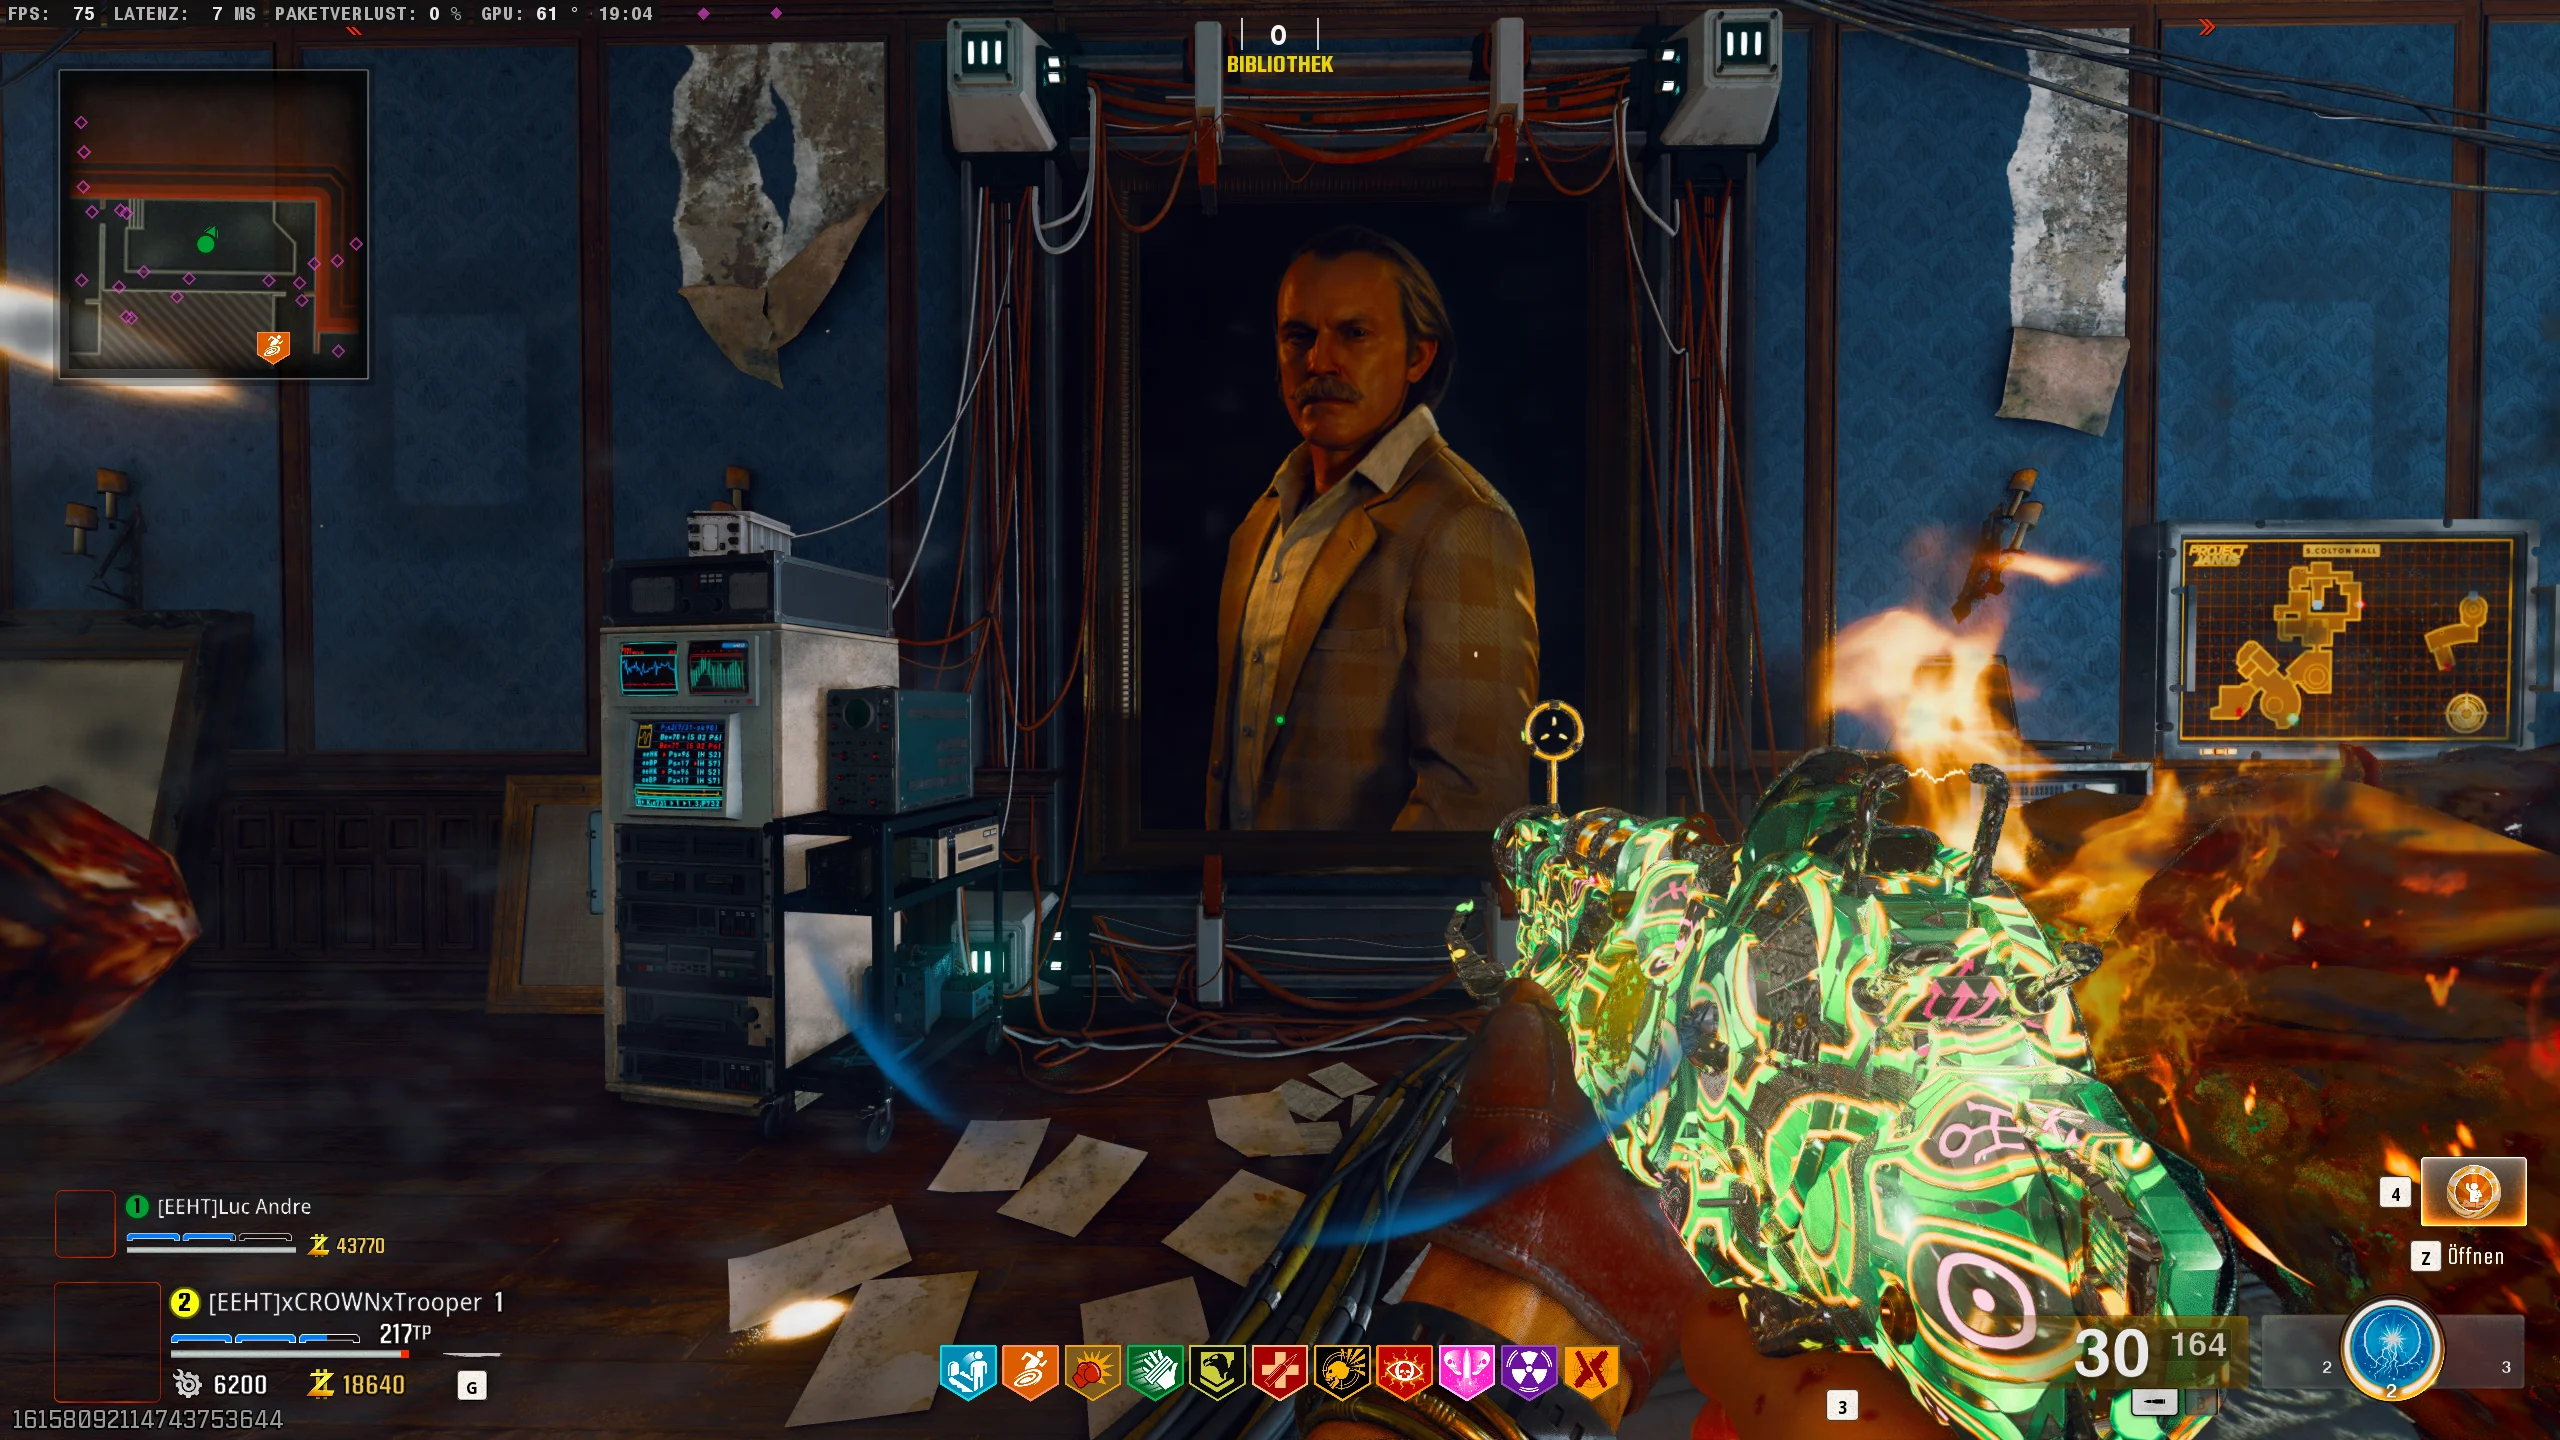
Enter the newly opened room and interact with the server next to the picture.
Note that the picture in this room looks different from the one in the illustration – the picture is just for orientation.
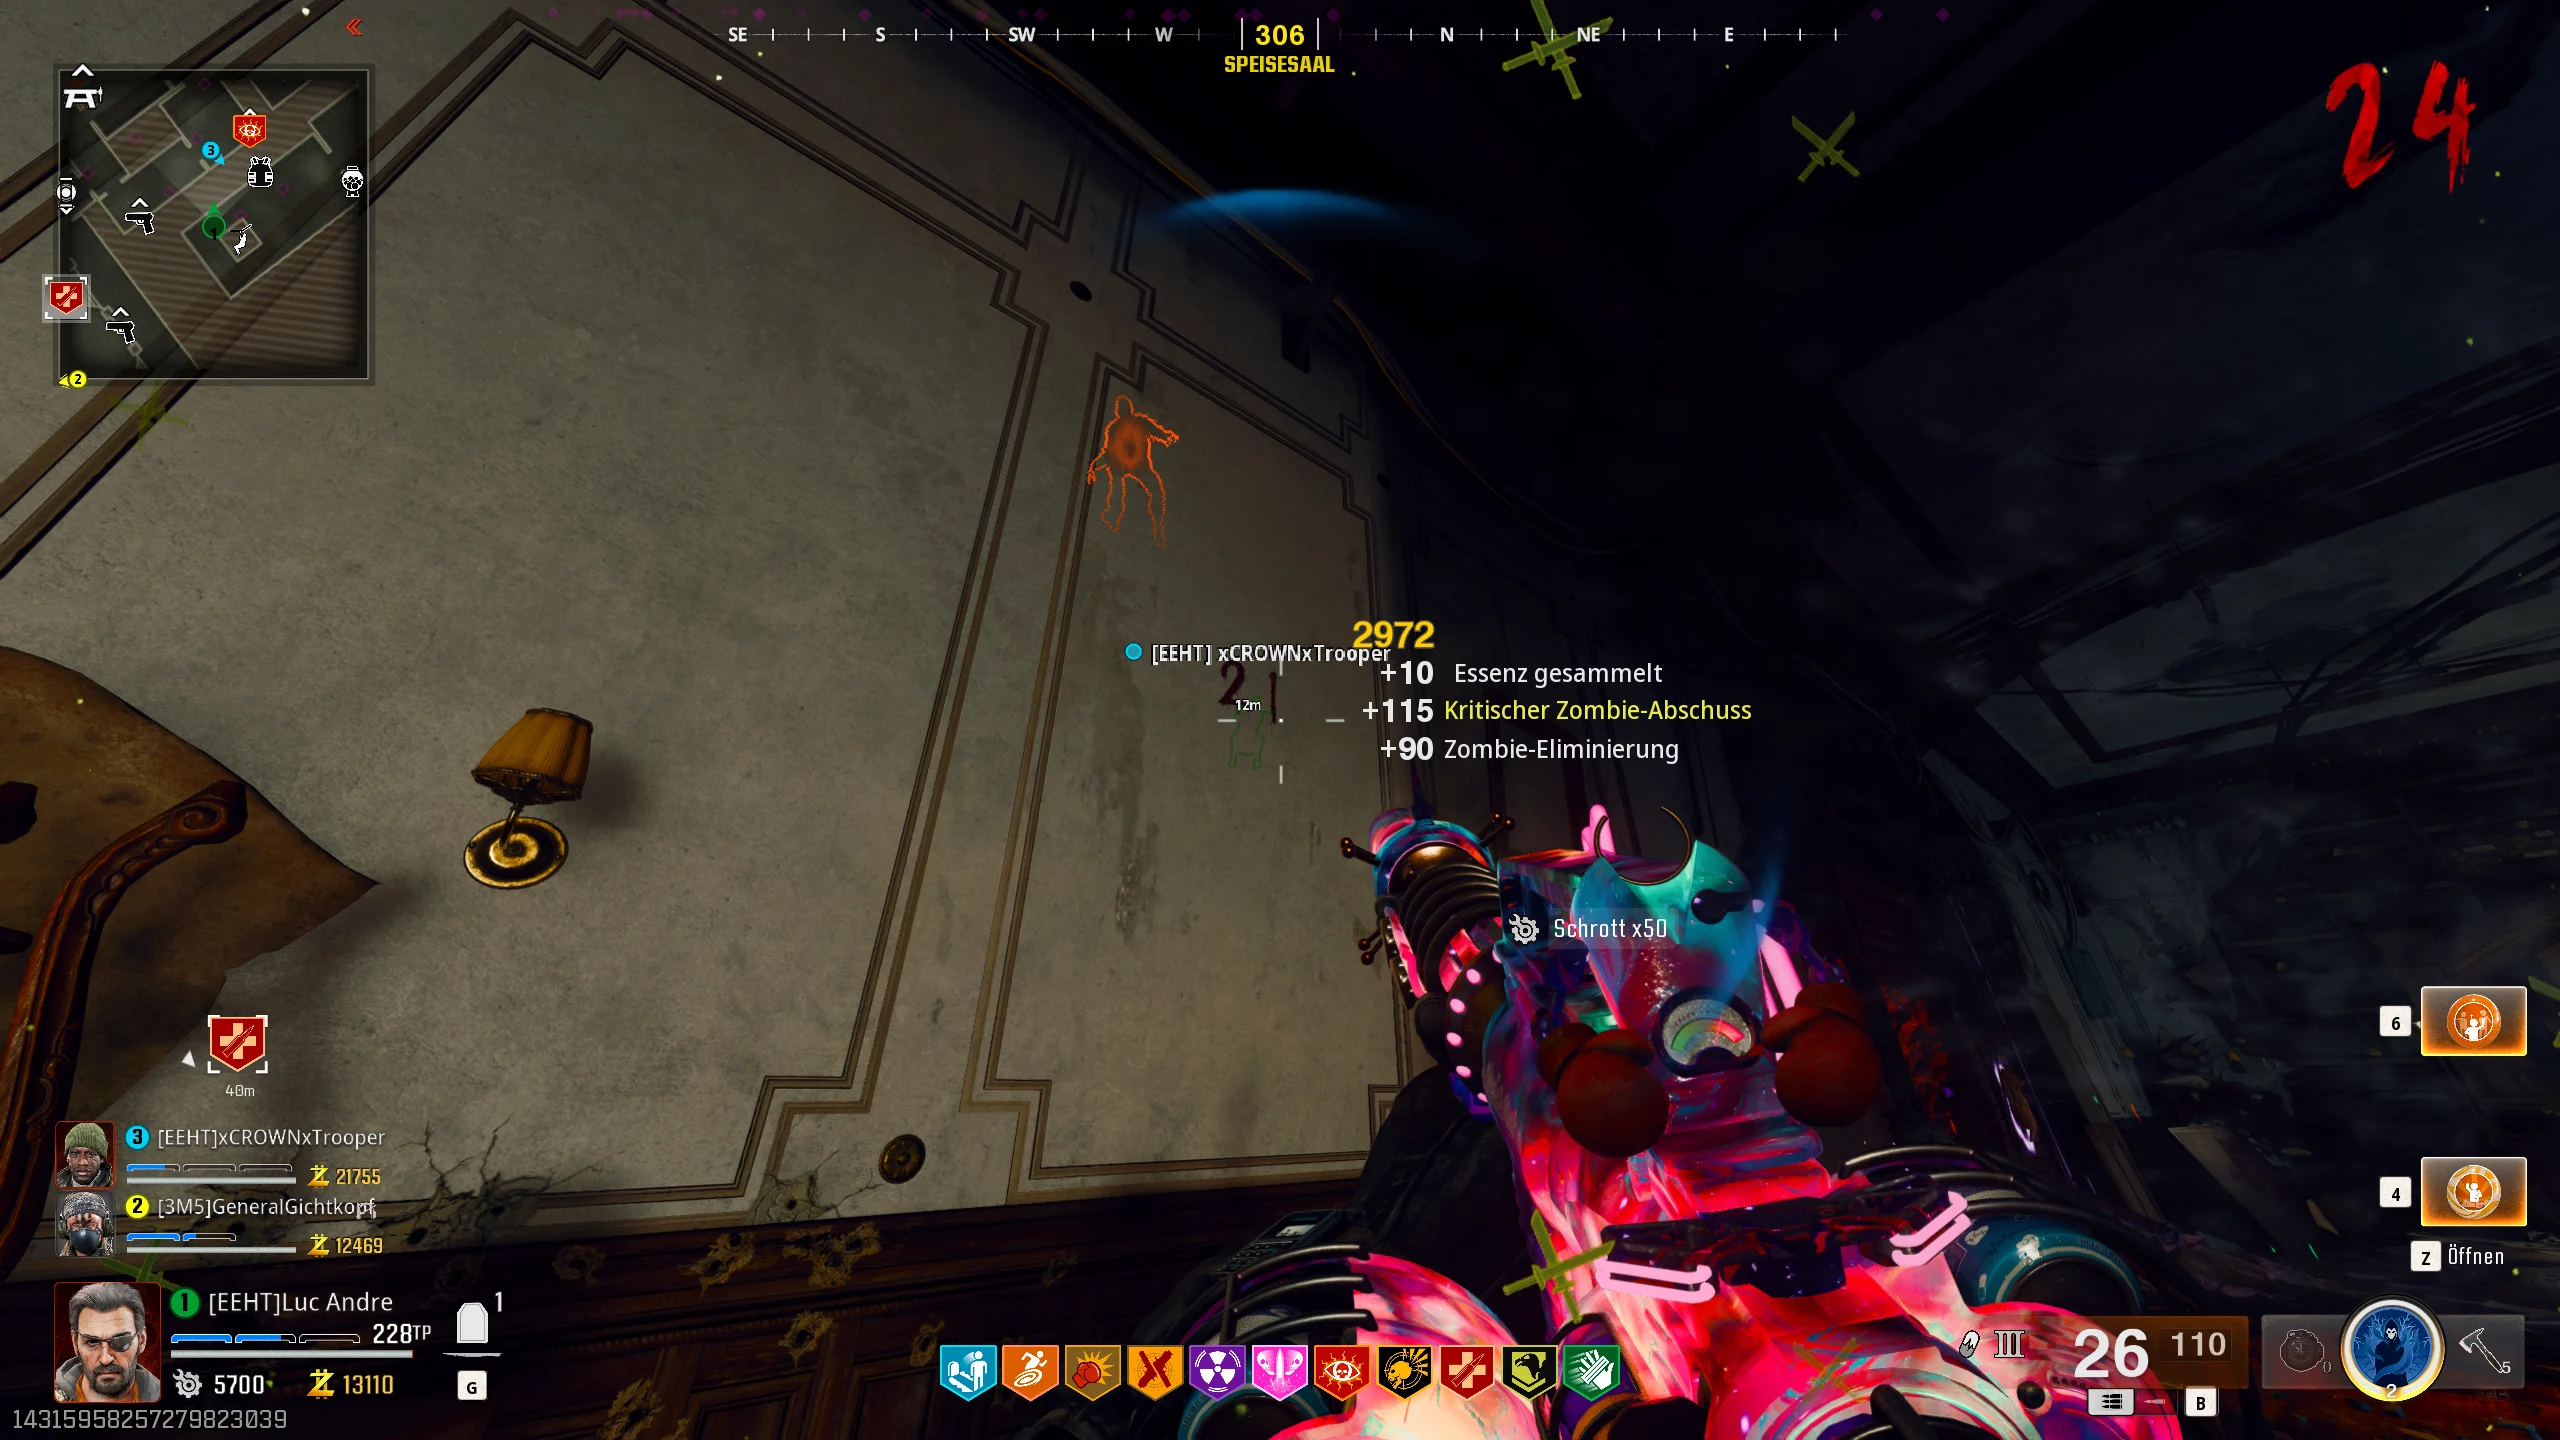
After interacting with the server, a lockdown will start. During this lockdown, you need to kill zombies with the Ray Gun.
You will notice that the souls of the zombies fly into the picture. Once enough souls are collected, a portal will open in the picture.
You must jump through this portal.
Go to the study room to pick up a bell. The bell can be in three different positions in the room. These positions are marked by the following symbols:
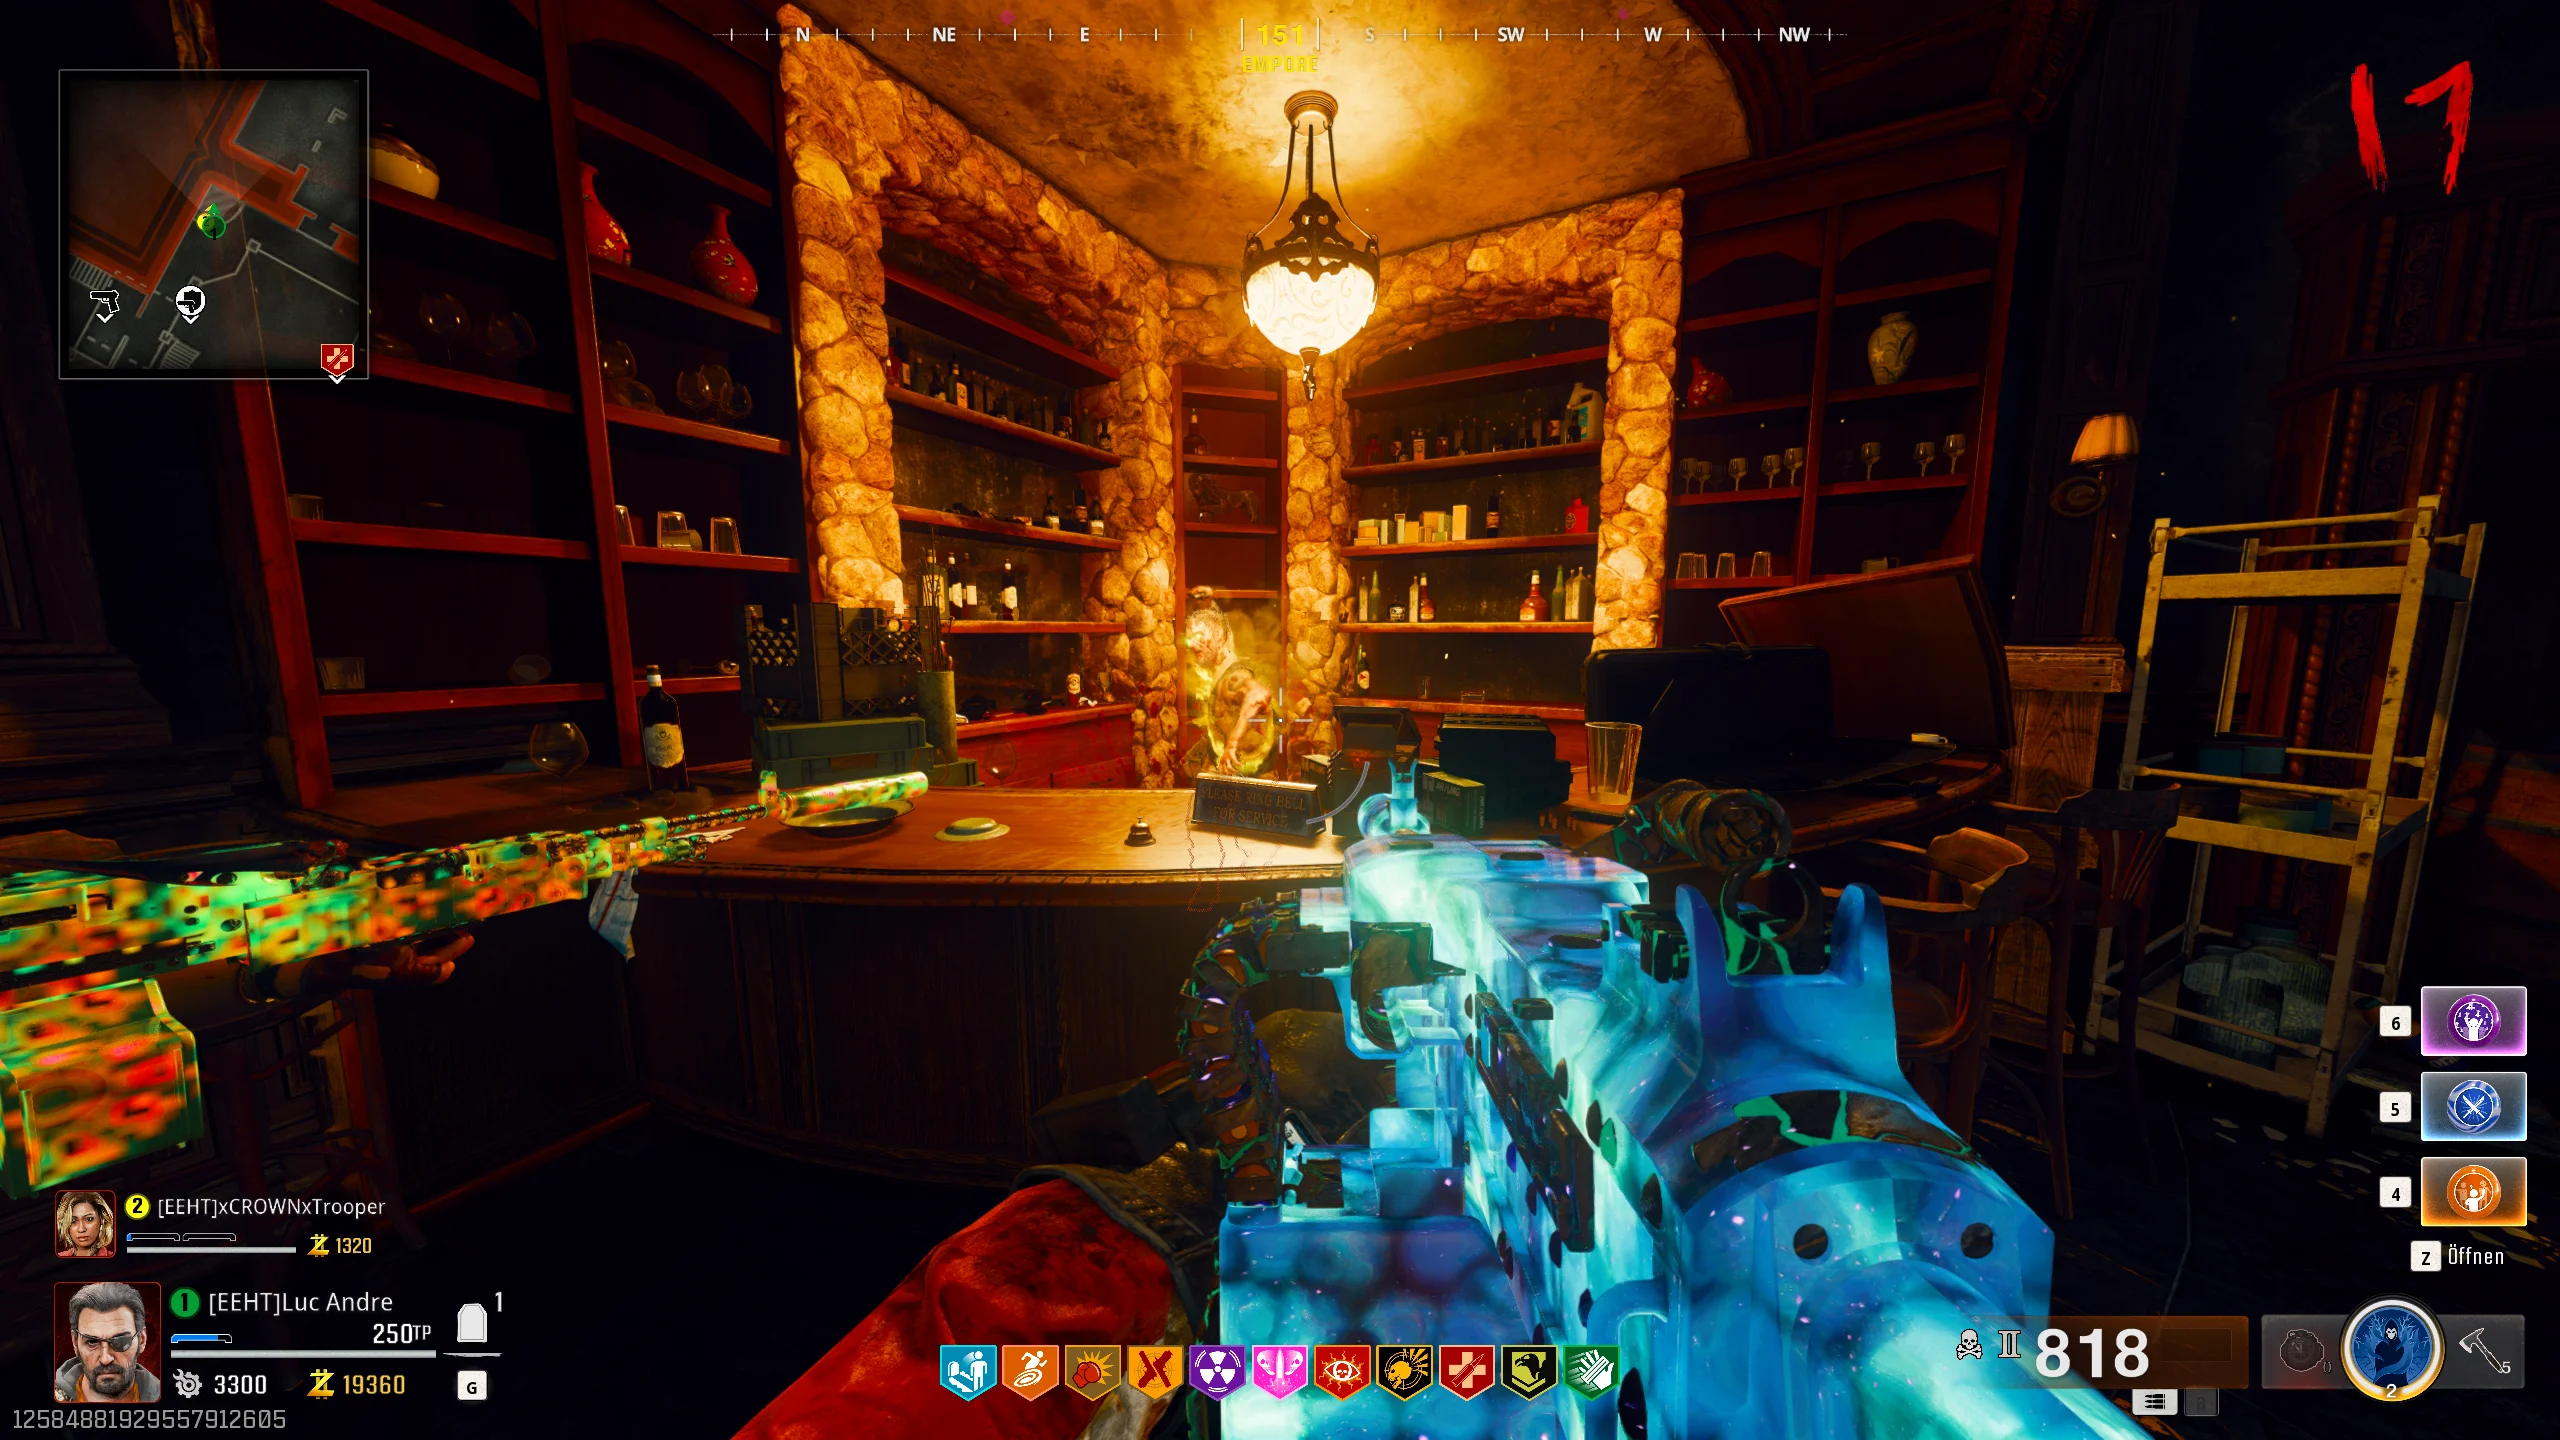
Once we’ve picked up the bell, equip the brain rot on our normal weapon and head to the overlook area. There, you’ll find a bar with a sign that says “PLEASE RING BELL FOR SERVICE.”

Interact with the bar to place the bell. Now, you need to infect a zombie with brain rot.
Once you’ve infected a zombie, bring it near the bar and interact with the bell again. The zombie will now climb behind the bar and give you a drink.
Take the drink (flask) and head back to the room with the ghost. Now, place the sentinel artifact on the stone pedestal.
Once you interact with the sentinel artifact, a lockdown will begin. A Mangler will spawn, surrounded by a blue shield.
Shoot the Ray Gun at the Mangler to destroy the shield and deal damage to it. Once you’ve defeated the Mangler, grab the max ammo and pick up the artifact again. Then, proceed to the next step.
We’re now moving on to the next upgrade for the Wonder Weapon. For this, you’ll need a canister again. Here’s how you can get the second of the three canisters.
Equip yourself with Tomahawks. Tip: Tomahawks are scattered around the map, and you can pick them up.
Now, head back to the mainframe chamber and locate the following tank. To the left of it, there will be a letter on the wall. Remember this letter.
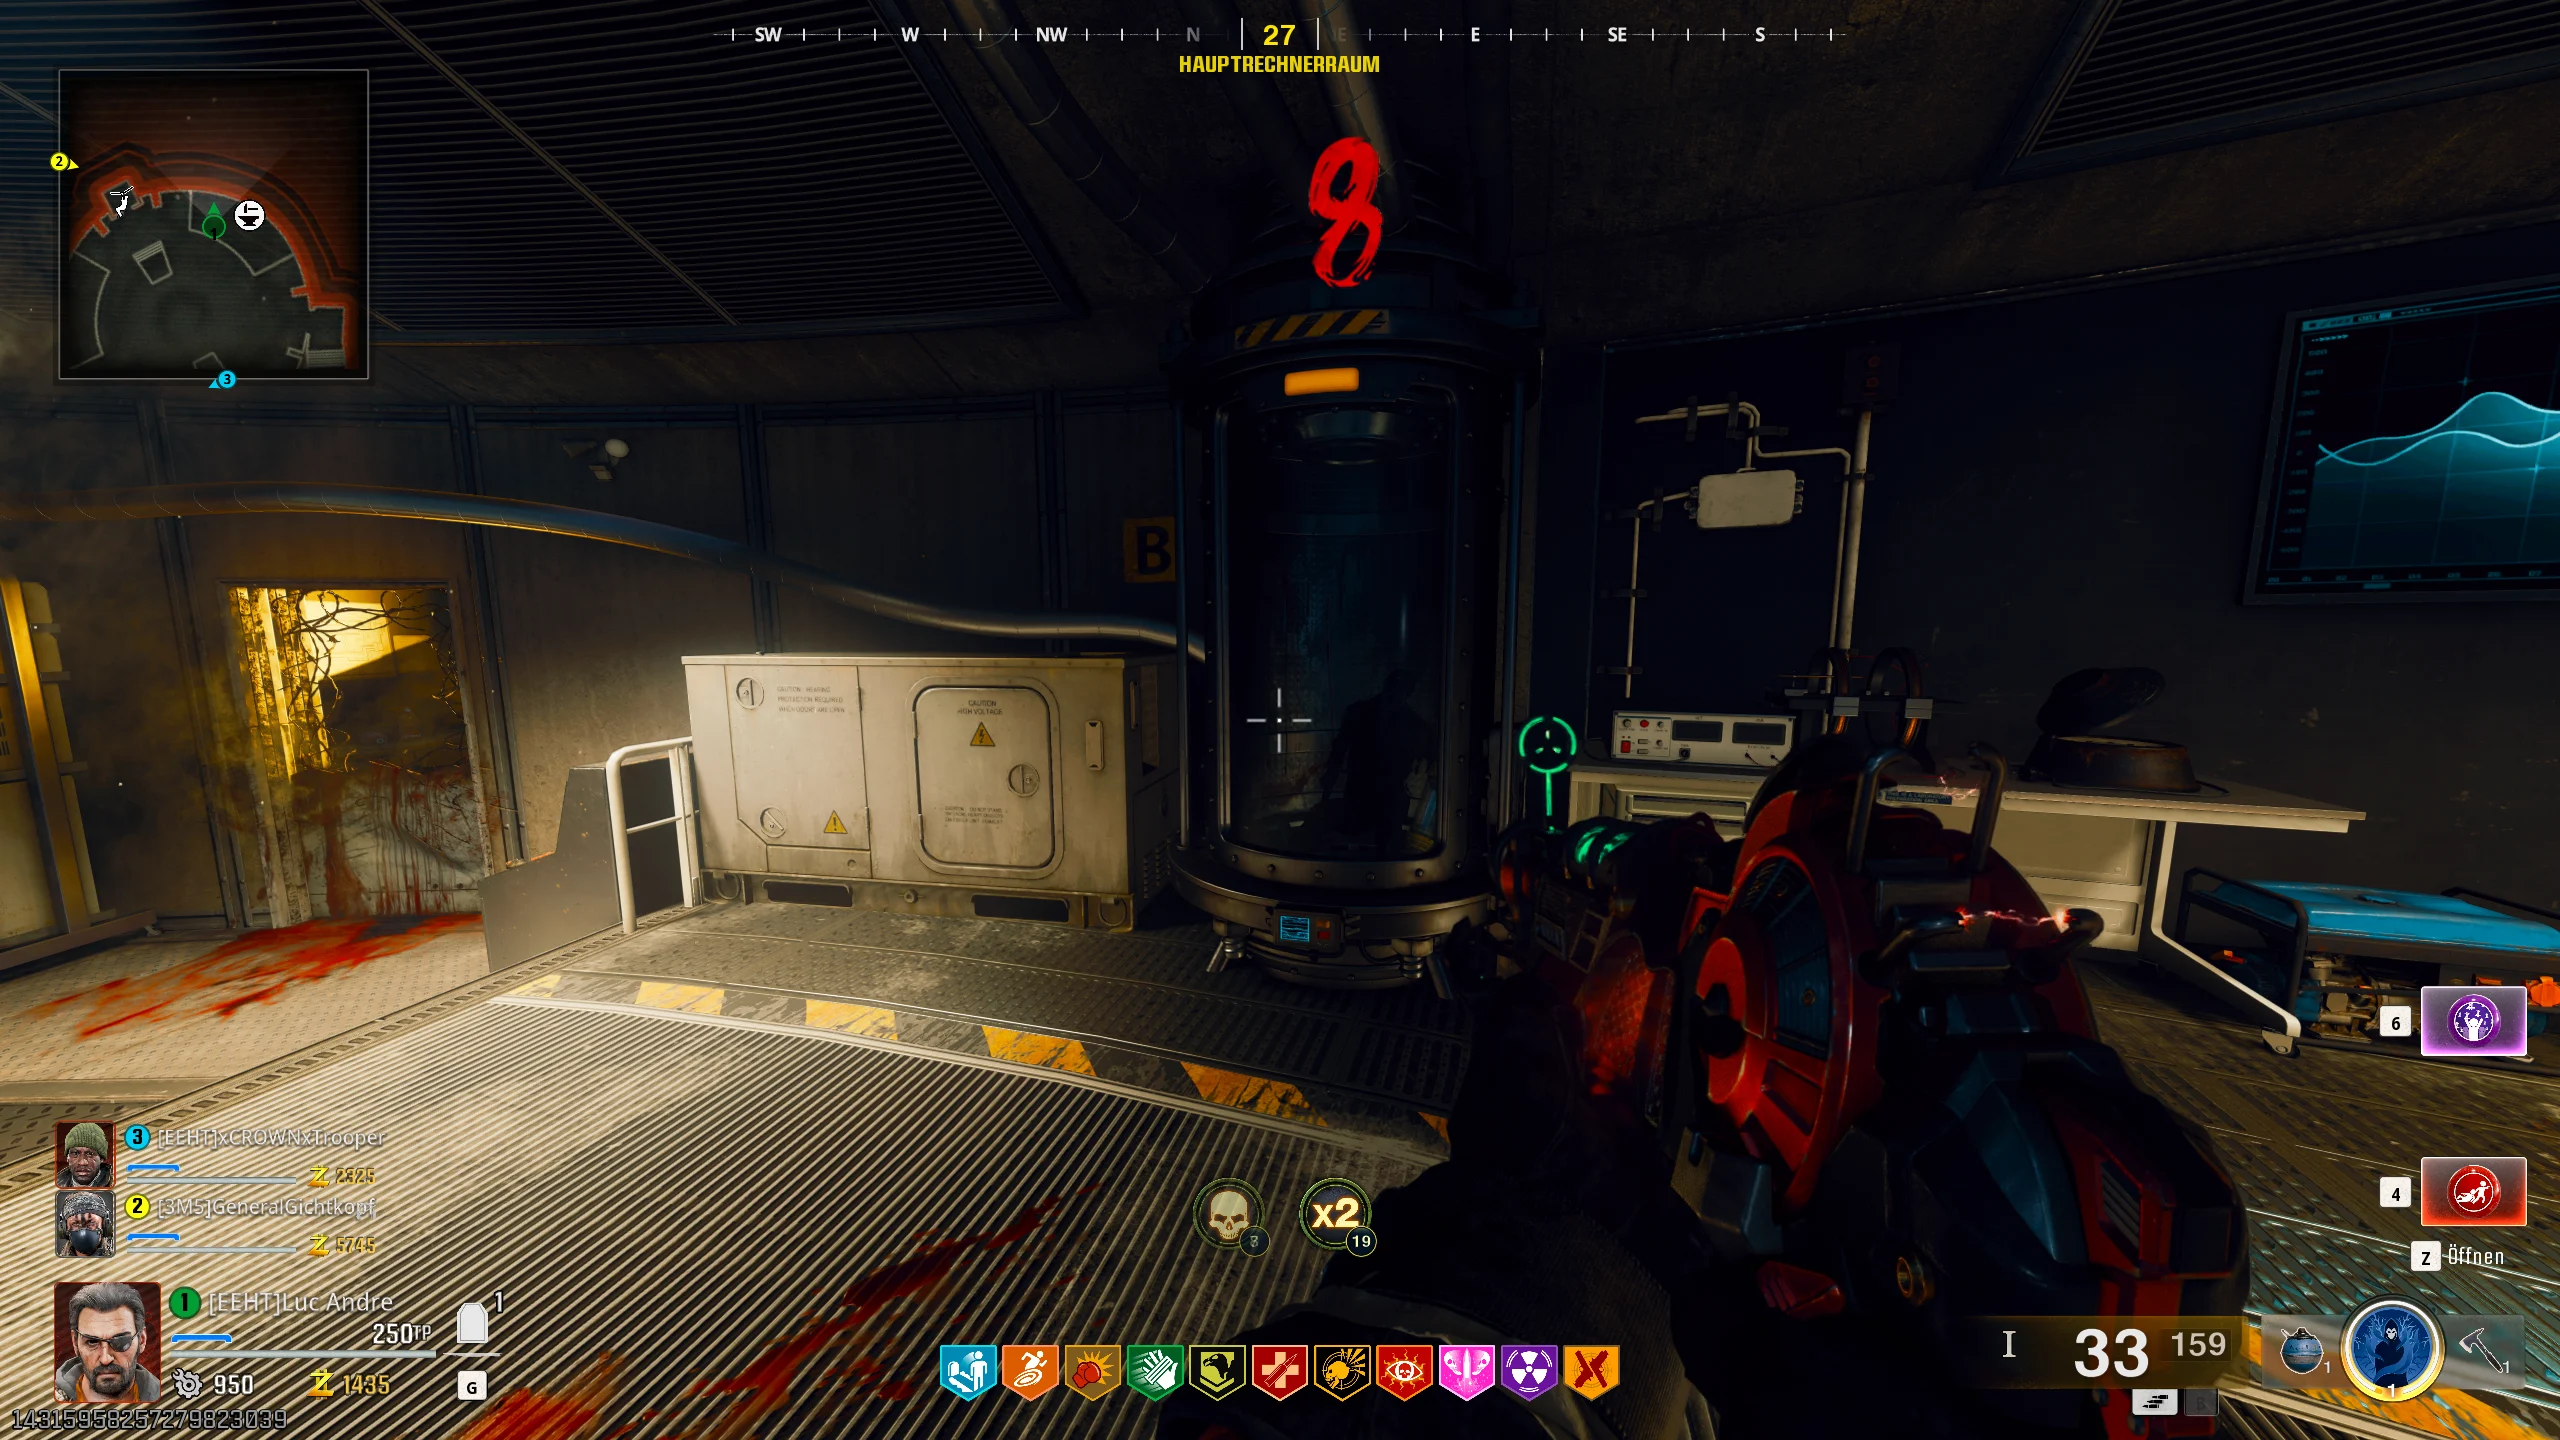
It will either be the letter A or the letter B, so you don’t have much of a choice. Remember the letter you found.
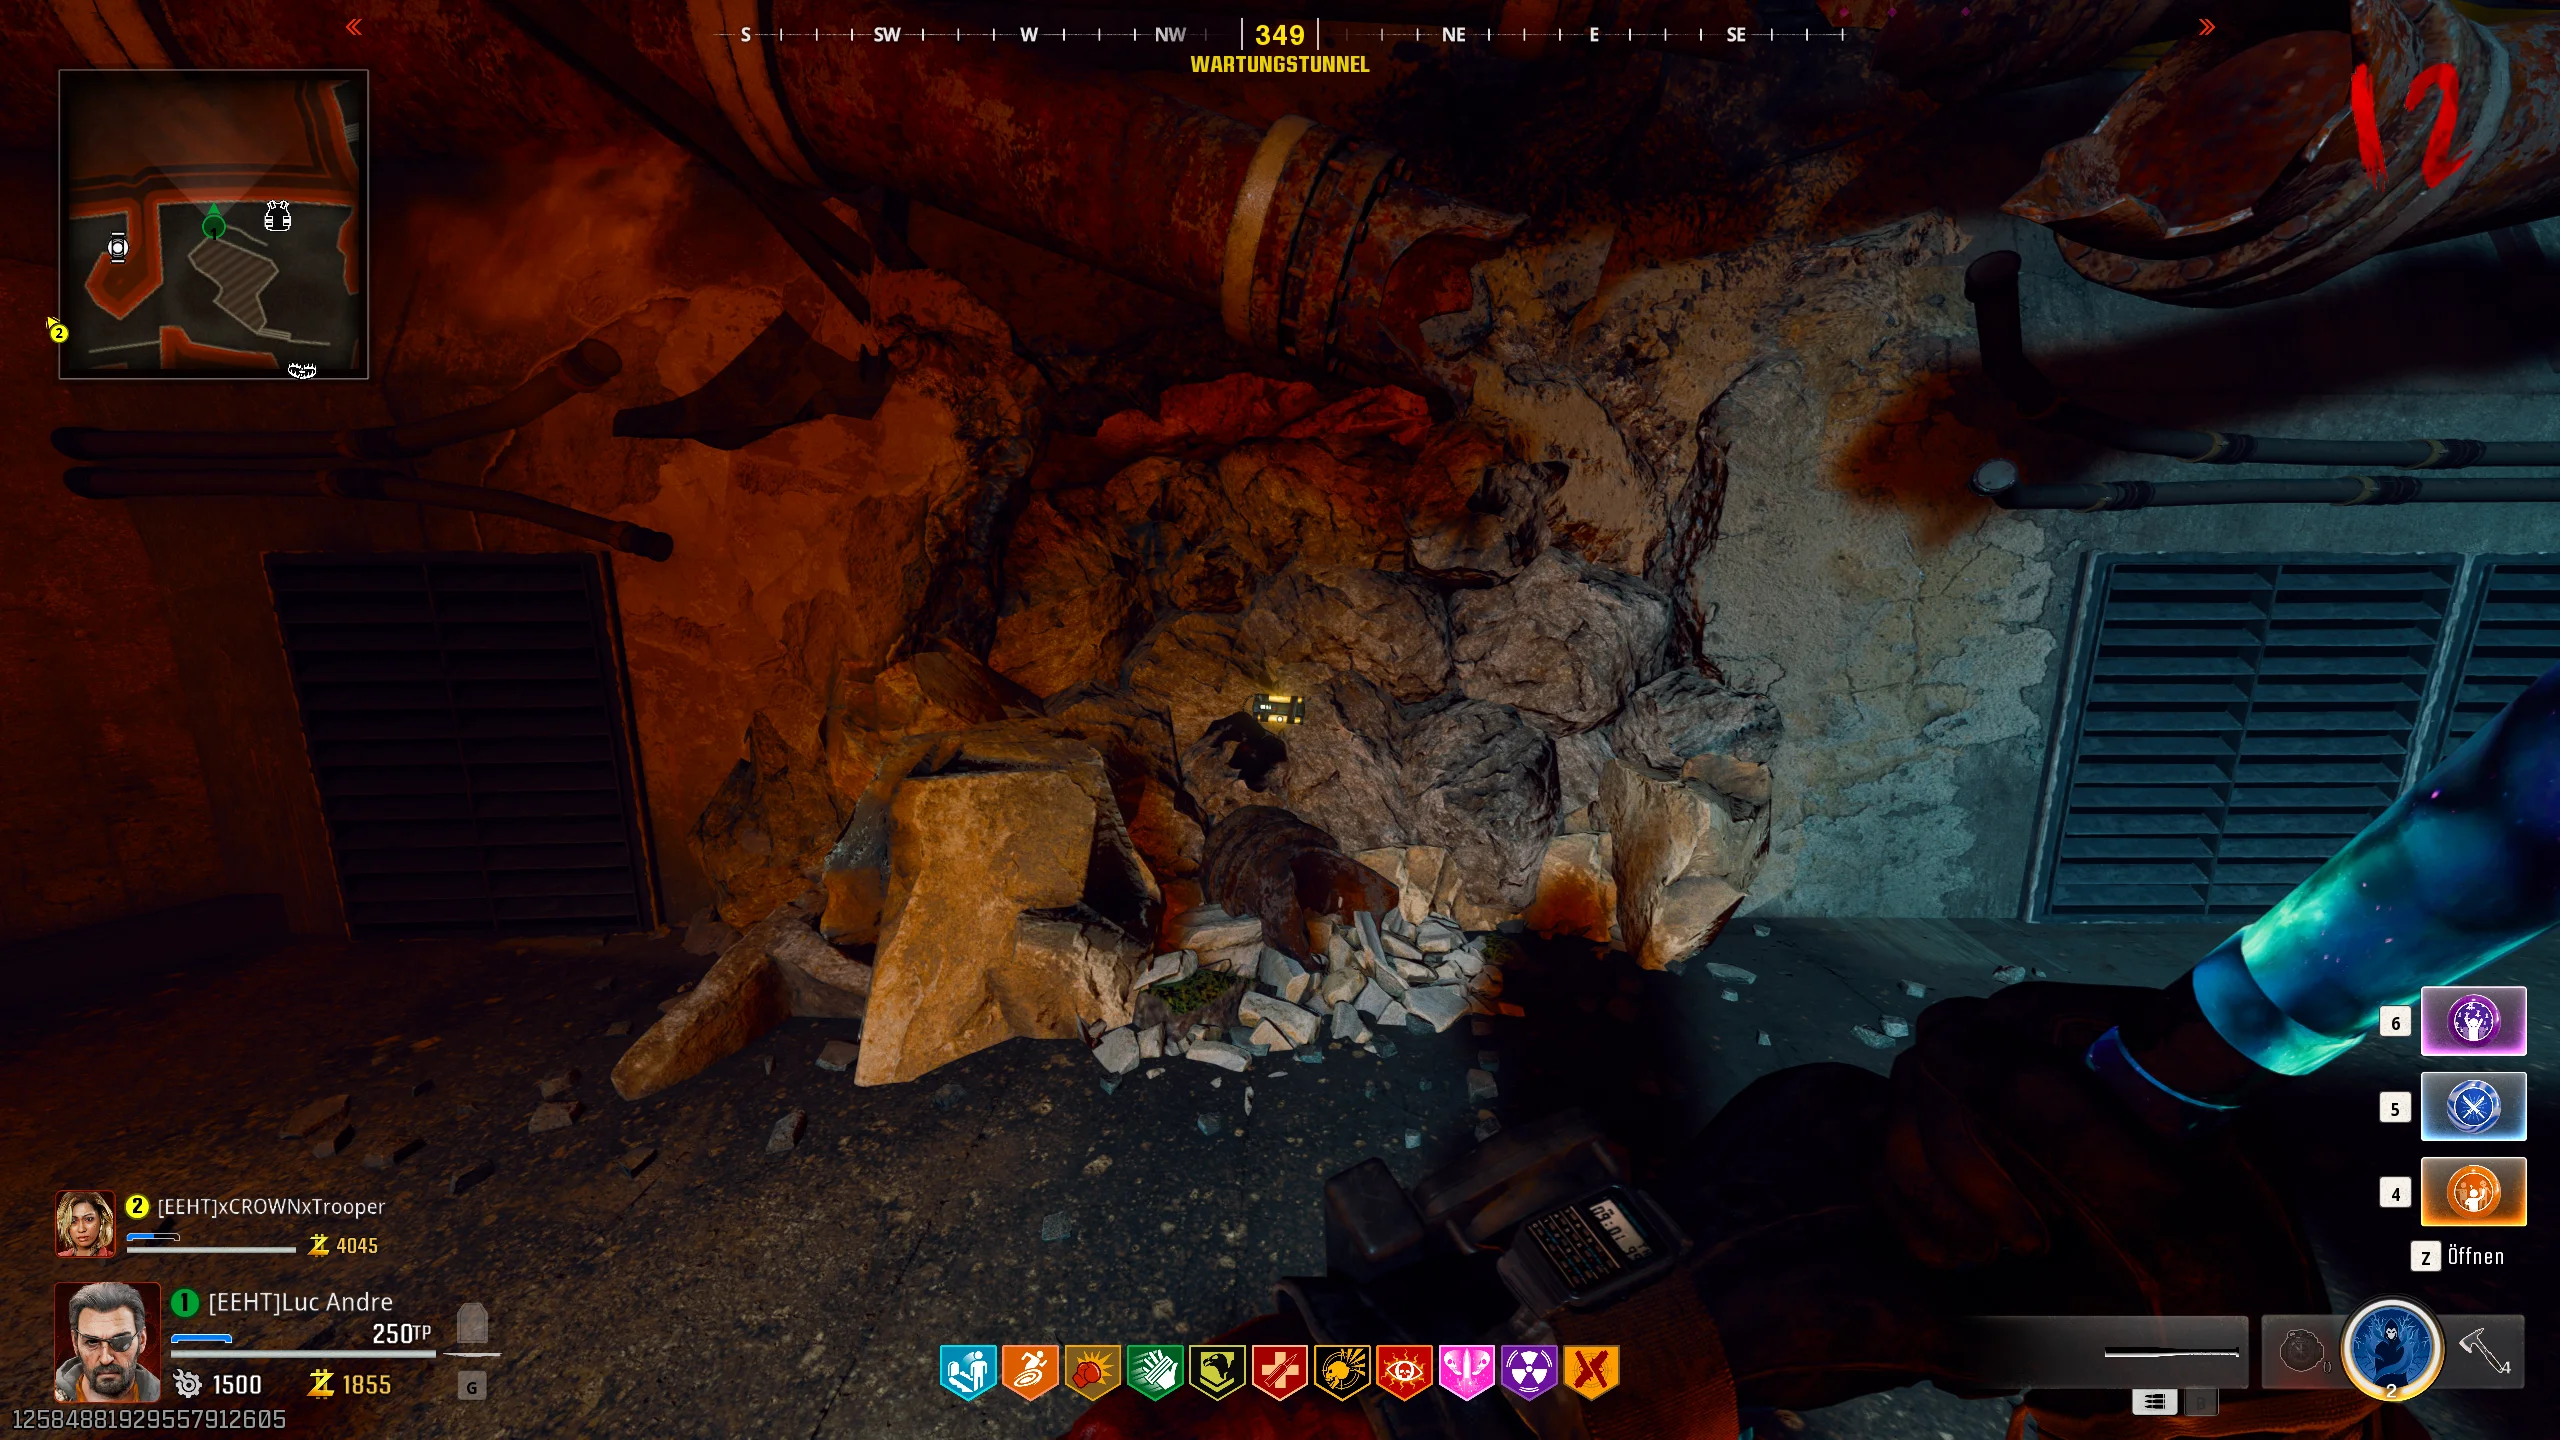
Now, head back to the service tunnel and look at the following wall. This is located directly to the left of the gate where we freed the Doppelghast for the Ray Gun.
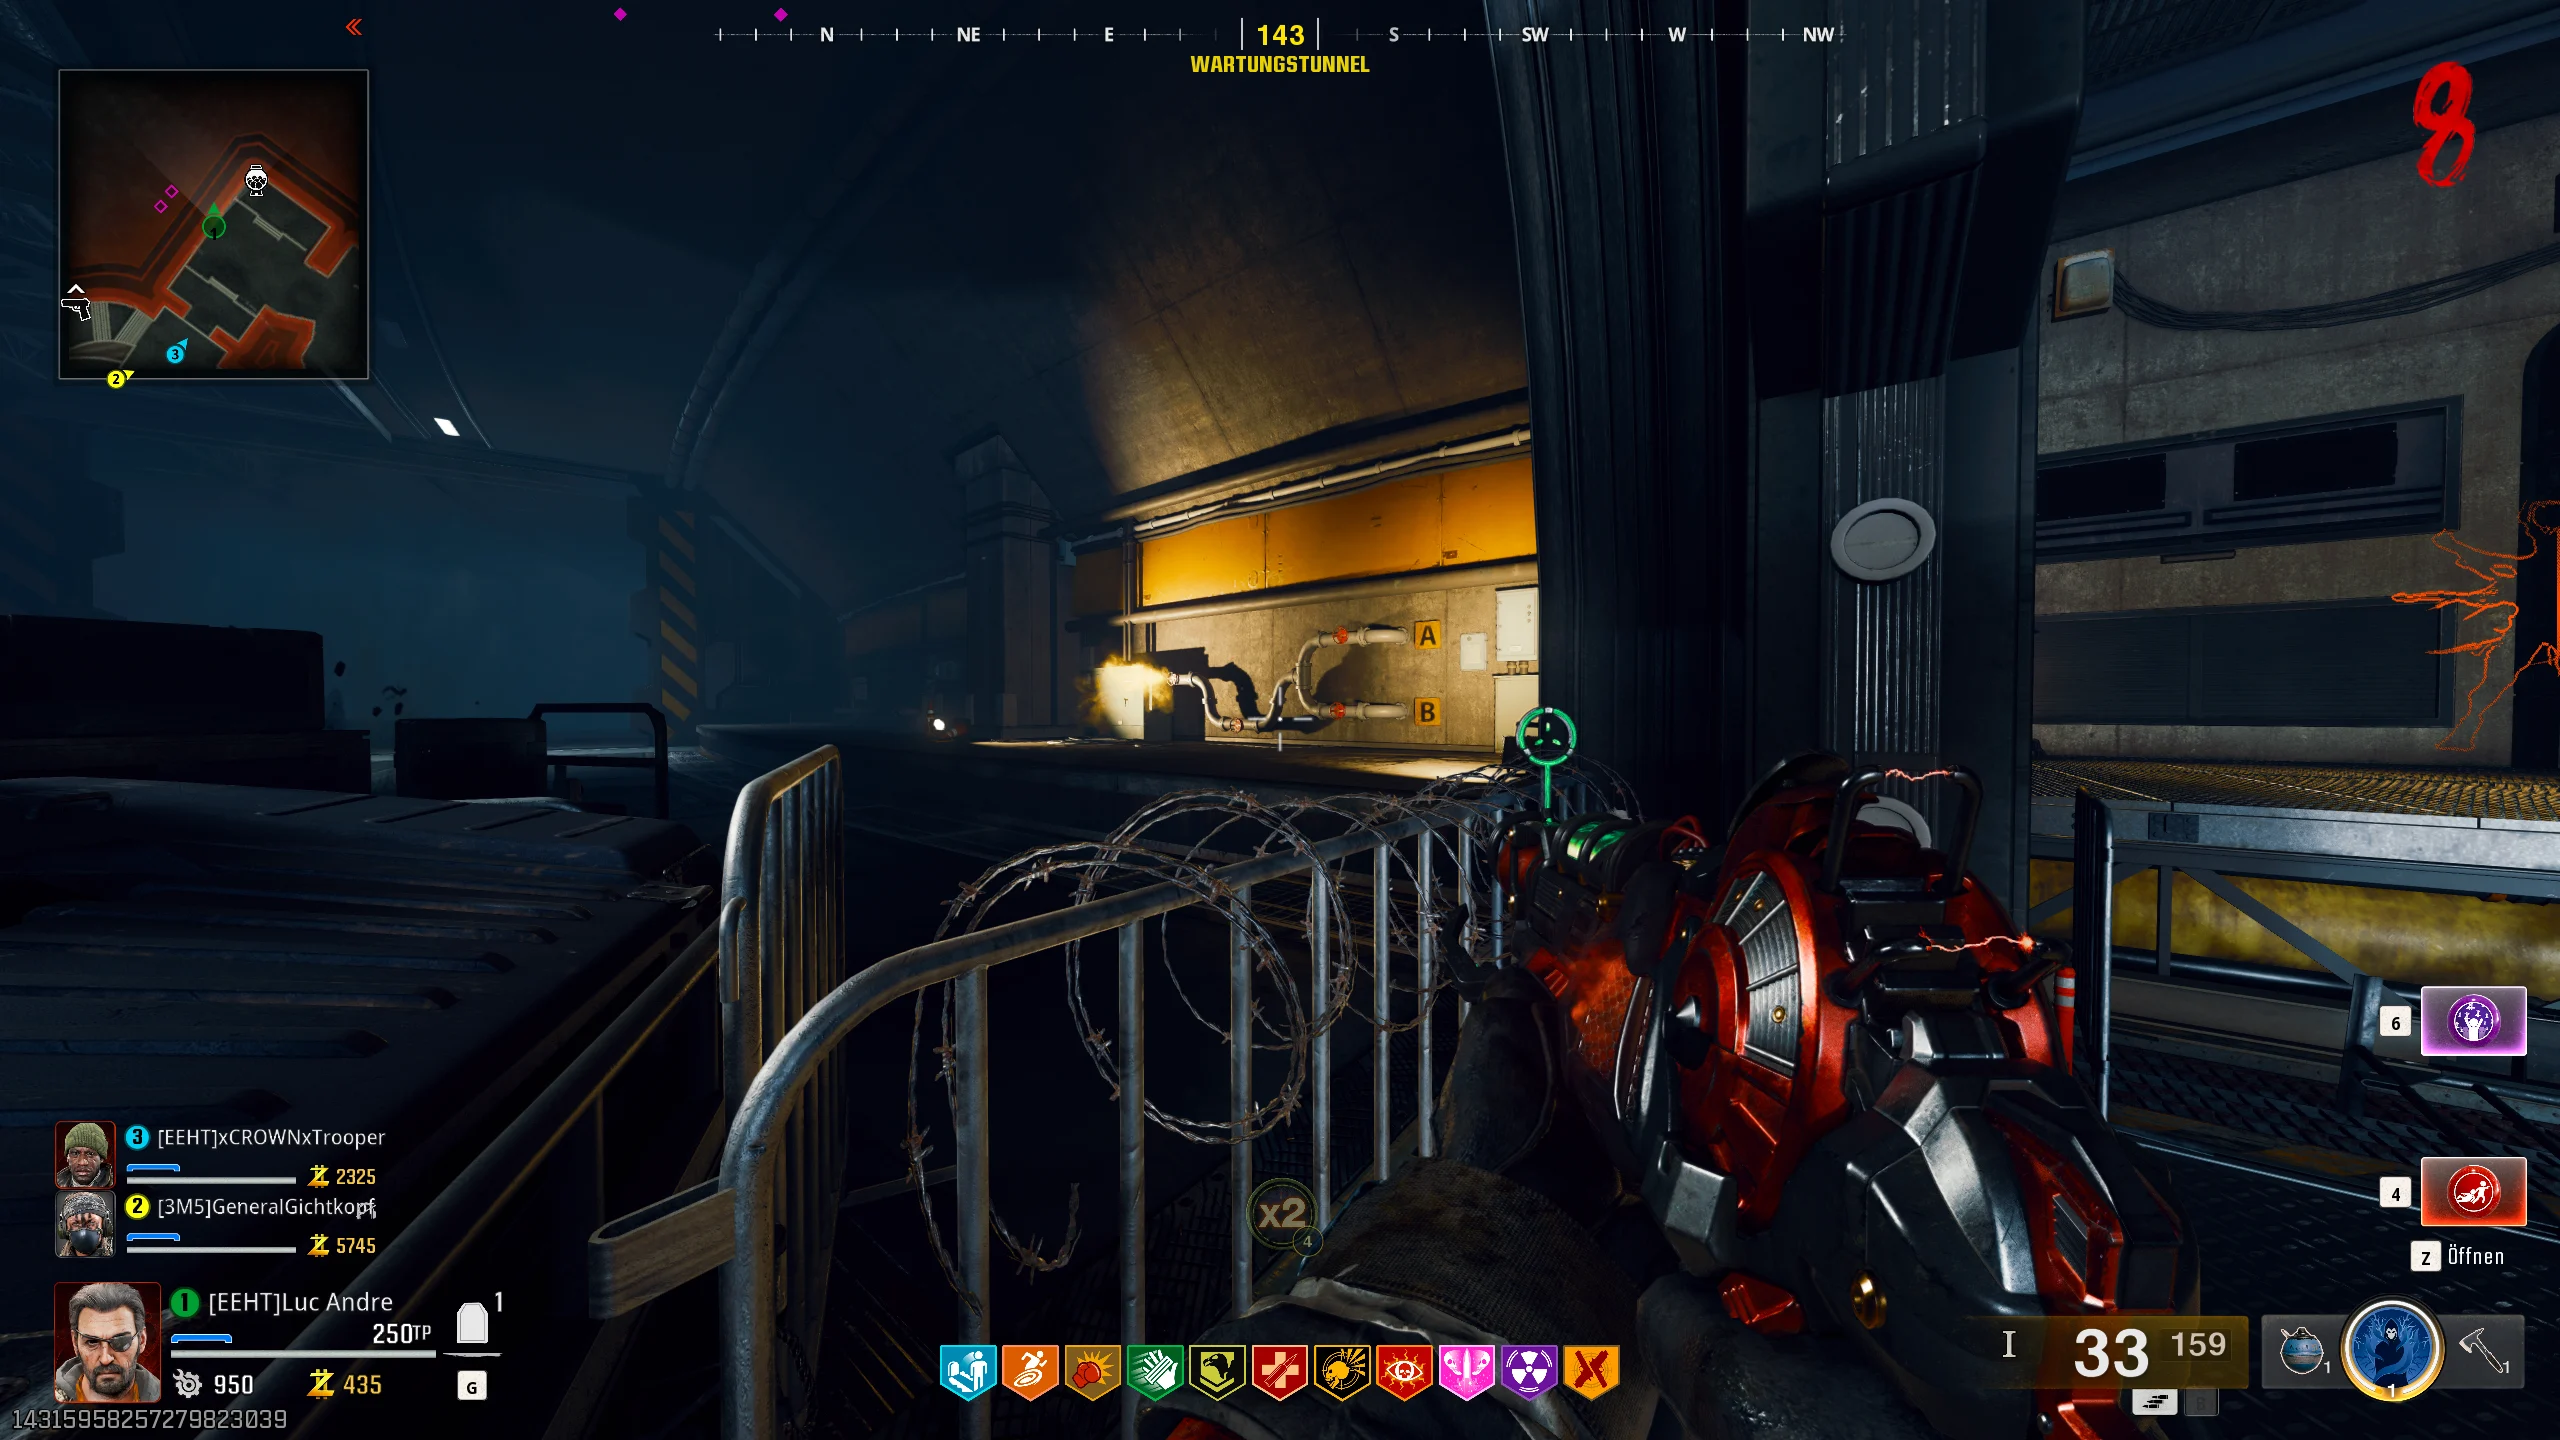
You will clearly see either the letter A or B. So, if the letter next to the container is A, you need to hit the top red valve with the Tomahawk, then hit the second one further left. If you have the letter B, you’ll hit the bottom red valve and then the second one on the left.
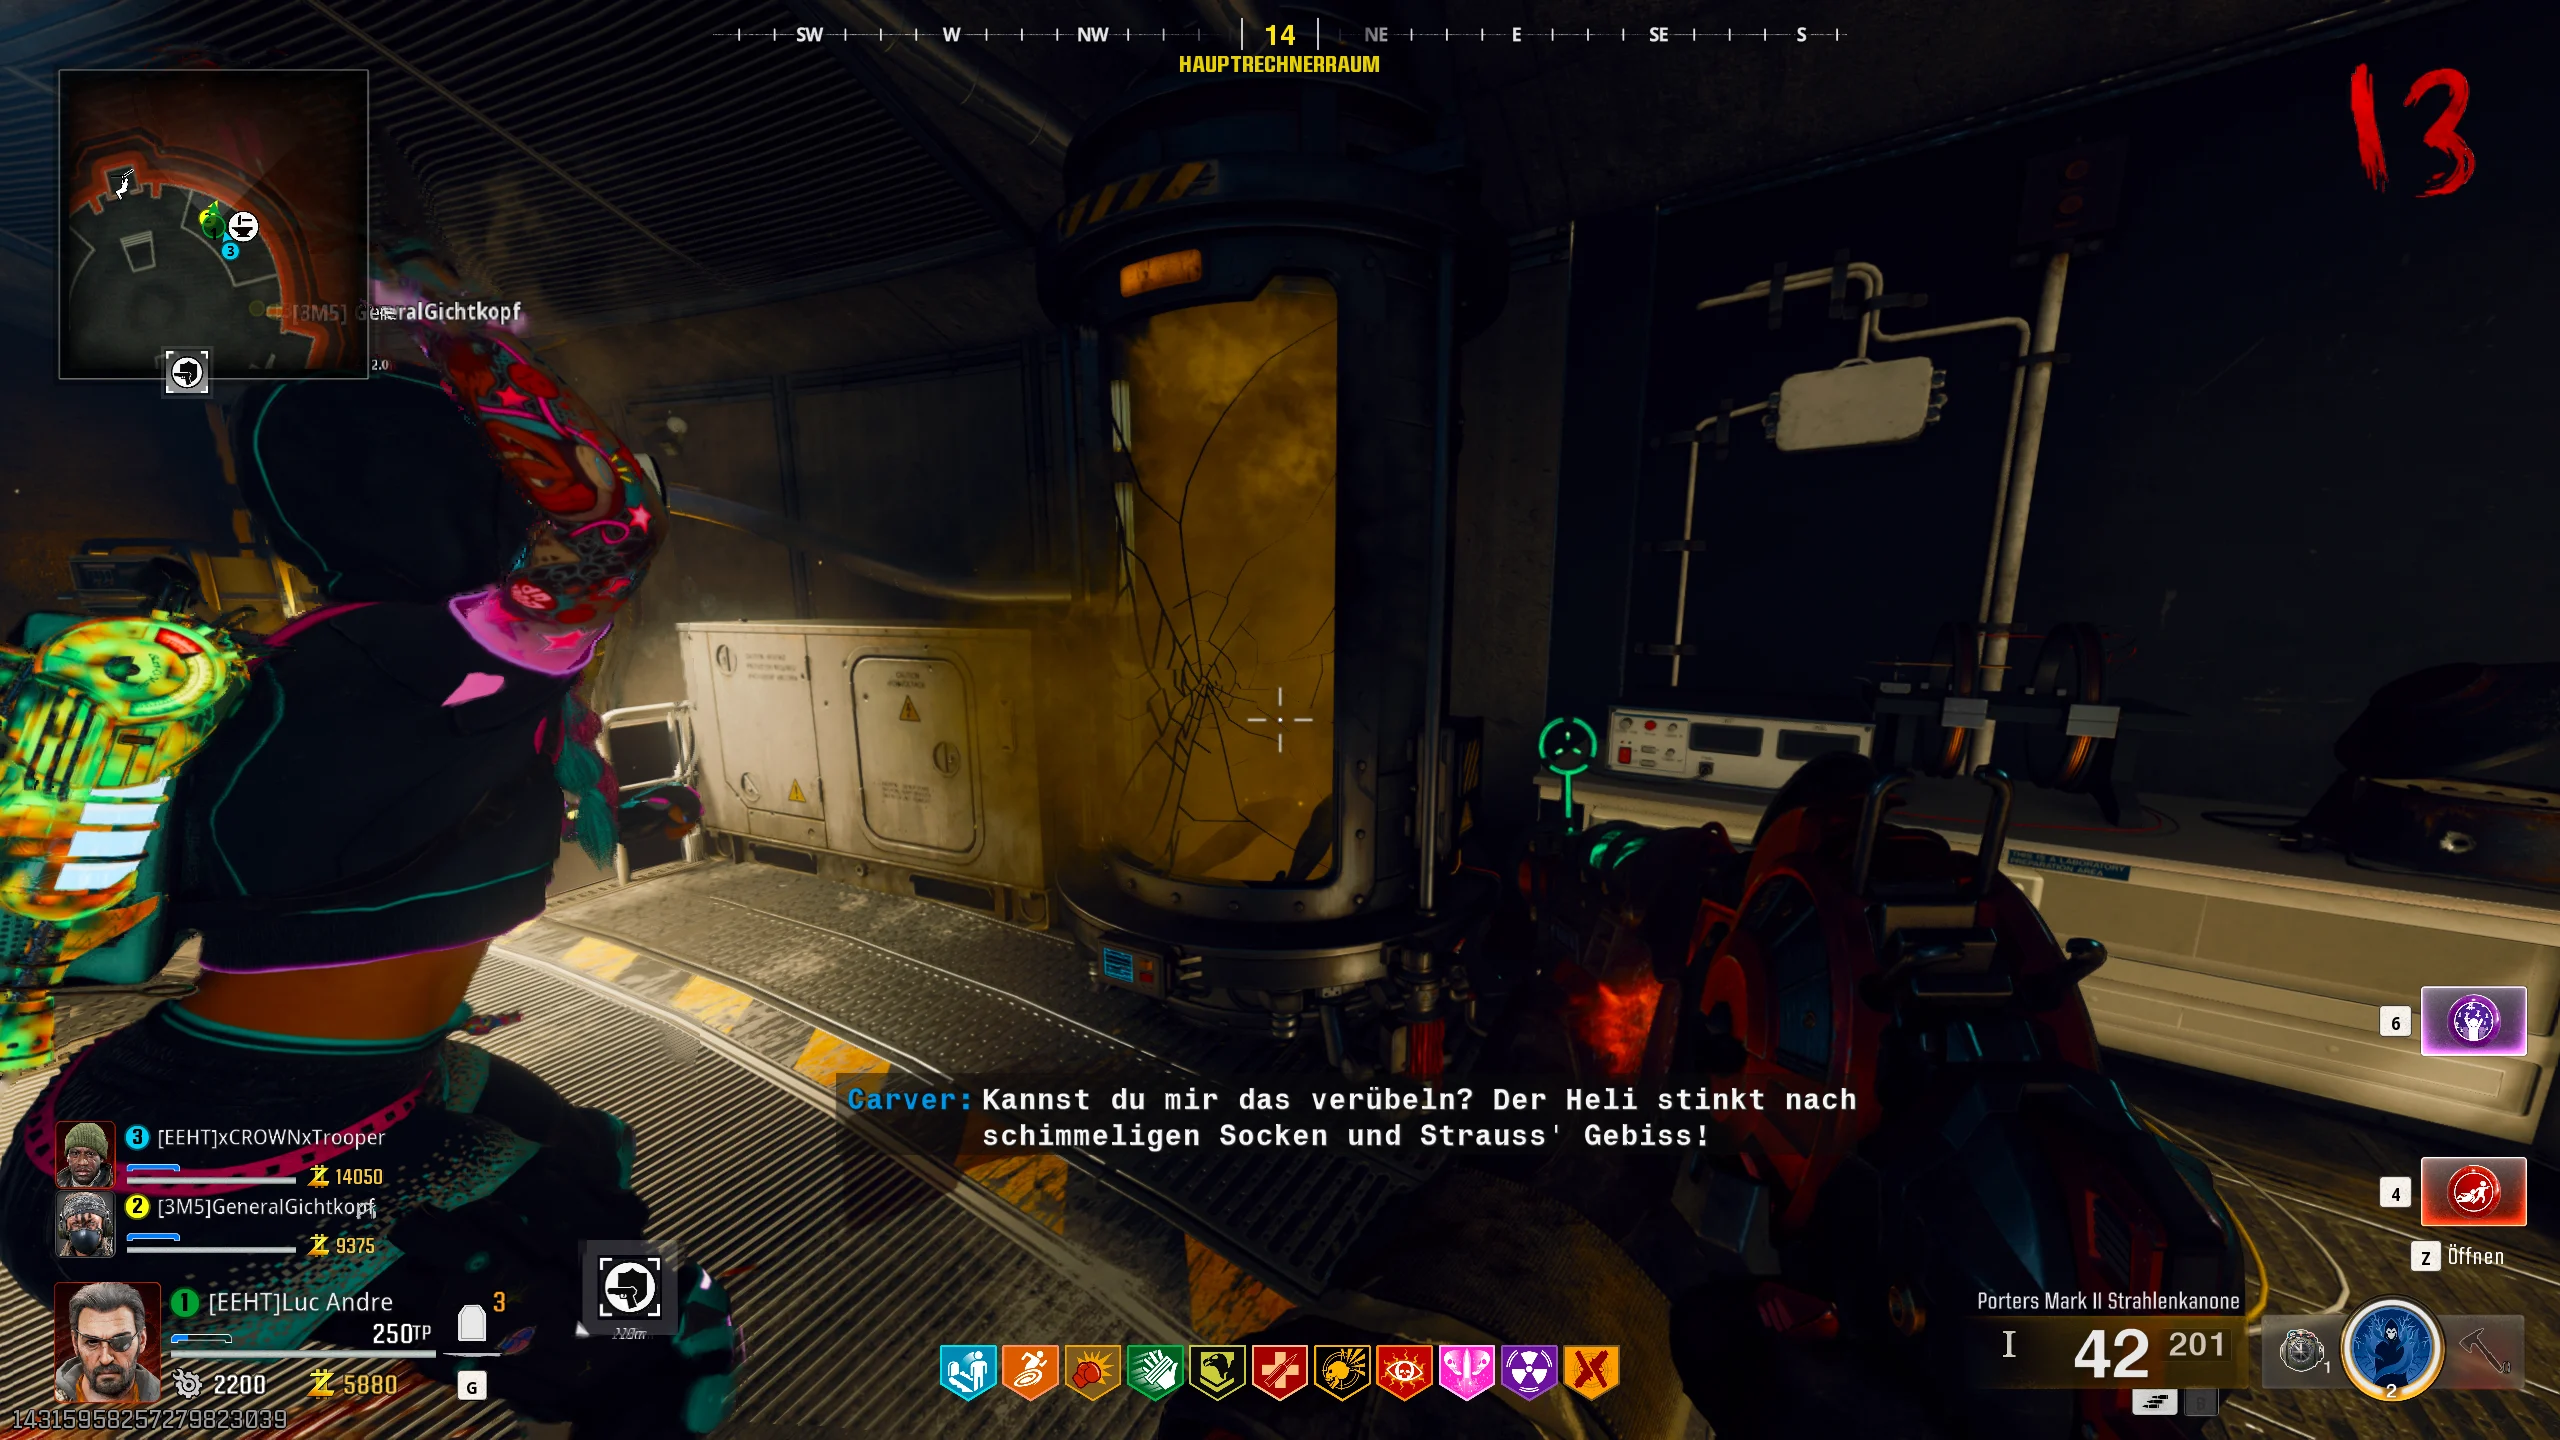
Once you’ve hit both valves, a voice line will play. Now, head back to the container where you noted the letter earlier.
Equip a Semtex and throw it at the shattered glass. It will break, releasing the next canister.
Pick up the canister and begin searching for the next part. It’s a bomb, which can be found in one of the following boxes:
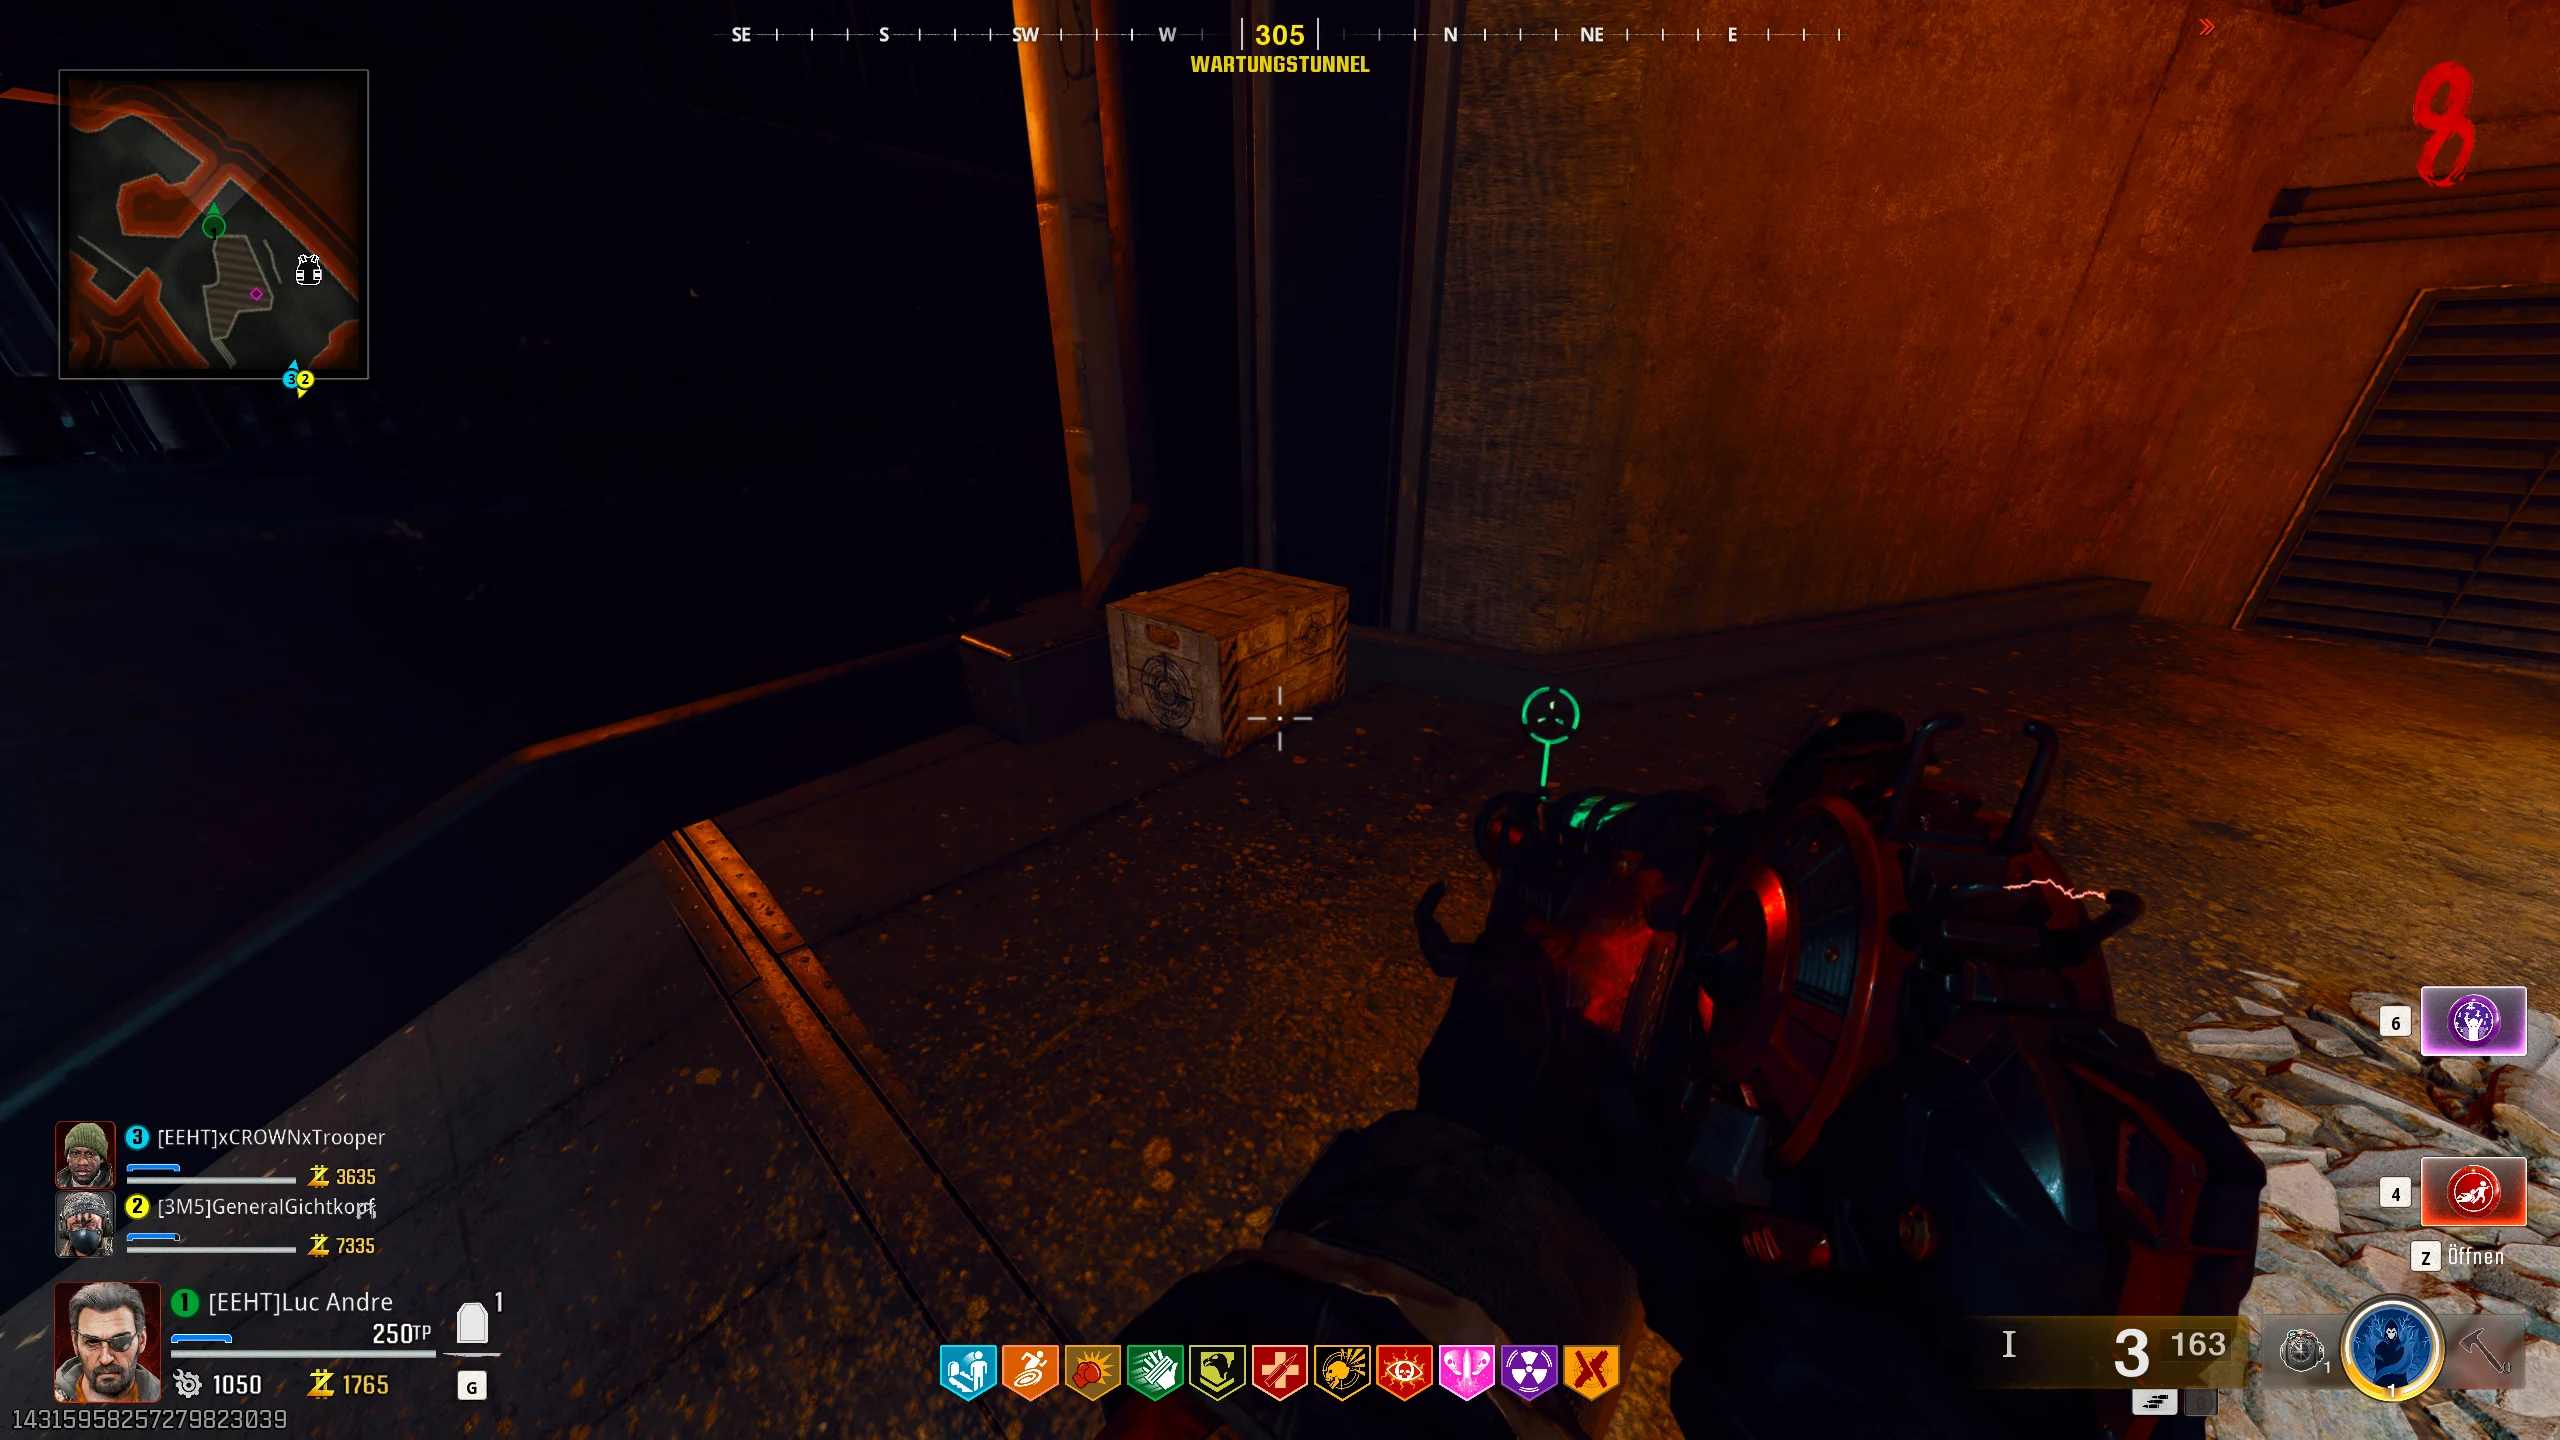
The boxes are scattered all over the map. Shoot at the boxes, and they will break open. Pick up the bomb.
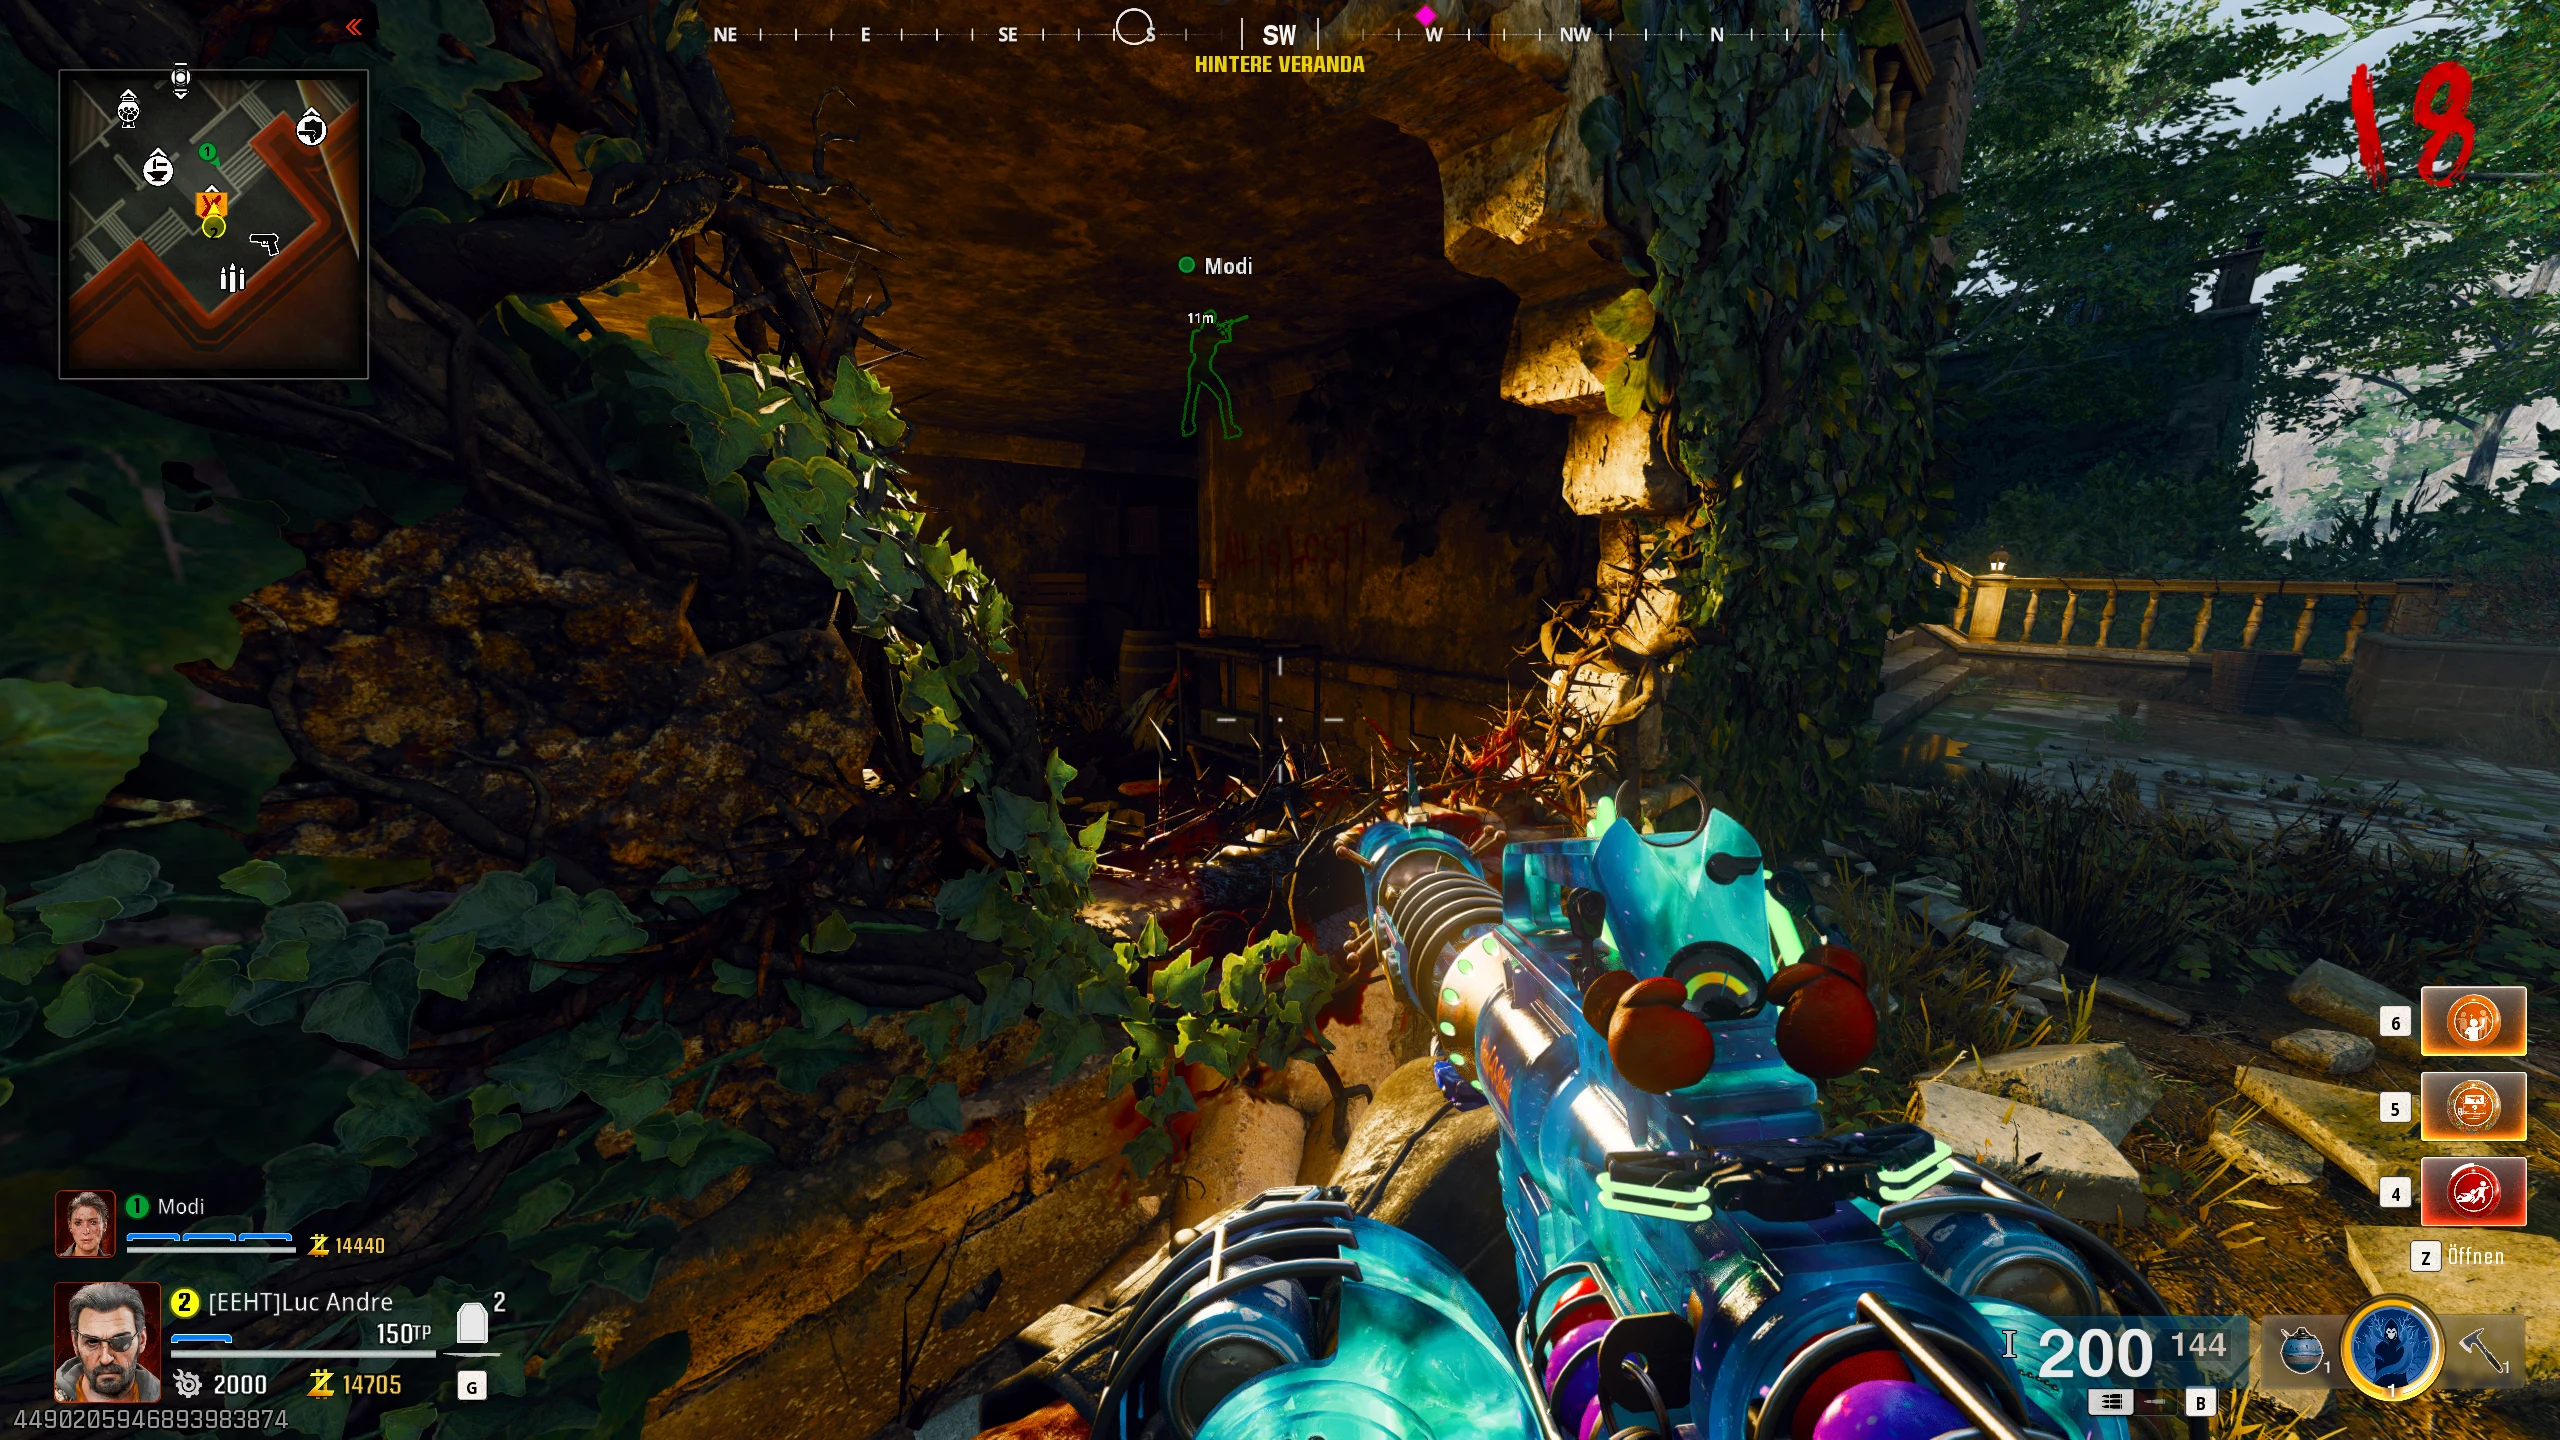
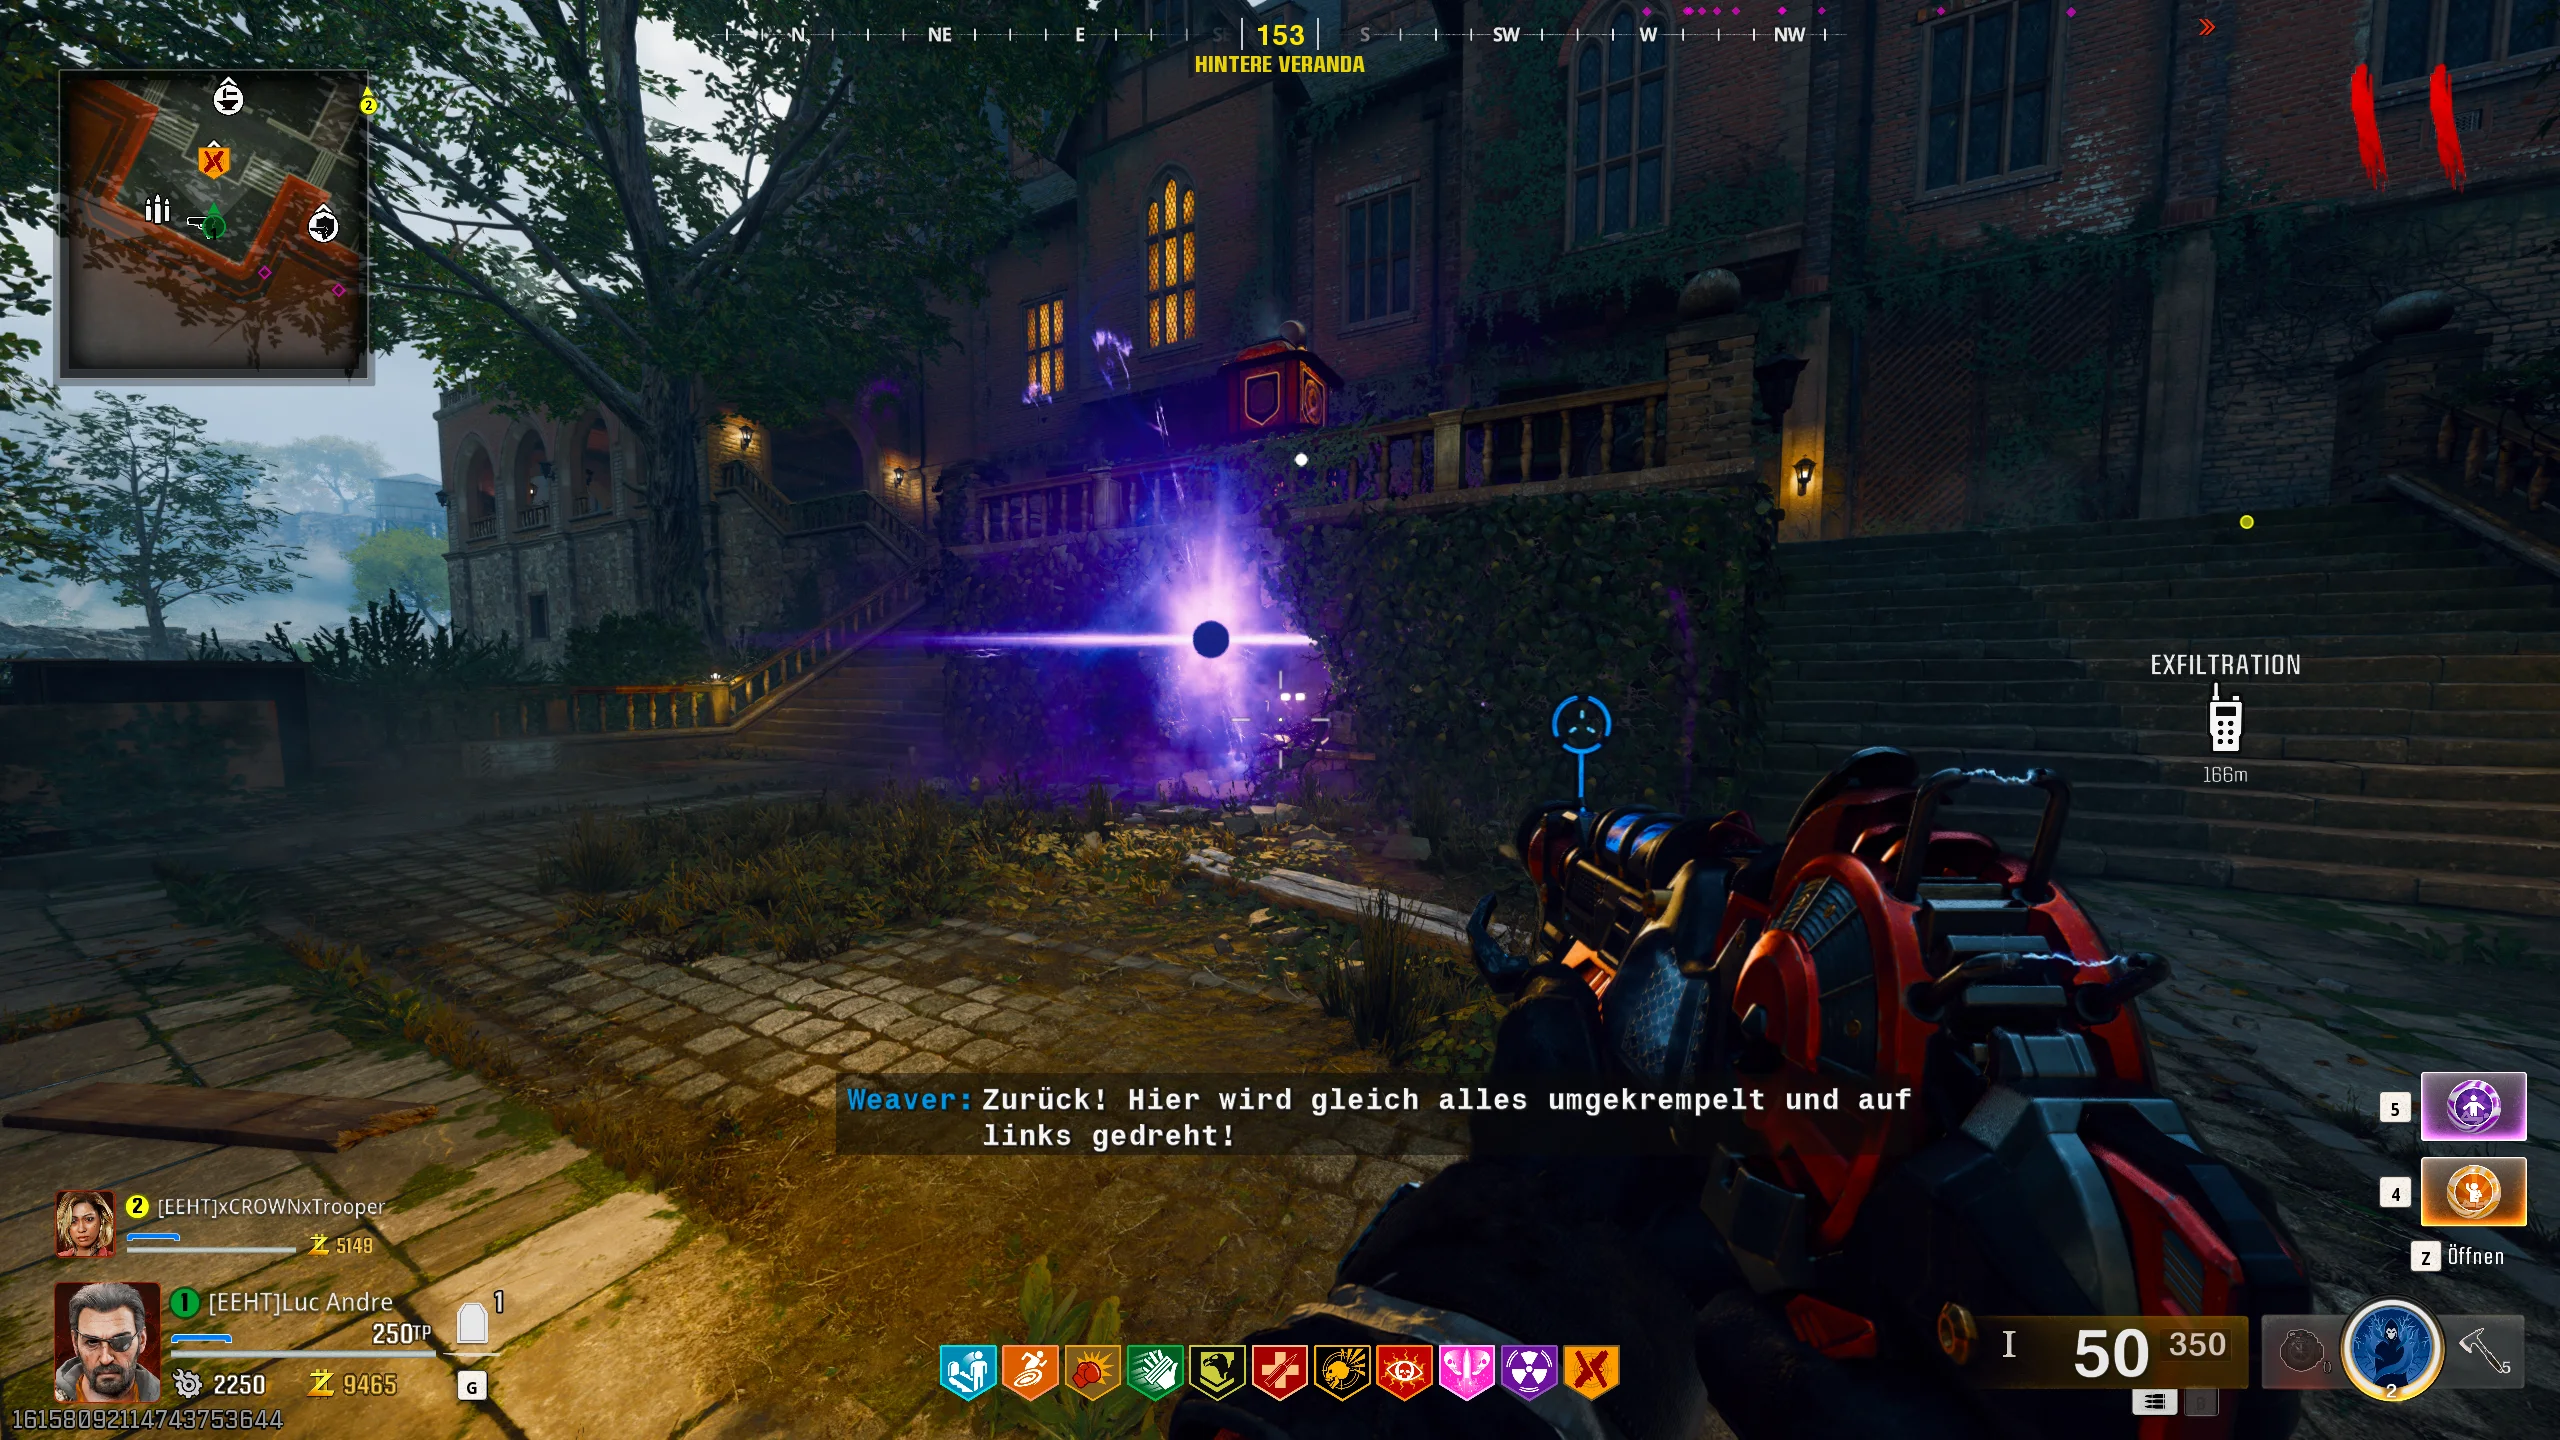
Now, it’s time to search for two reflactors. The first one can be found in a fountain near the southwest balcony and the conservatory. Simply interact with the fountain, and you’ll get the corresponding part.


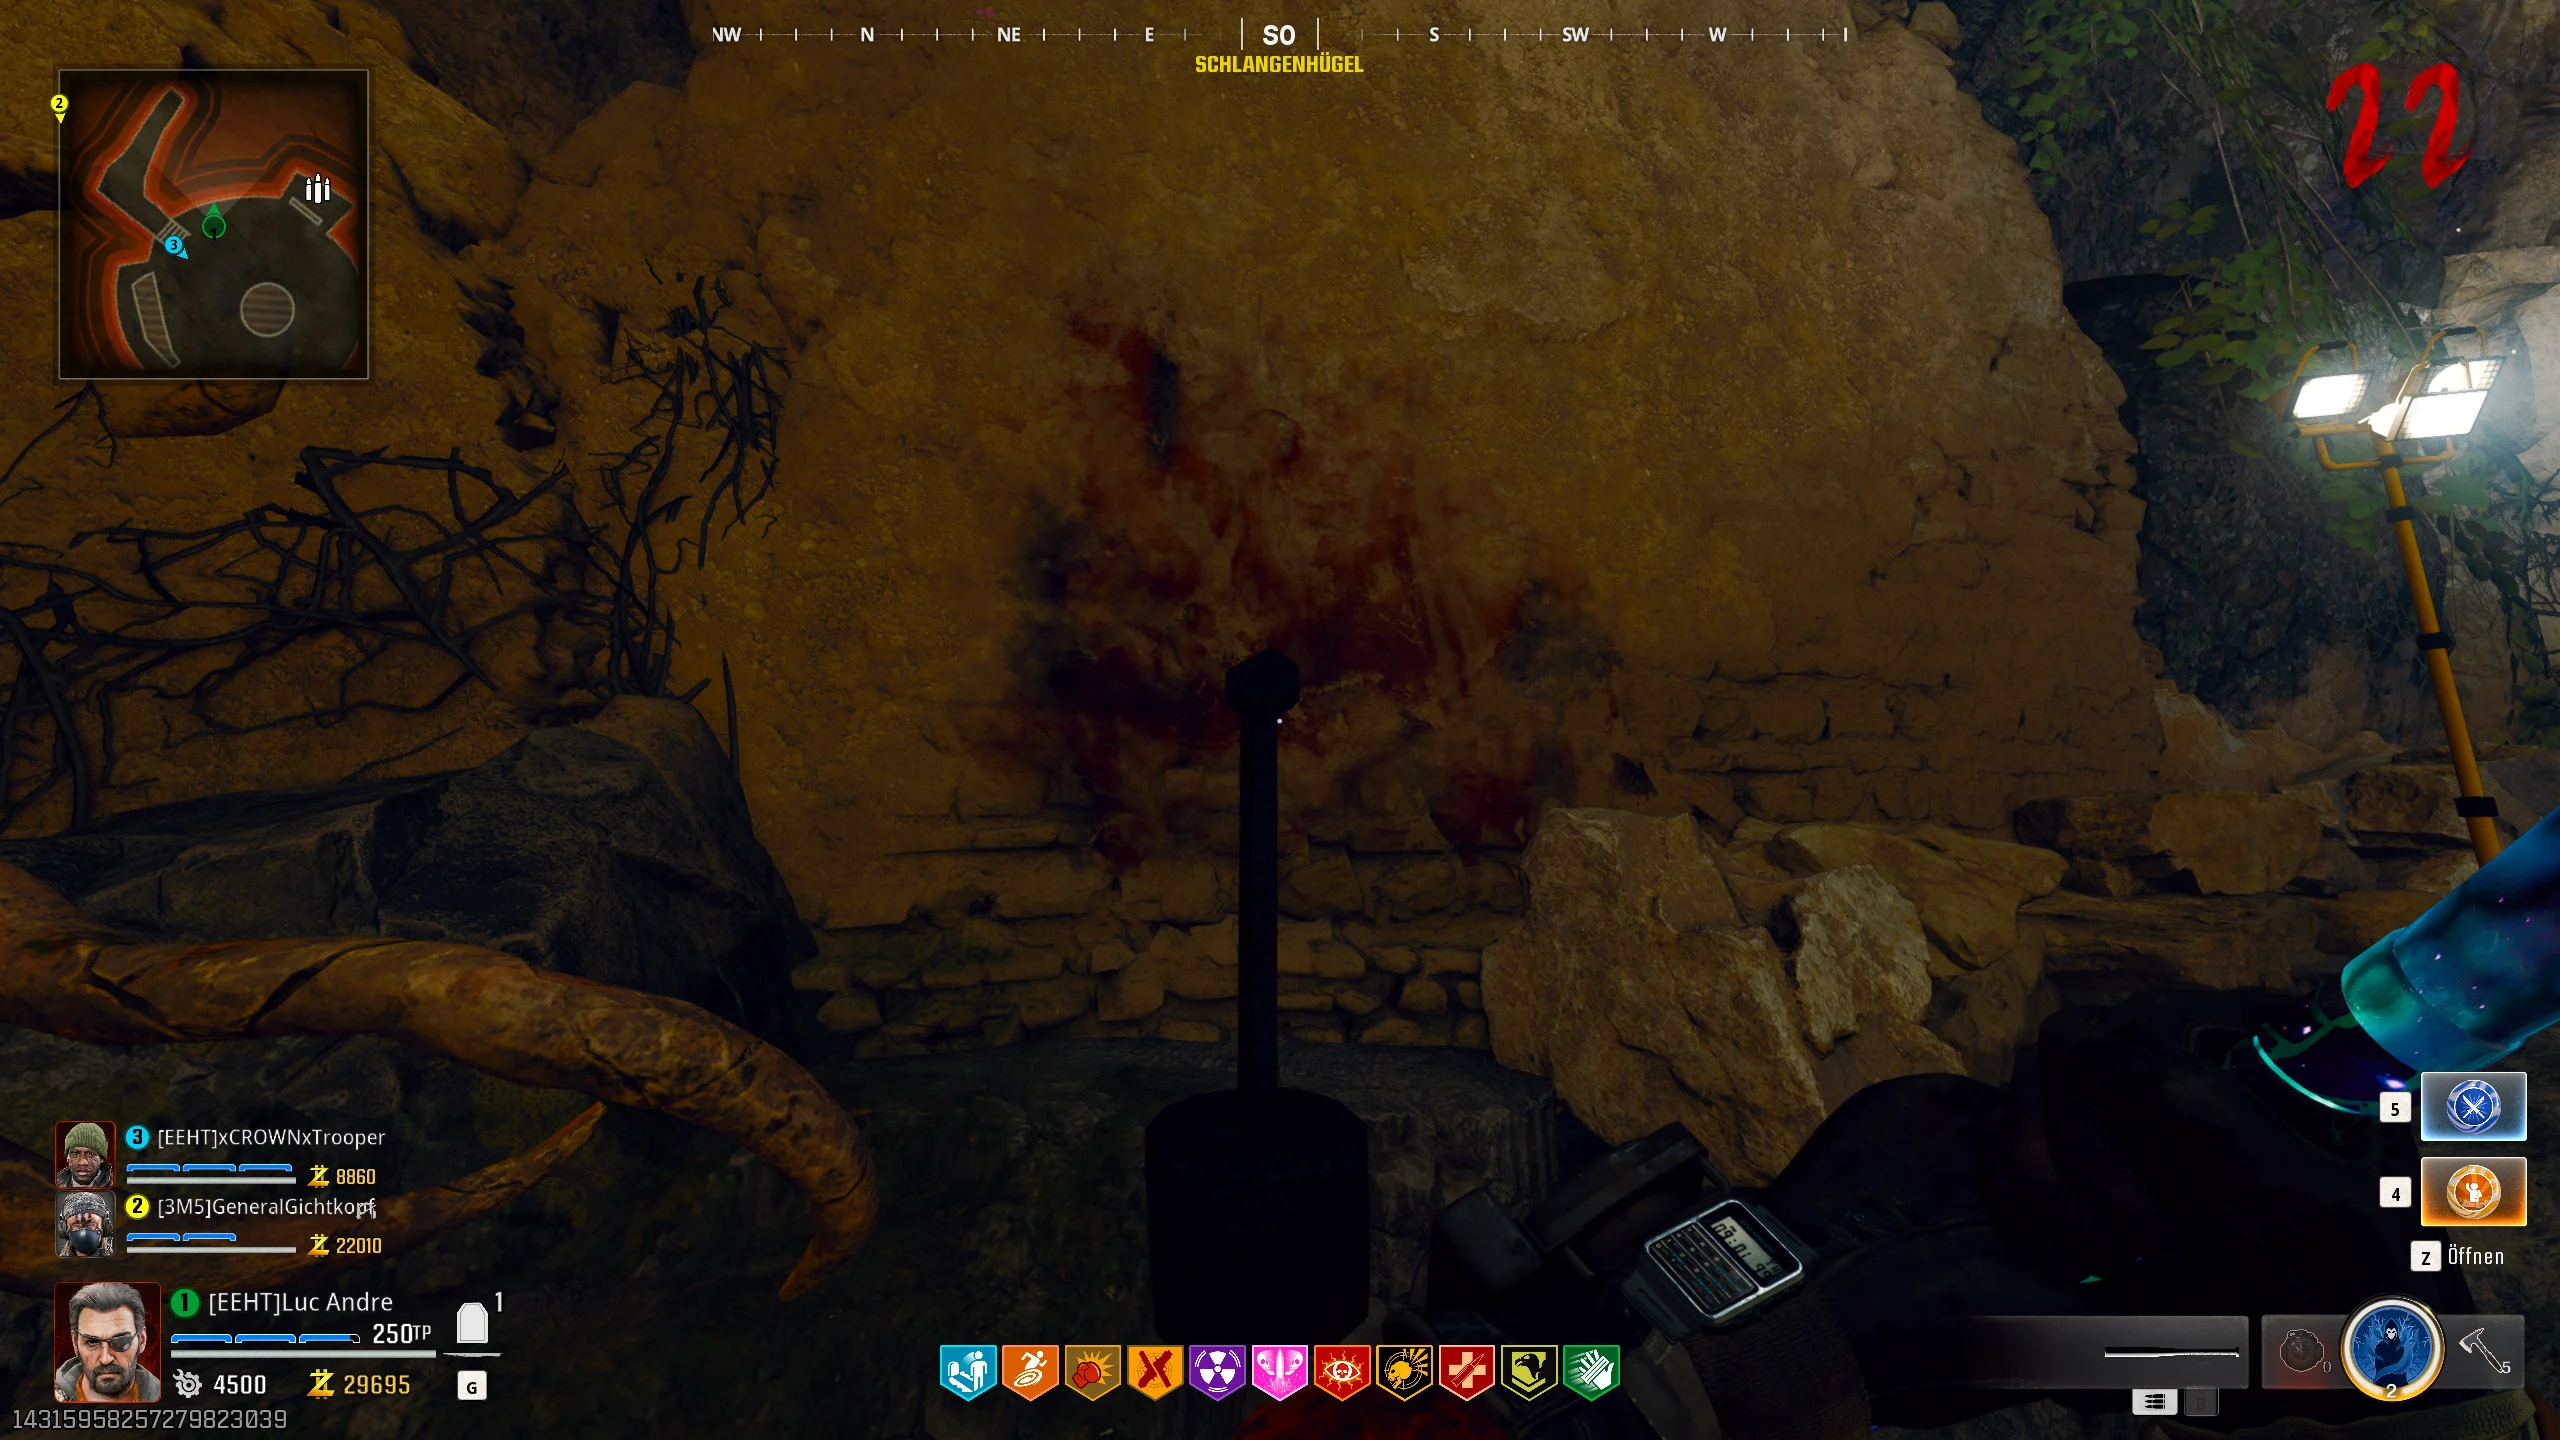
Once you have the reflectors, head to the service tunnel and interact with the following wall:
Once the bomb has exploded, a hidden room will become visible. Place the canister back into the machine in this room to fill it.
You will now notice a blue beam. Follow the beam to its end and interact with the post to place the first reflector.
In the room, you’ll also find a second post where you can place the second reflector.
Now, you need to adjust the reflectors so that the beam is directed at one of the three Doppelghast statues.
You can adjust the reflectors by hitting them.

Once the beam is directed at one of the statues, hit the blue crystal from which the blue beam originates.
After a short time, the statue will transform into a real Doppelghast that you must defeat.
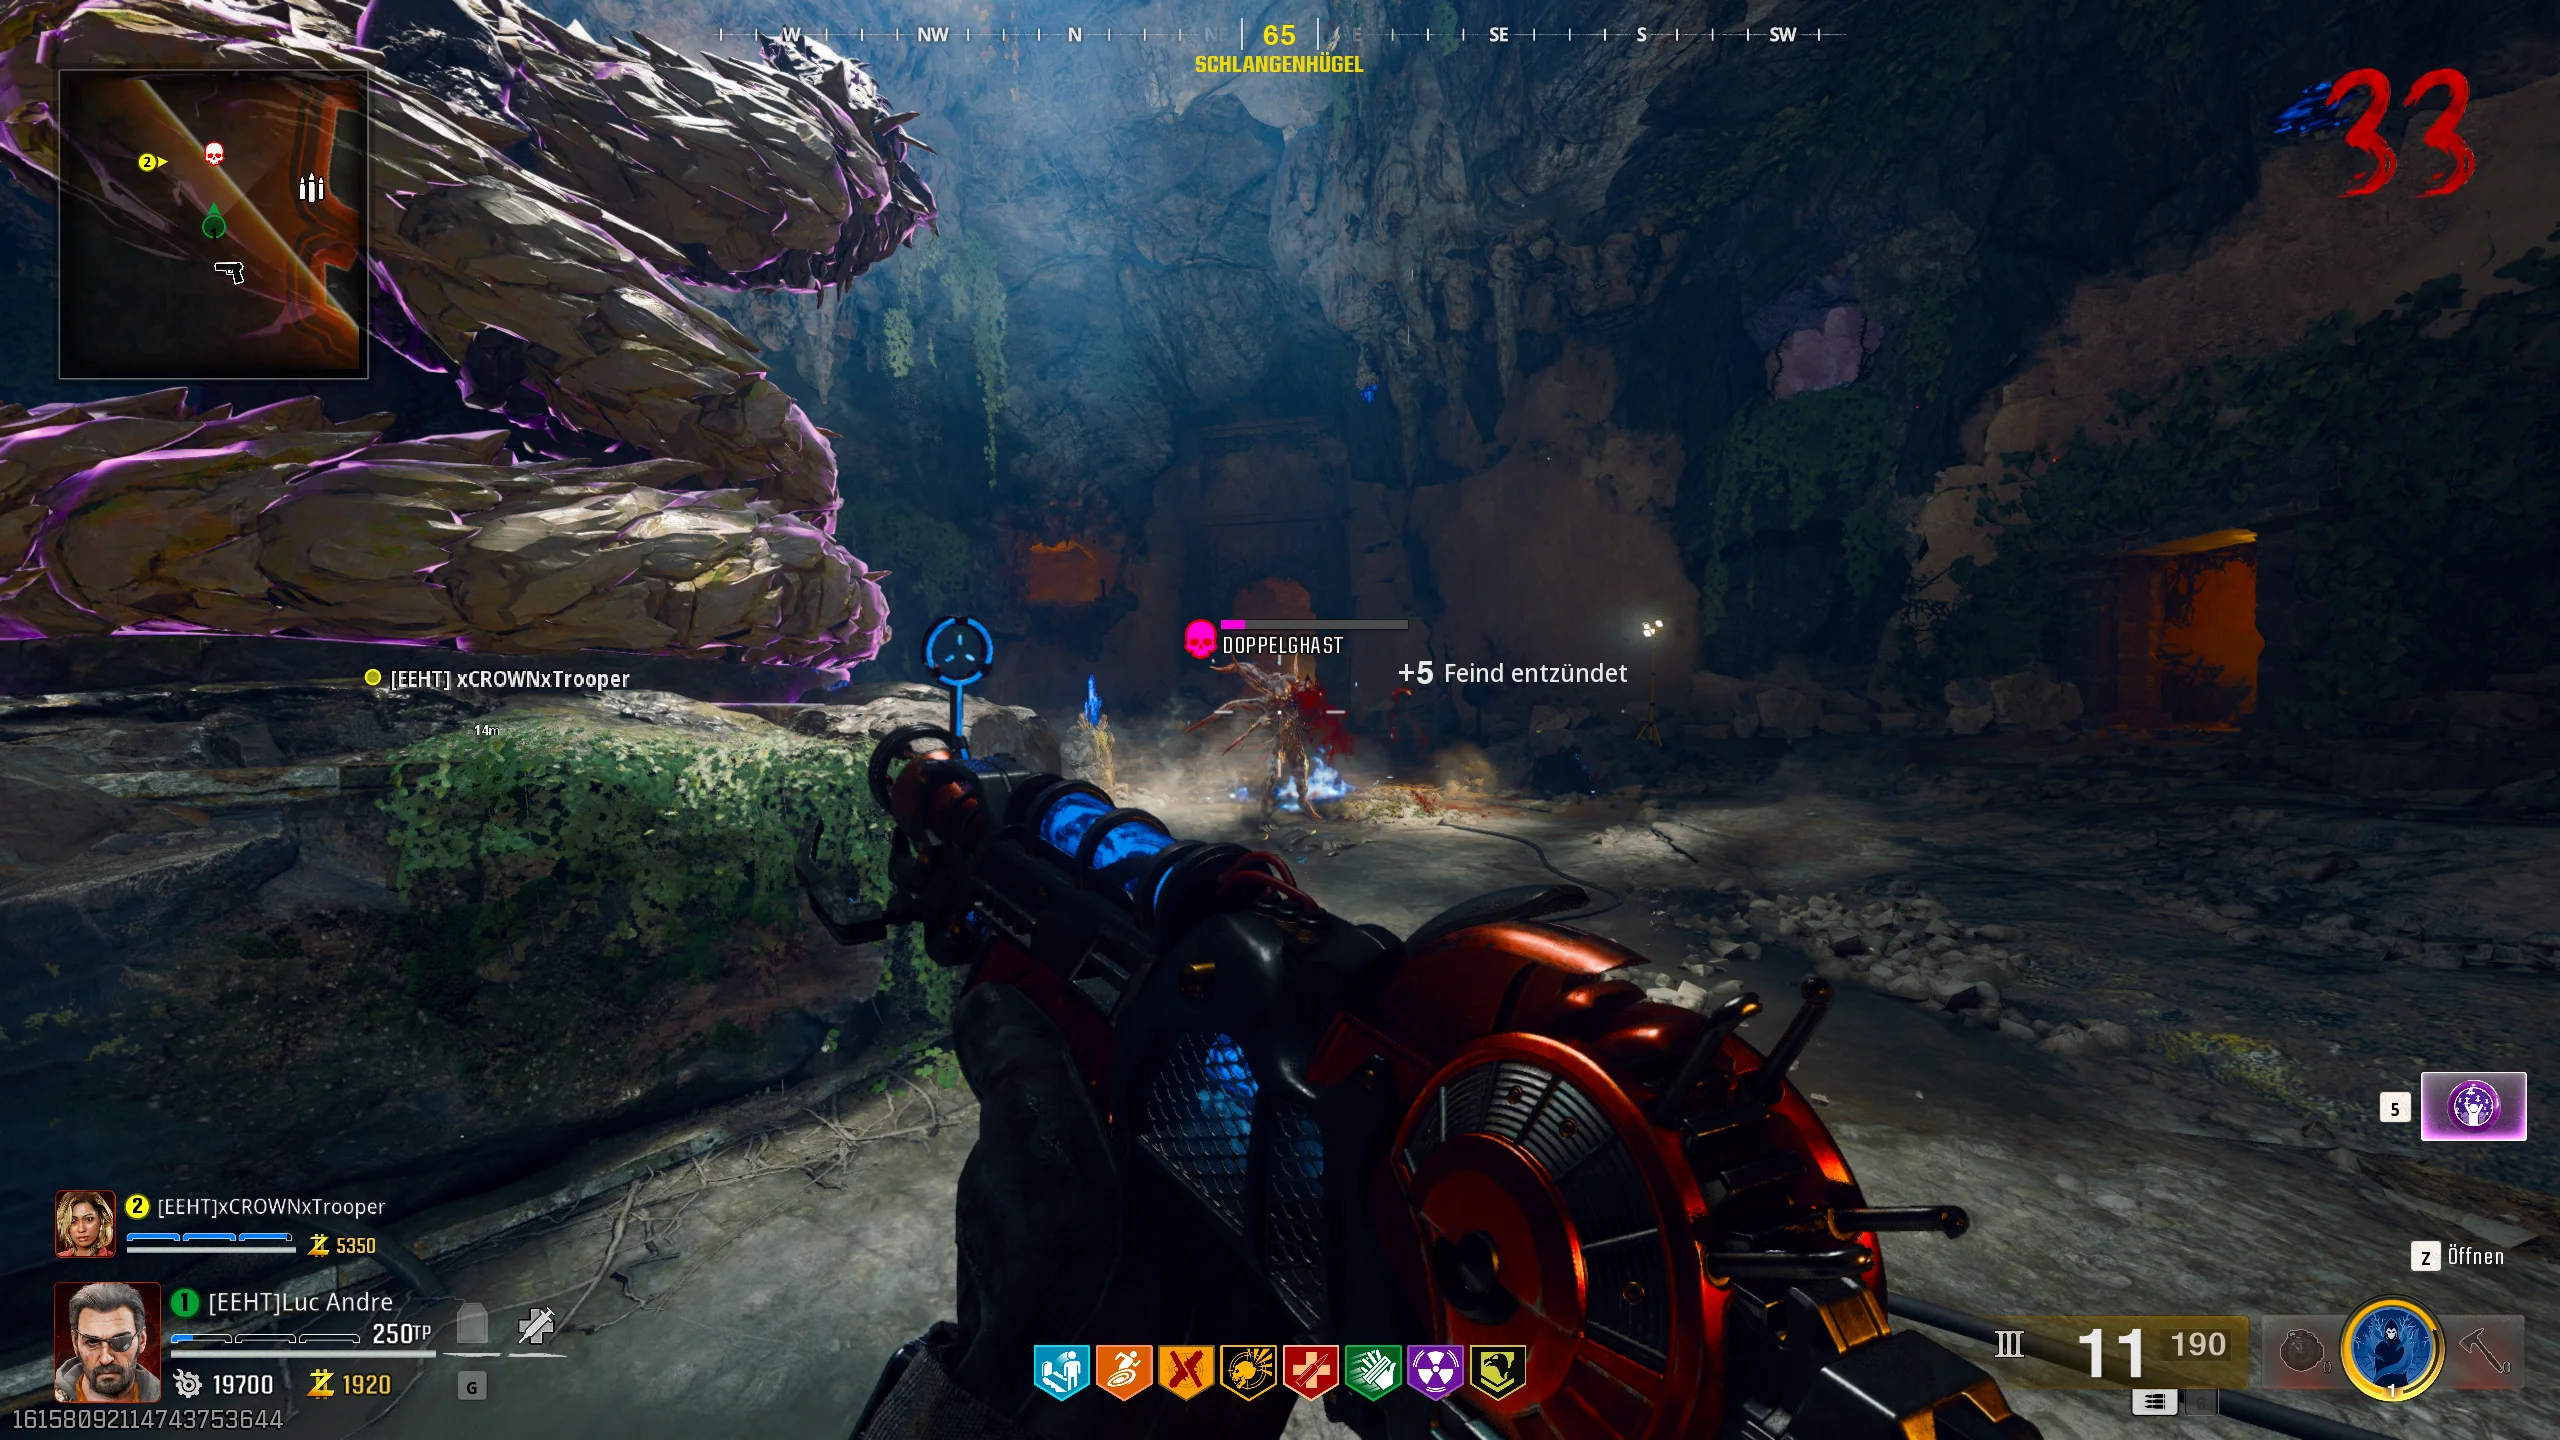
For the third statue, you need to pick up the mirror you placed second by interacting with it and place it on the third post.
Once you’ve defeated all three Doppelghast, you can pick up the canister again and craft the new version of the Ray Gun. Head to the Director’s Quarters, insert the canister as usual, and craft the Ray Gun Mark II-P.
With the new Ray Gun, head to the banquet hall and interact with the server again. As before, this will trigger a lockdown, where you need to kill zombies with the Ray Gun to collect souls.
Once you’ve collected enough souls, you can go through the portal again and pick up a red wine bottle there.

Now, you need to fill three chalices. They can be found in the following locations:
- Bottlery area
- Garden Pond
- Overlook area
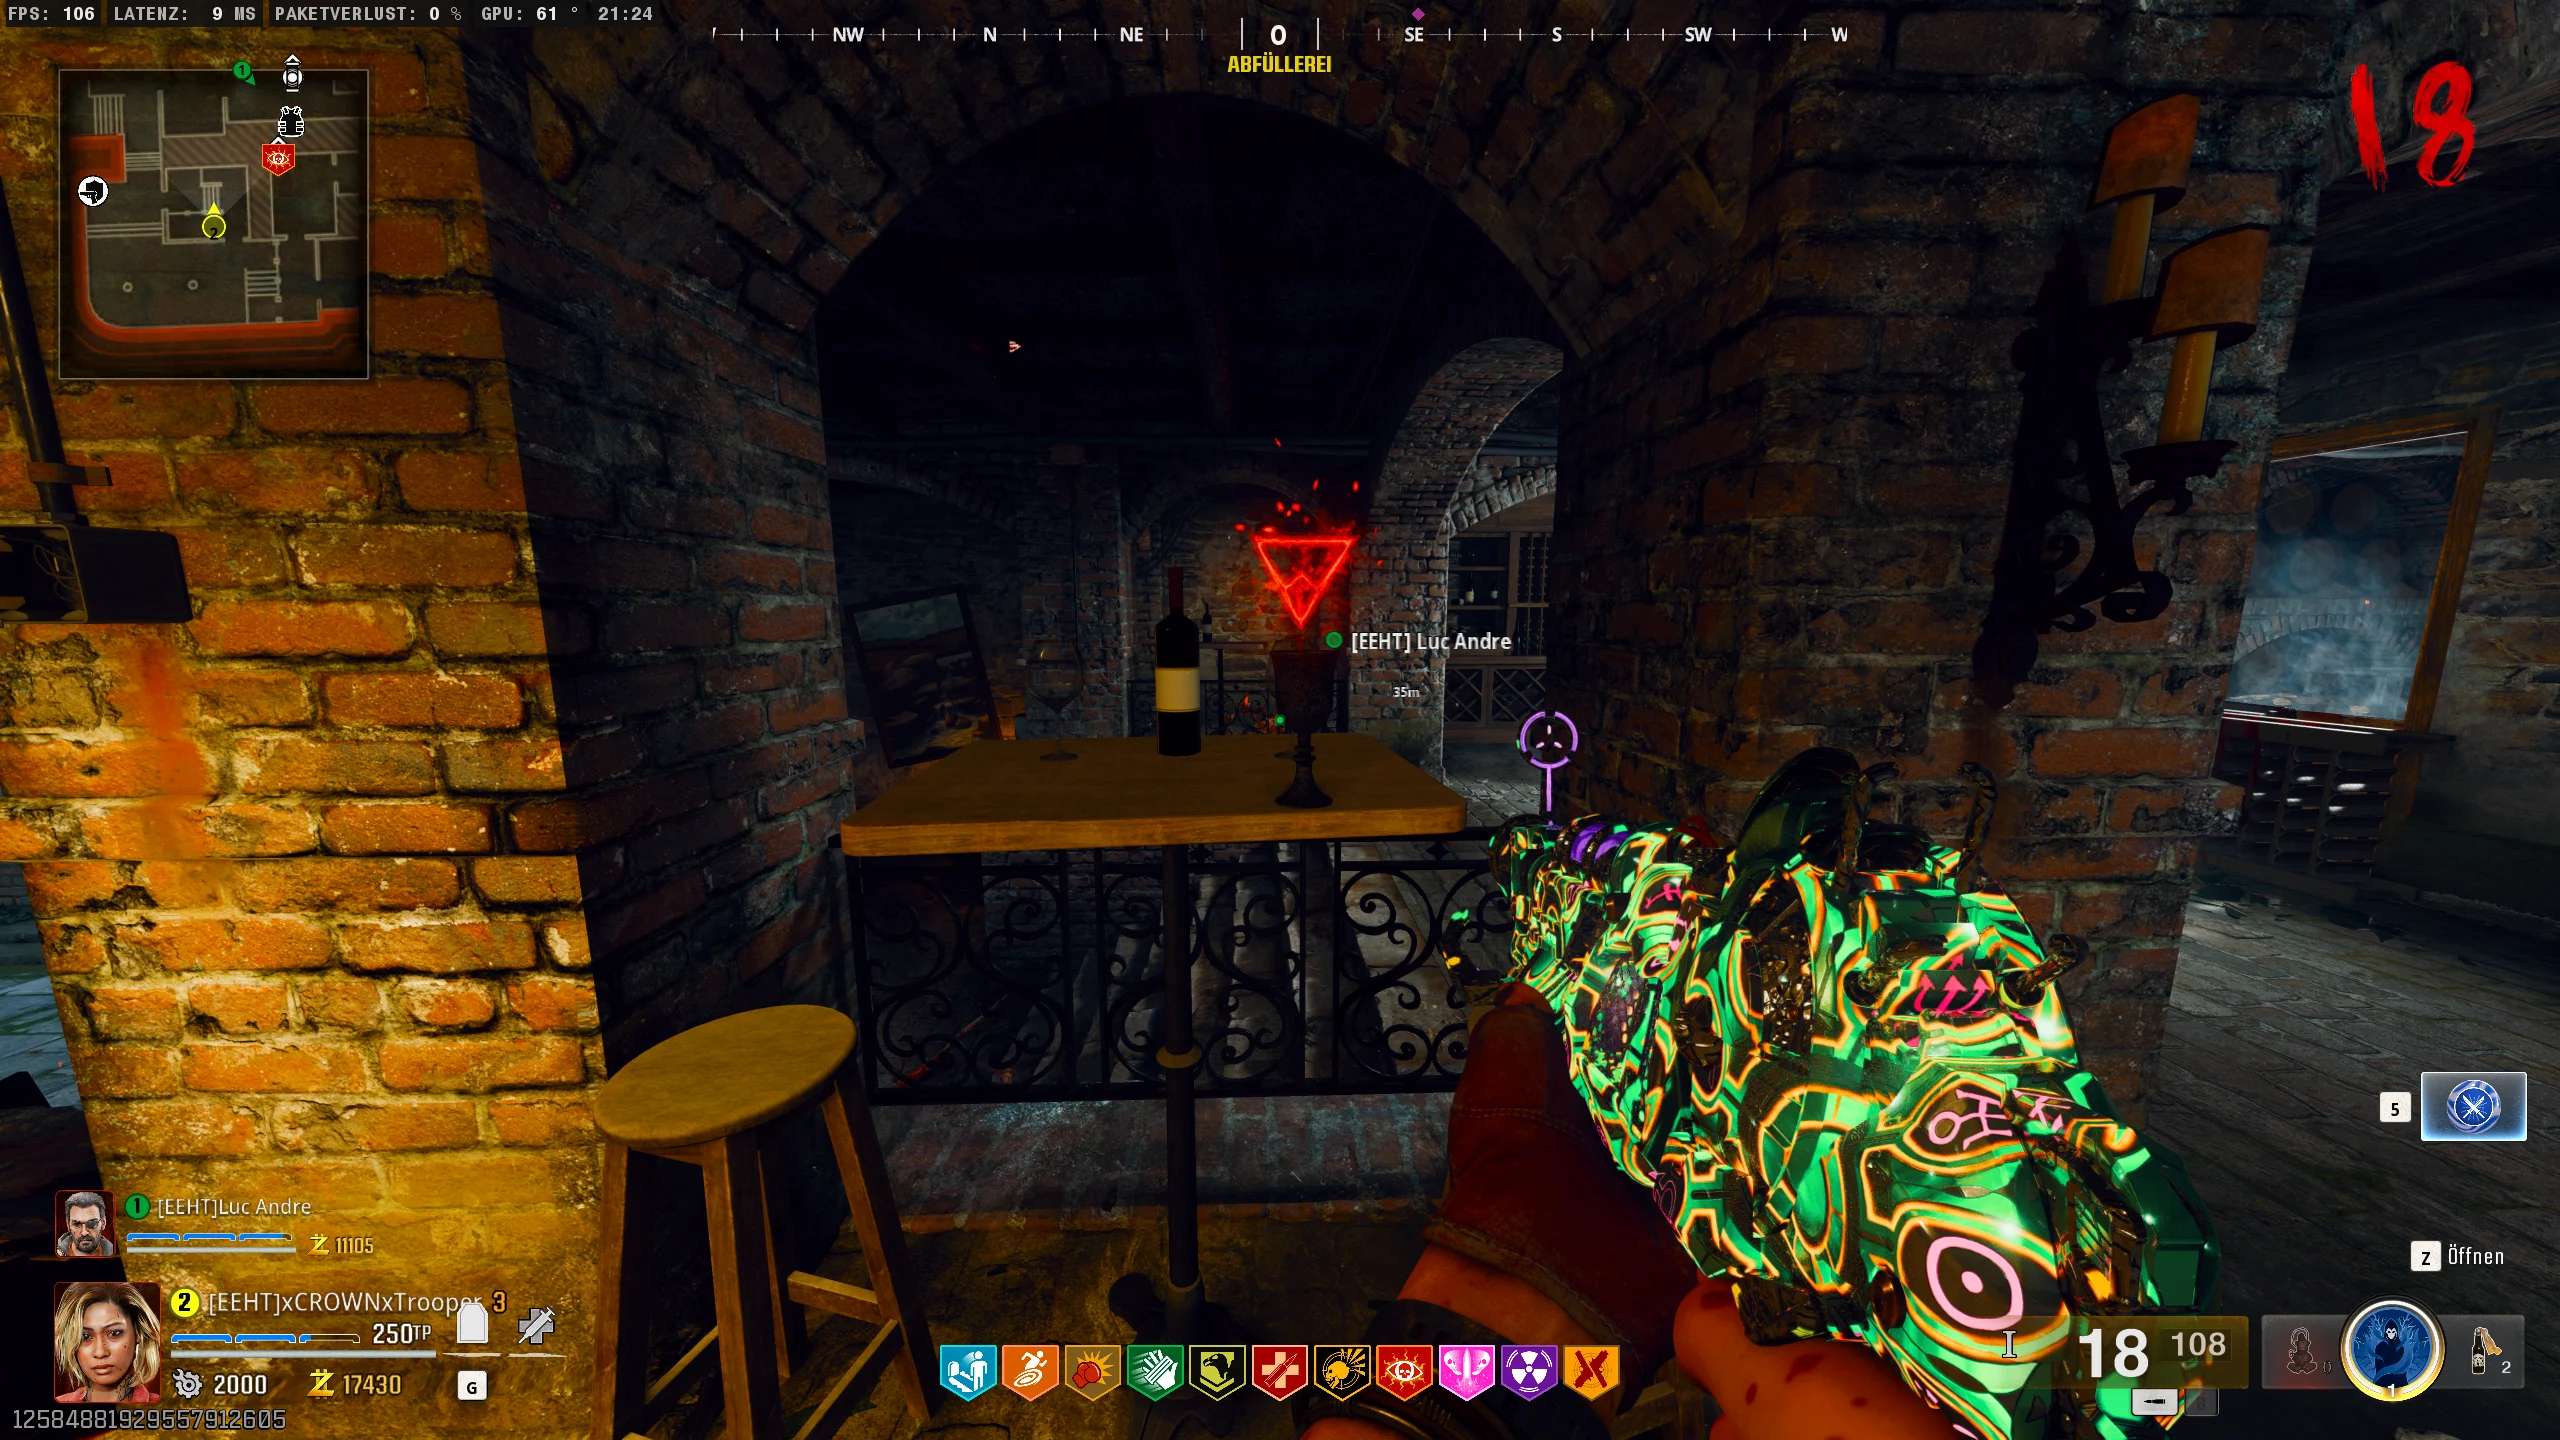
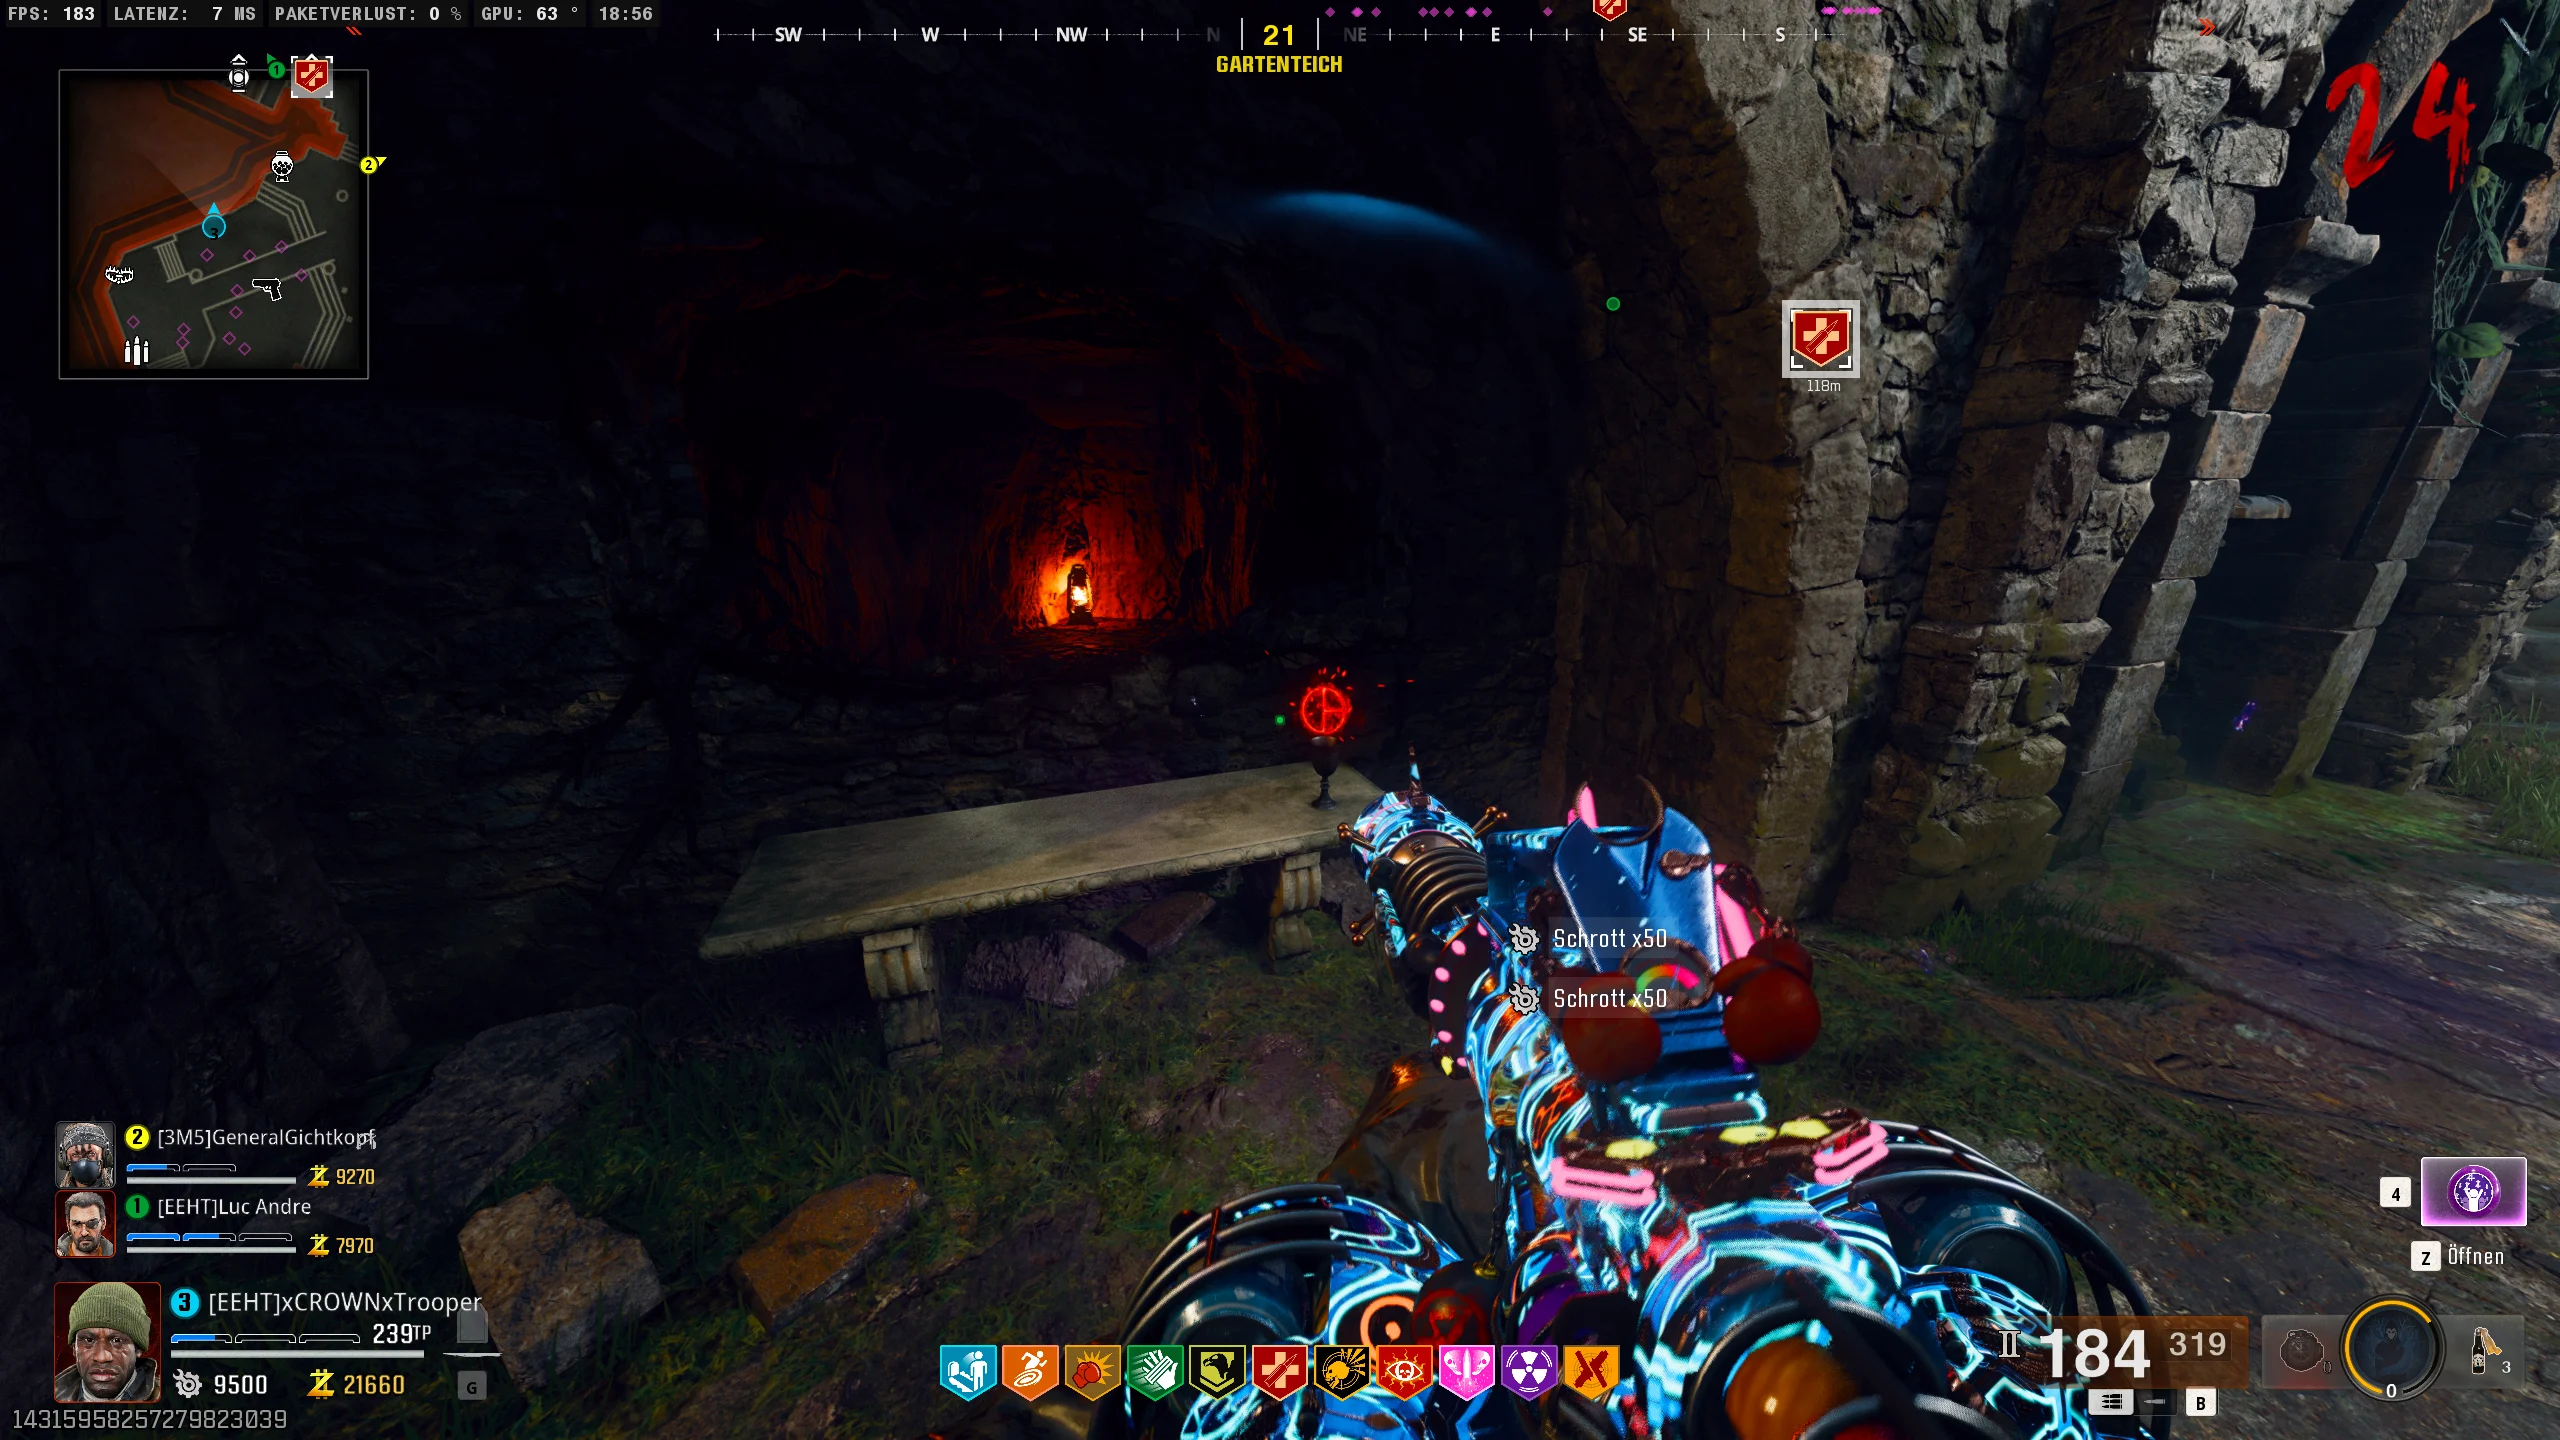

Each time you fill a chalice, a Elder Disciples will spawn that you need to kill. Once you’ve done this, a symbol will appear above the chalice.
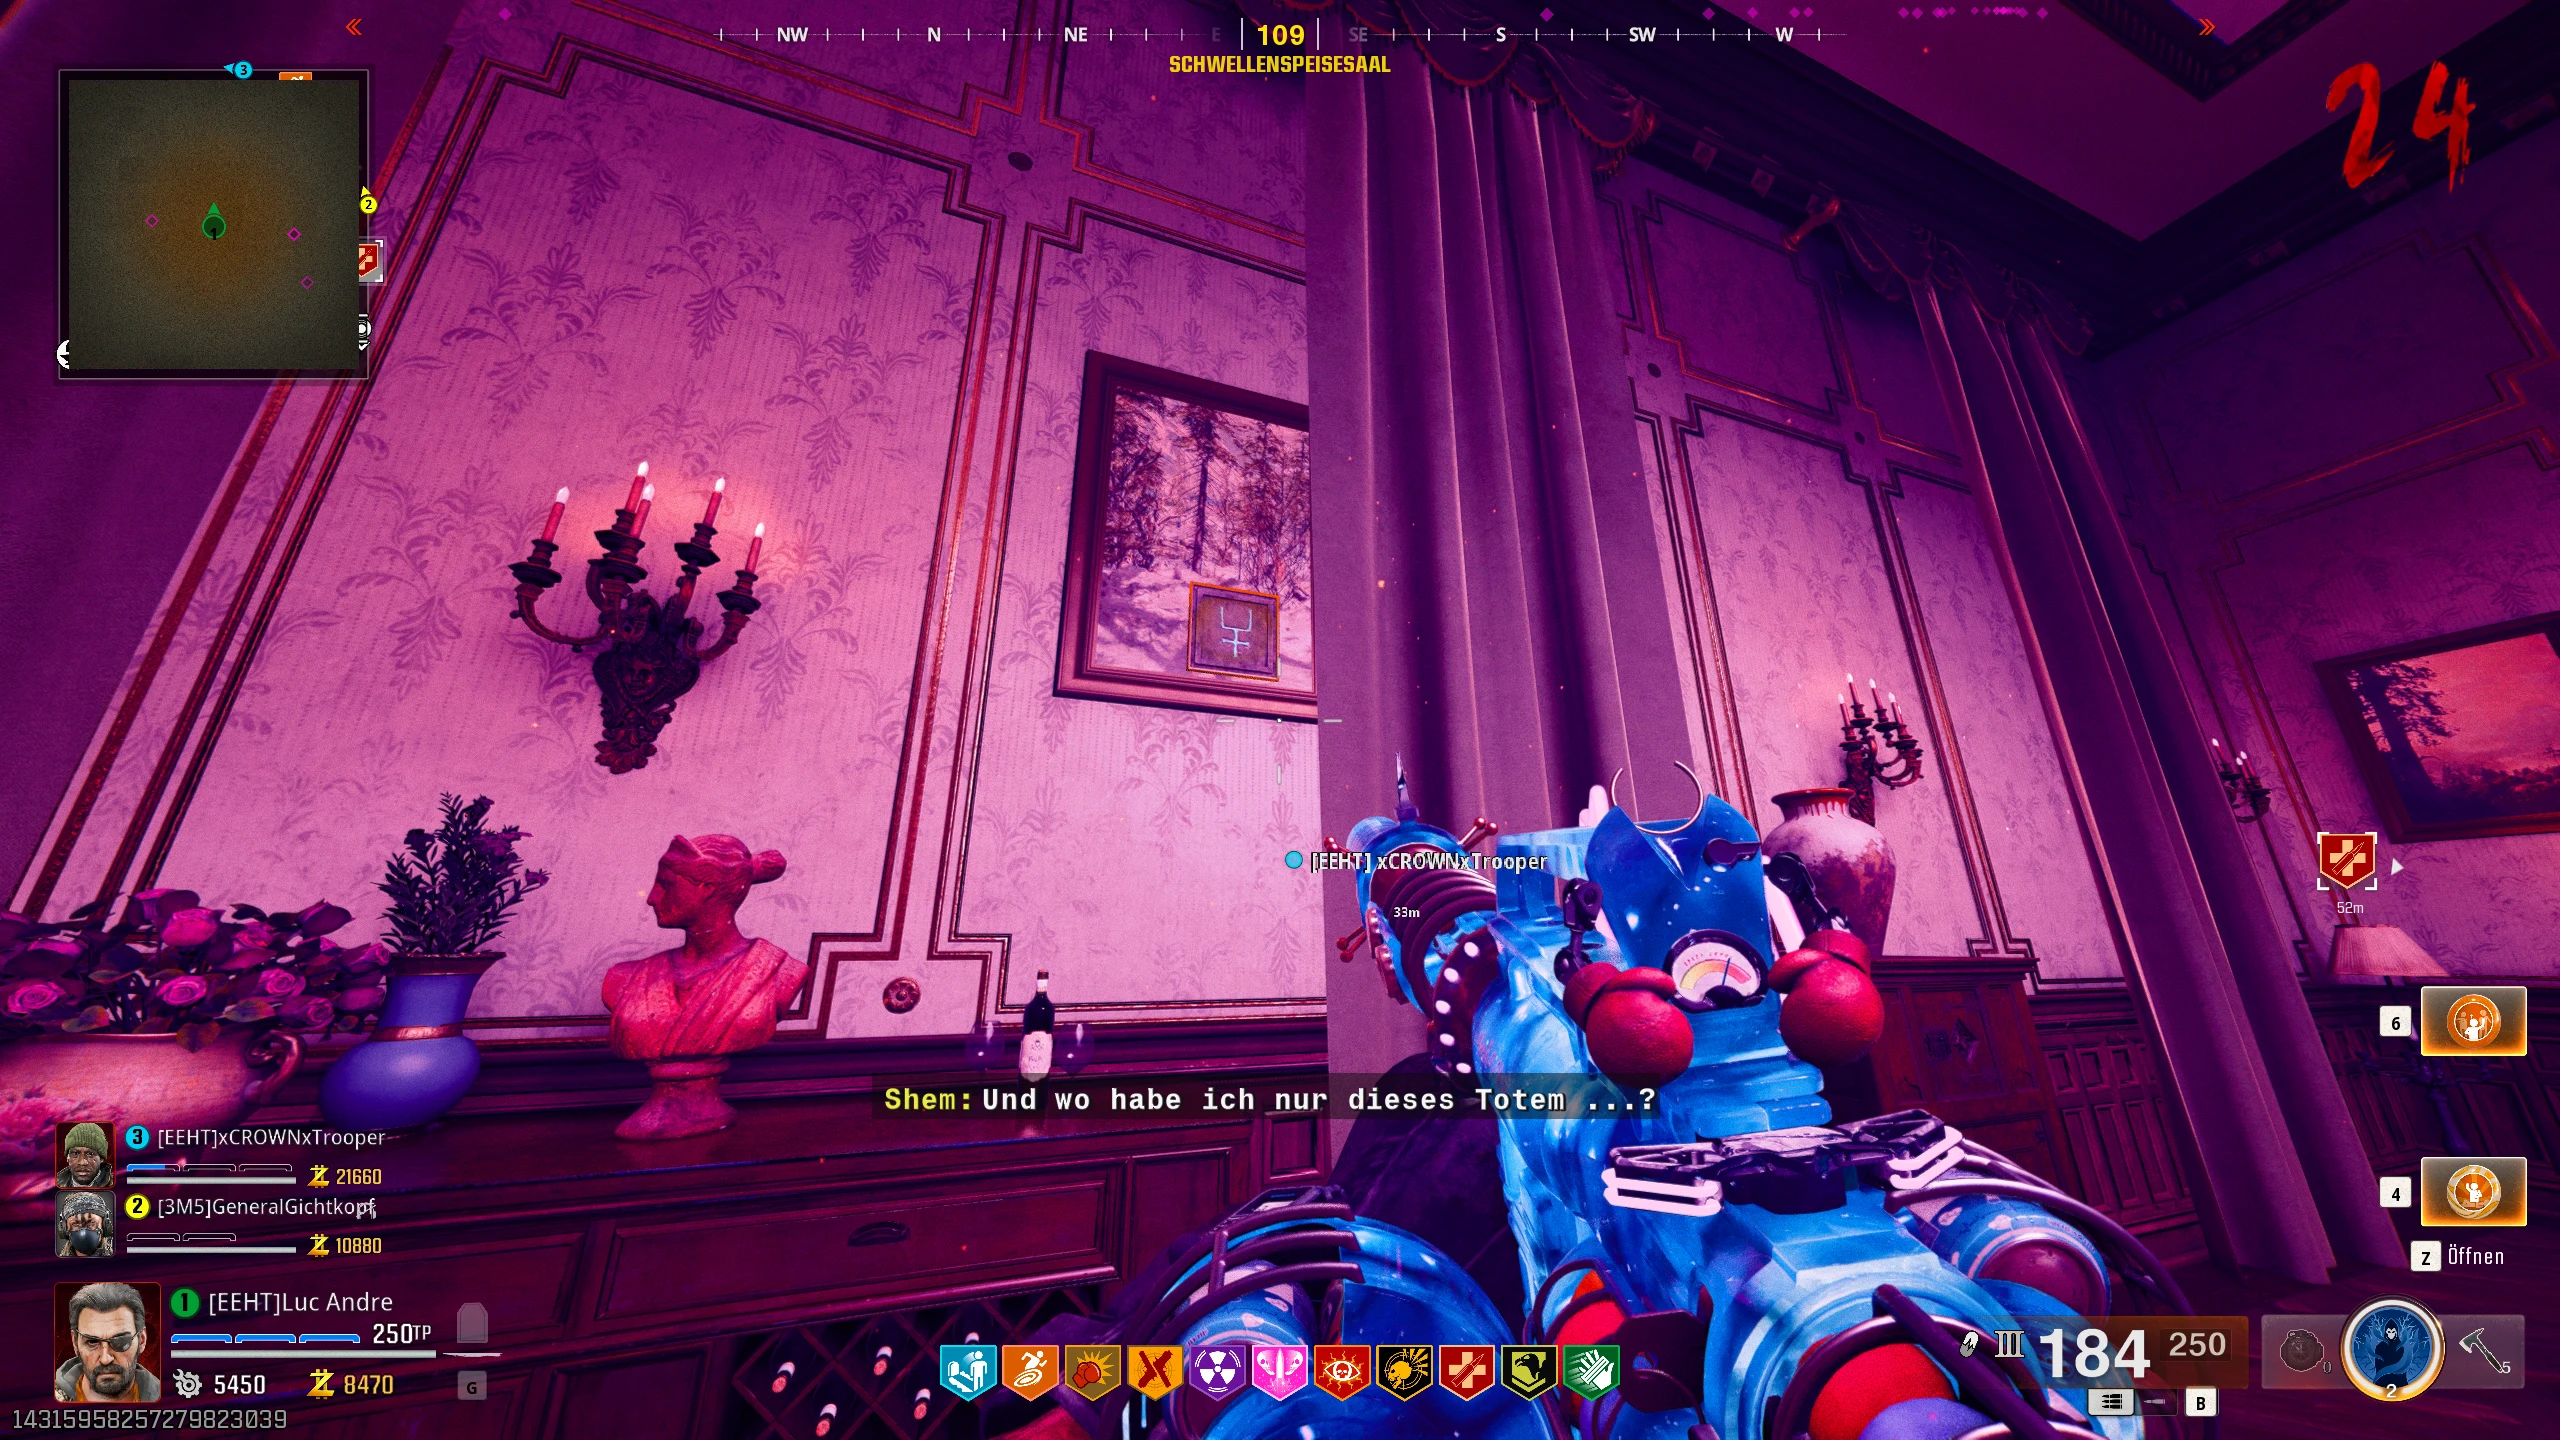
Once you’ve filled all three chalices and obtained the corresponding symbols, head back to the room where you picked up the wine bottle.
Now, when you look at the three large paintings, the symbols from the chalices will appear.
Now, head outside again and find three numbers: one to the left, one behind, and one to the right of the elevator. Make sure to note them down.

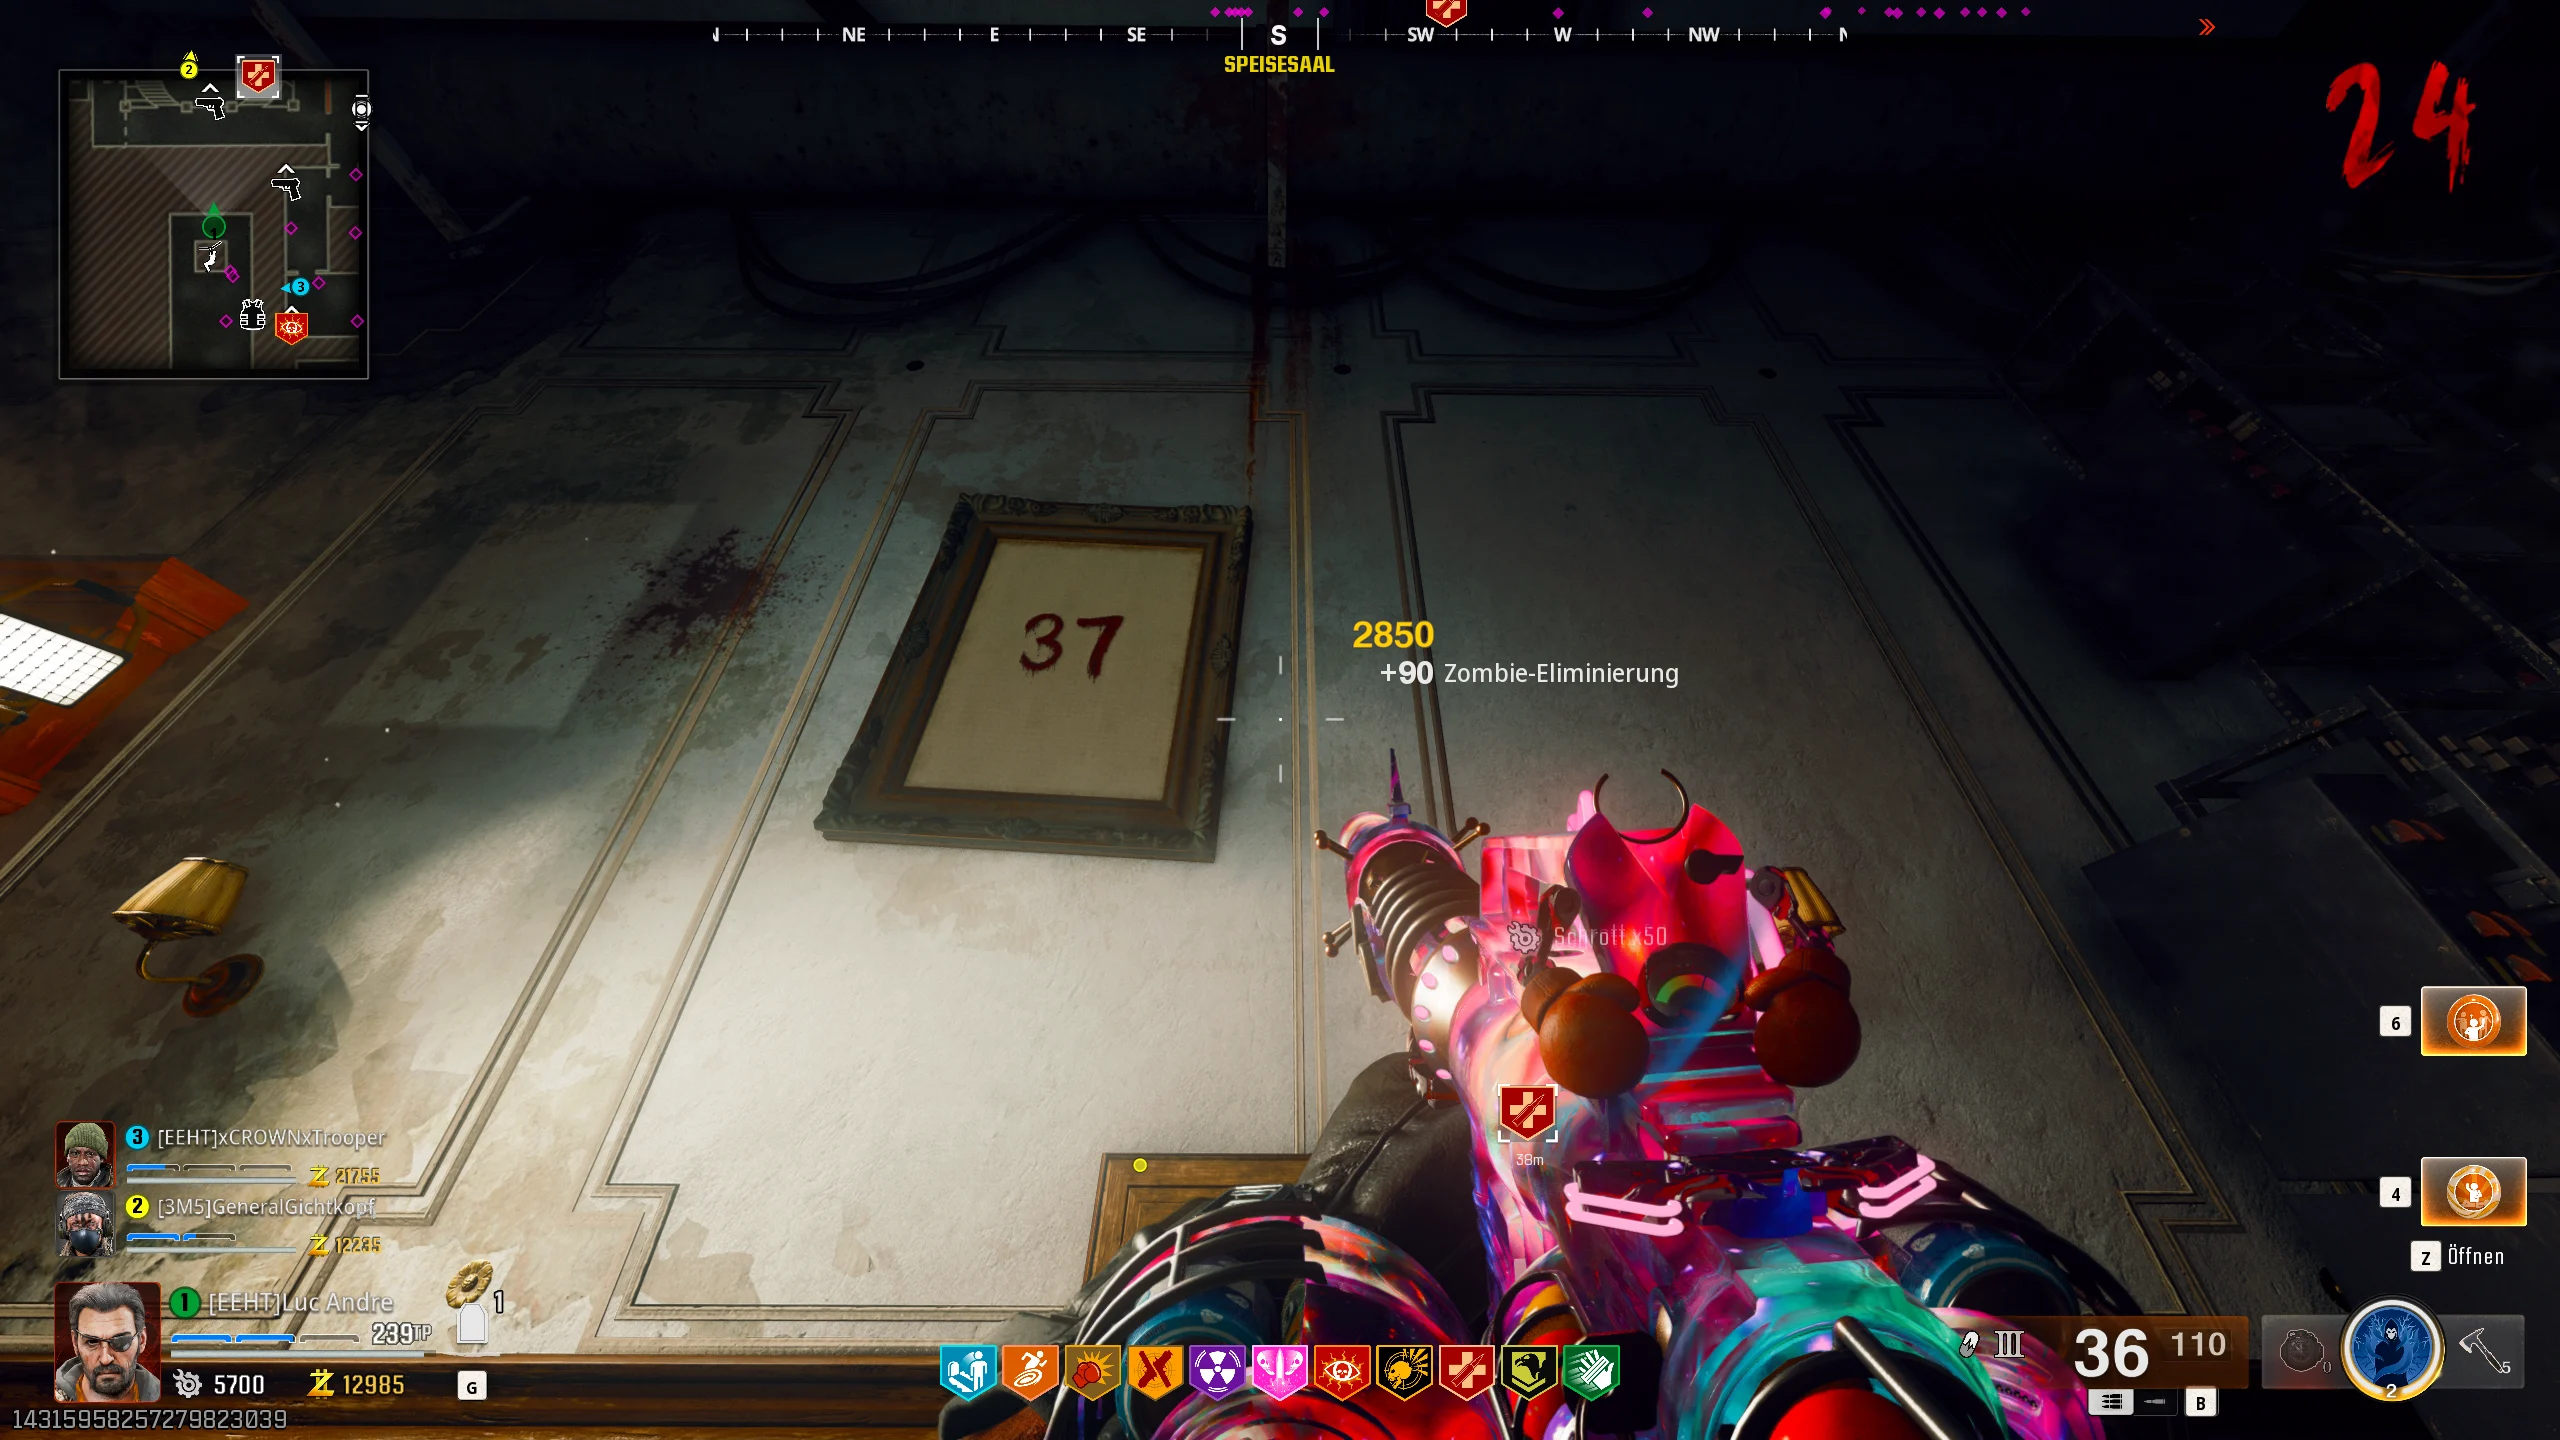
Remember these numbers in this exact order:
- Left
- Behind
- Right
Next, head to the west hallway and find a safe that you can interact with to enter the corresponding code.
Once the code is entered correctly, the safe will open, and you can pick up another part.
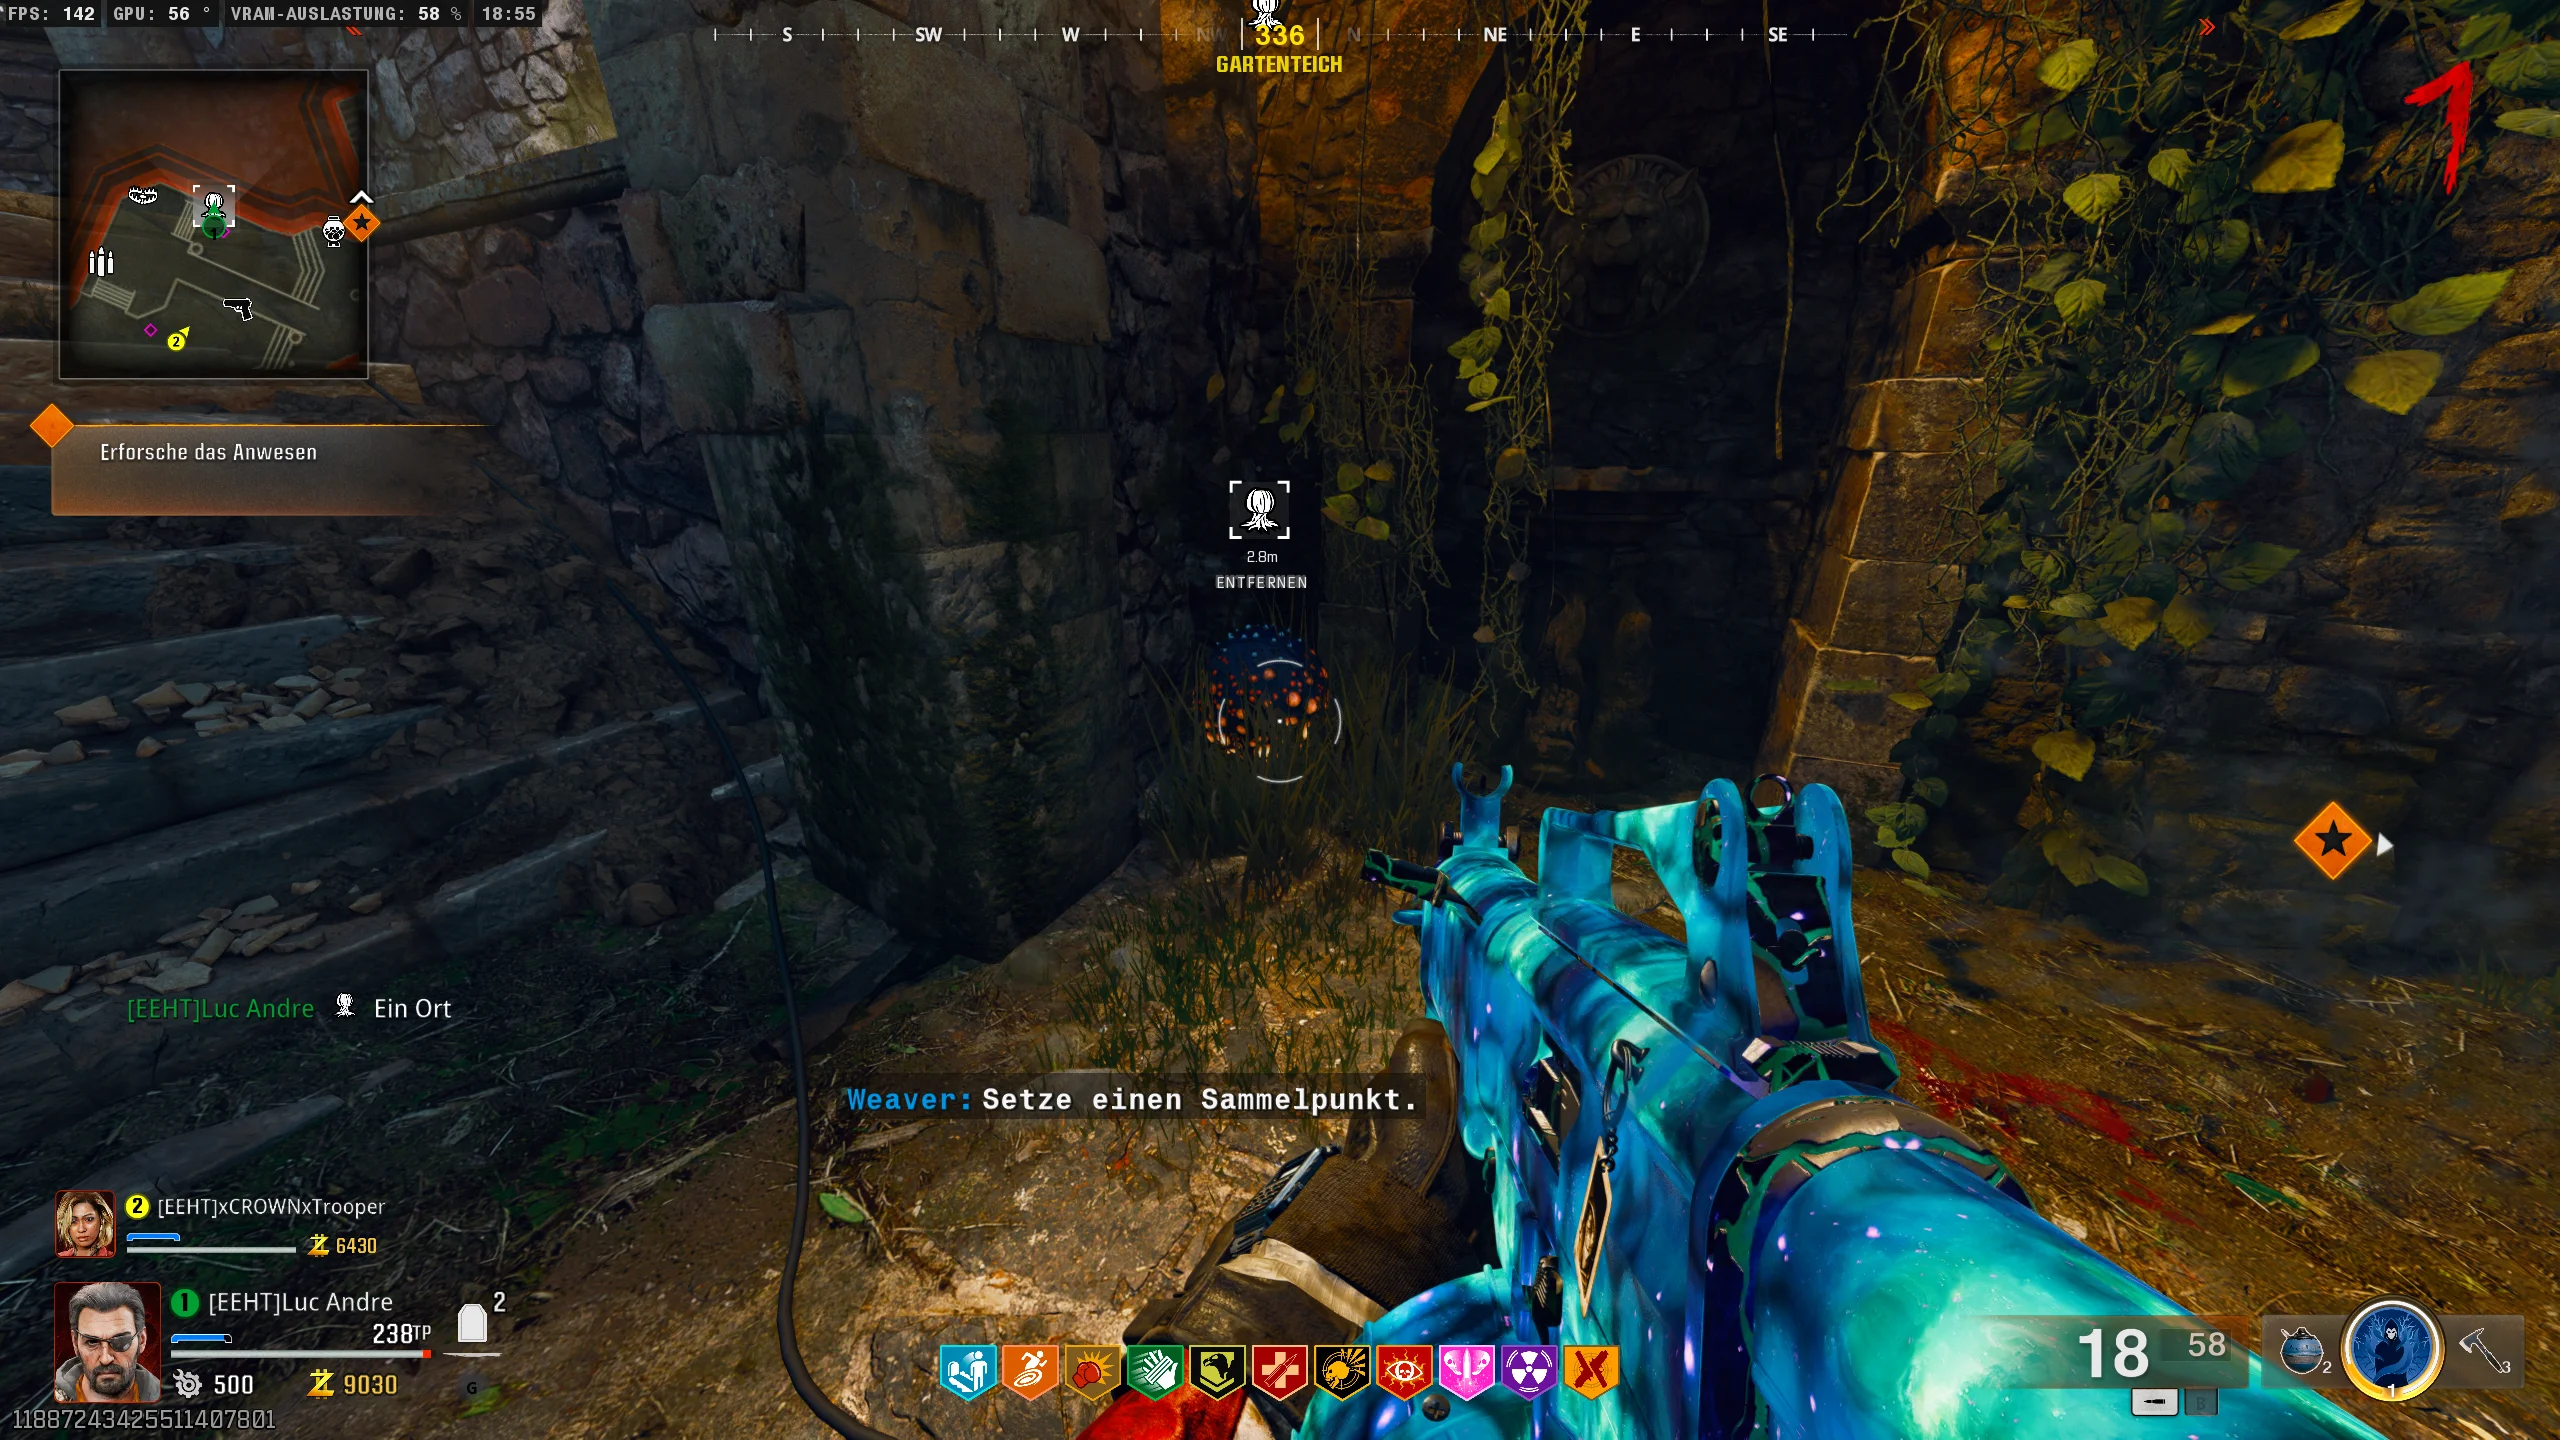
For the third and final Mark II variant, you need to search for parts again. The first part is the third canister, which is located right behind Double Tap at the following location:
To get the canister, you need a casemir. This can be crafted at the workbench. Throw the casemir directly in front of the opening and wait until it’s finished.
Once it’s done, you can pick up the canister from the floor.
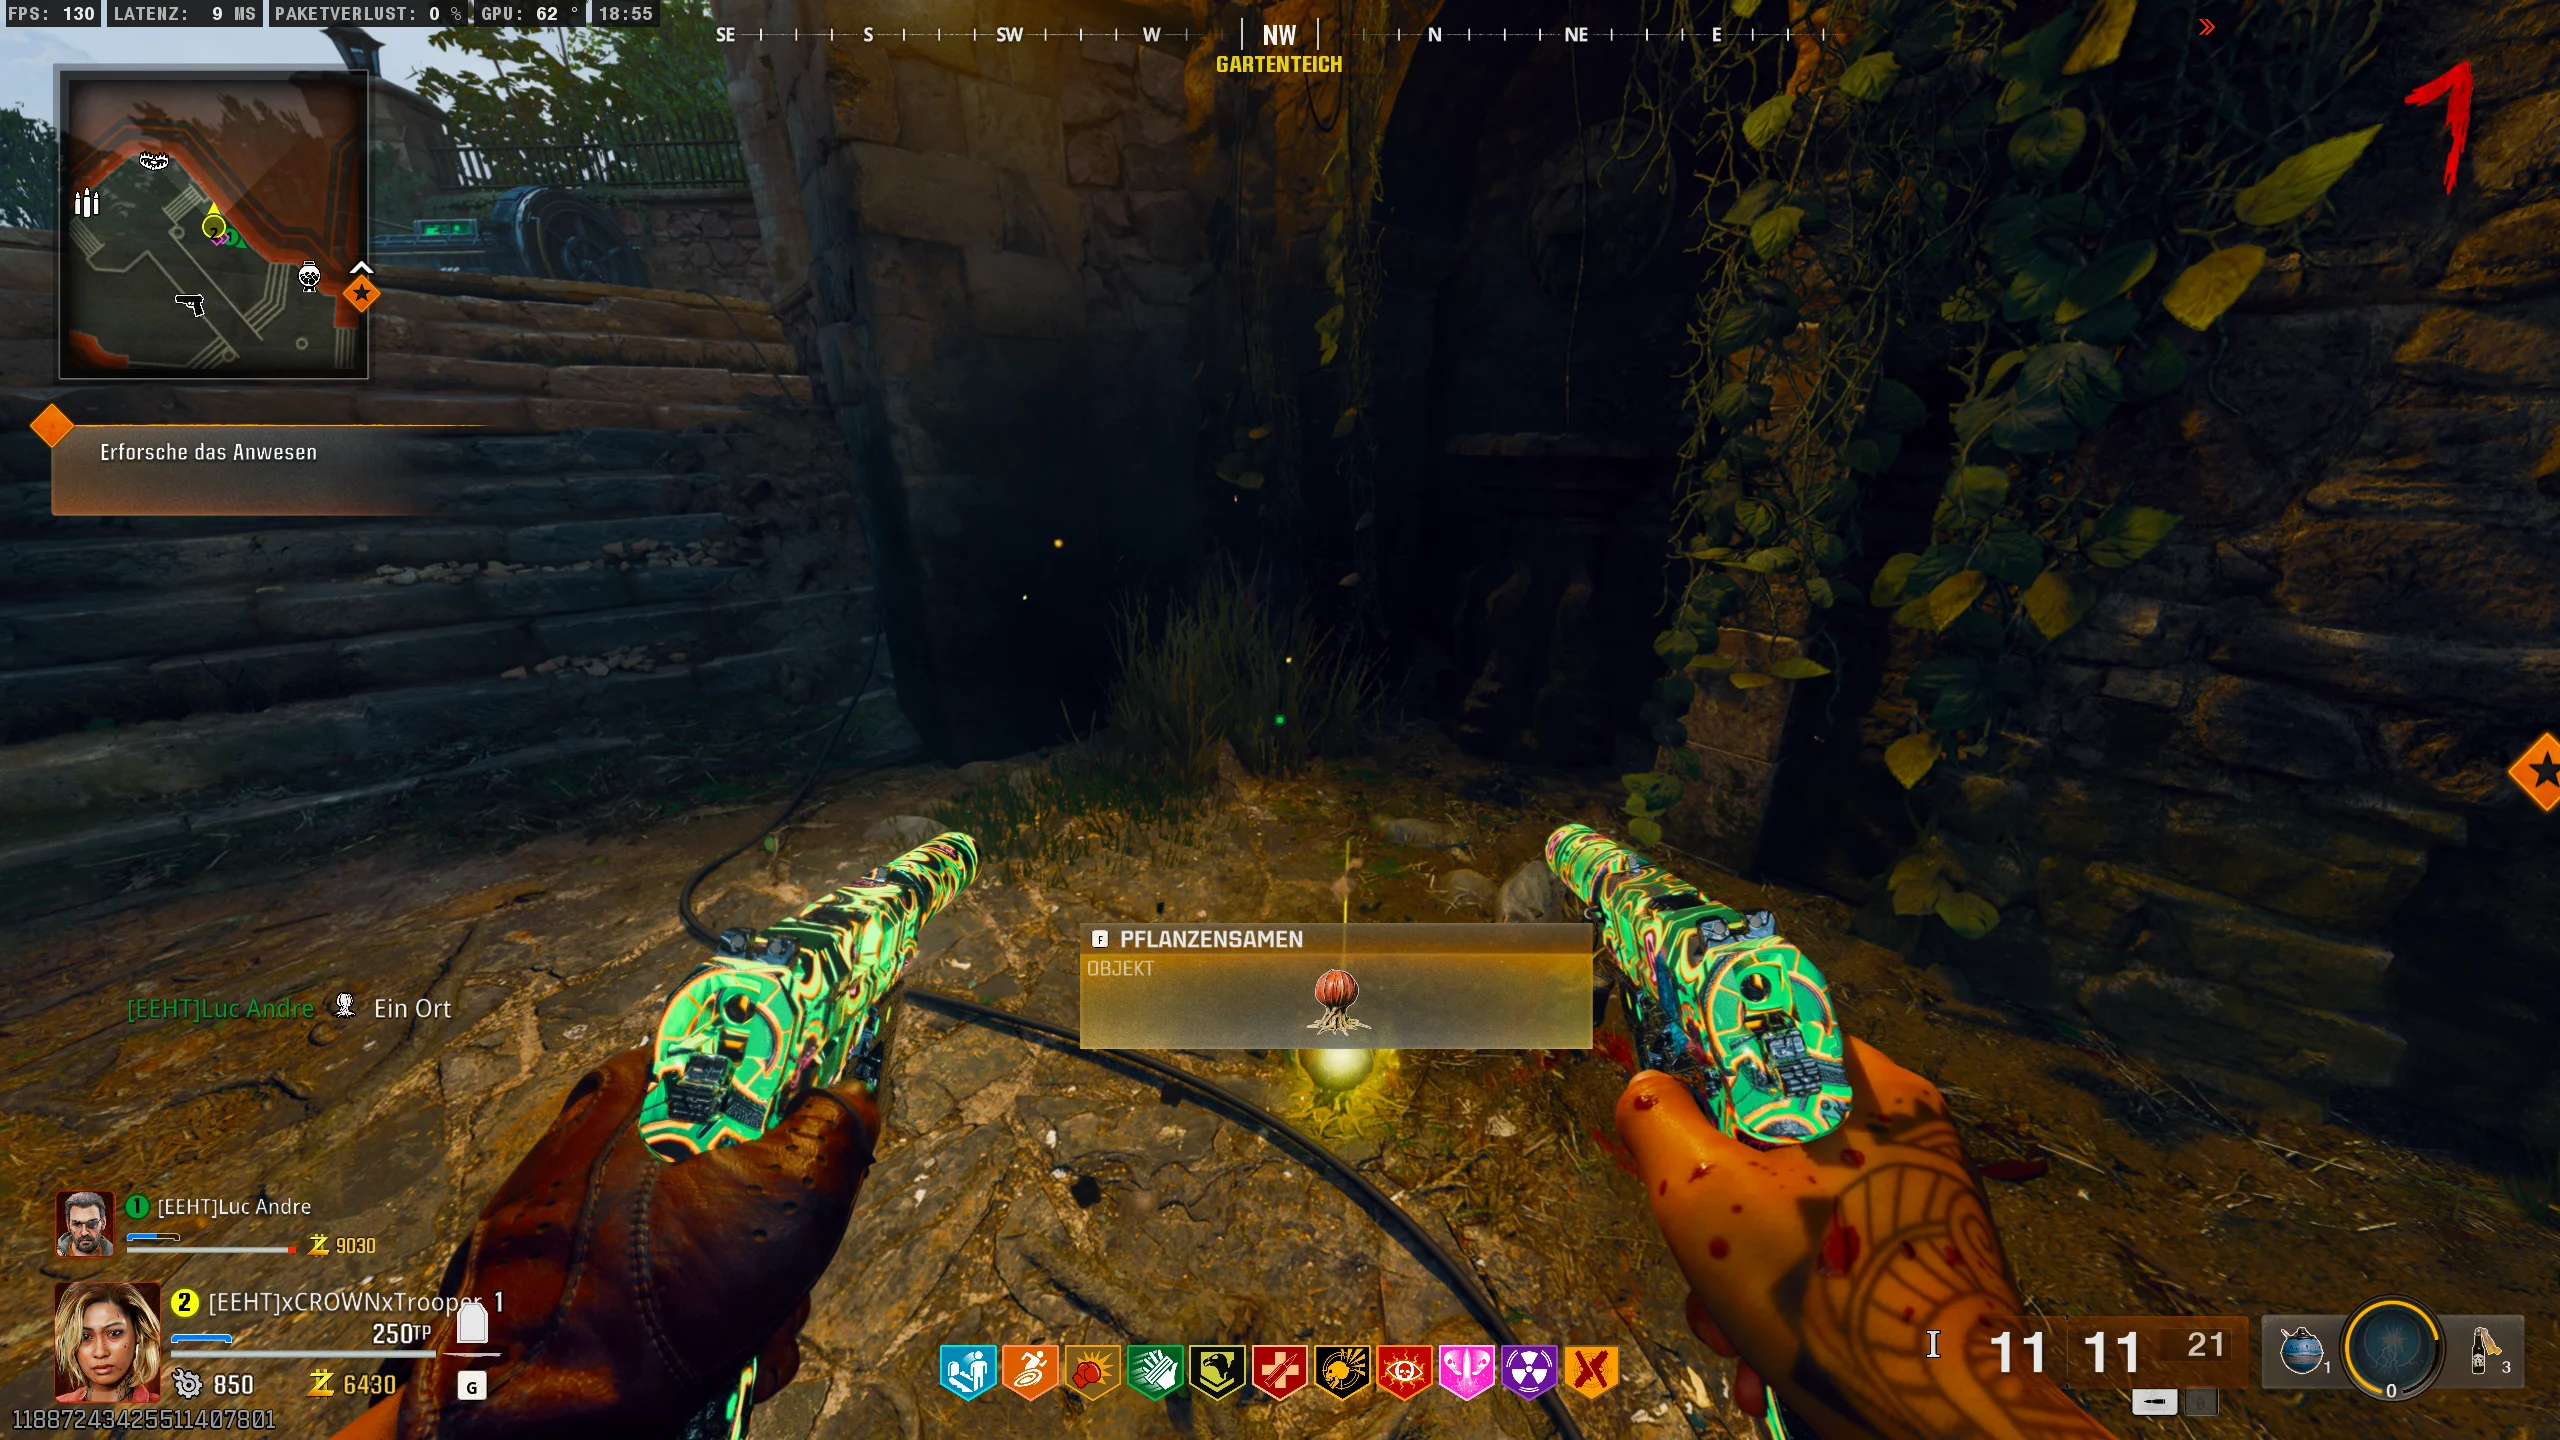
Now you need to collect four plant seeds. For this, you need either Semtex grenades or napalm burst on your weapon. Search the map for the following plants:
Throw the Semtex at the plant, or shoot it with the weapon that is equipped with napalm salve. Afterwards, the seed will be released, which you can then pick up.
Once you’ve collected all four seeds, head to the conservatory and insert the canister into the following machine:
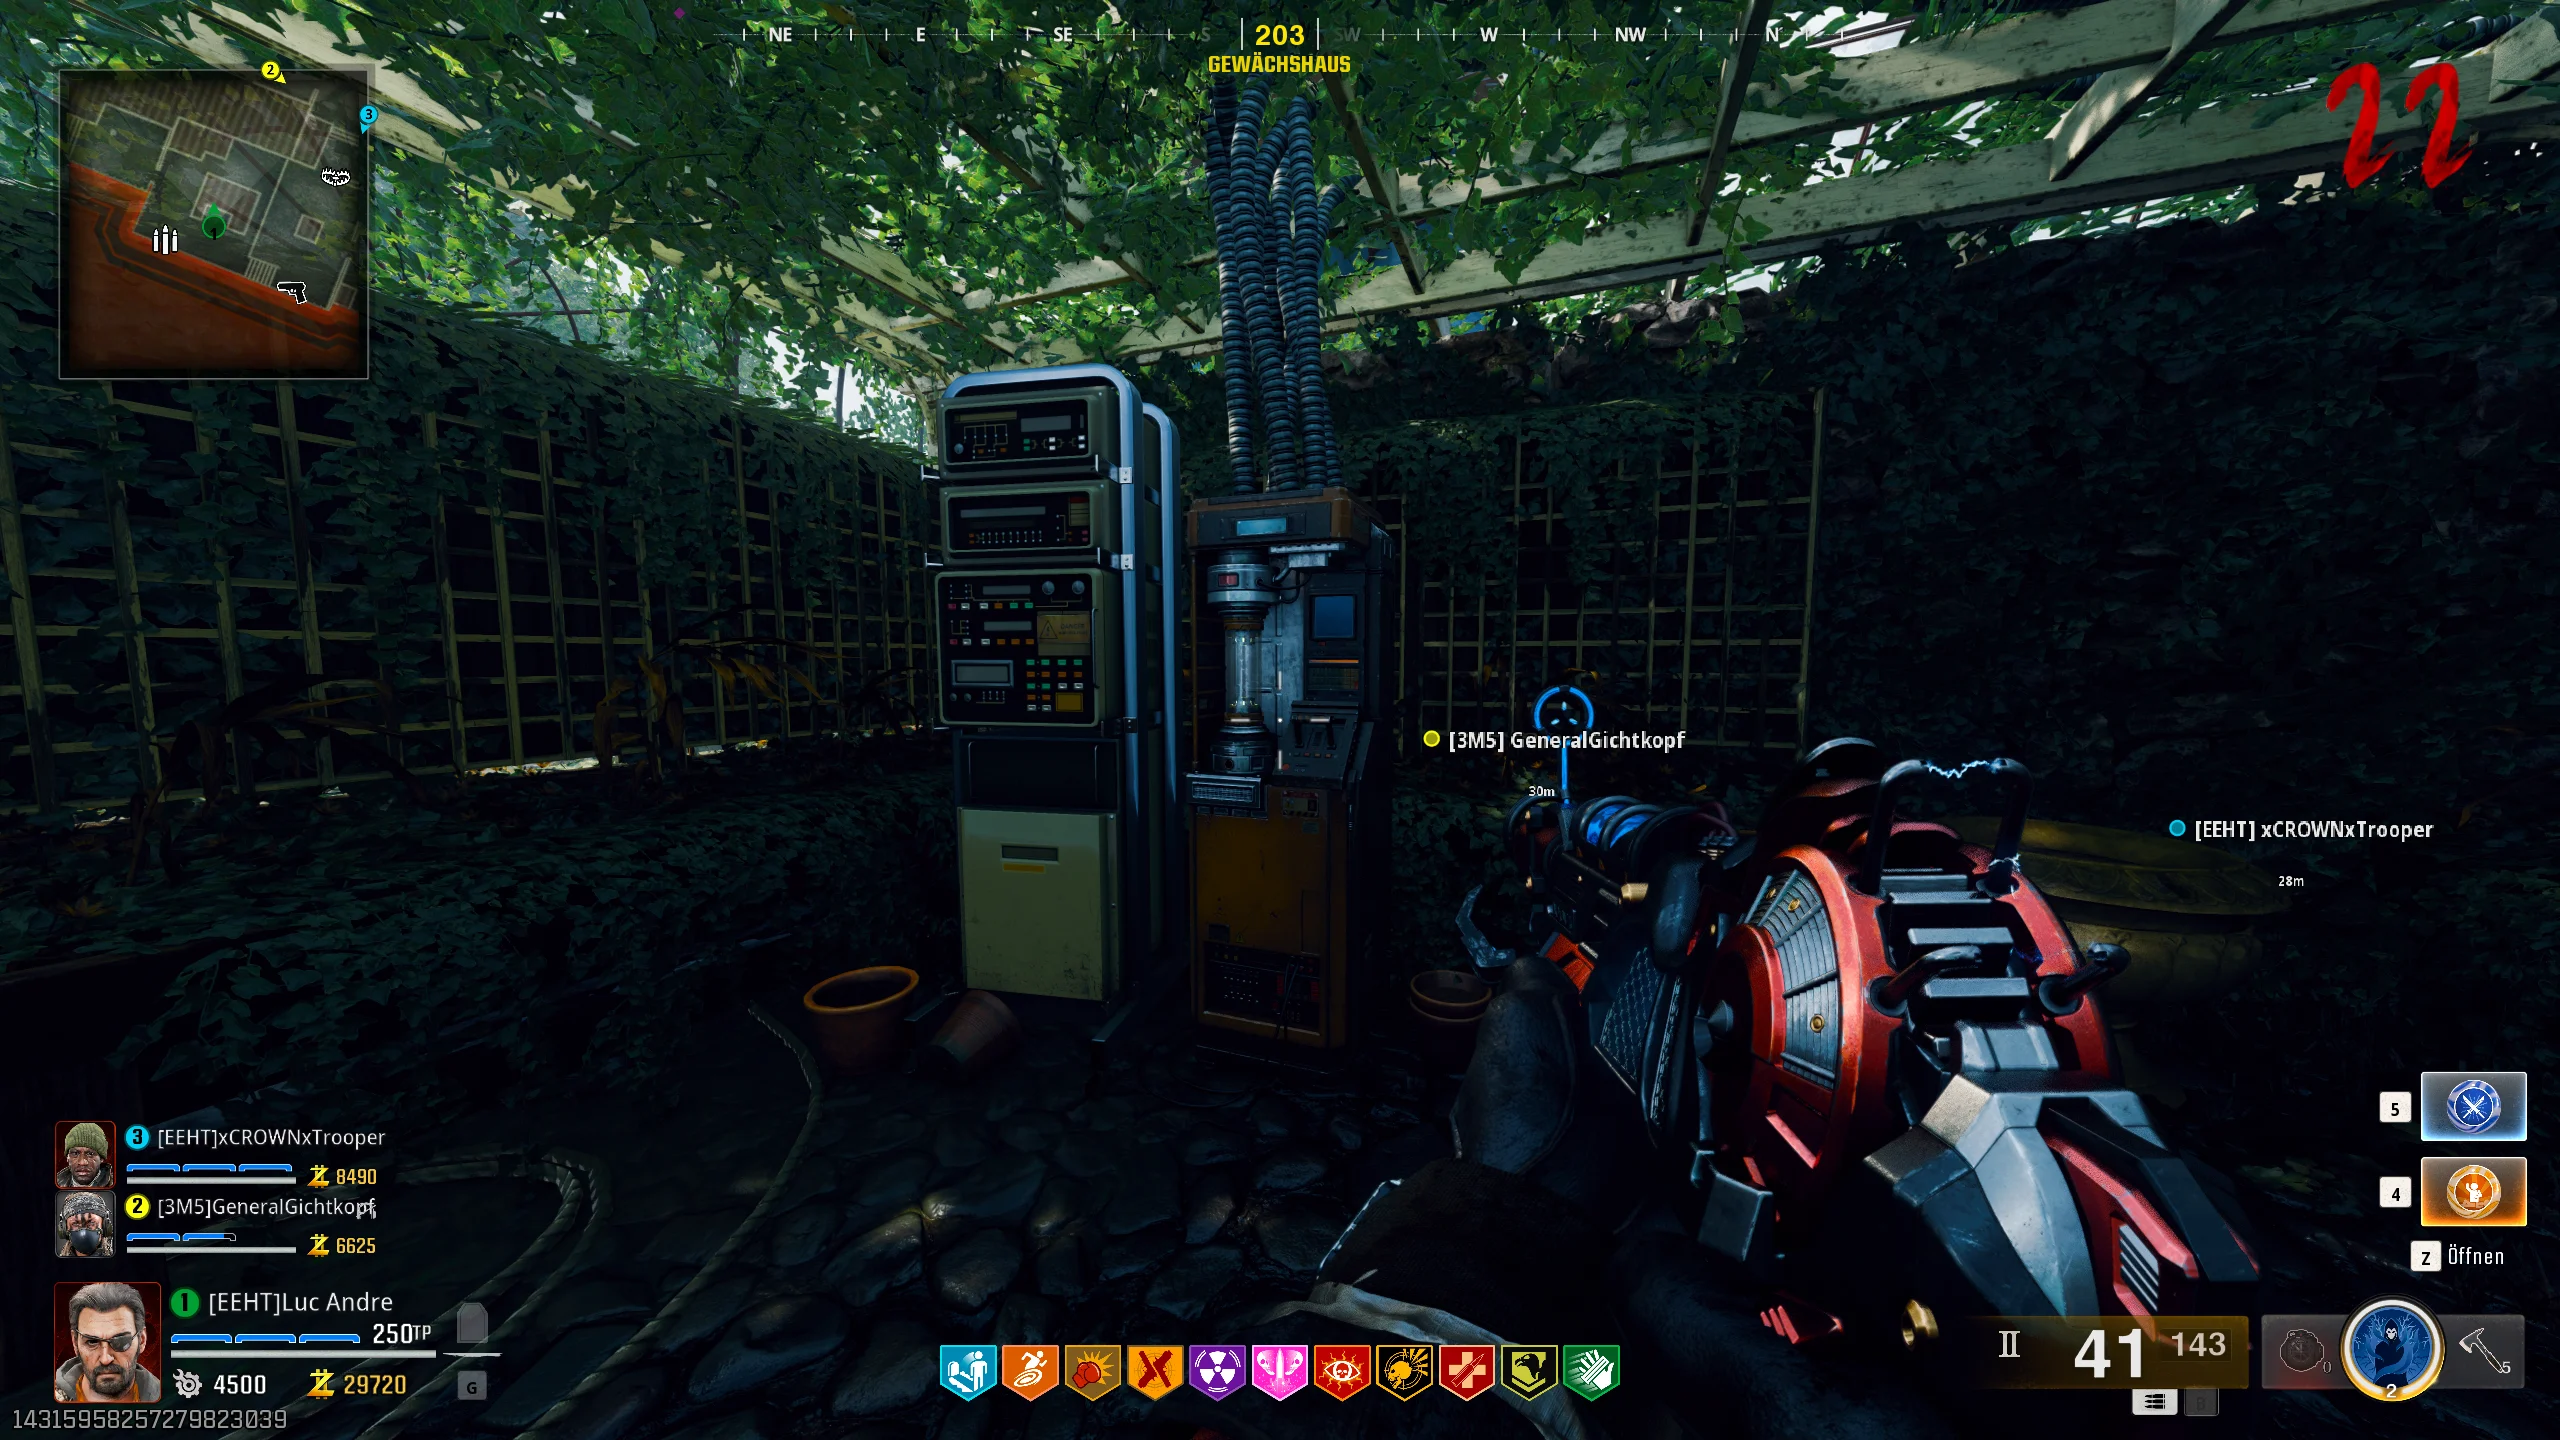
Now, you need to grow the plant seeds. To do this, interact with the following machine:
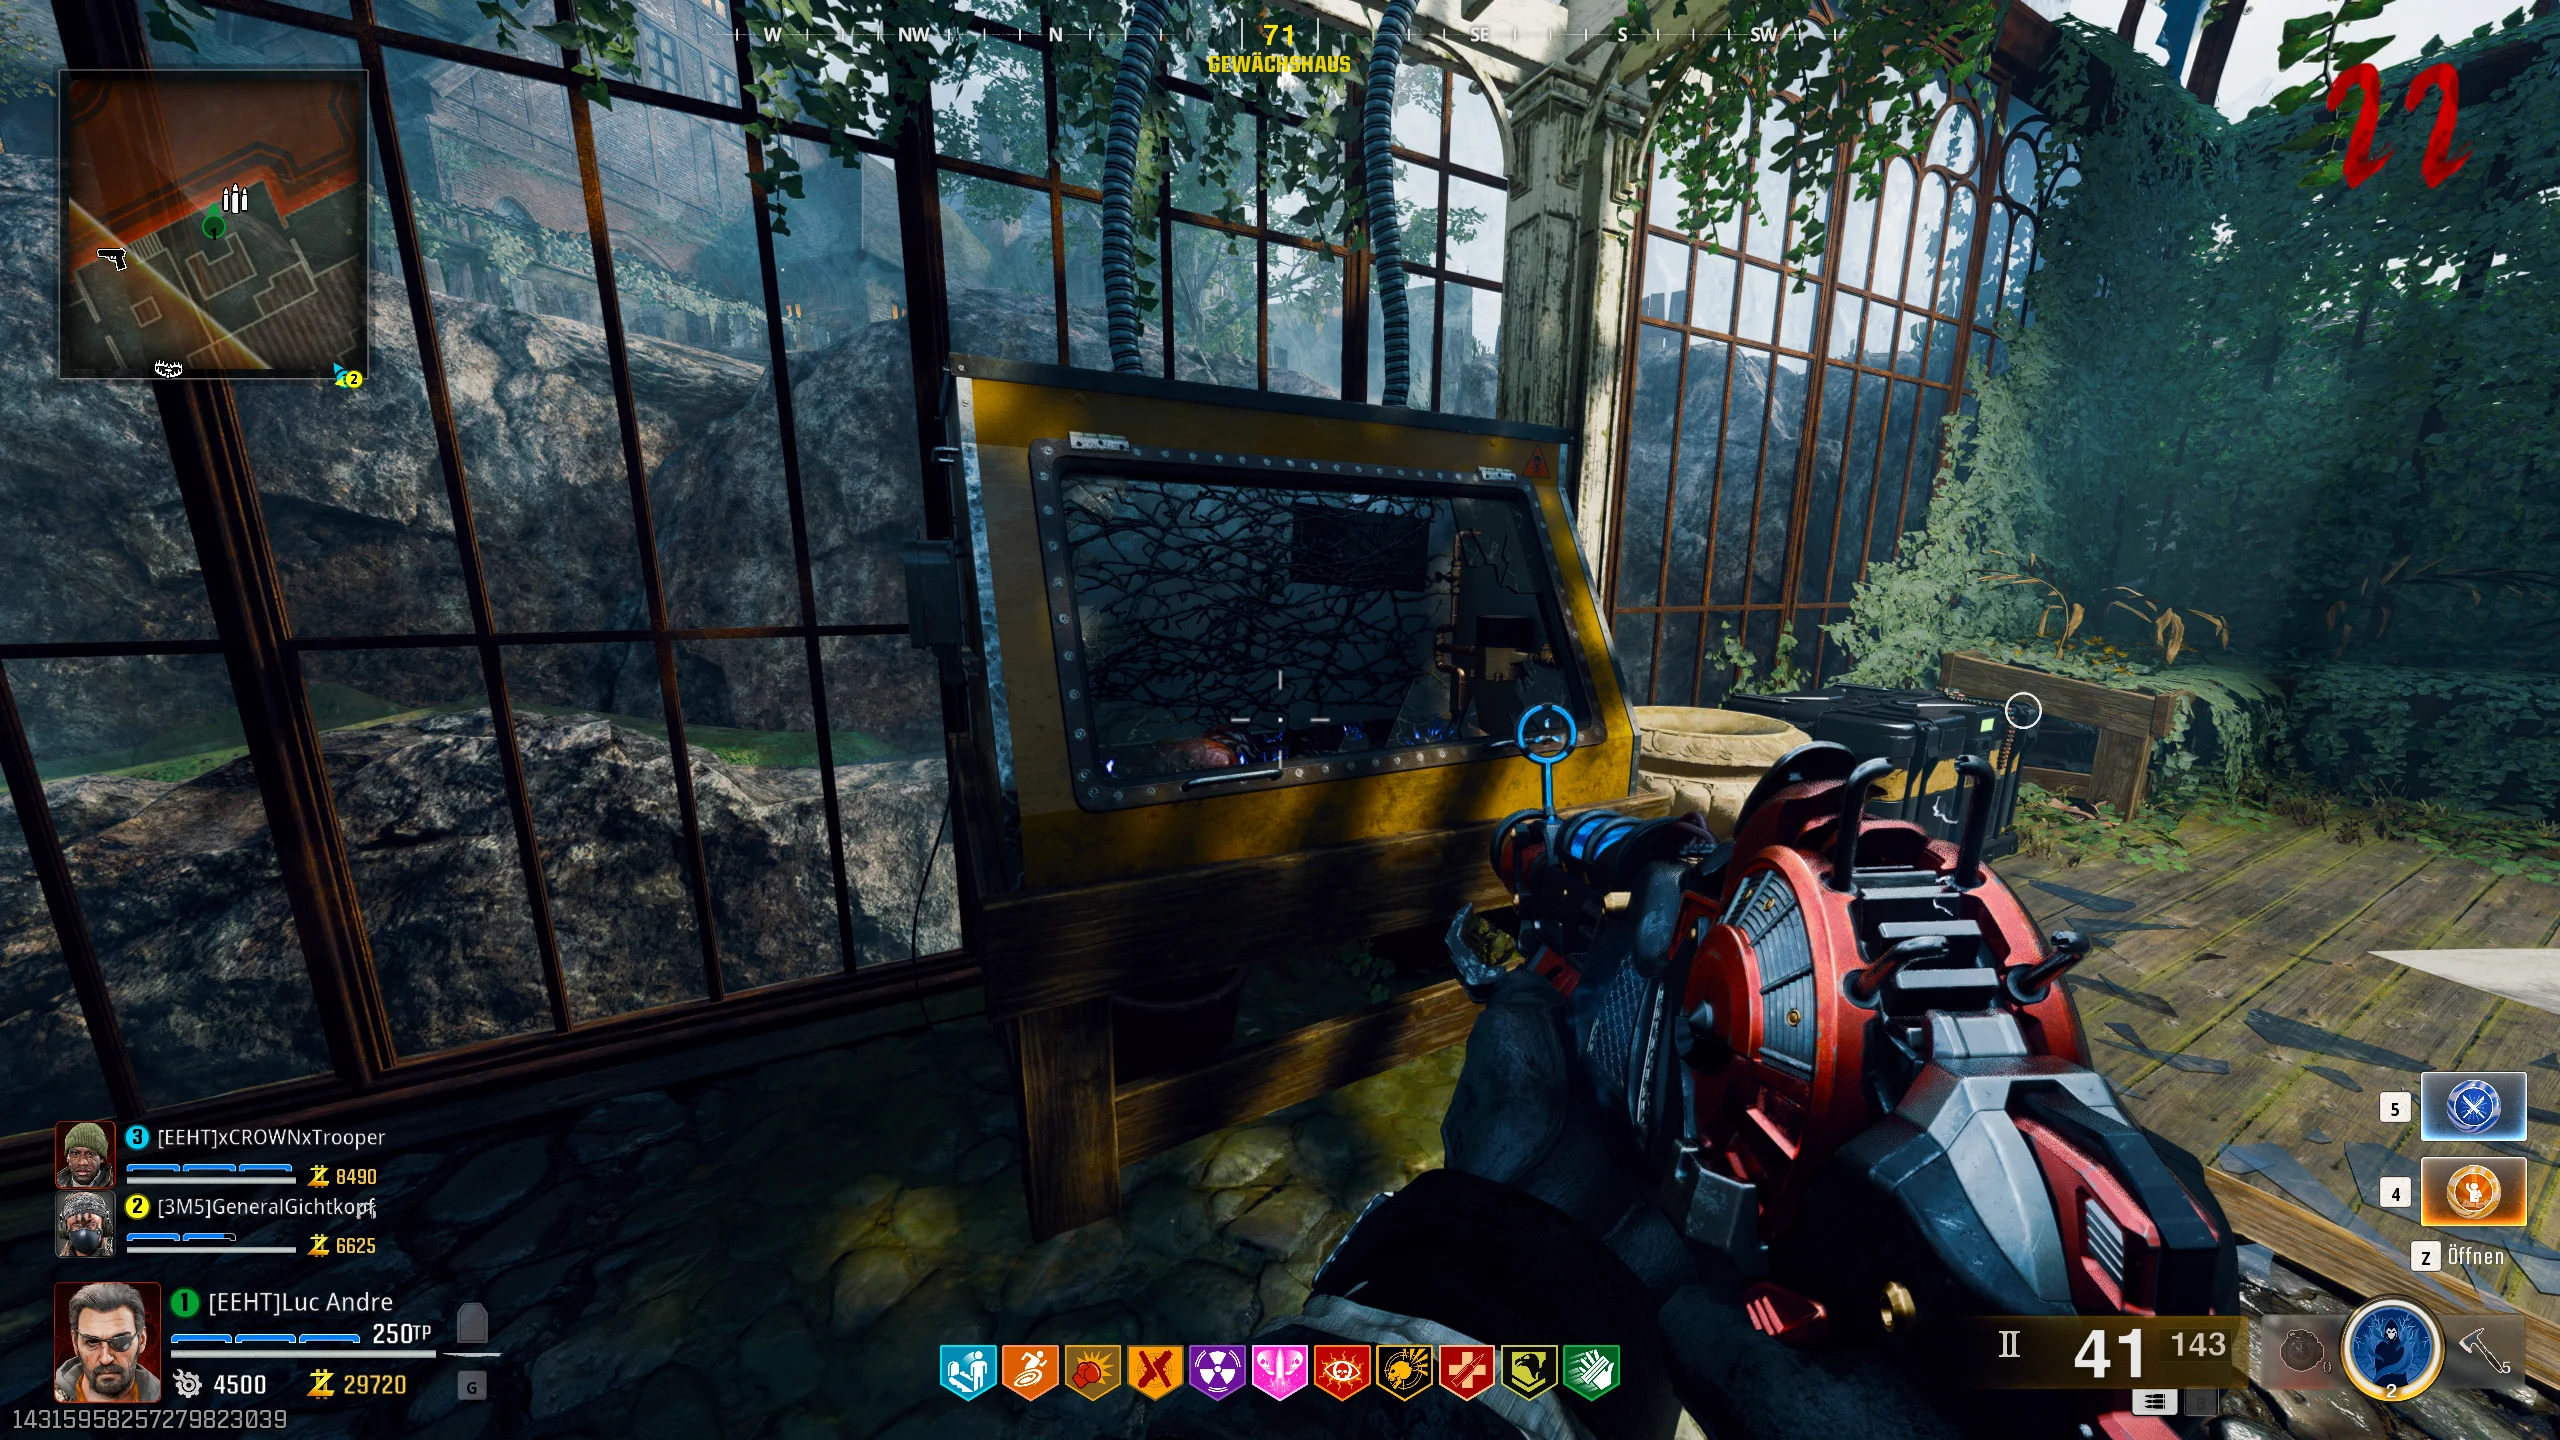
Now, you need to protect the seed. Defend the seed until it is fully grown.
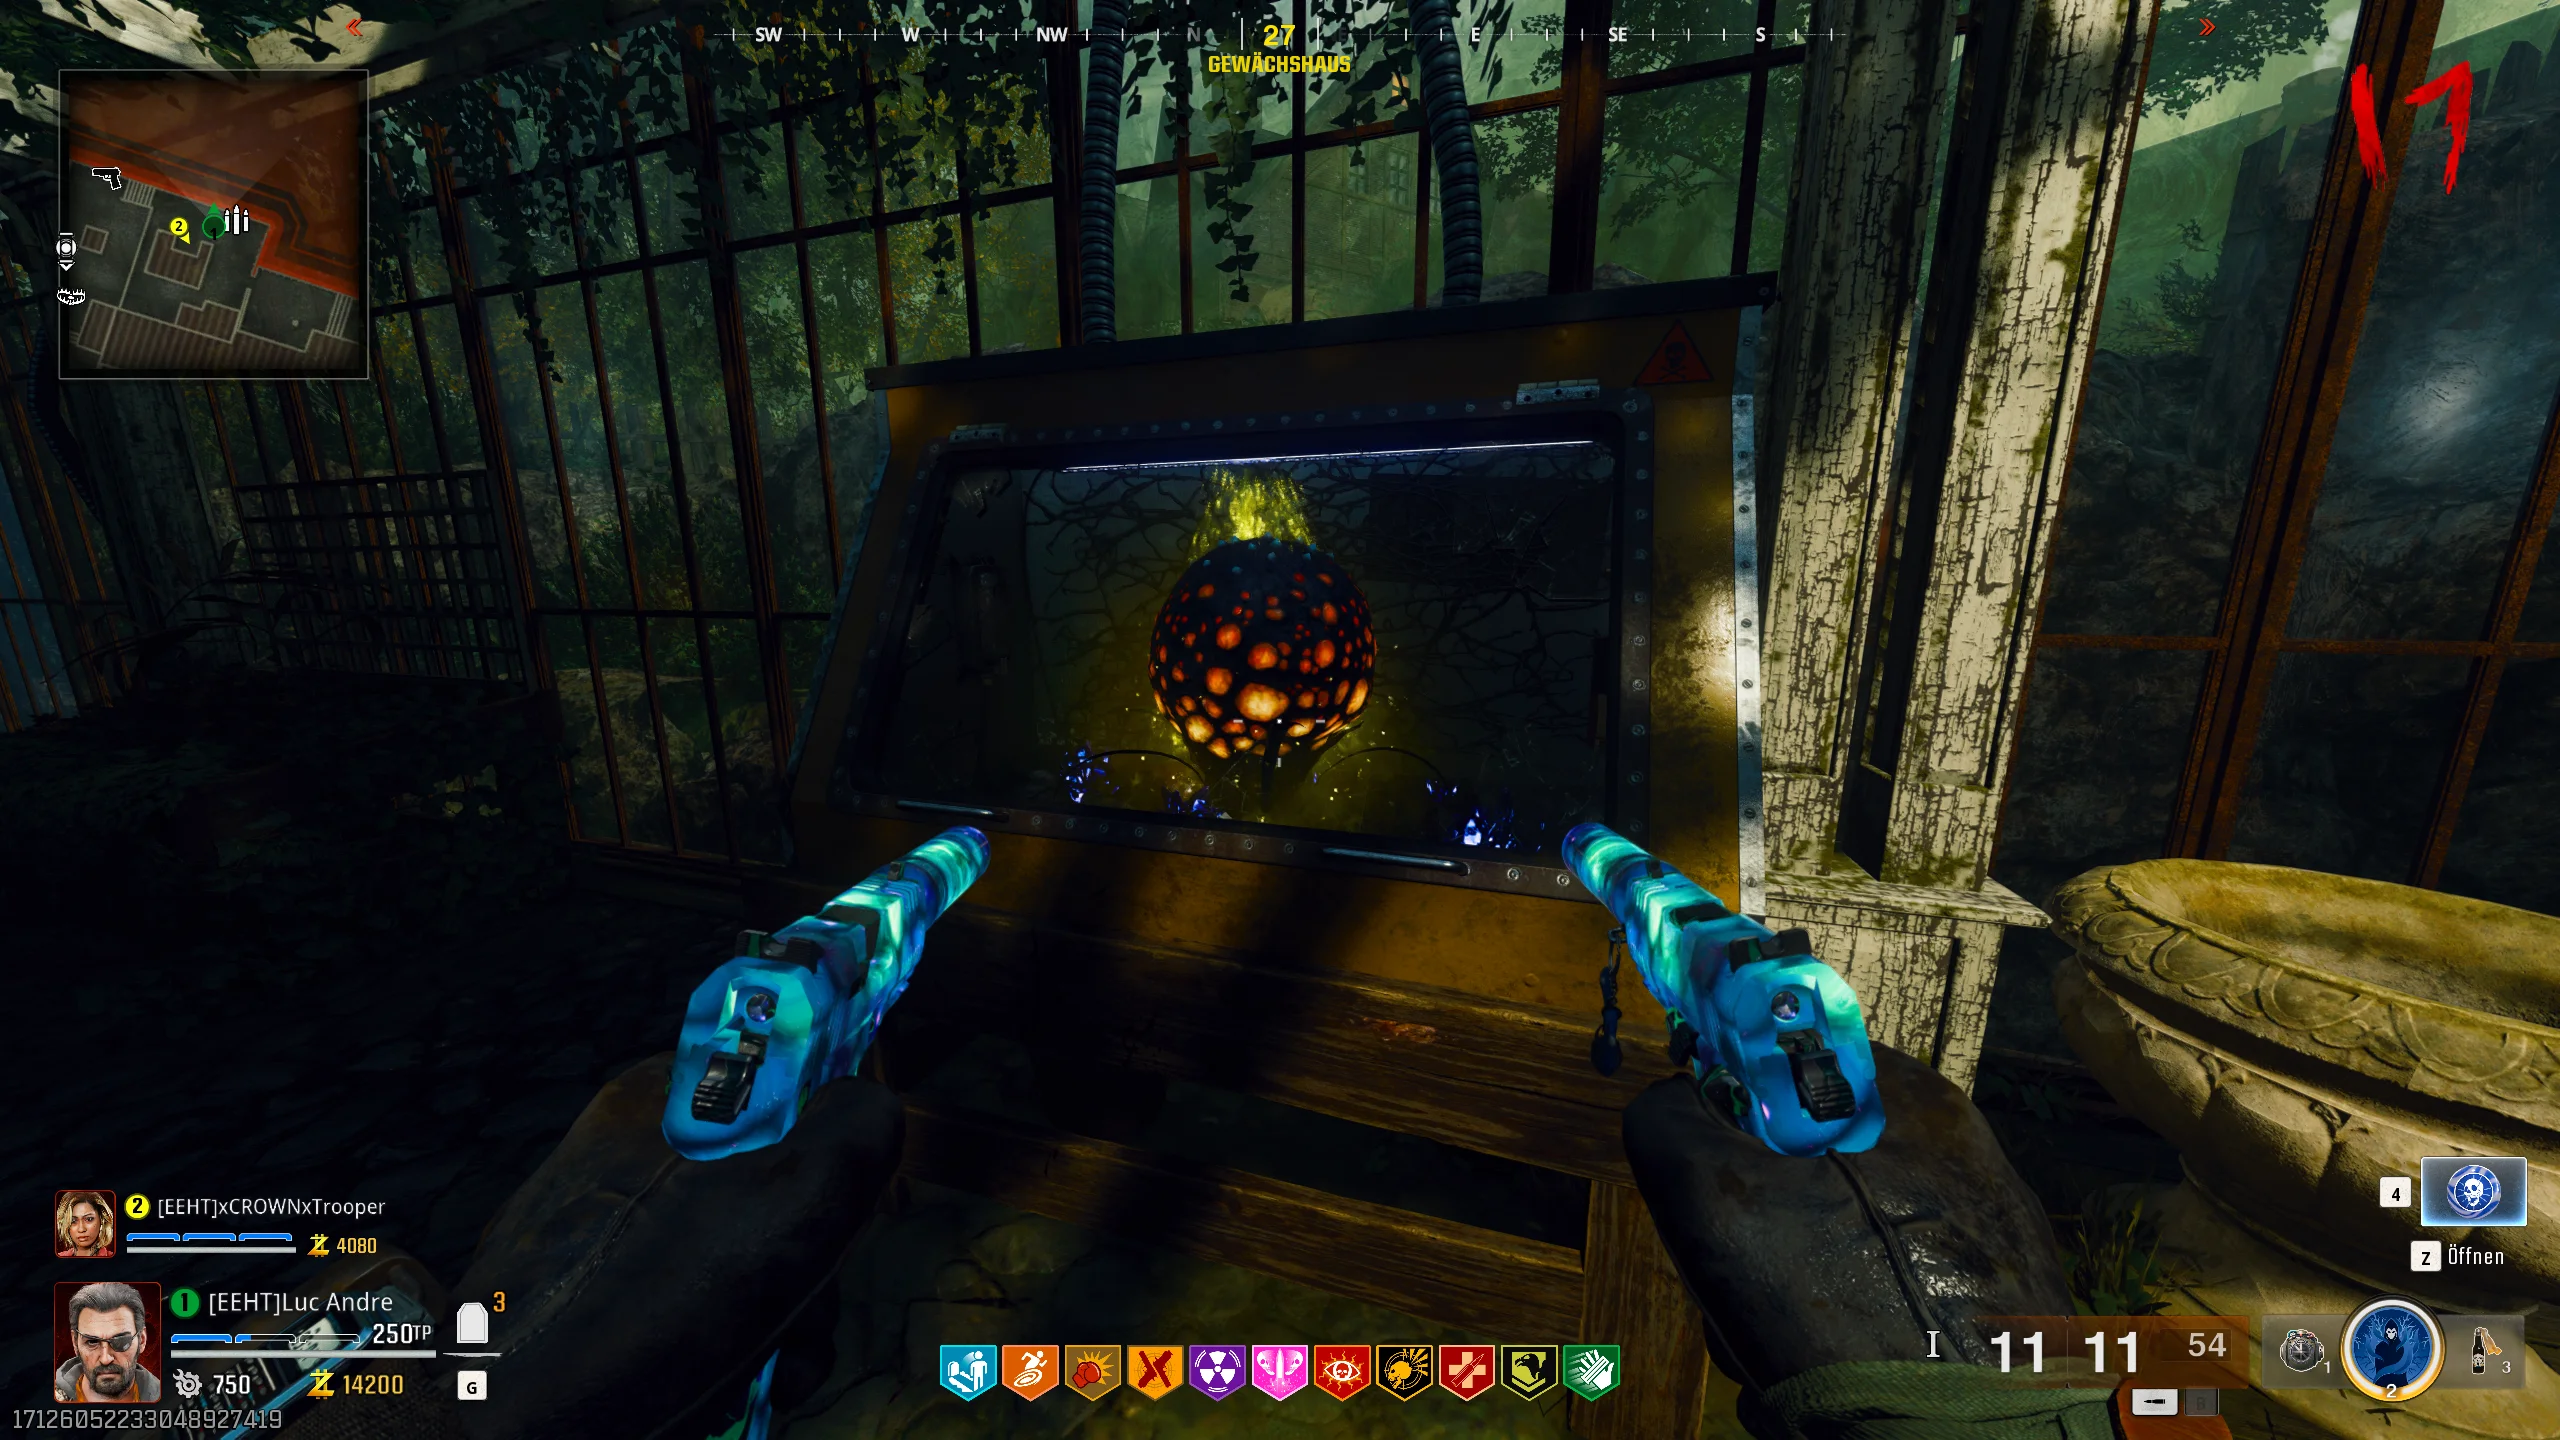
Repeat this step with all four incubators until all four seeds are fully grown. After that, grab the filled canister and head to the spawn area to obtain the next Ray Gun variant.
Once you have the new Ray Gun, you need to open the next portal. To do this, head to the library and interact with the server next to the picture on the wall.
Now, you need to kill zombies and collect their souls until the picture transforms into a portal. Once this step is completed, enter the room behind the portal.
A ghost will appear again. Pay close attention, as it will reveal the locations of the three required parts. It is important that your Aether Shroud is fully charged, as it will be needed to make the parts visible.
One of these parts will be a Nuclear ID Card. This will spawn in one of the following fireplaces:
- East-Foyer
- Study
- Banquet Hall
The second part is an audiolog, which can be found at the following locations:
- Library
- Overlook area
The third and final part is a book. It can be found at the following two locations:
- Study
- East Foyer (upper area)
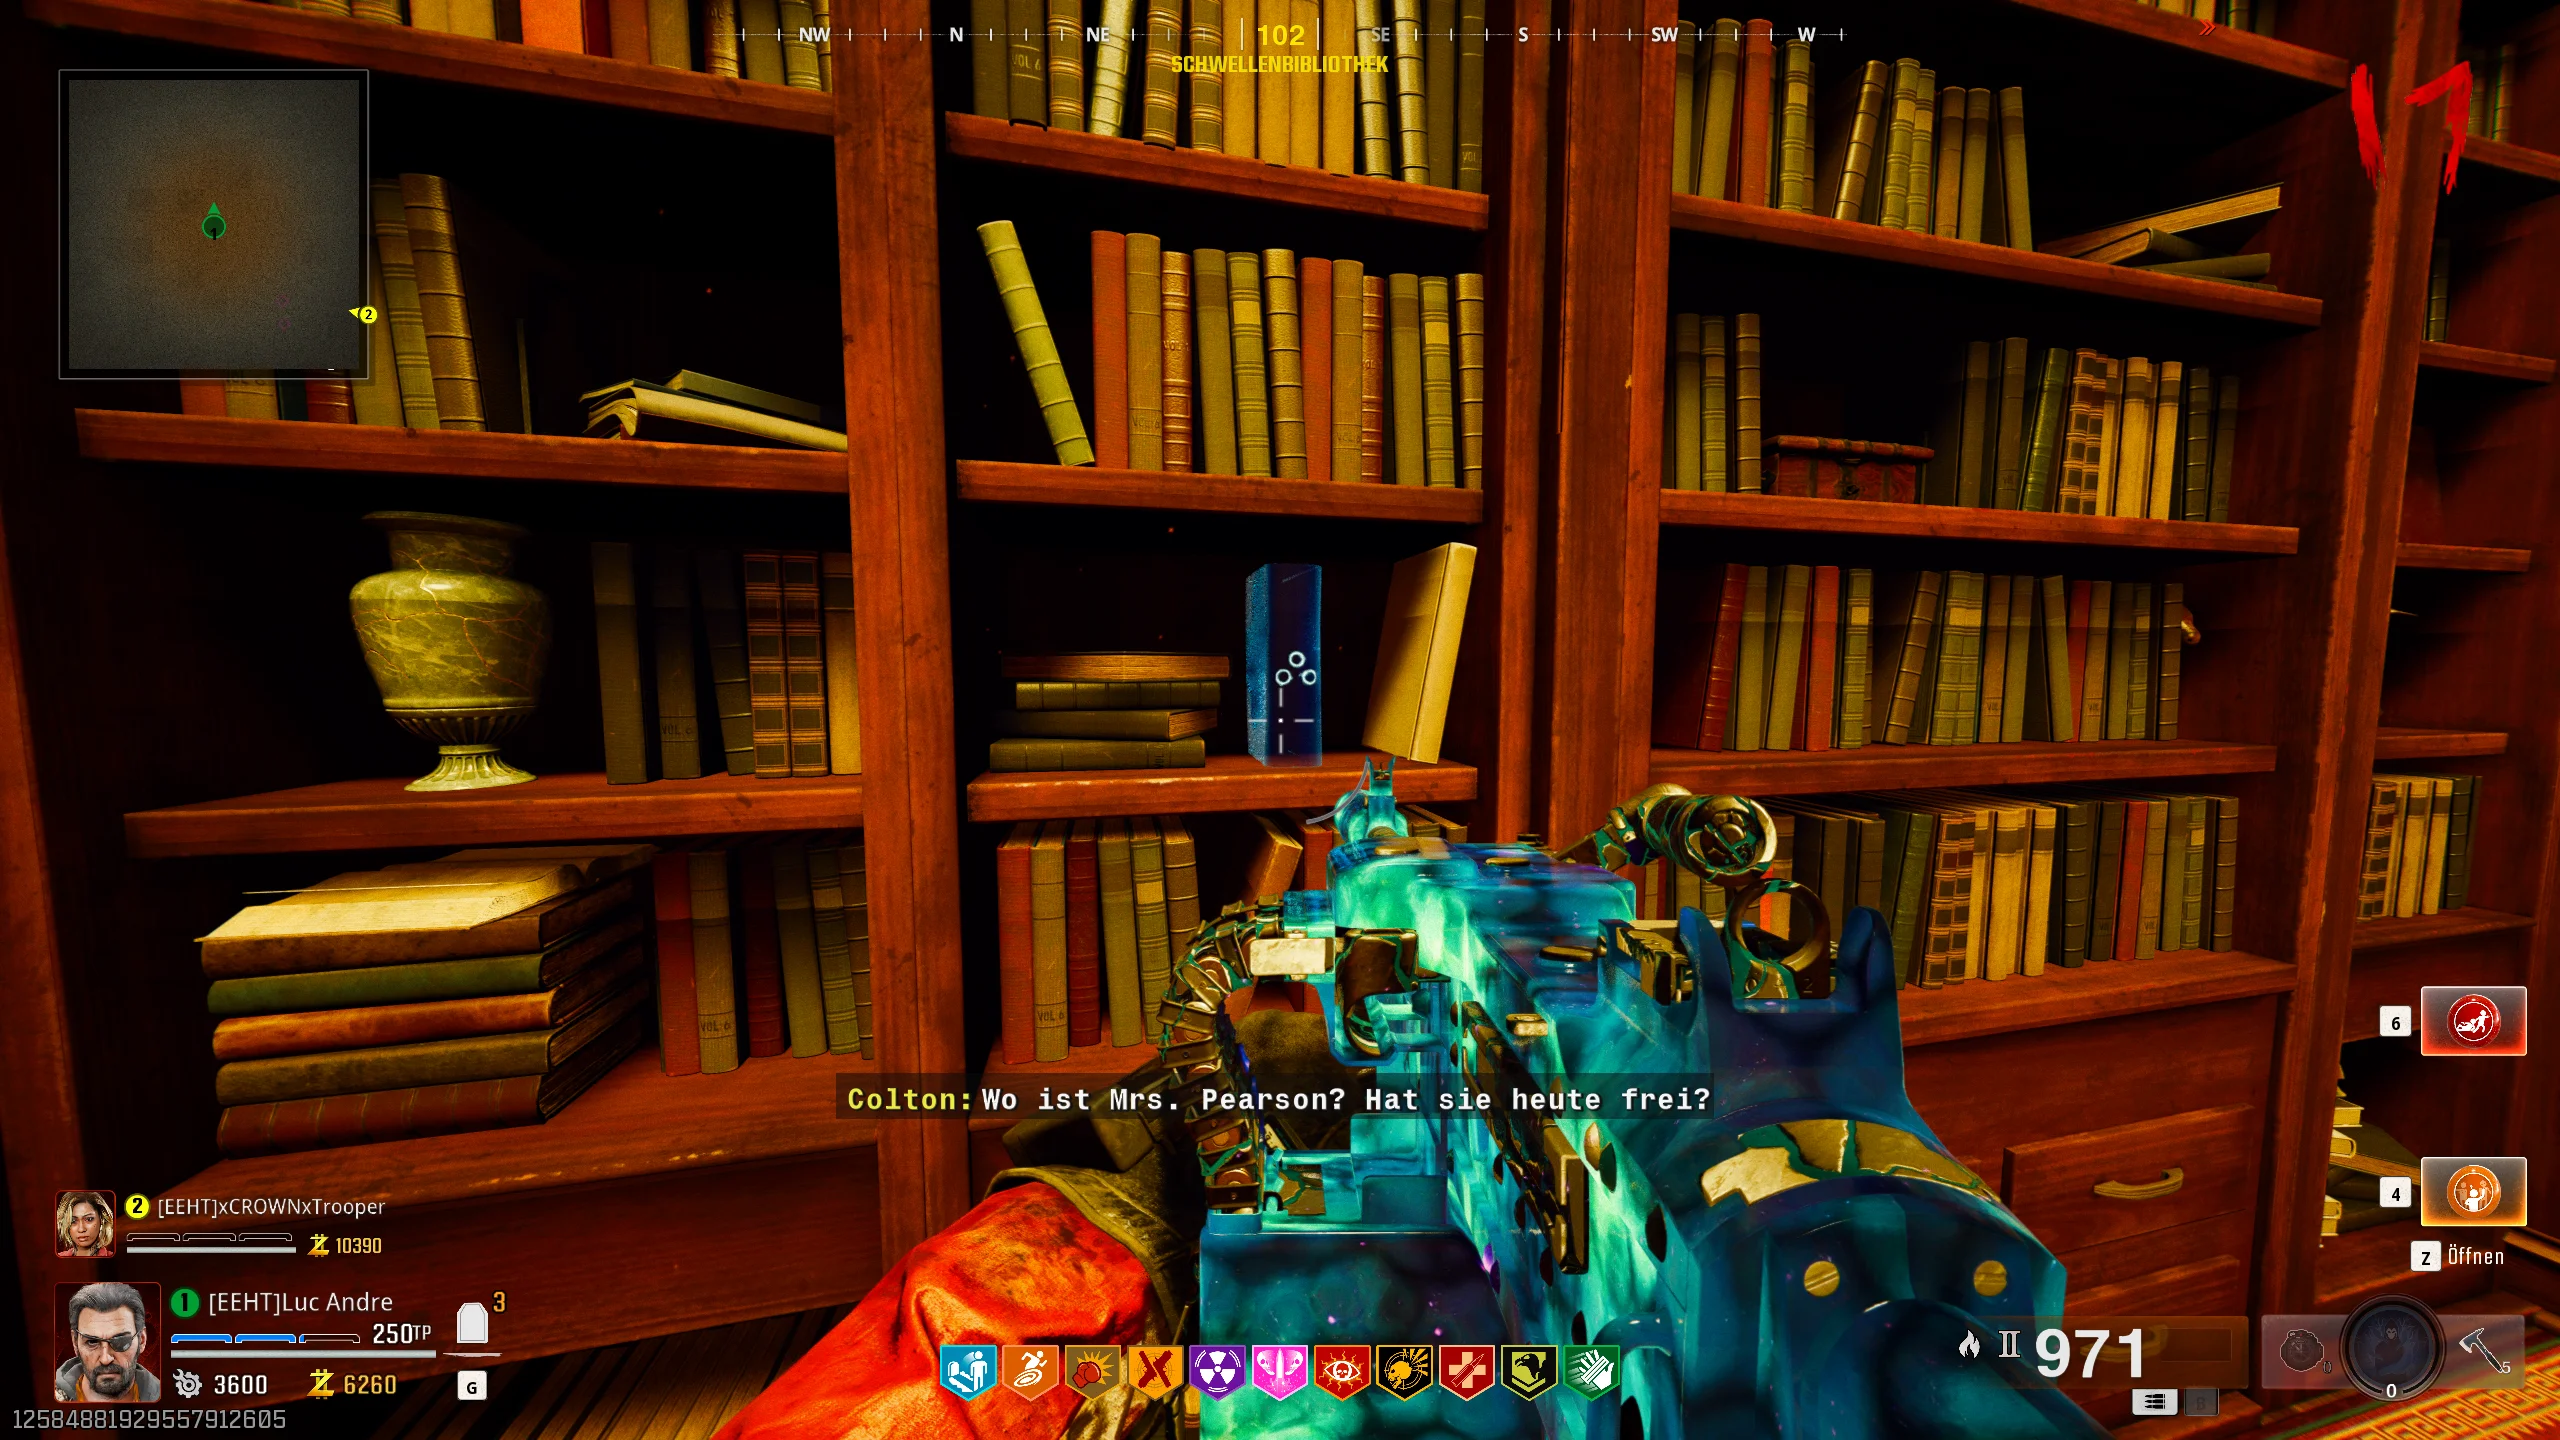
Once you’ve collected all three parts, head back to the library and look for three white books on a bookshelf, directly opposite the portal.
Now, you need to interact with the books in the correct order. If a book turns blue, it means you’ve selected the correct one. Try the possible combinations – the solution will be found quickly.
Once you’ve picked up the part, go through the portal and place the sentinel artifact on the stone pedestal in the room. Interact with it to start the lockdown, just like the previous portals.
During the lockdown, you’ll need to shoot the elite zombie with the Ray Gun until it’s defeated. Once you’ve done that, pick up the artifact again.
IMPORTANT NOTE BEFORE STARTING THE BOSS FIGHT:
The boss fight on Shattered Veil can be challenging if you’re not properly equipped. Upgrade the Ray Gun to its maximum Punch level and get the attachment for the Ray Gun Mark II-W from the supply depot next to the weapon chamber. Your second weapon should have at least legendary rarity and Punch level 2. Additionally, equip Kasimirs and a Helicopter Gunner, as this is highly effective against the boss.
You’ll need plenty of ammo, so make sure to enter the boss fight with enough essence stock. We recommend at least 10k. Gobblegums for maximum ammo can also be helpful.
Also, equip the Phoenix from the Ashes and Near Death Experience gums to revive fallen teammates without them losing their perks.
The boss fight is divided into four phases. Use the Helicopter Gunner during the following phases:
- Solo: Phase 4
- Duo: Phase 3 & 4
- Trio: Phase 3 & 4 (2x)
- Quad: Phase 3 (2x) & Phase 4 (x)
To initiate the boss fight, go to the Mainframe Chamber and place the artifact at the following point to start the fight:
The boss fight area is large, giving you plenty of space to move around. During the fight, pay attention to the weak spots of the boss, which will be indicated by a greenish smoke. The boss’s eyes are particularly vulnerable. Focus on using your Ray Gun Mark II-W to deal around 24k damage to the boss.
Also, watch out for green circles on the ground, which will turn into clouds. These will make you extremely vulnerable and slow you down. Keep your distance from the boss, as he can potentially eliminate you instantly if you’re too close. Be mindful of your pathways and keep an eye on the boss’s movements, as they become less predictable with each phase.
Good luck!