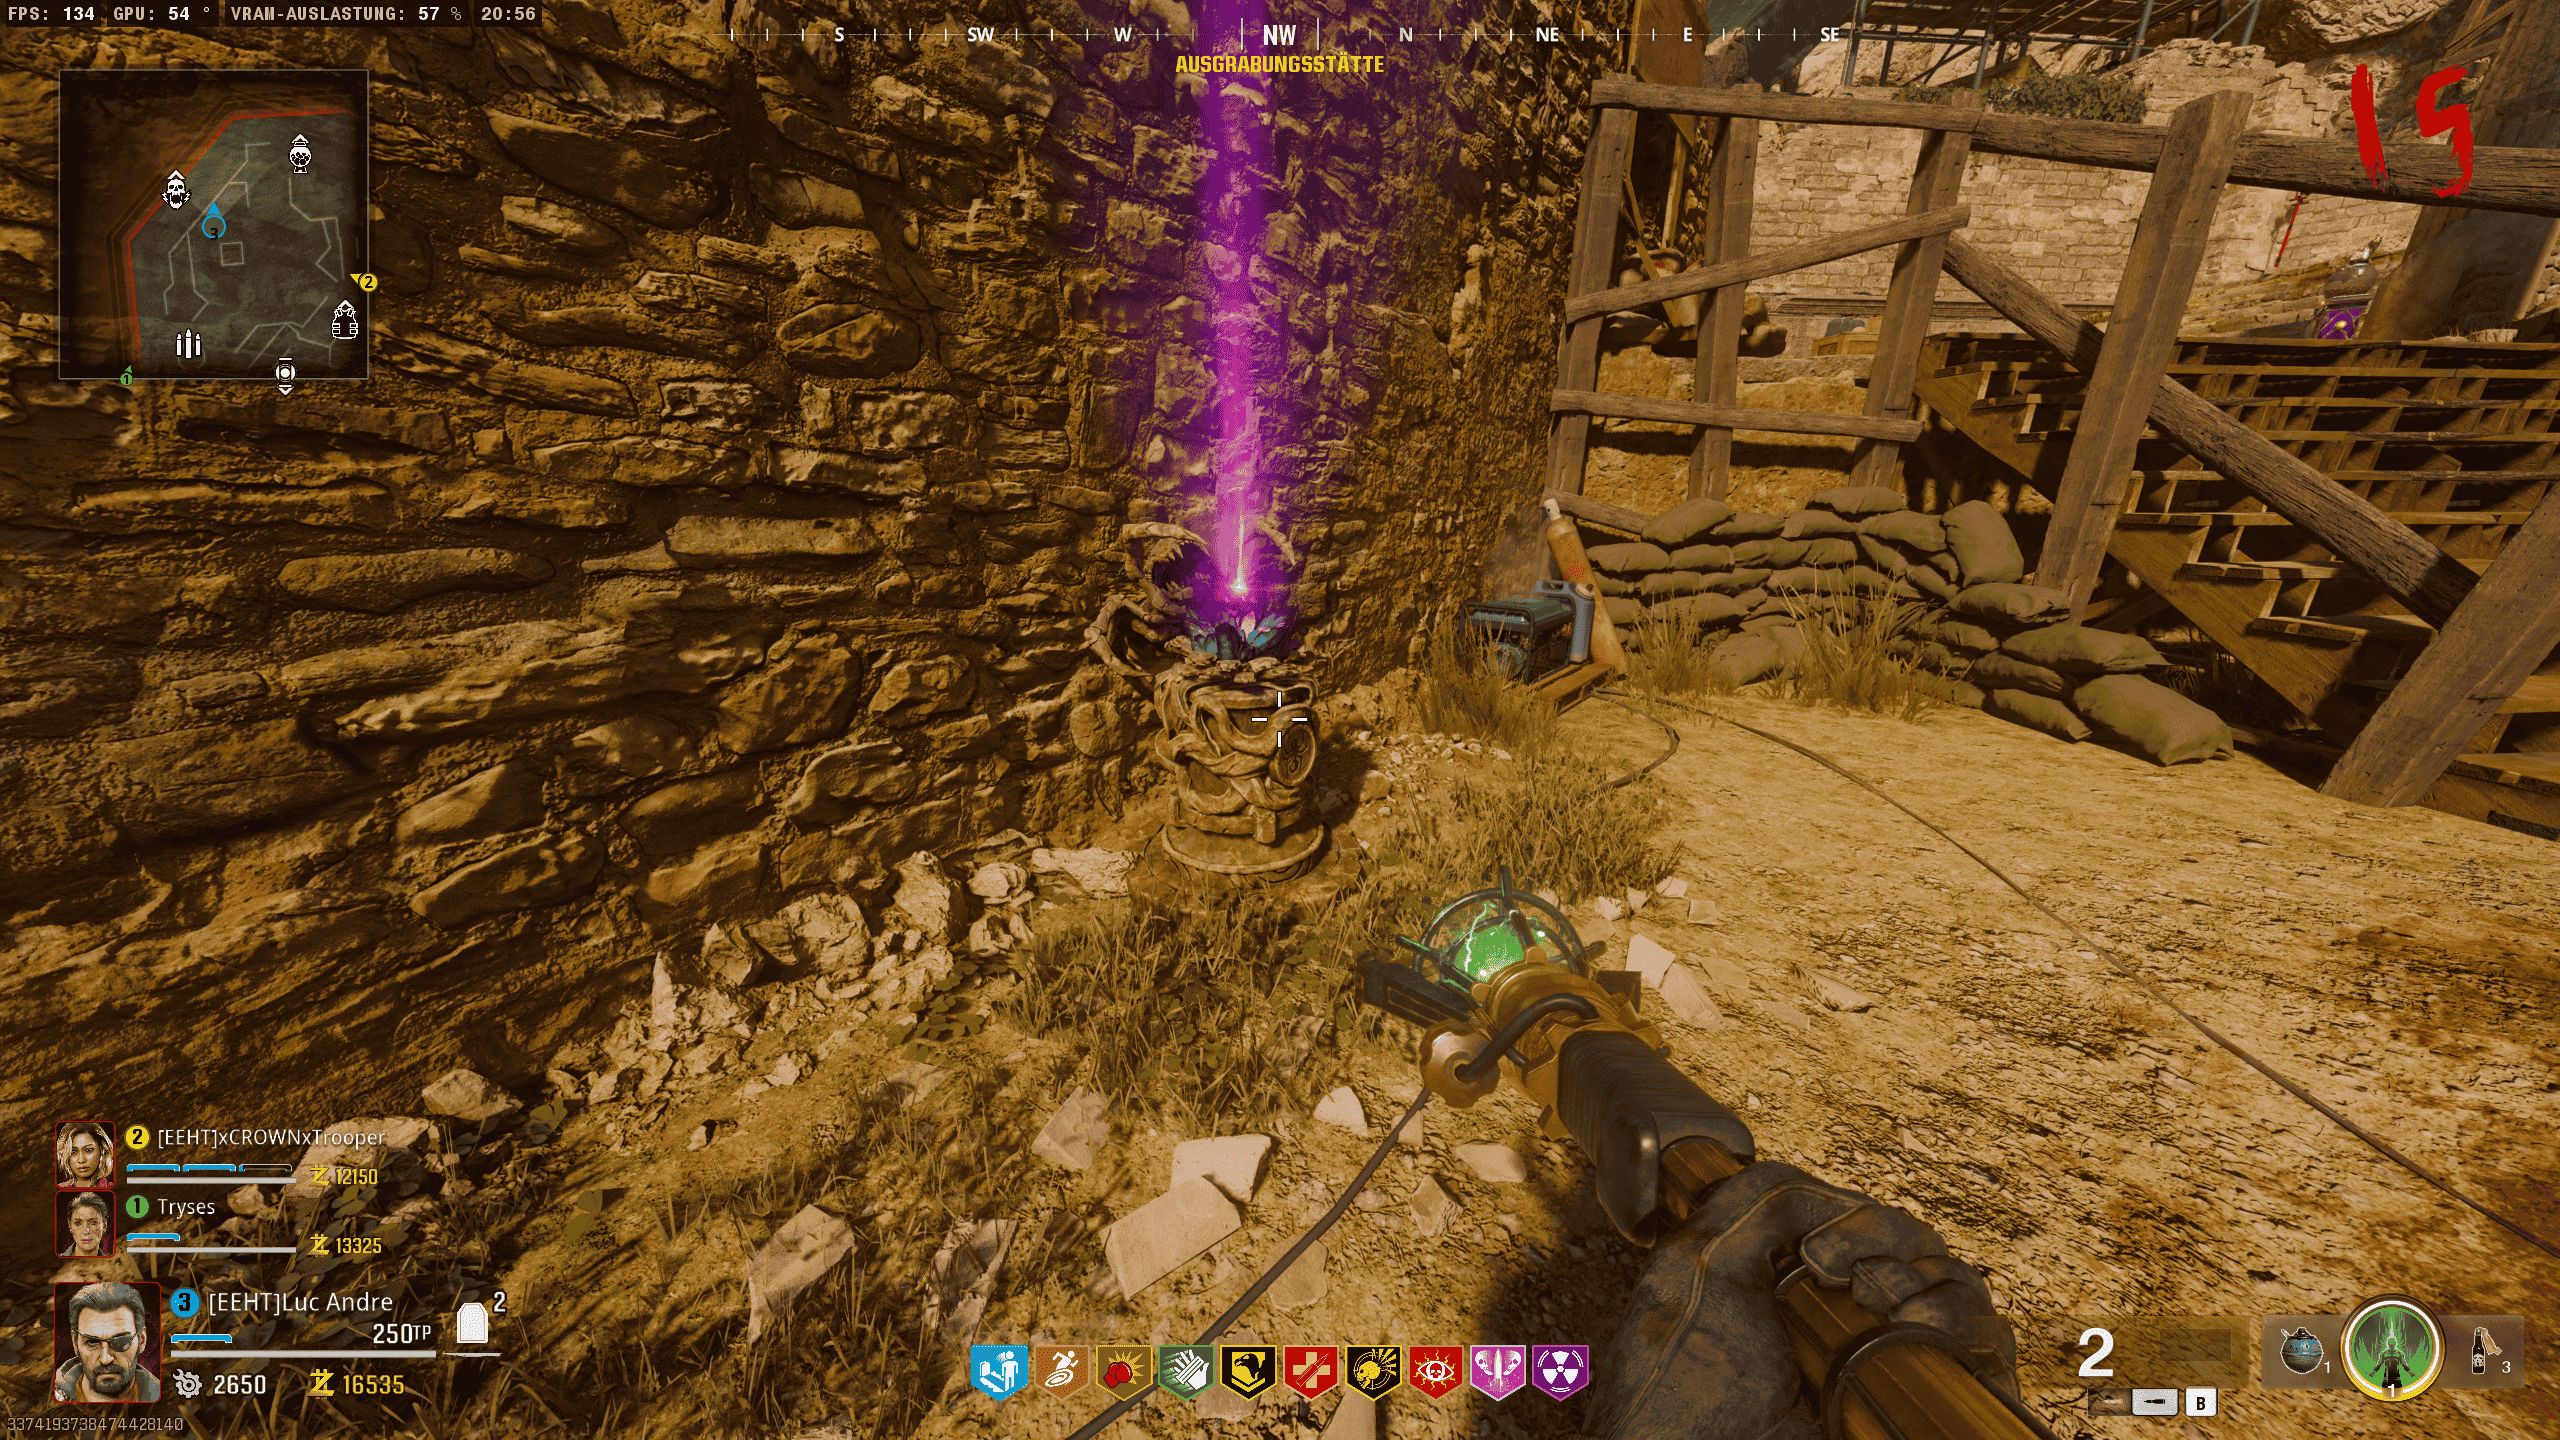
After surviving the horrific events in the Citadel of the Dead, Weaver, Grey, Carver, and Maya follow Gabriel Krafft’s final words to a nearby excavation site in order to secure the Sentinel Artifact.
Built upon the remains of ancient burial grounds dating back as far as 2500 BCE, these catacombs remained undisturbed for centuries—until the early 1900s… And what lies within their depths may be far beyond comprehension.
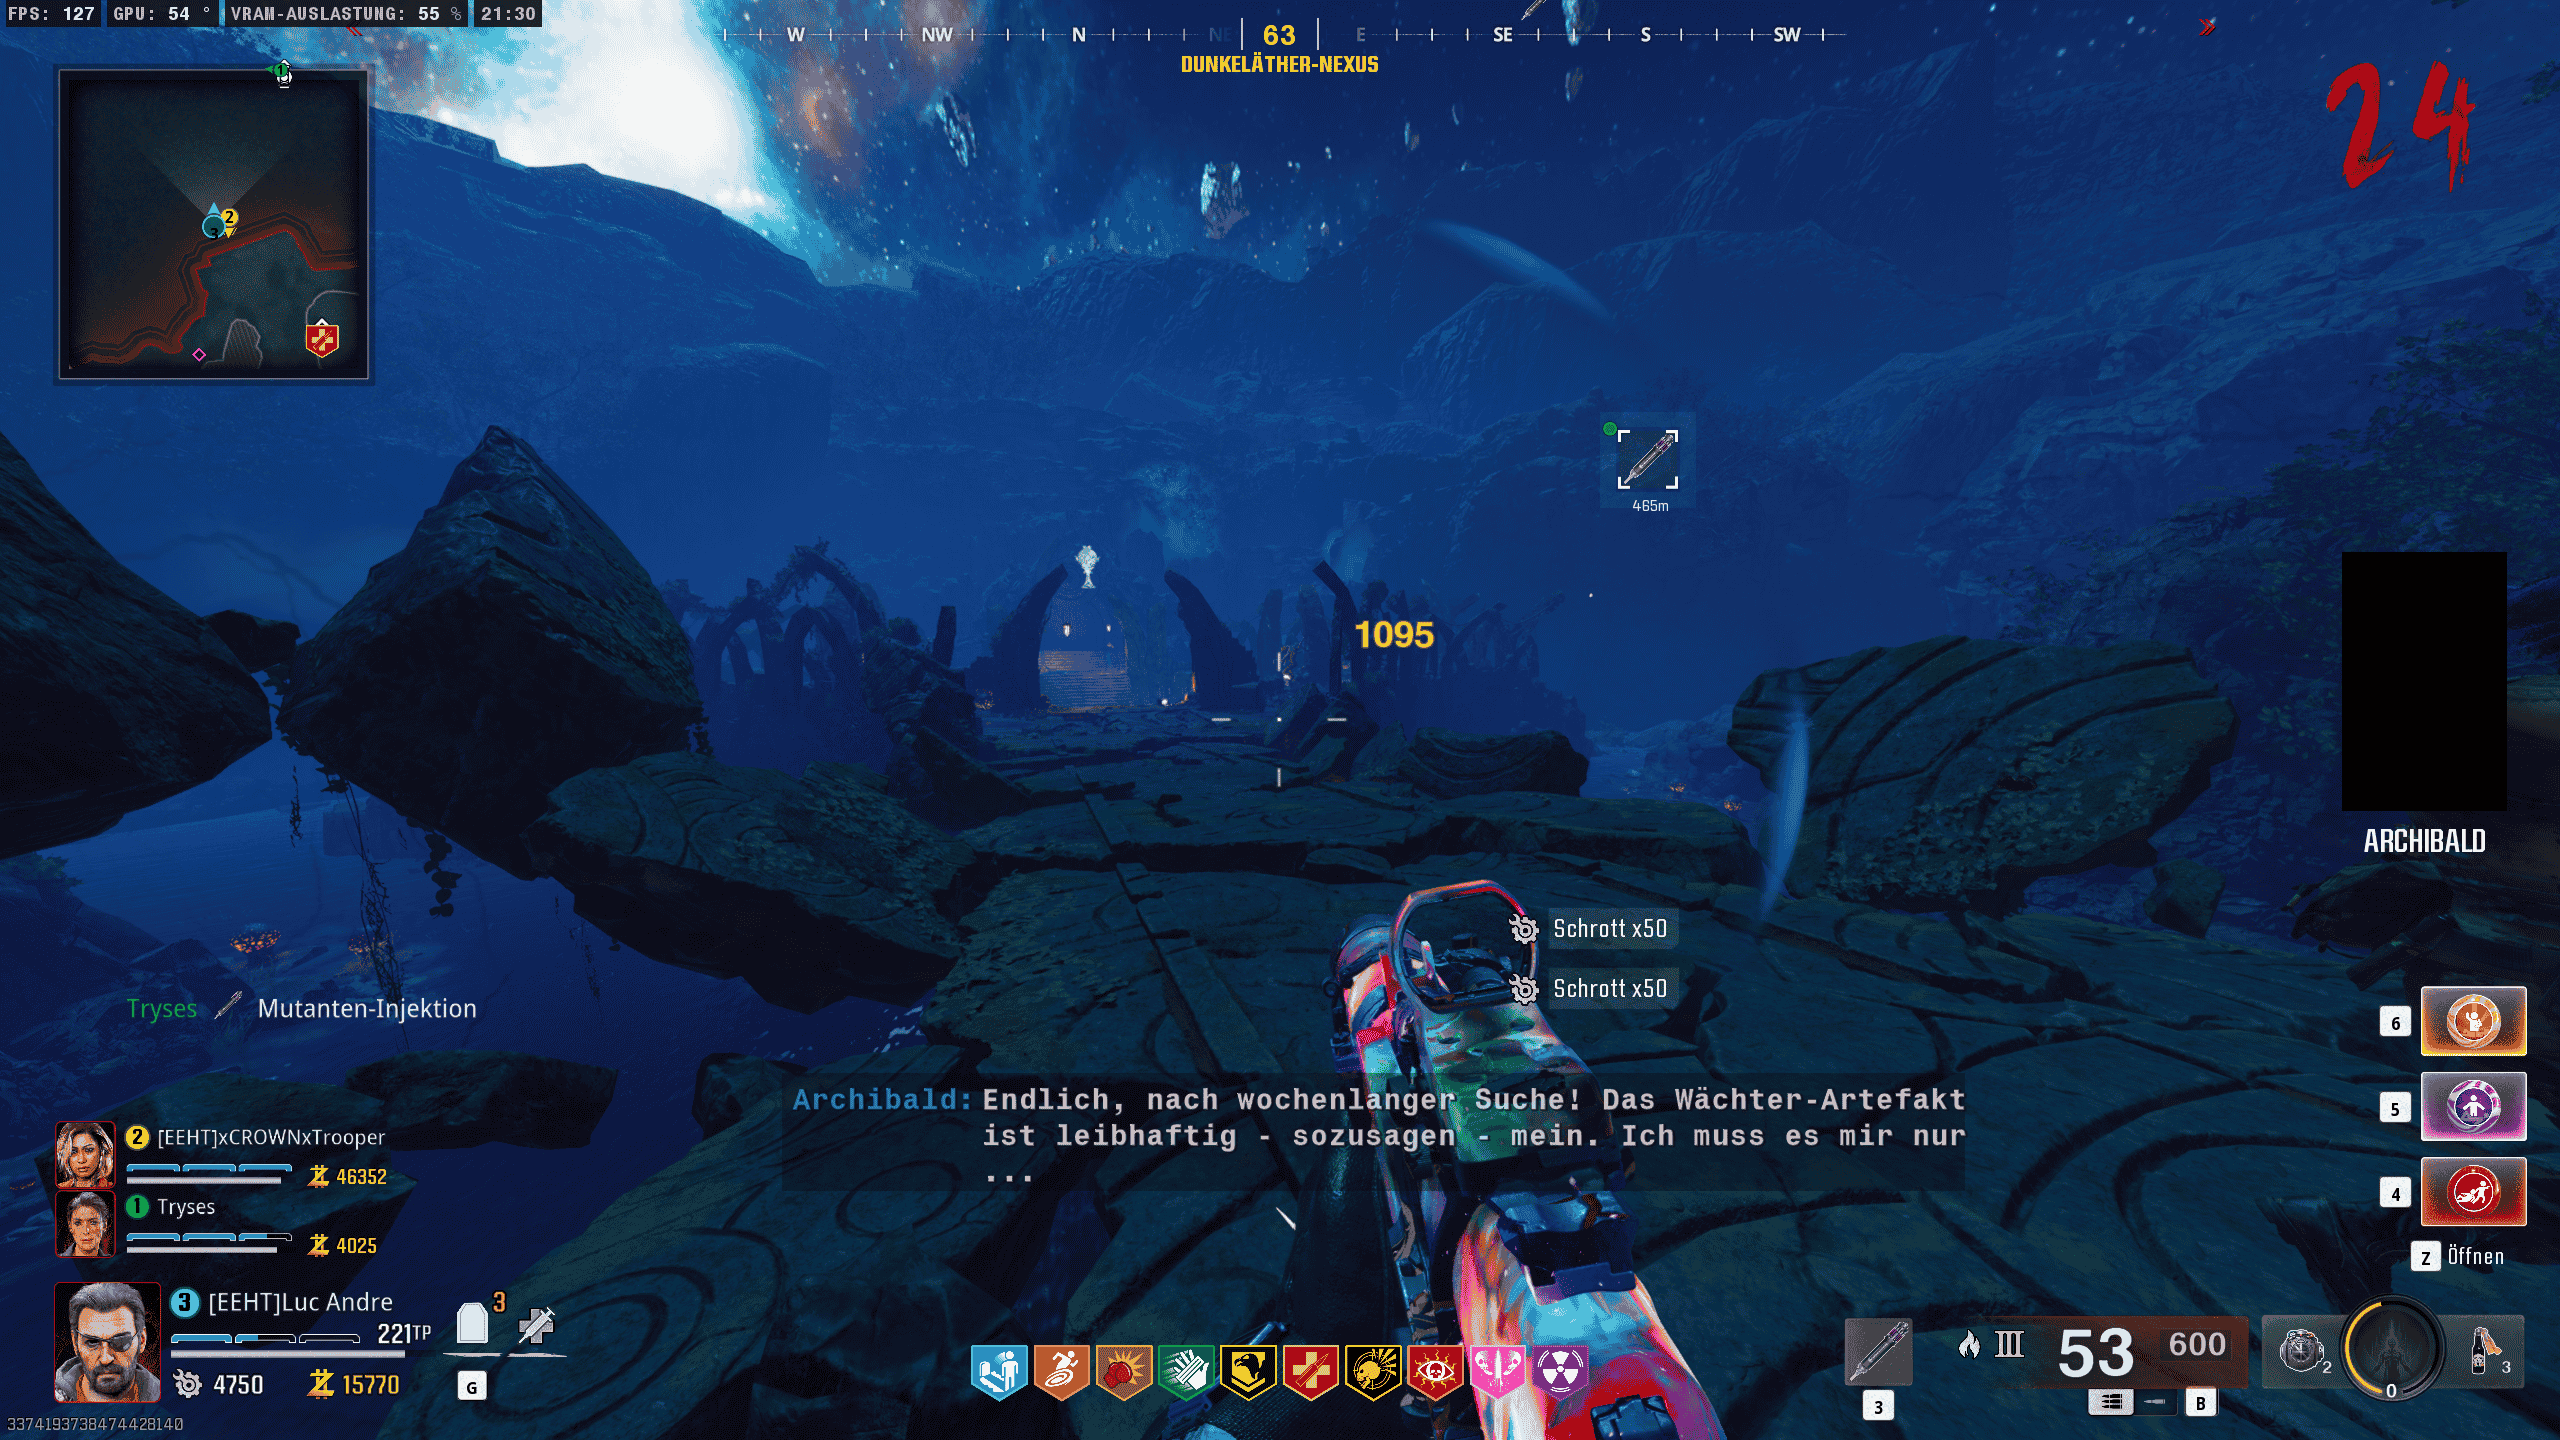
According to rumors, a British archaeologist named Sir Archibald Fotherington-Smythe led an excavation at this site in 1908, driven by high expectations. However, no one can say for certain what became of him. Yet, only recently, photographs from his fateful expedition have surfaced…
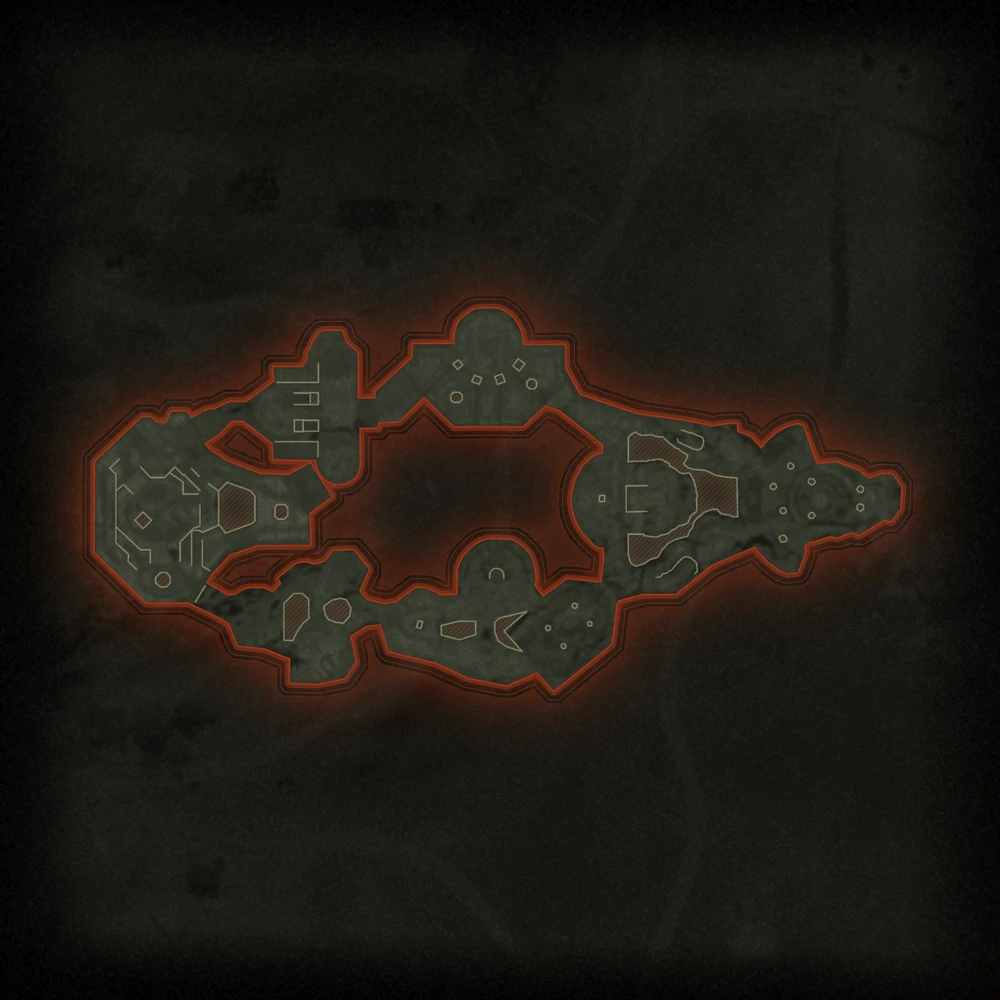
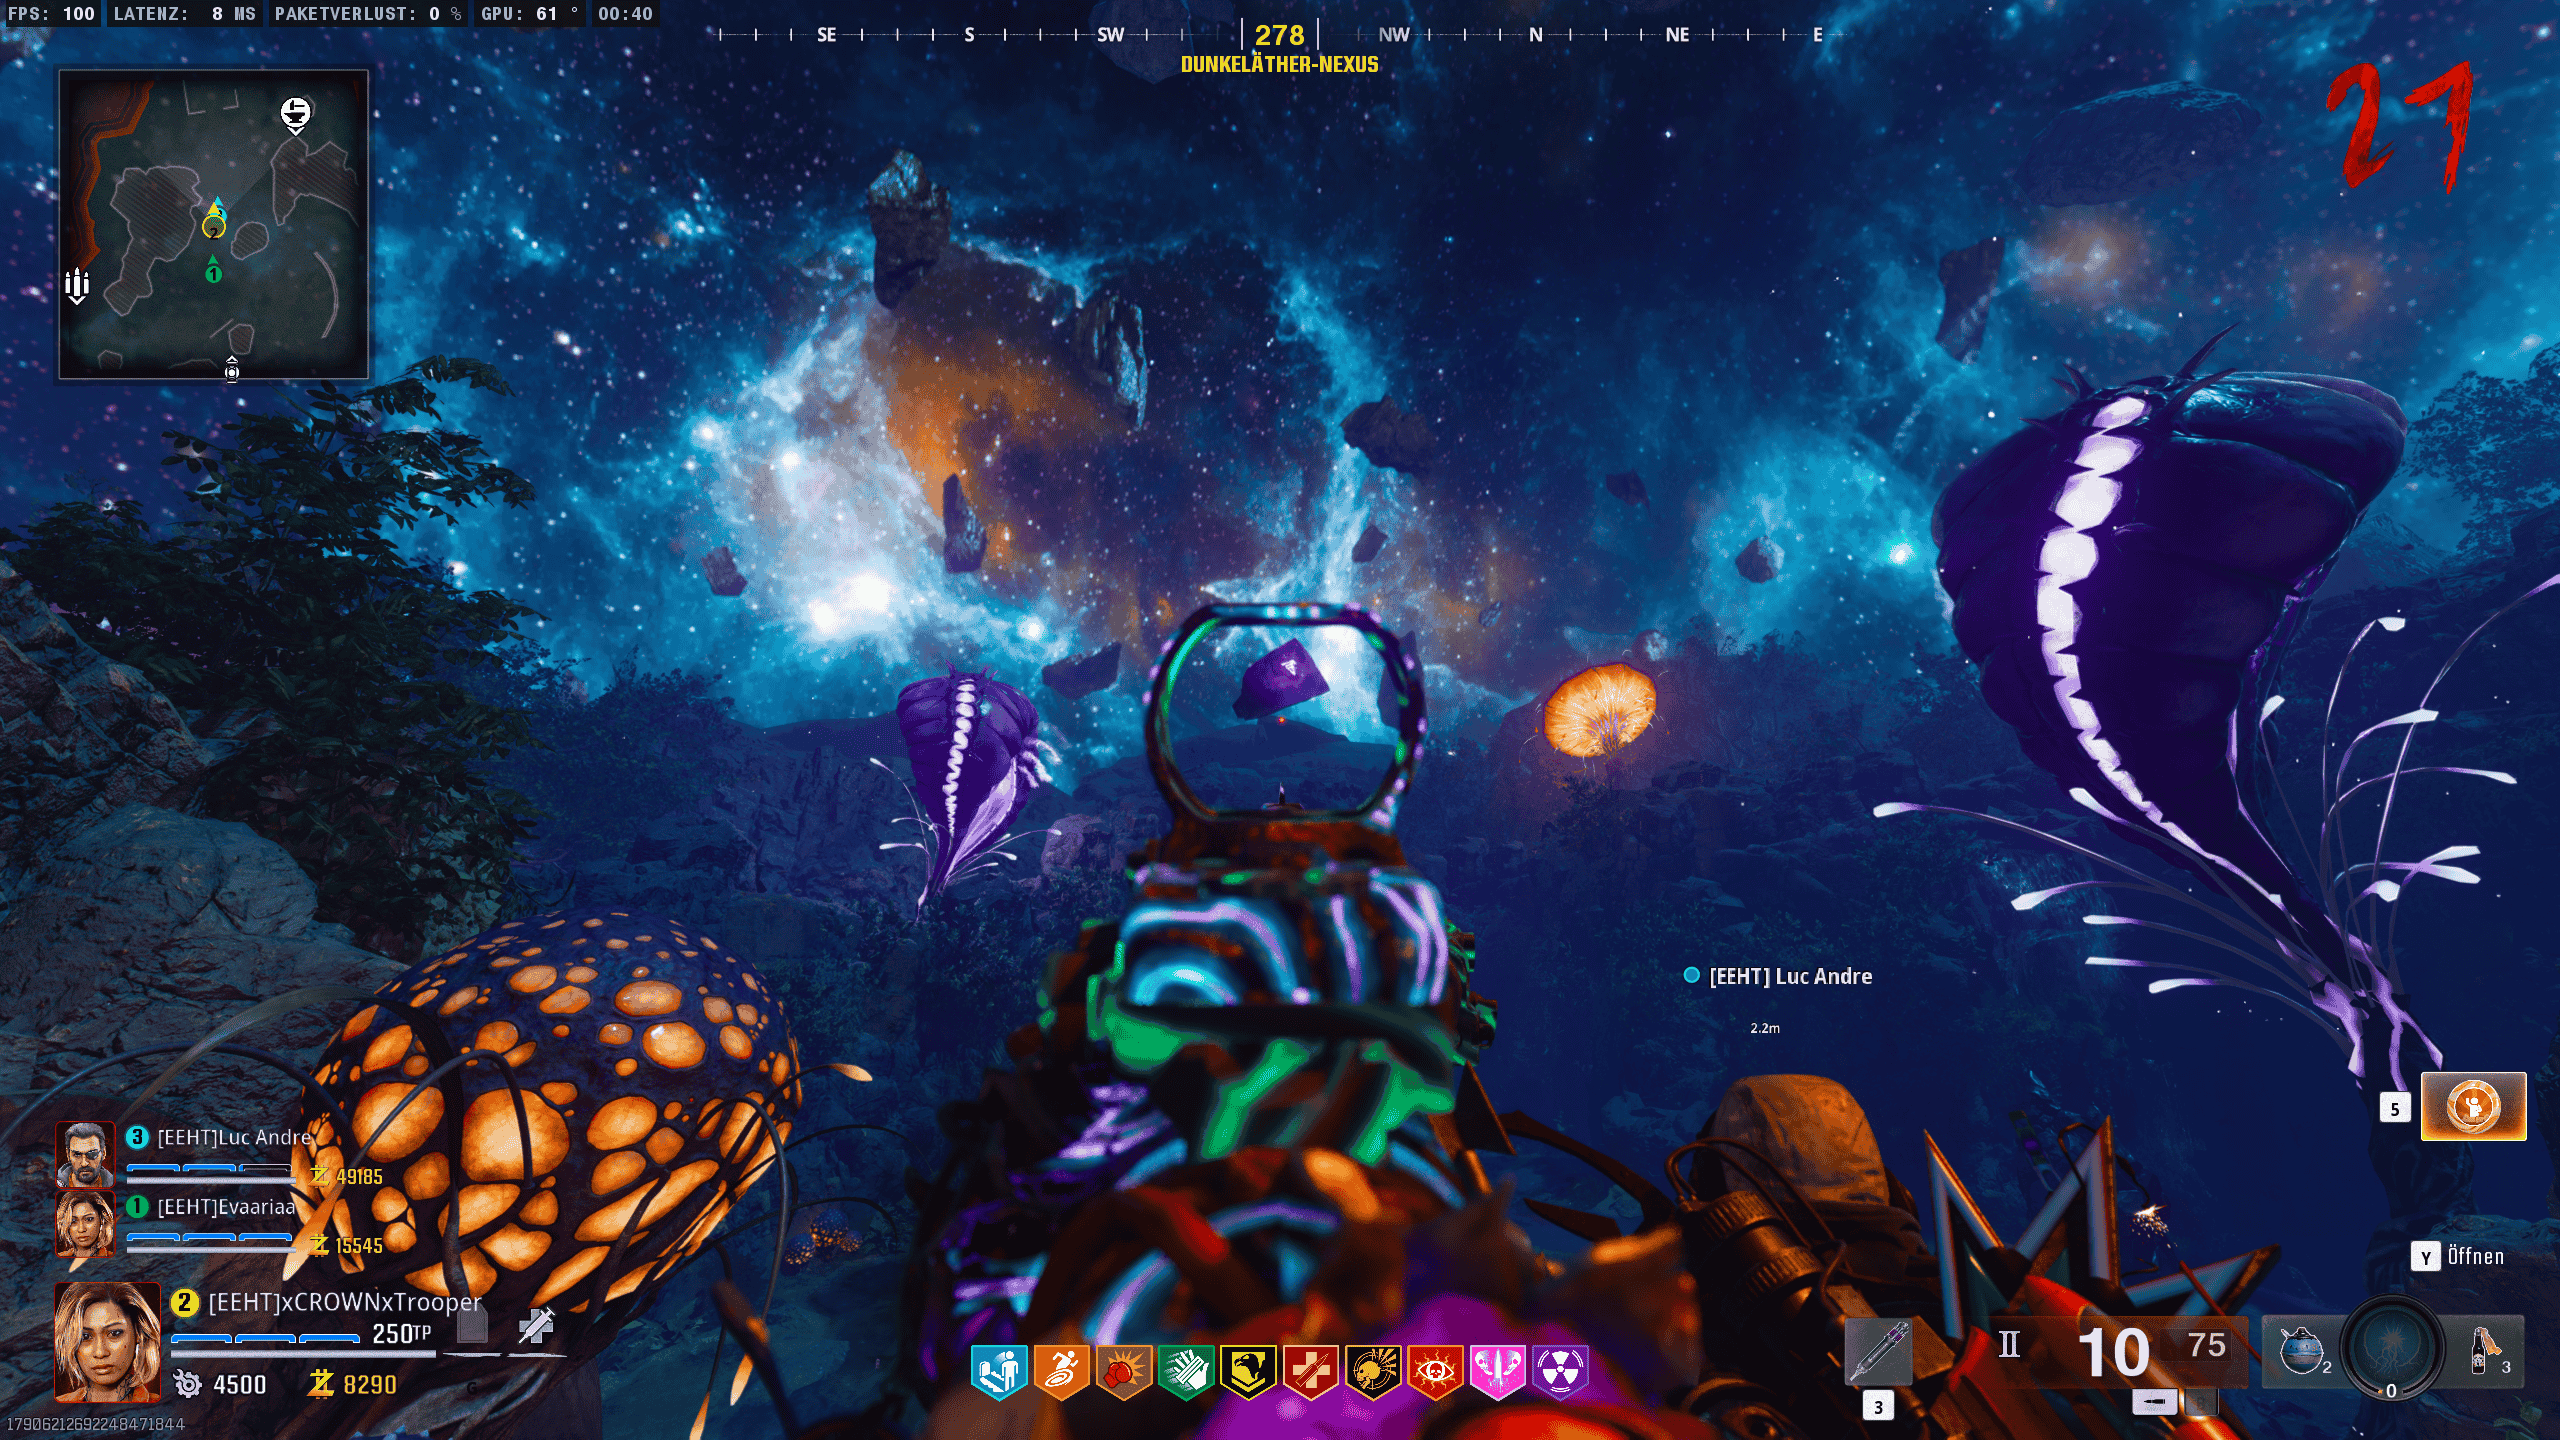
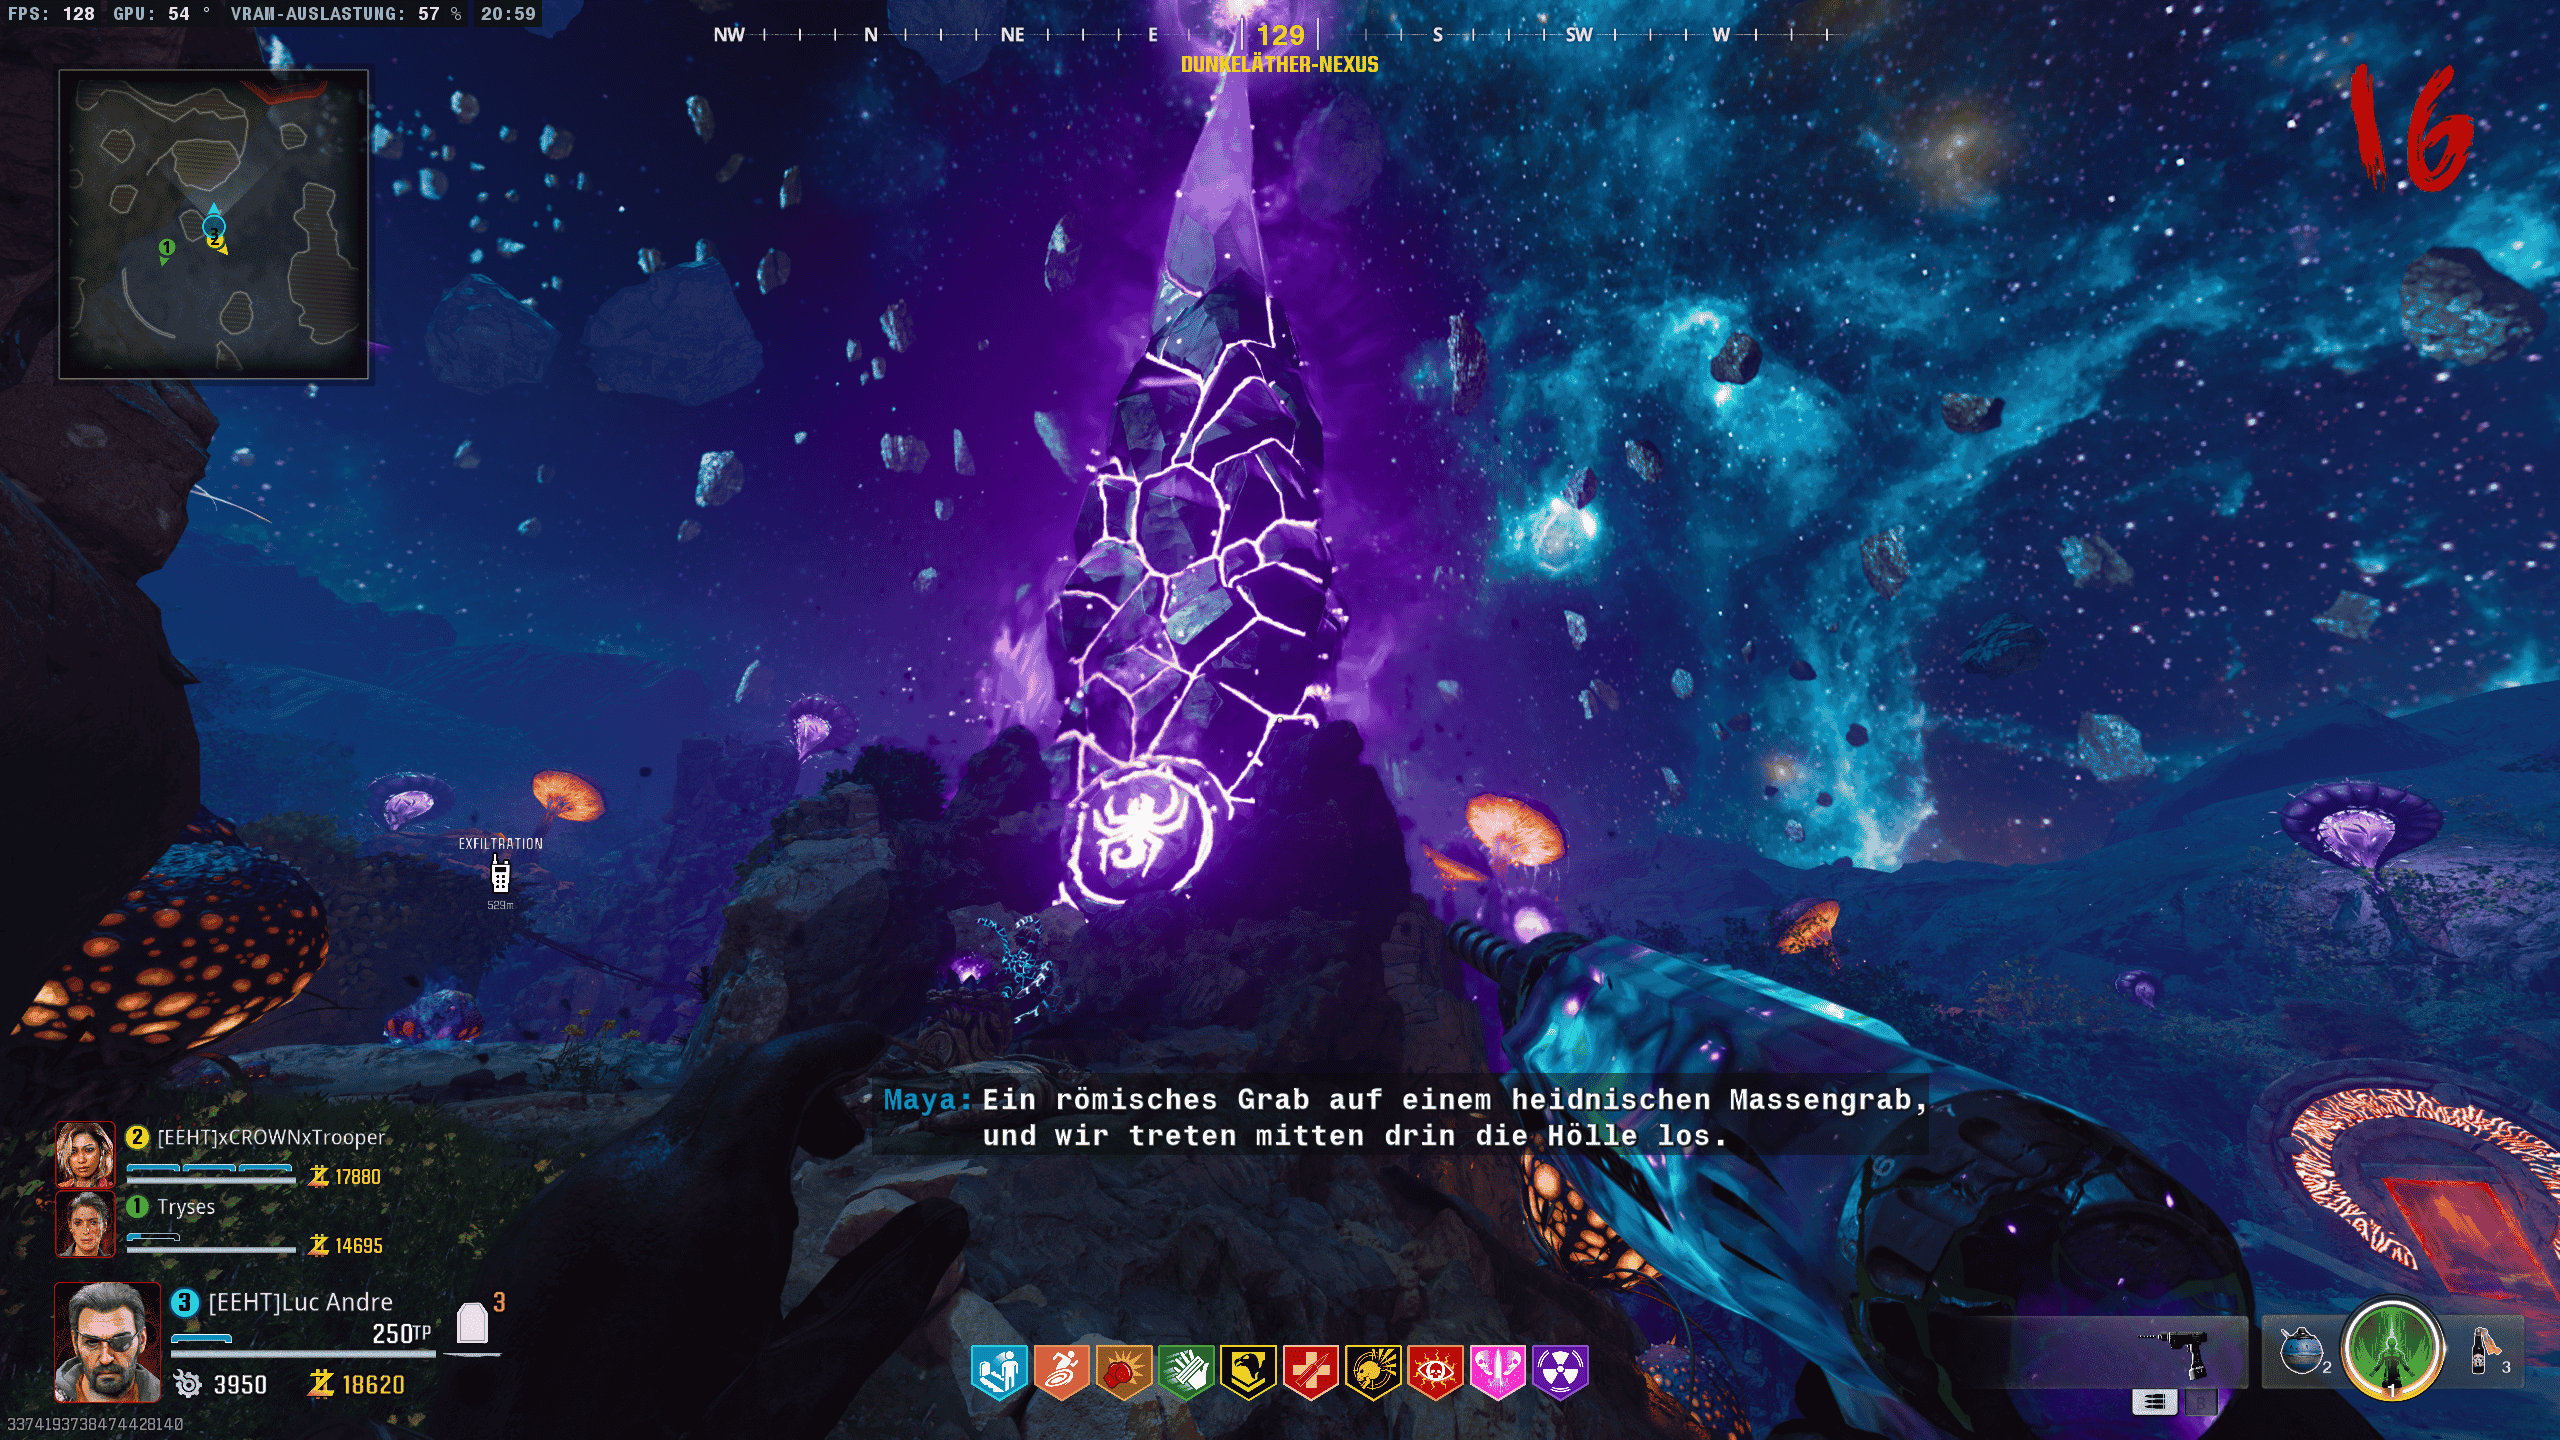
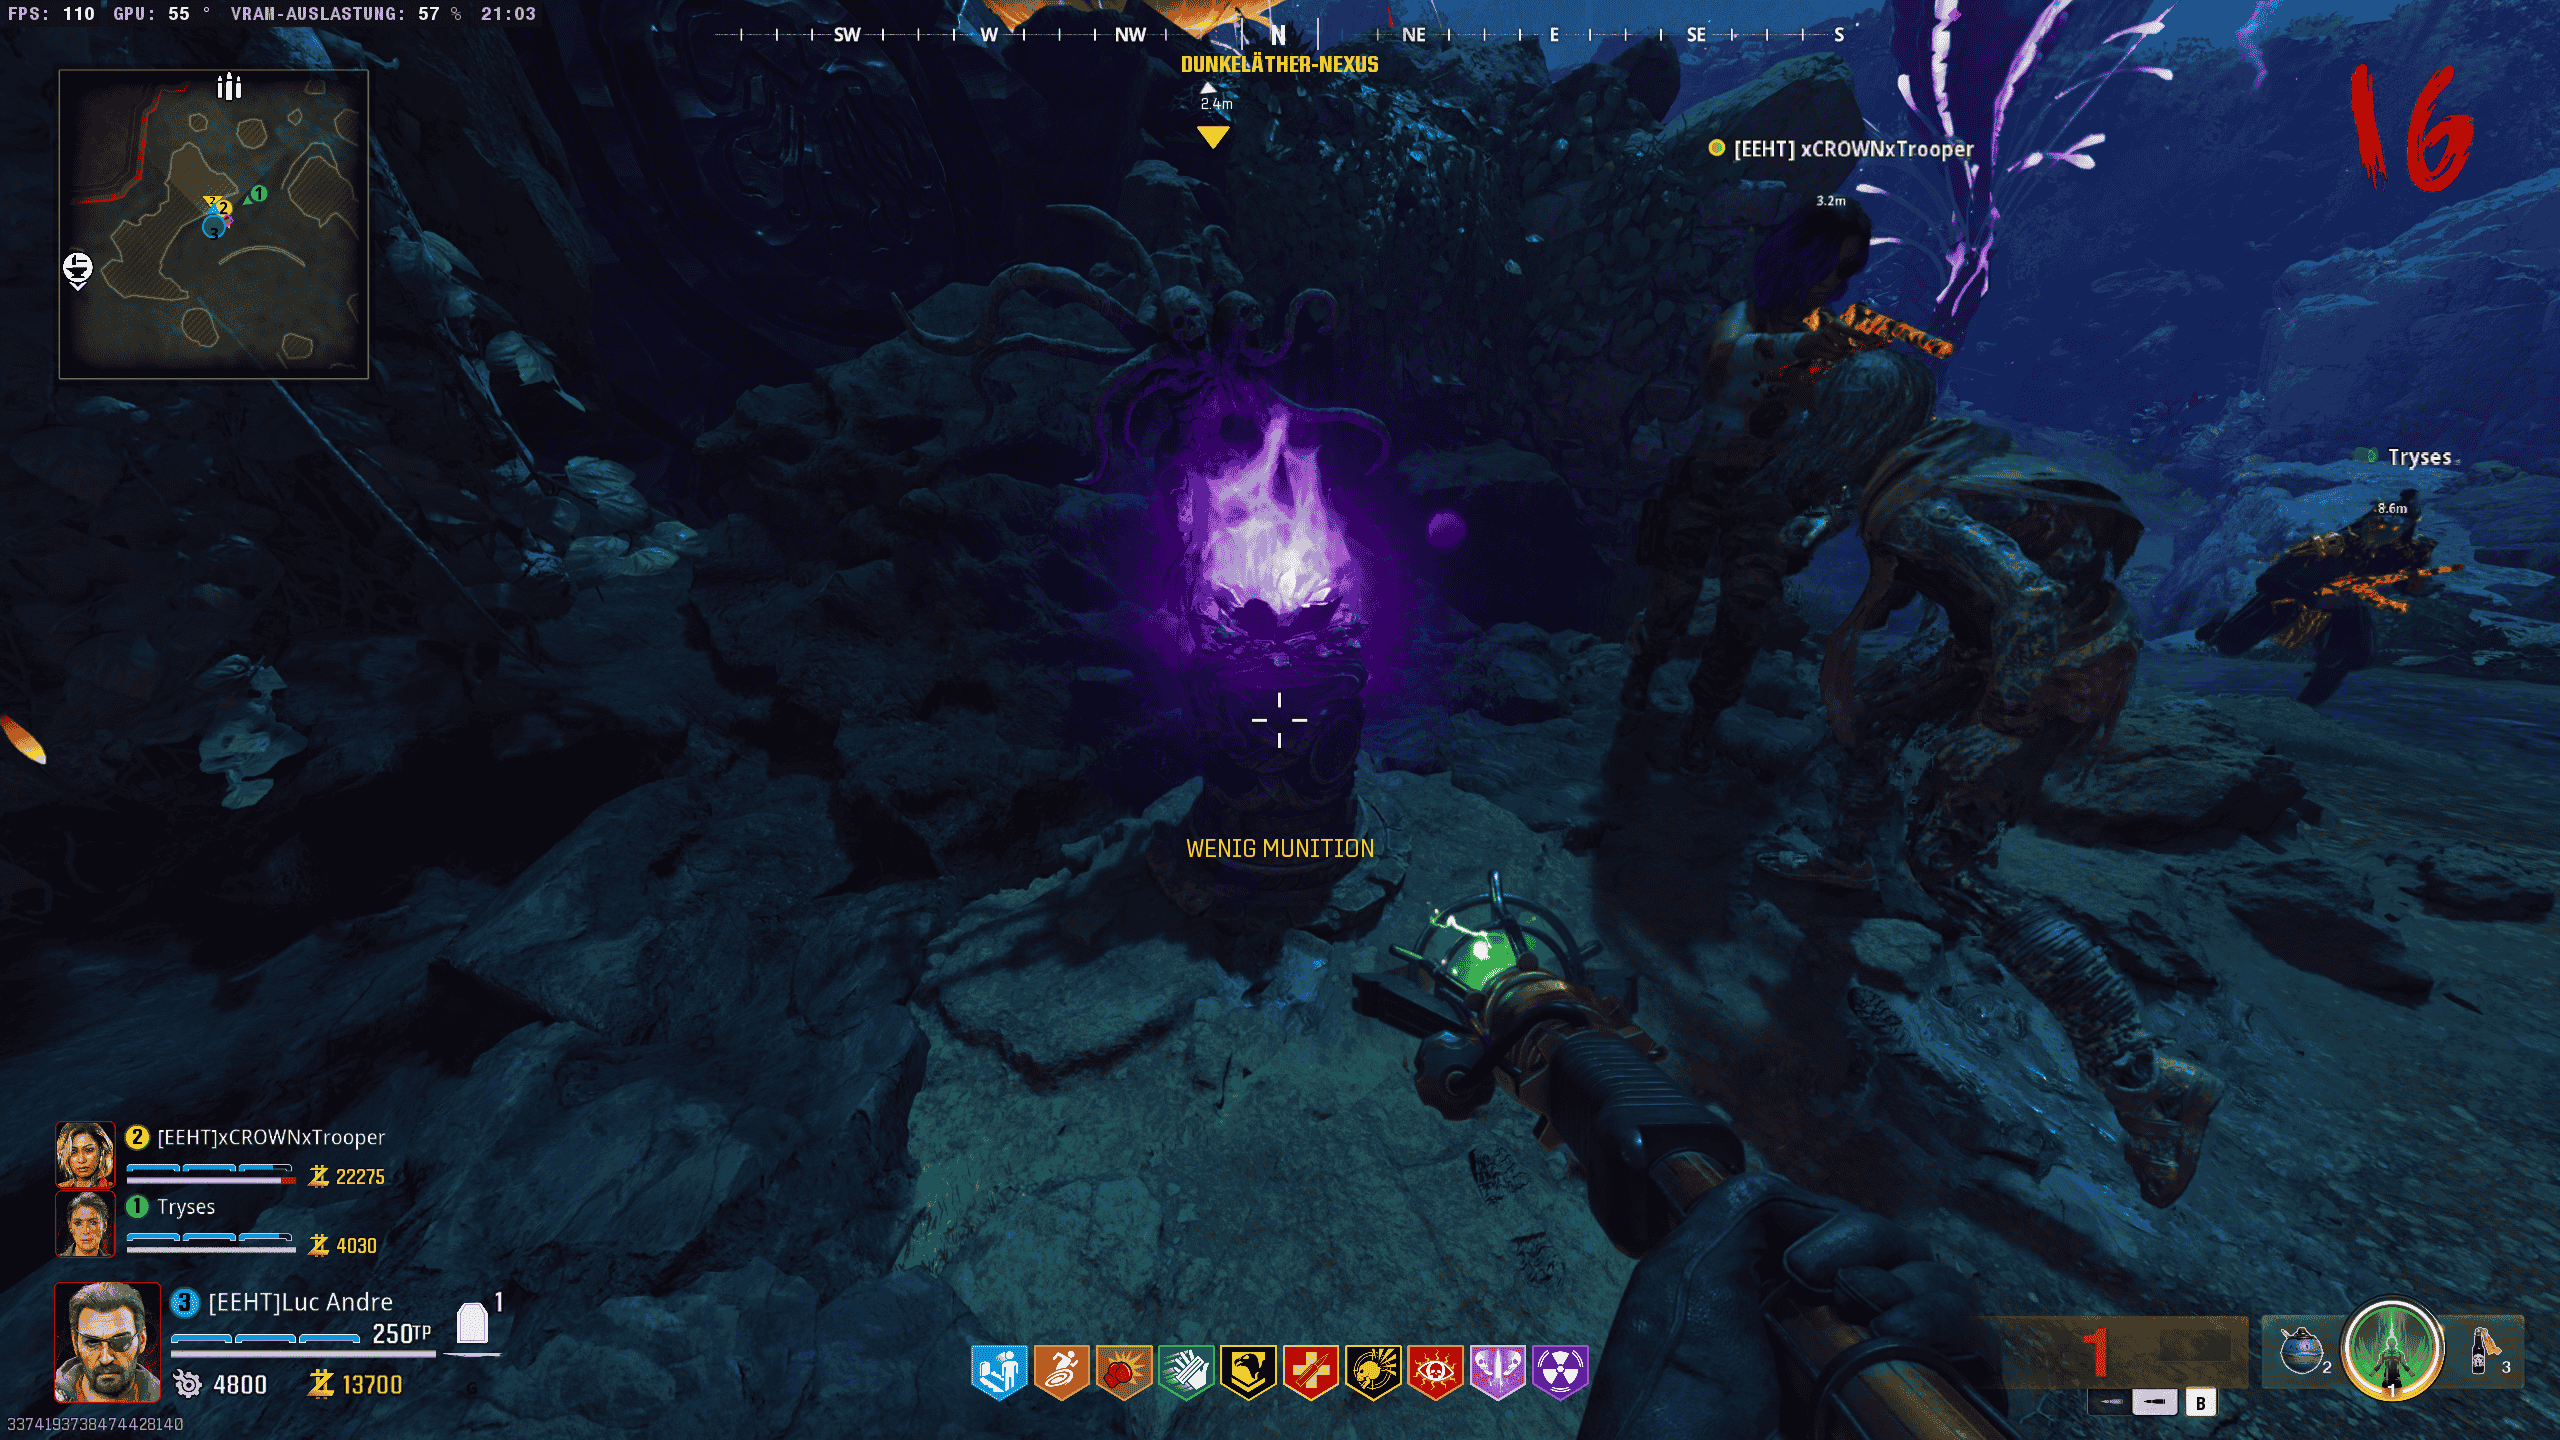
To start the Easter Egg, you need to head to the Dark Aether Nexus. Follow the orange symbols on your screen and then place the amulet from the Citadelle des Morts into the designated crystal.
Once the amulet is inserted, you will notice that the portal in front of you begins to glow red, revealing a passage for you to enter.
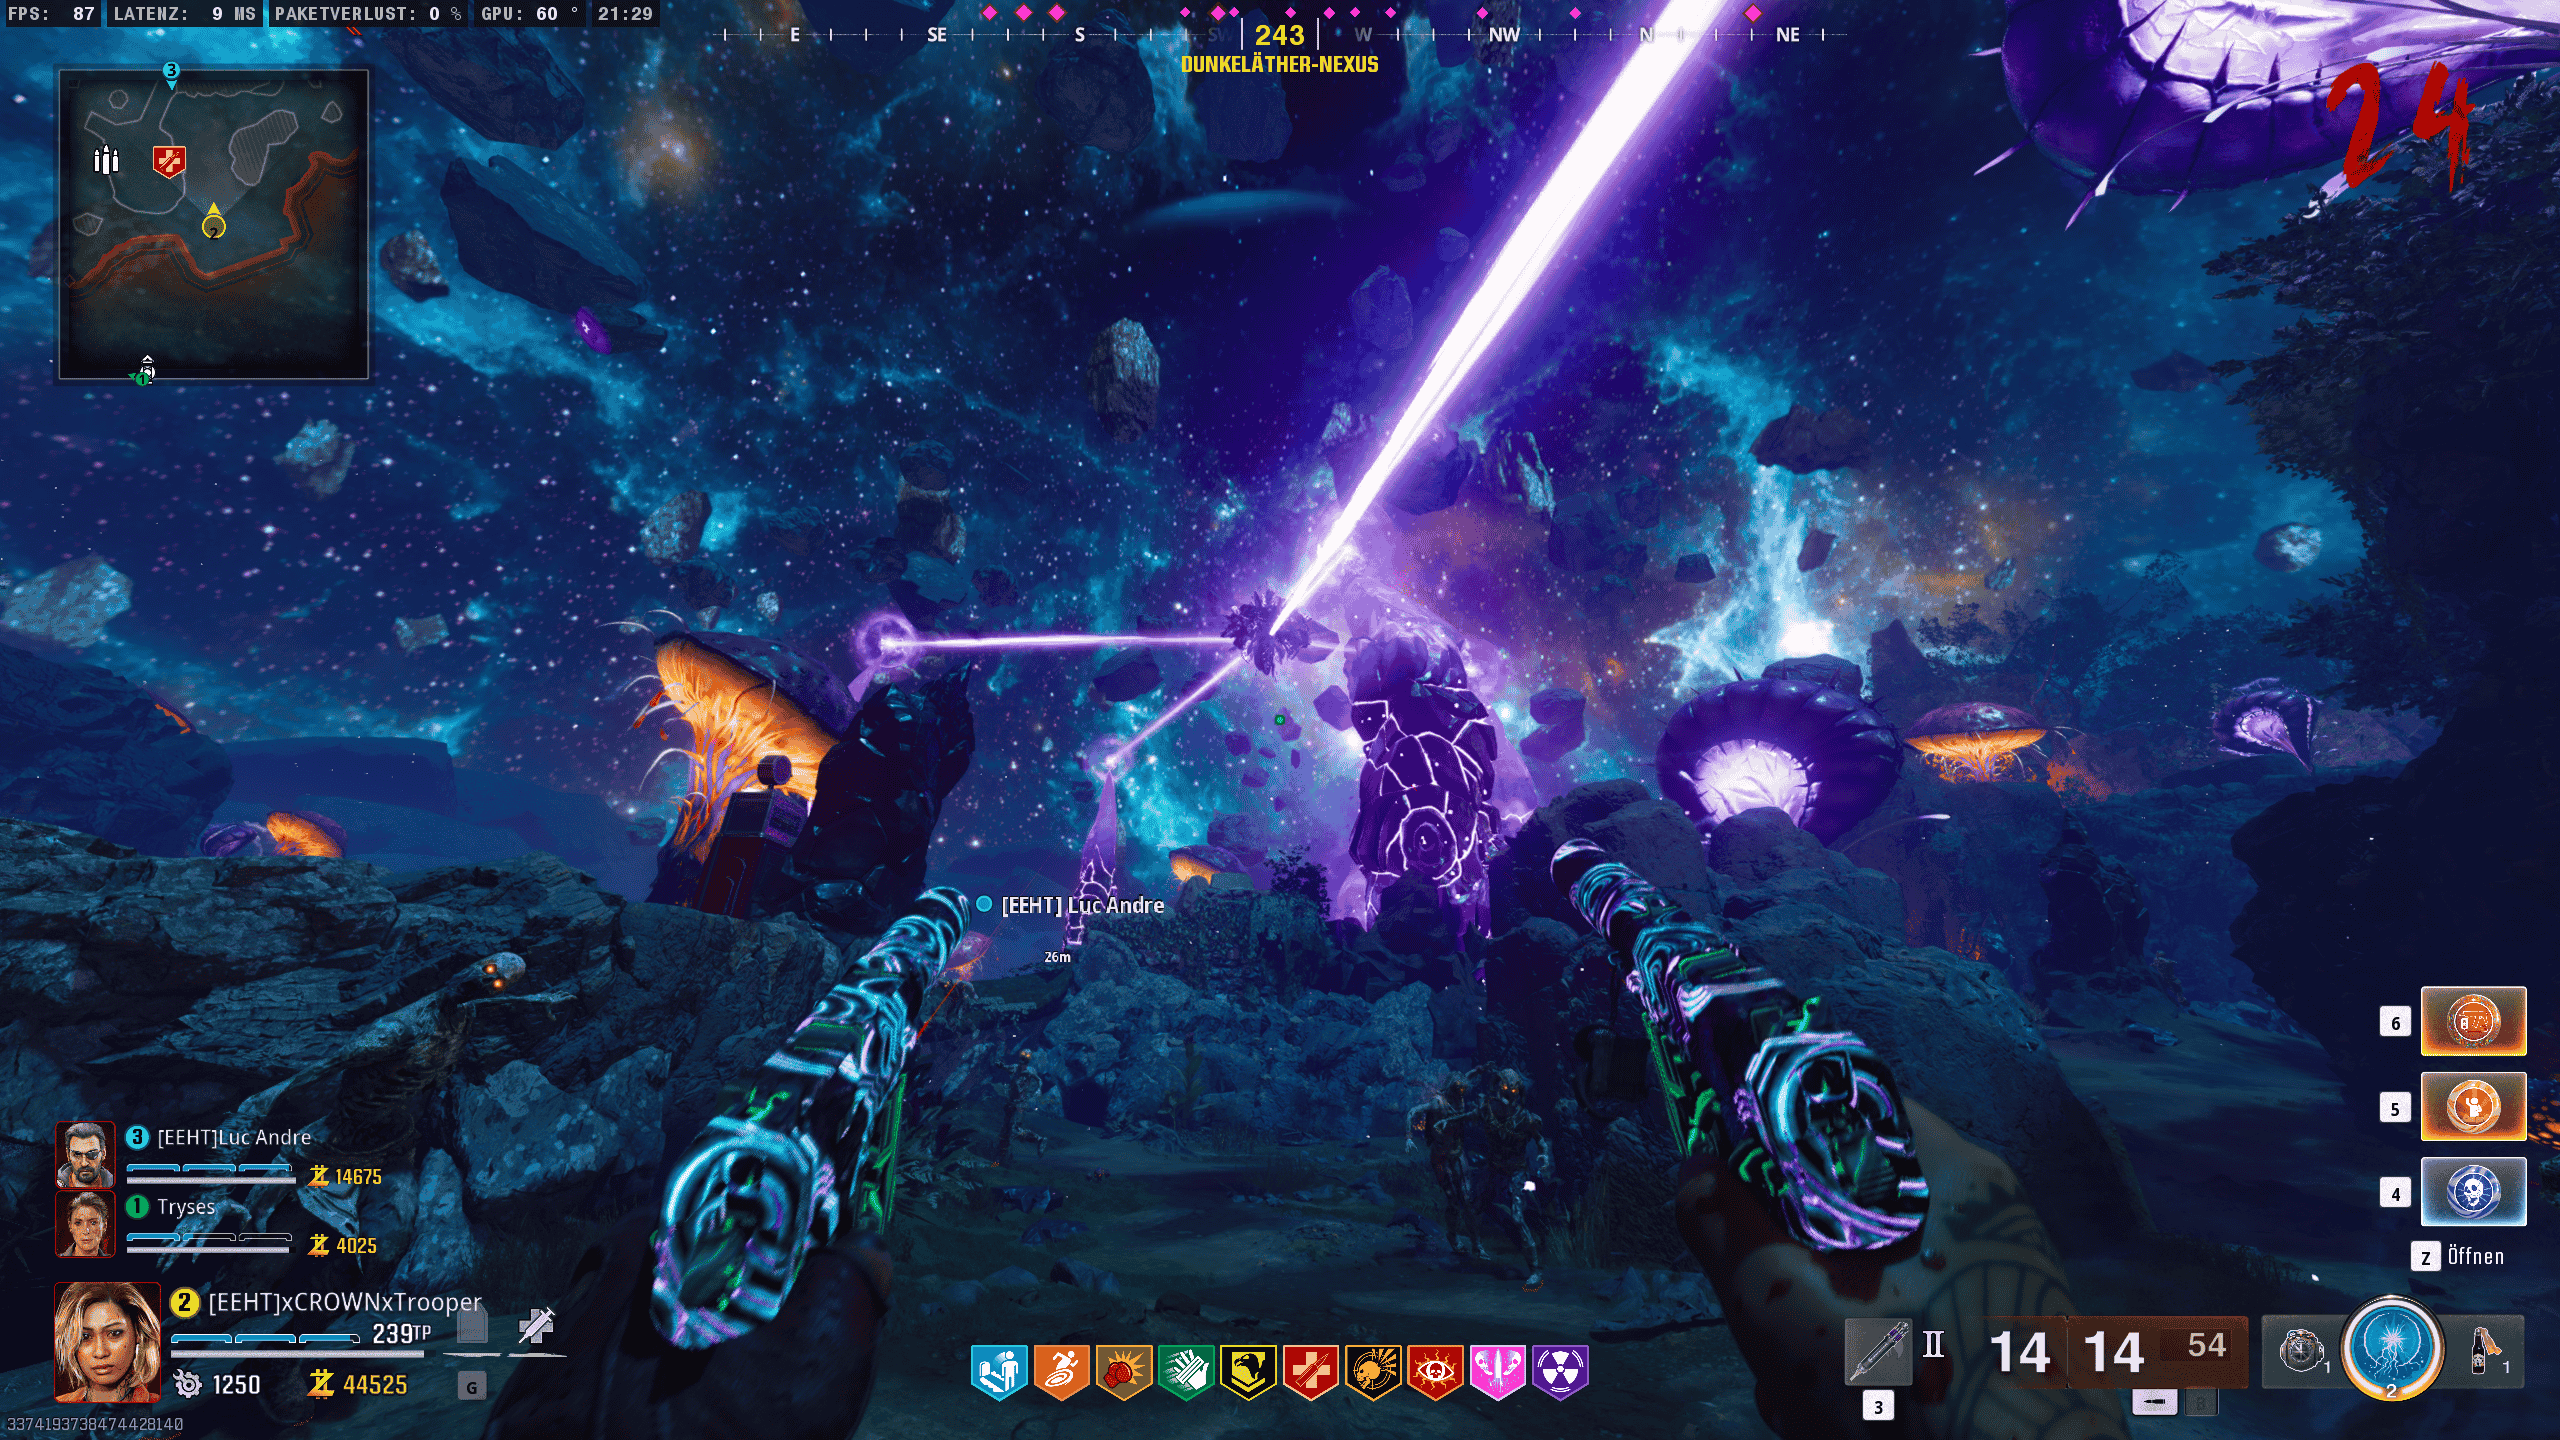
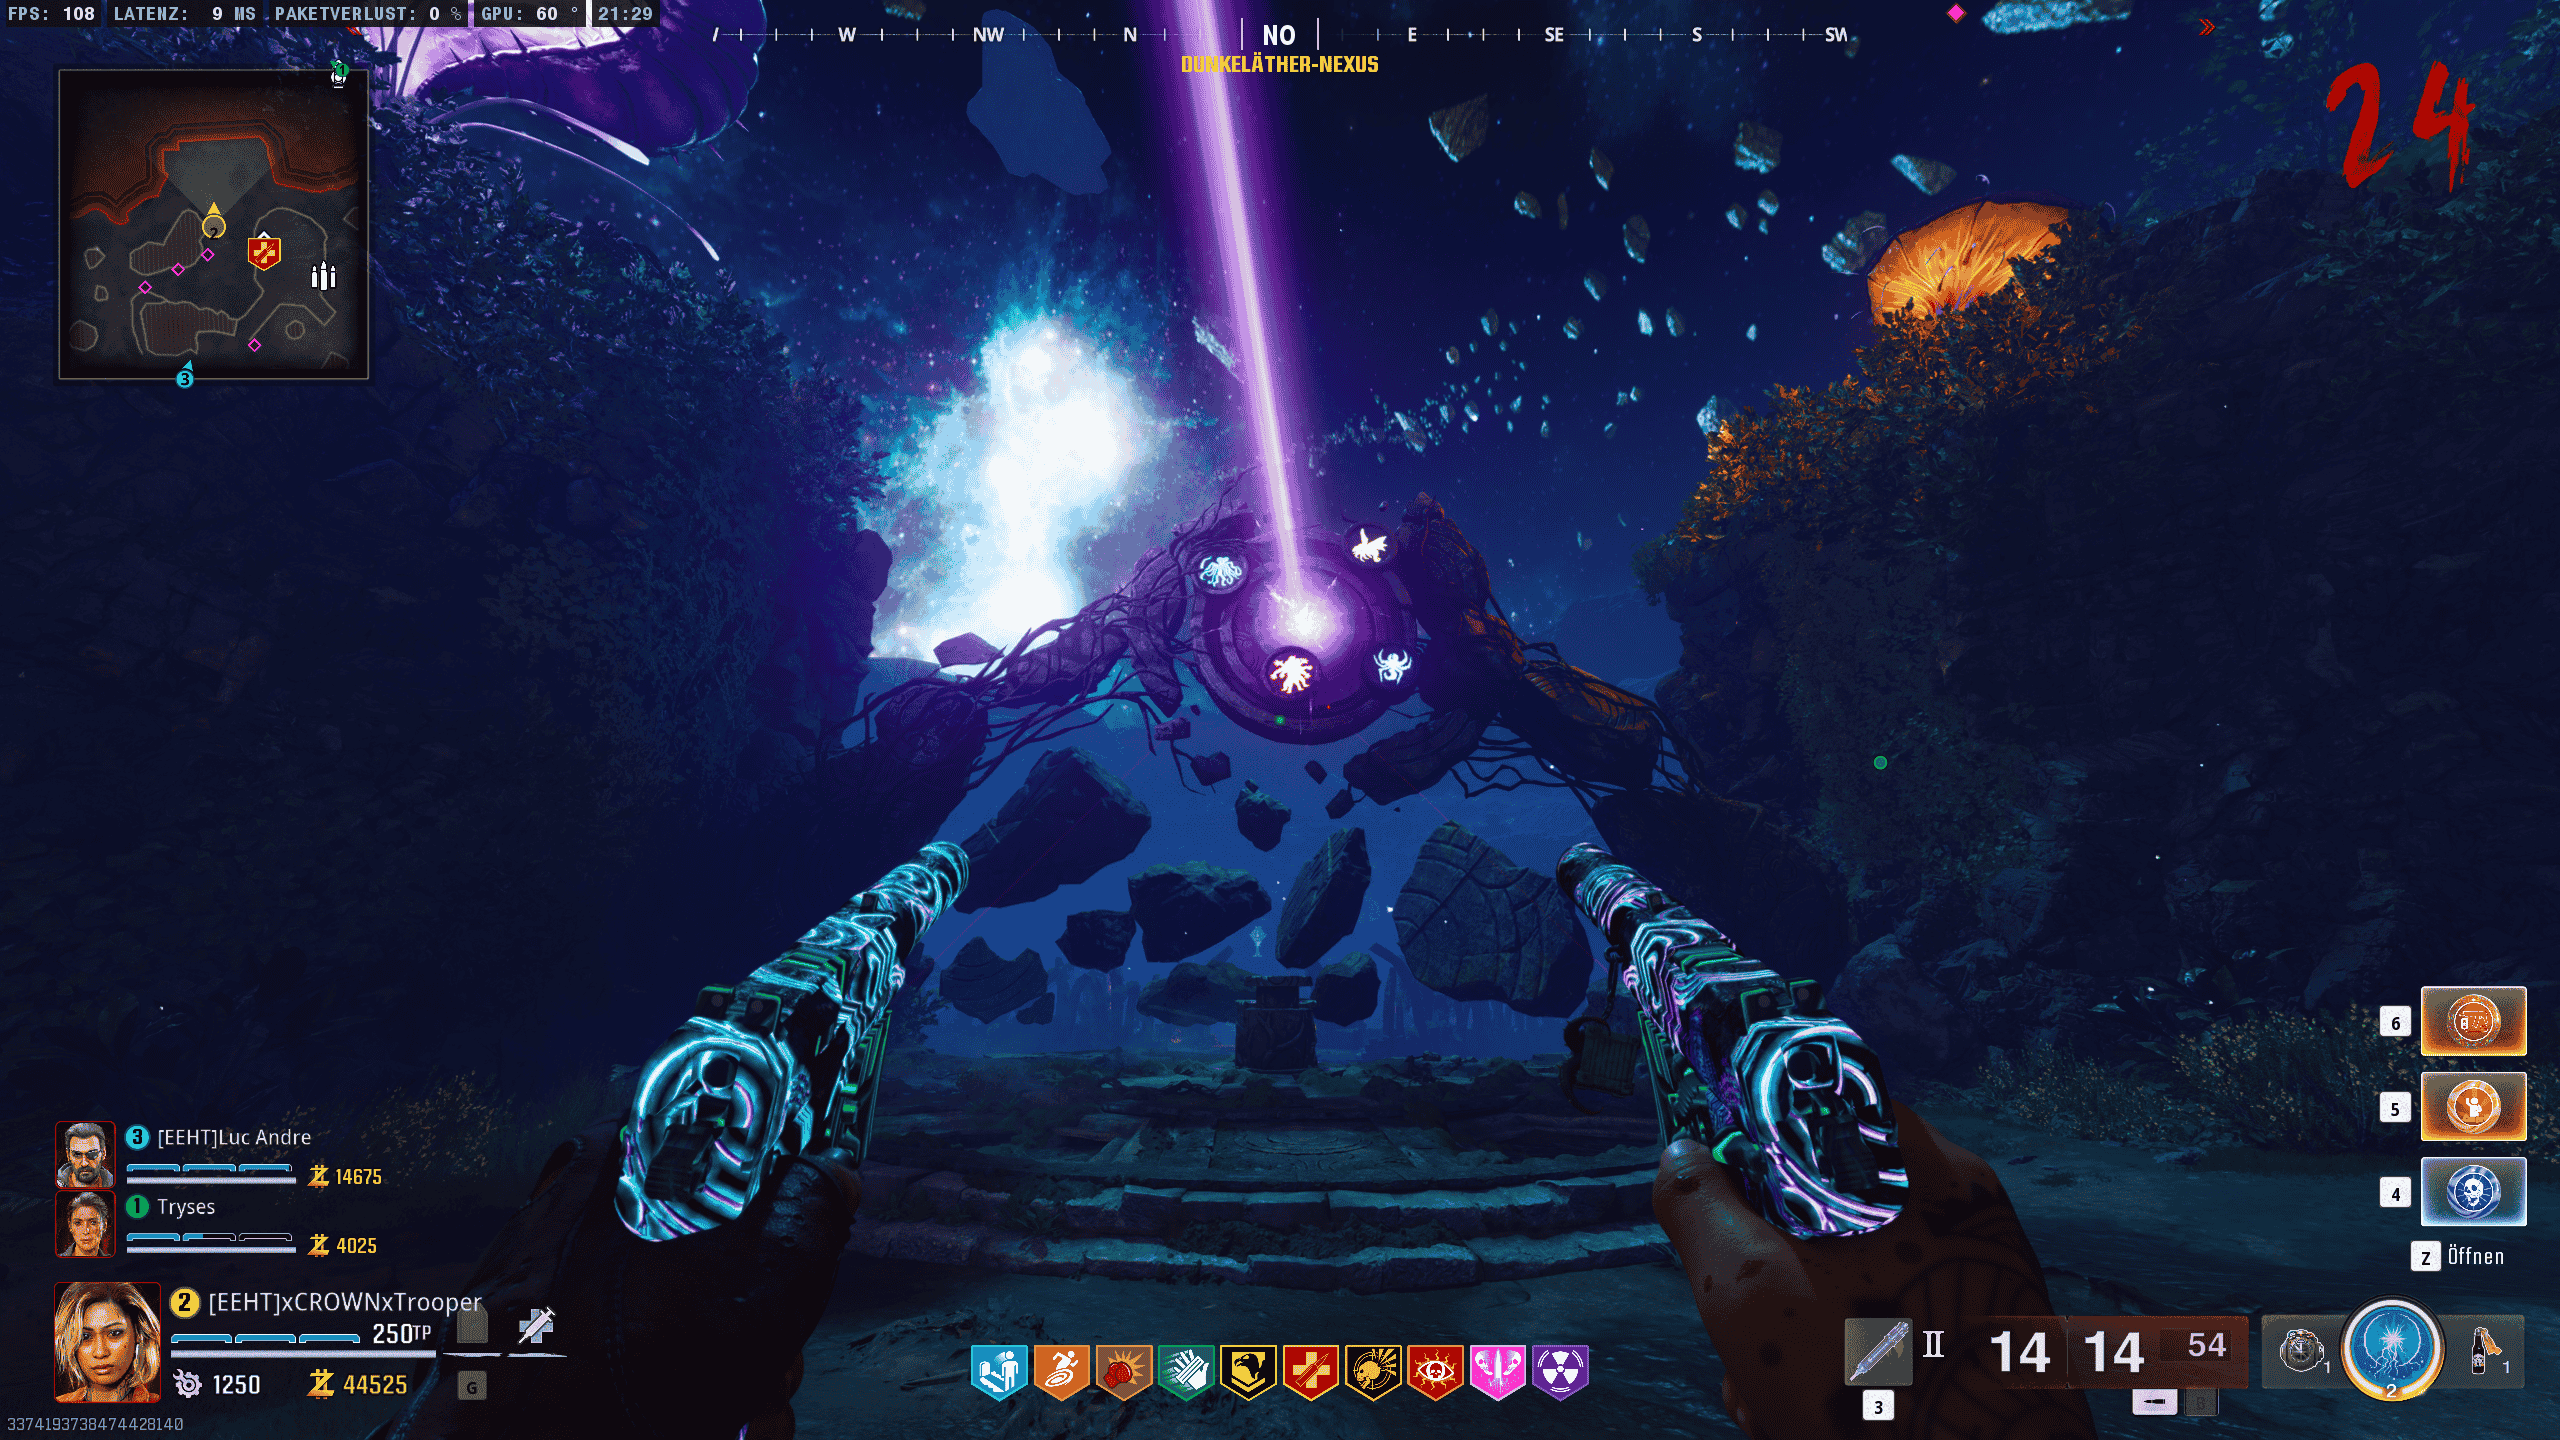
Enter the portal, and you will arrive at the Dark Aether Nexus. Once there, head to the designated location to officially start the Easter Egg.
After triggering the Easter Egg, the next step is to build the Ice Staff, the Wonder Weapon in The Tomb.
To craft it, you will need three parts:
- Monocle
- Staff Shaft
- Headpiece
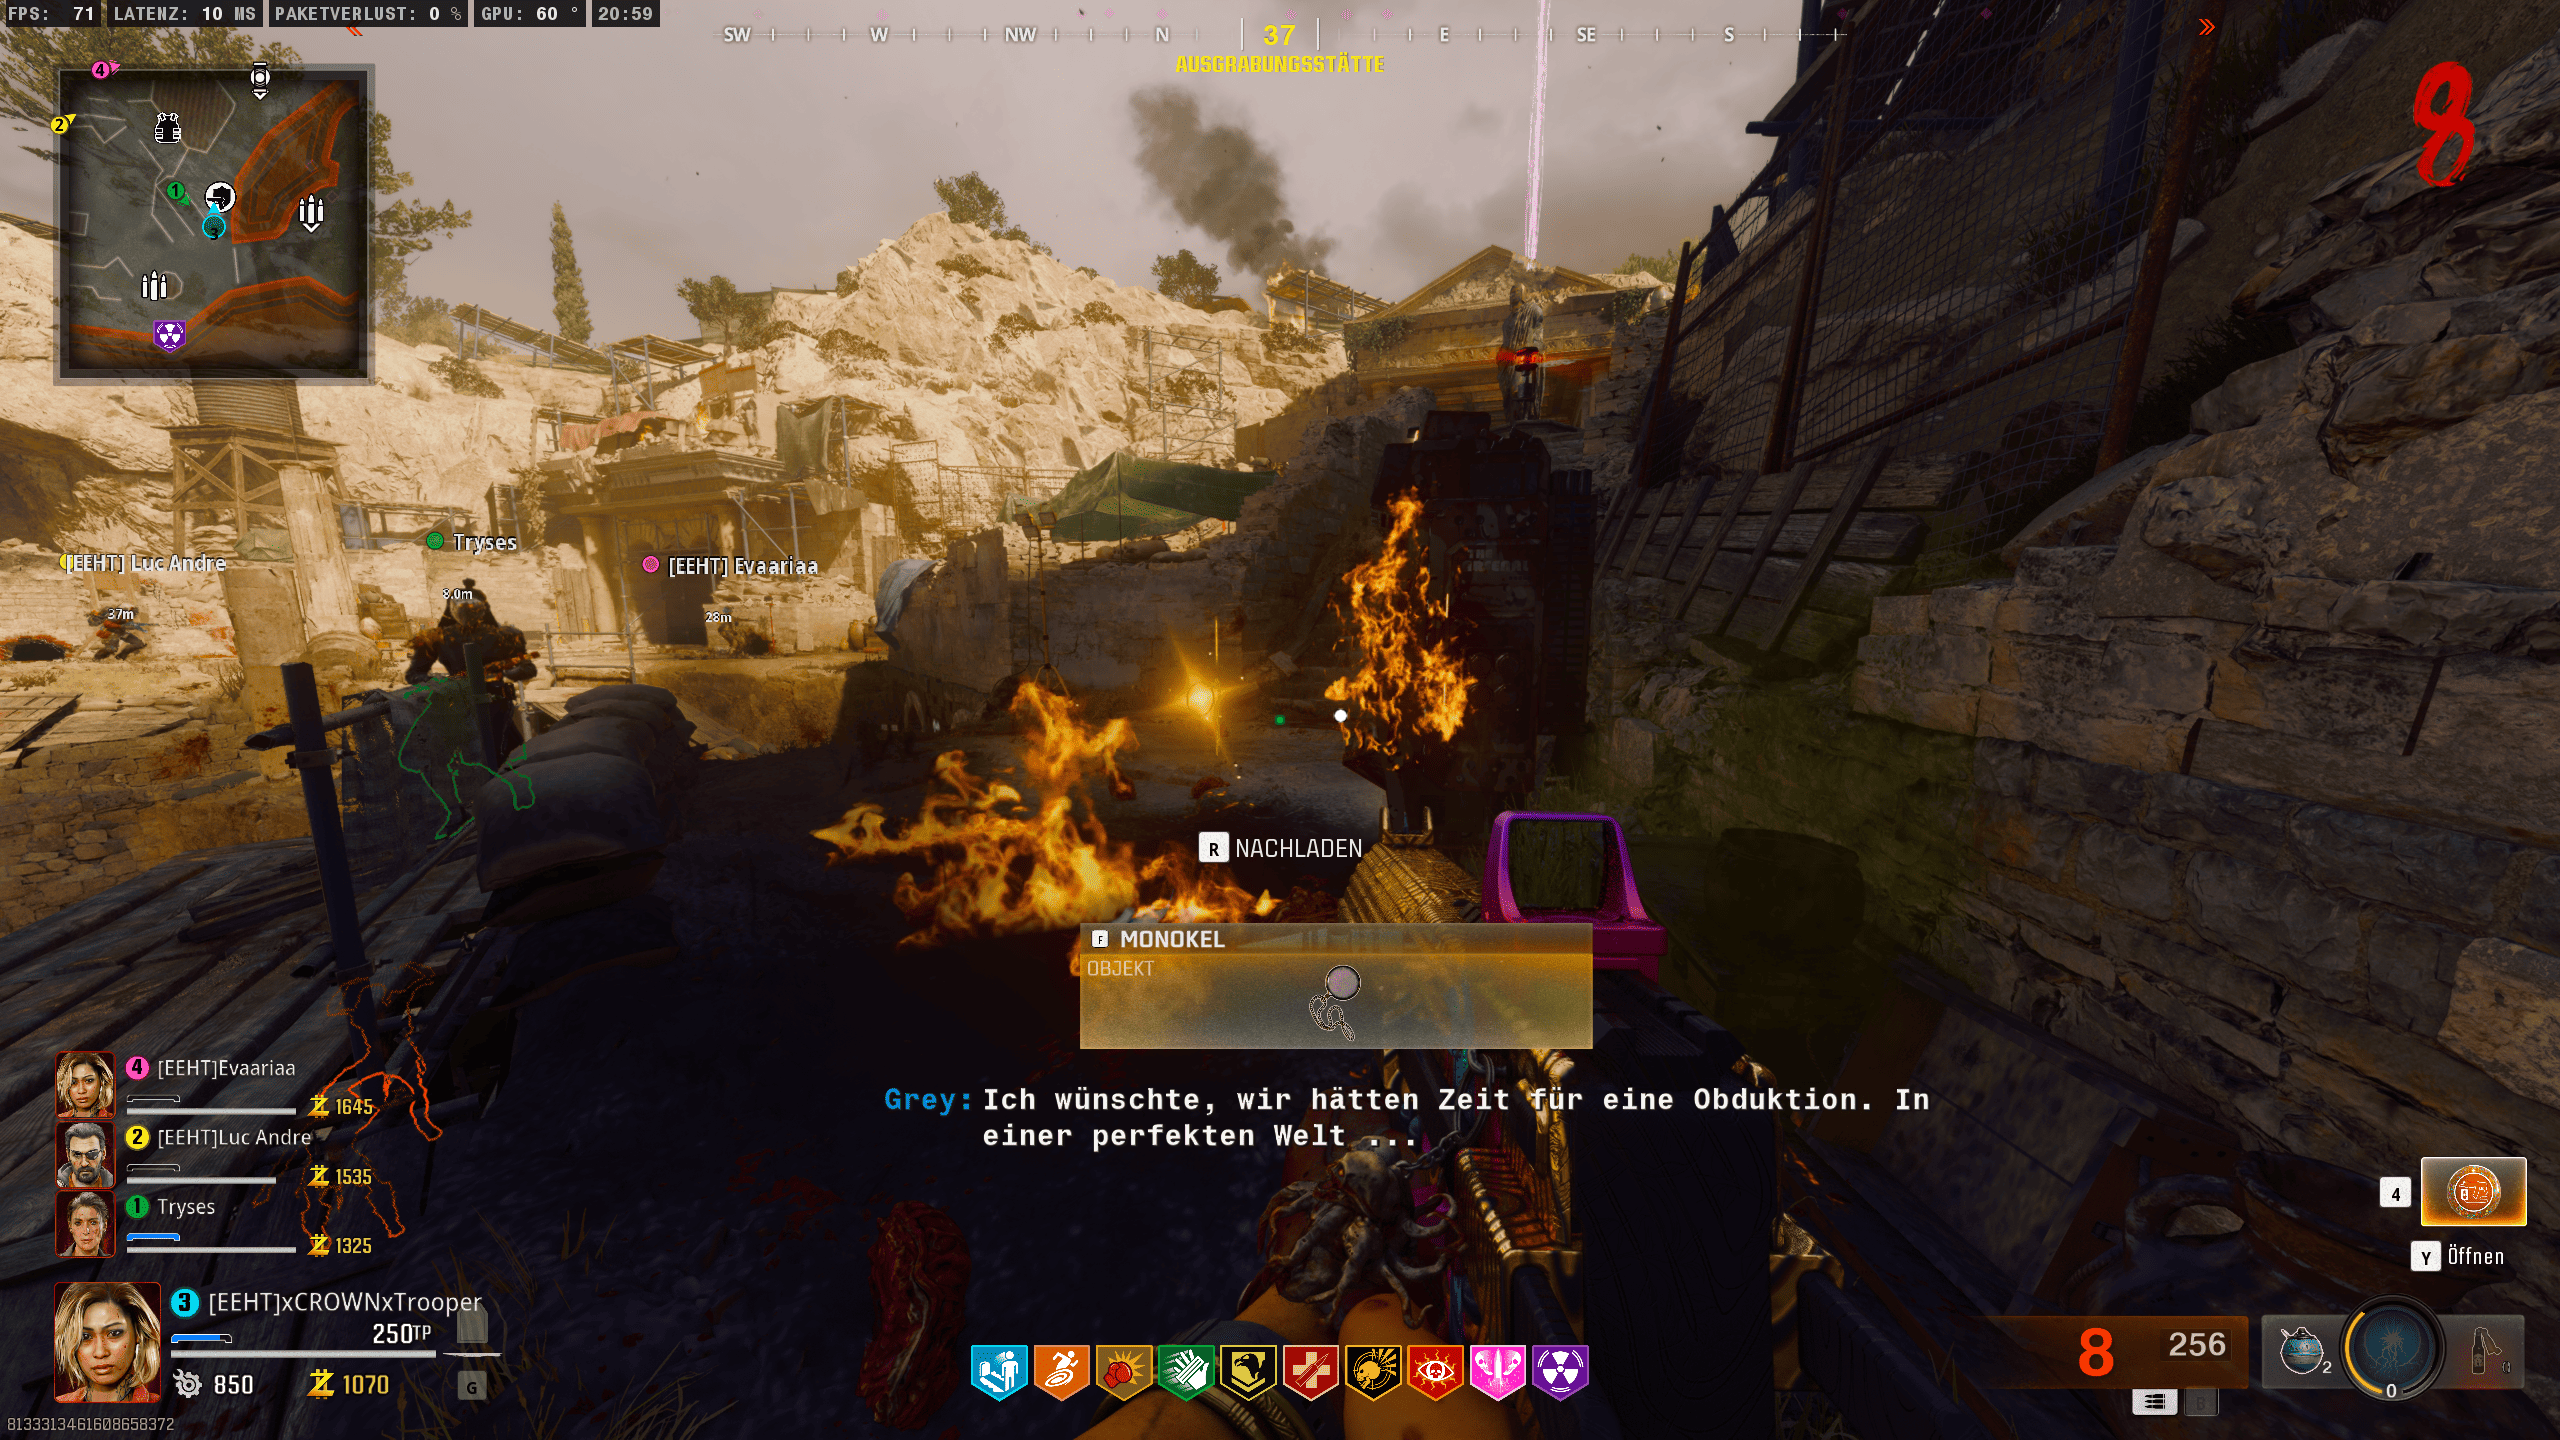
The first part you need is the Monocle. This can be obtained from the first Electro Mimic, which spawns around rounds 8 or 9. Once you defeat it, the Monocle will drop, allowing you to collect it.
Next, you need to shoot the crystals that are hanging from the walls or ceiling. Since the crystals respawn, they need to appear in the correct position for you to proceed with the next step.
Shoot all the crystals until one of them spawns at the following location:
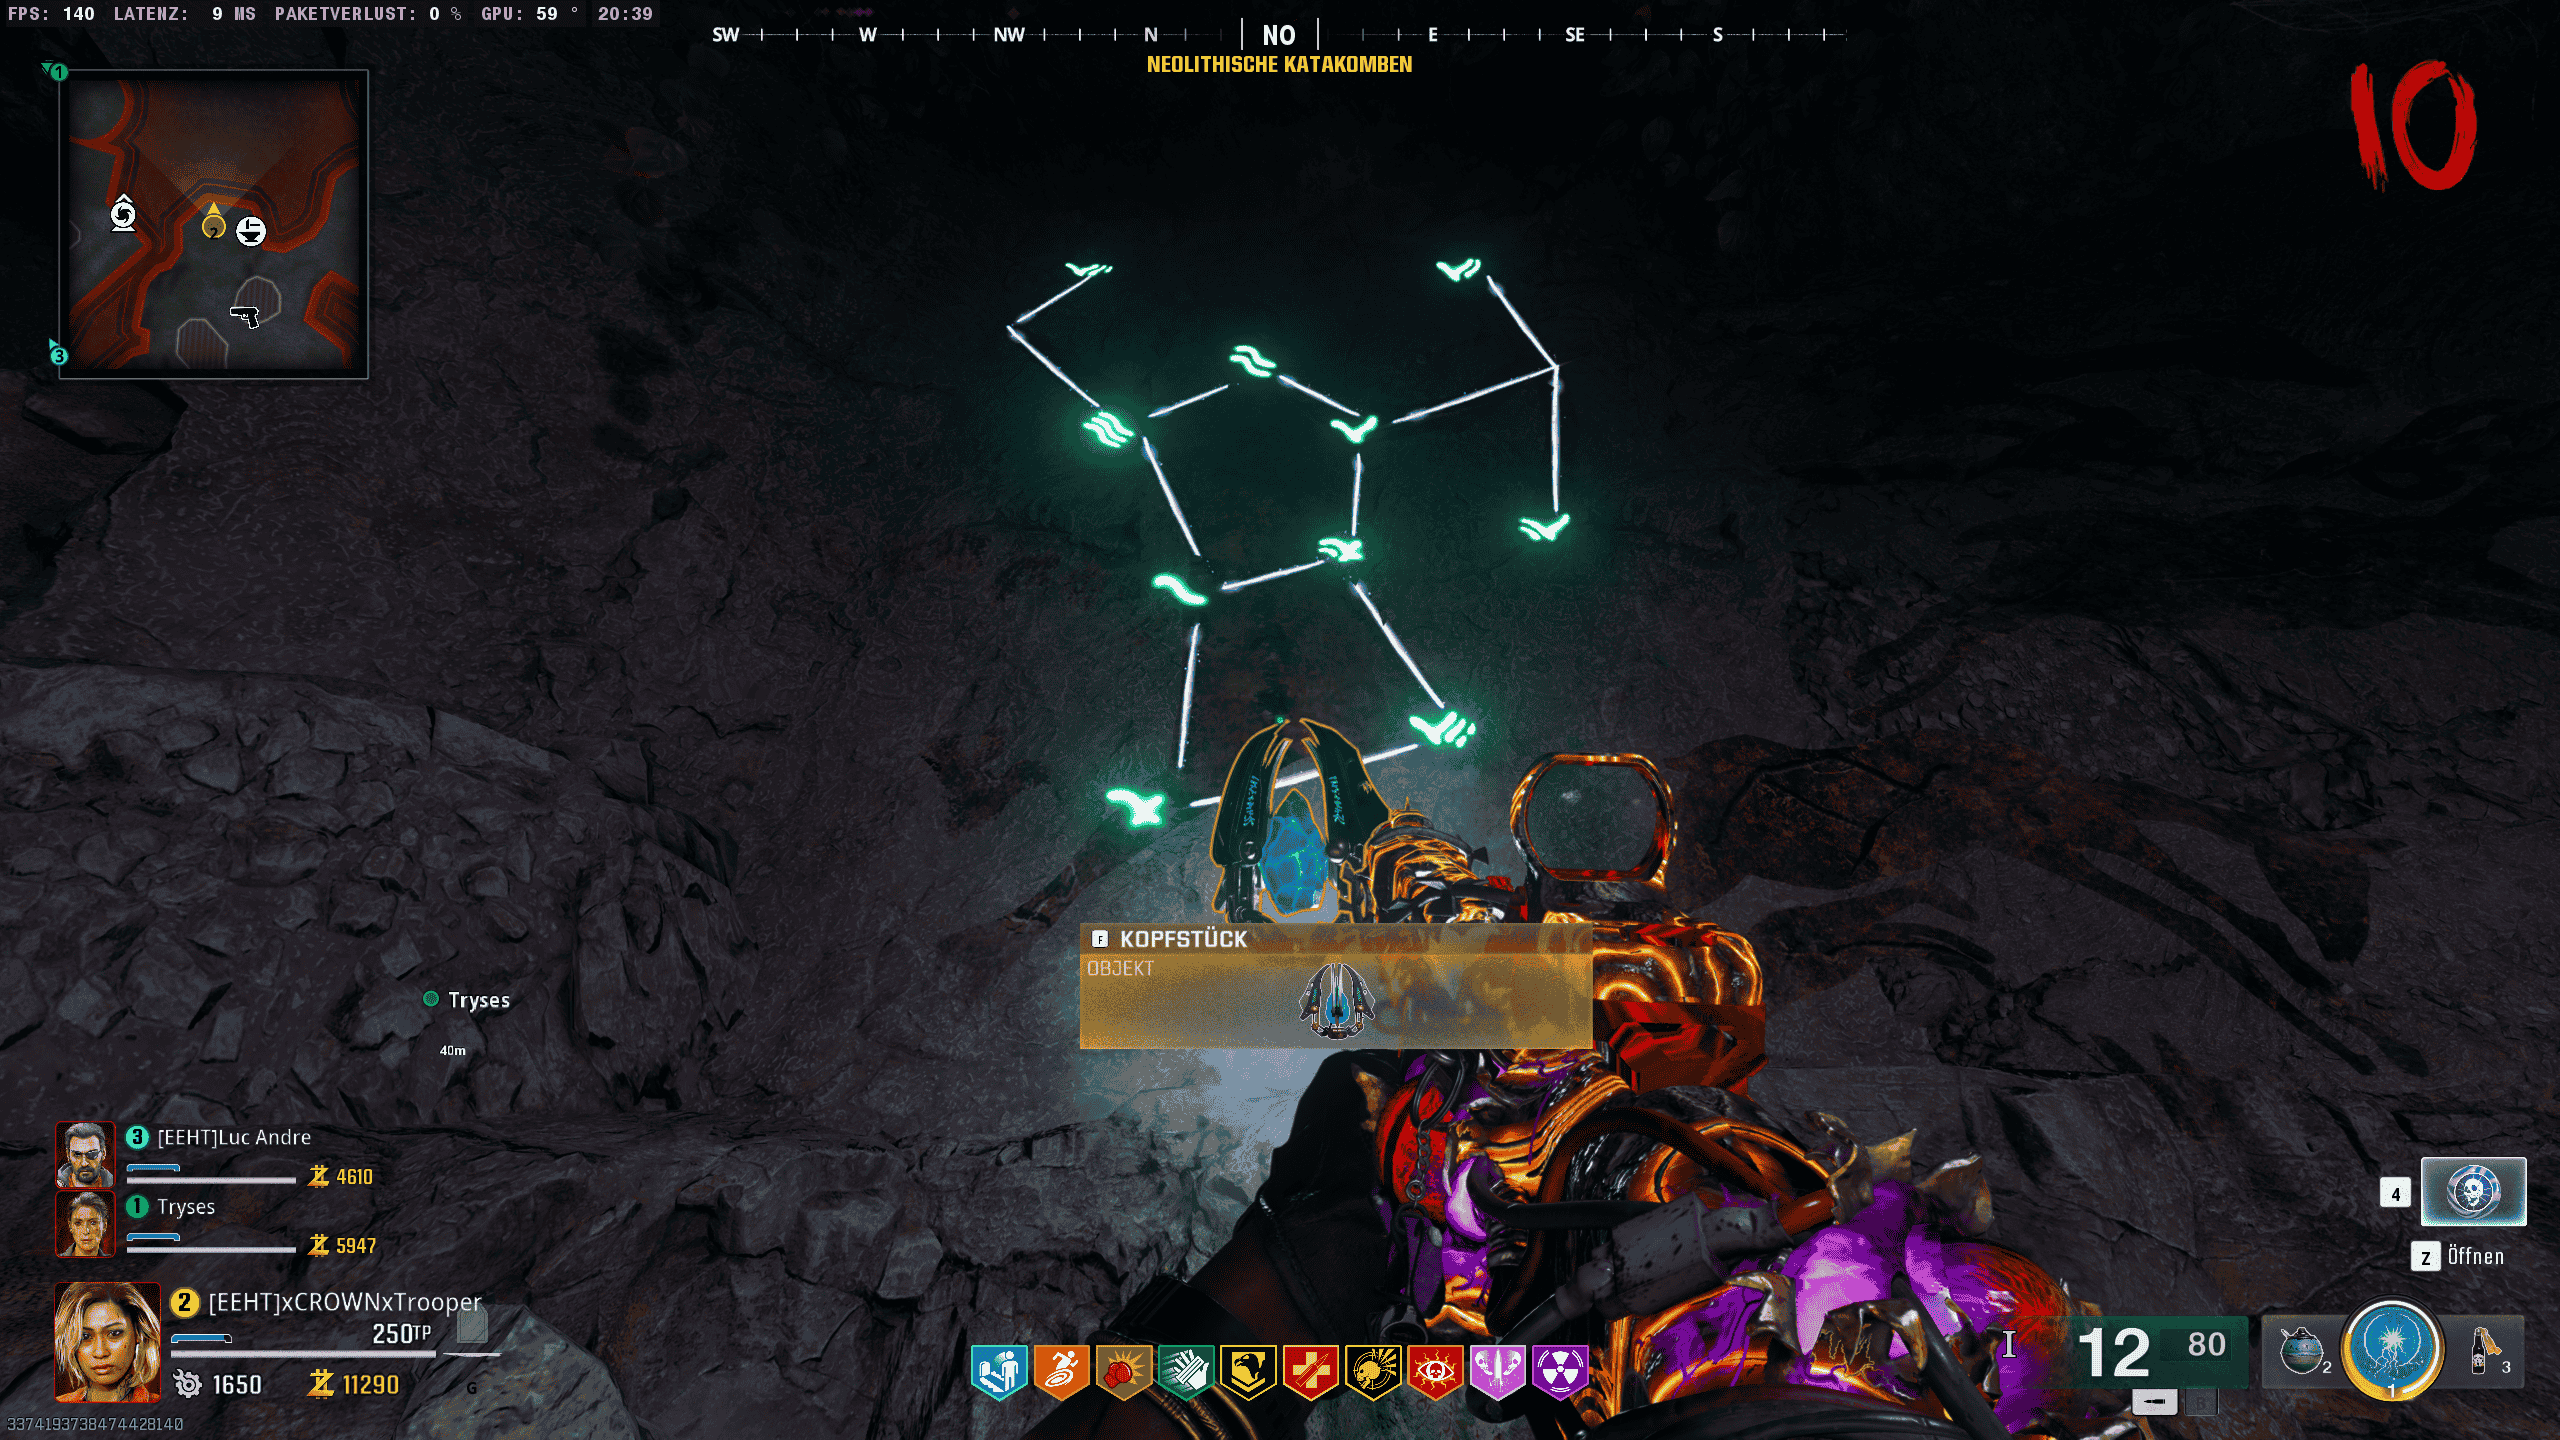
Once this is done, you will notice a bull on the wall, and after a certain amount of time, symbols will begin to glow around it. These symbols must be shot in the correct order.
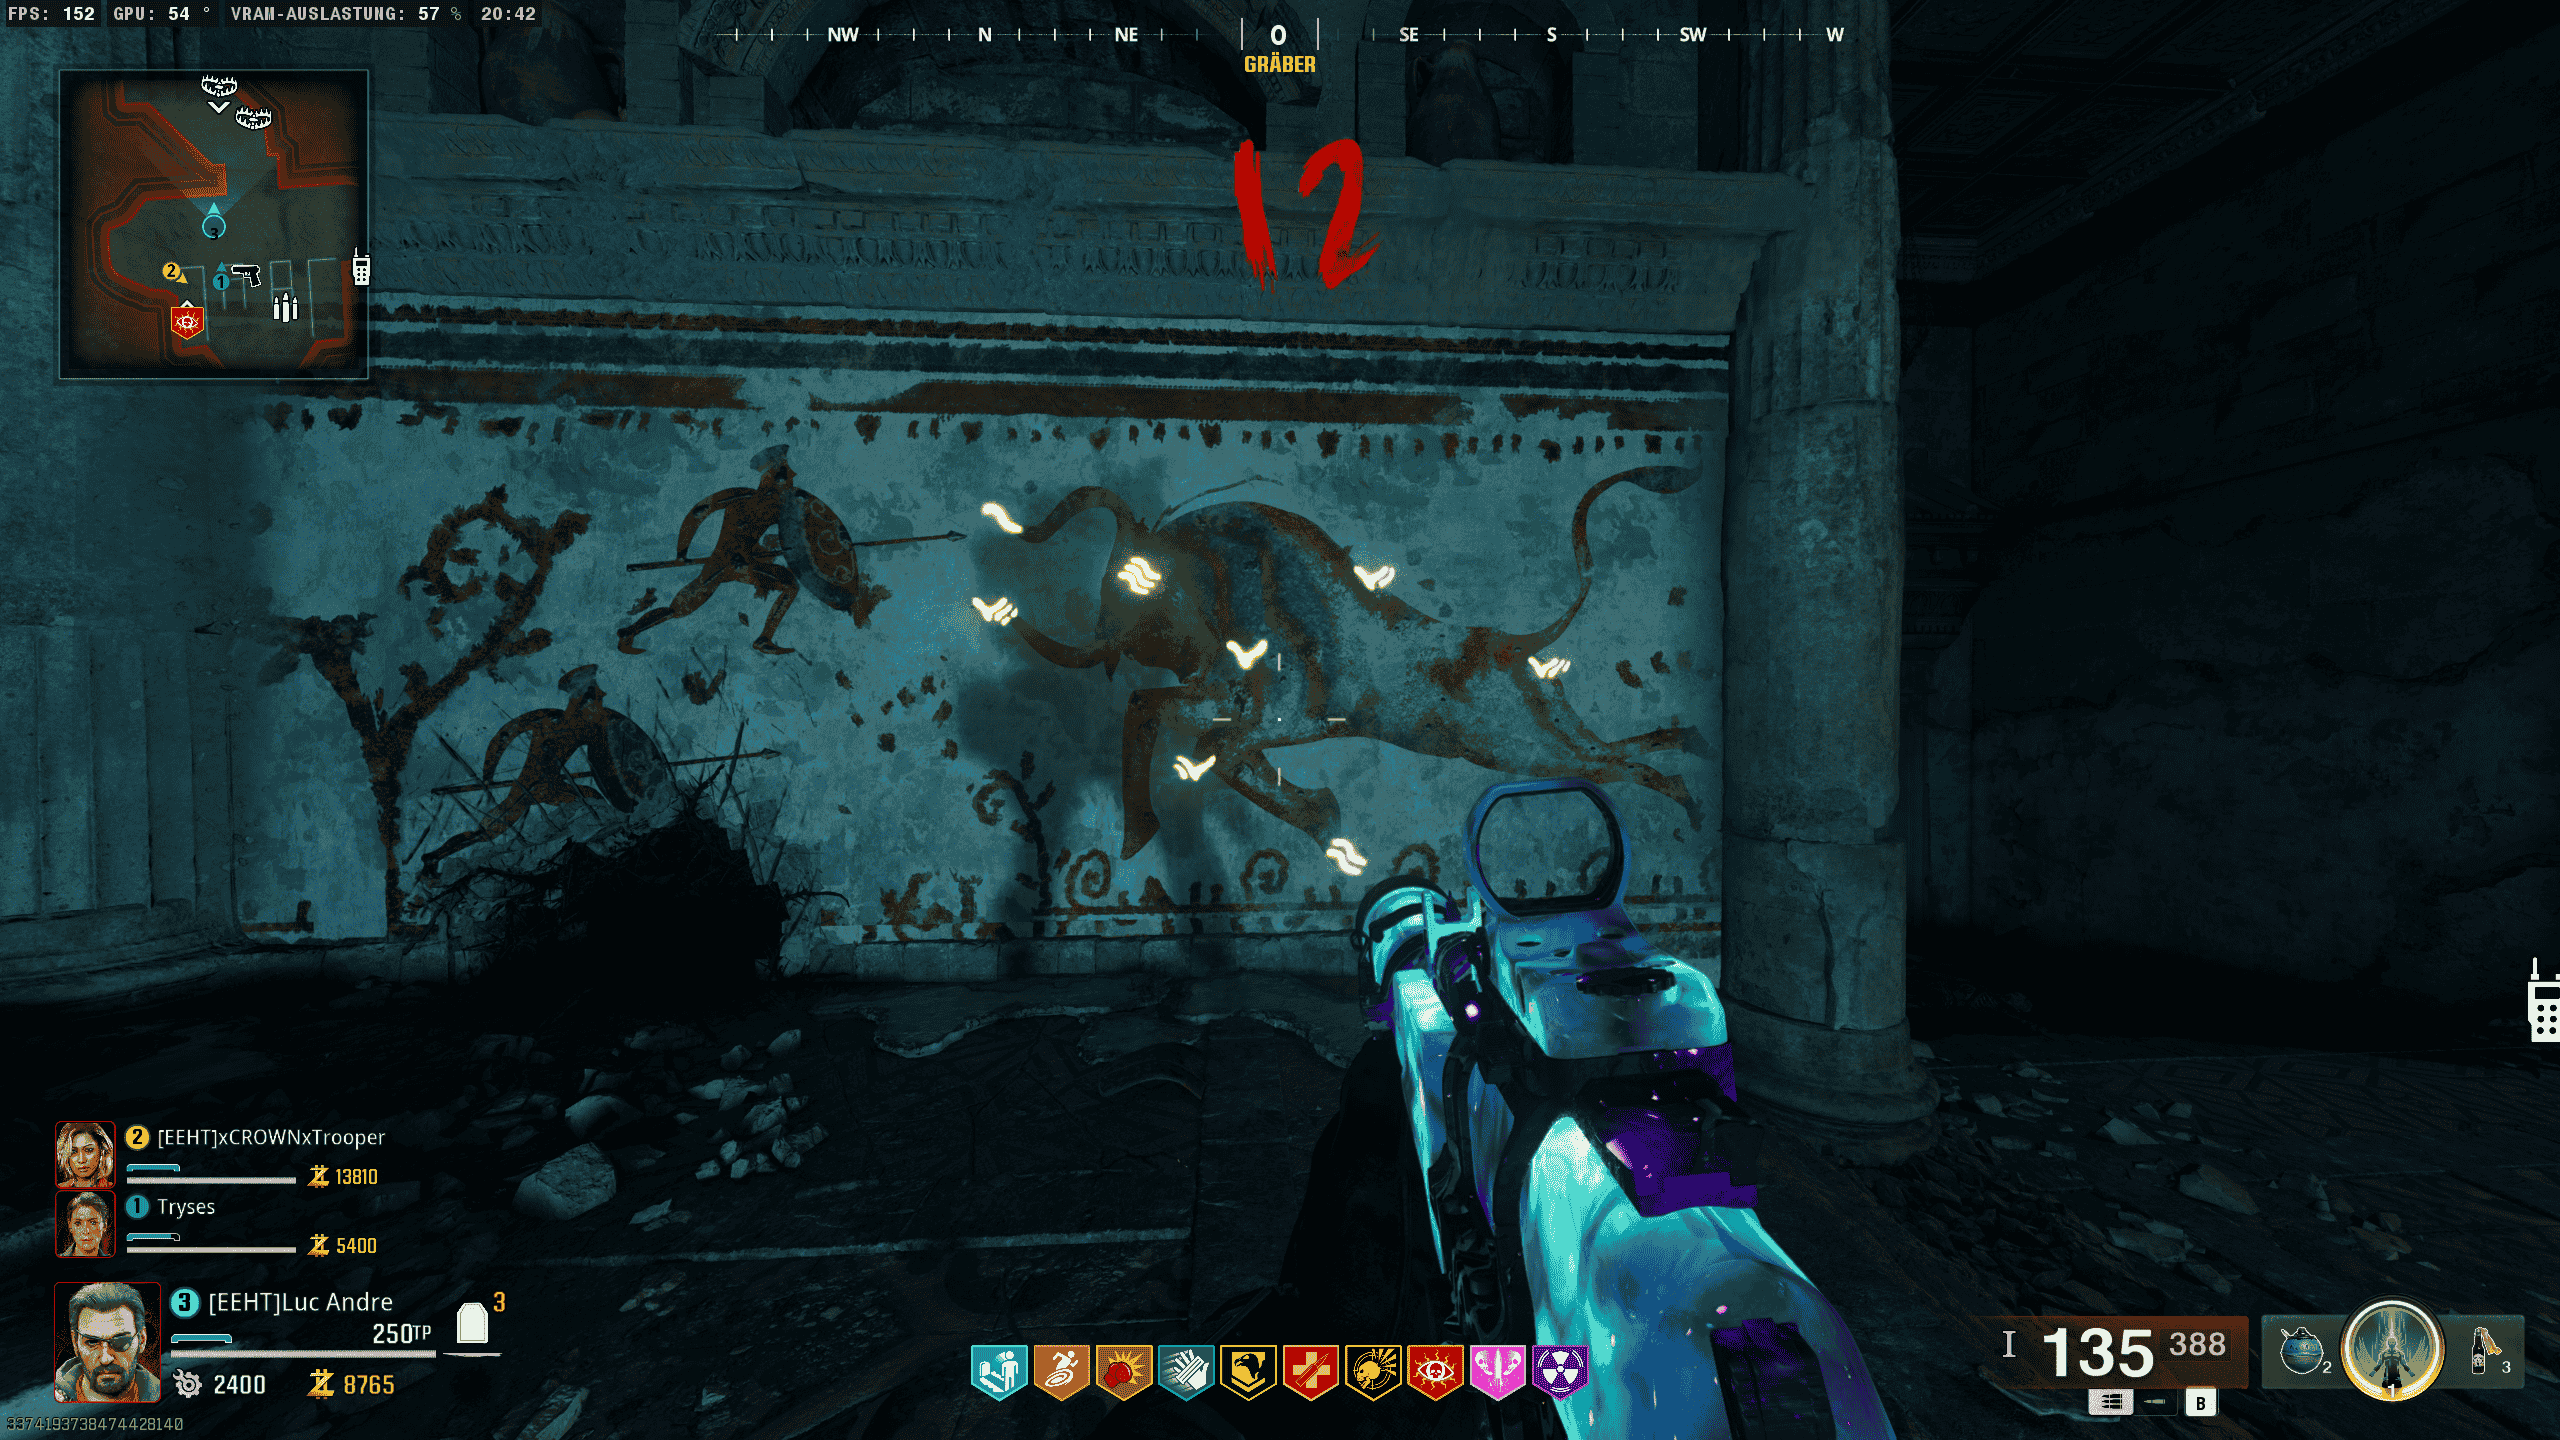
The correct order of the symbols corresponds to the numbers 1 – 8, but in Roman numerals:
1 = I
2 = II
3 = III
4 = IV
5 = V
6 = VI
7 = VII
8 = VIII
Pay close attention to the symbols for 7 and 8, as they can be easily confused. The number 8 looks almost identical to 2, but with one of the lines interrupted, forming the number 8.
If you shoot the symbols in the correct order, they will connect with a line.
Once you’ve done this correctly, an encounter will start where you need to kill zombies in the area. You will notice a small purple orb floating in the air, which spawns zombies, special zombies, and elite zombies. The orb will keep changing positions. Once you’ve completed this task, you will receive a Max Ammo power-up, and the staff required for the Wonder Weapon will appear.
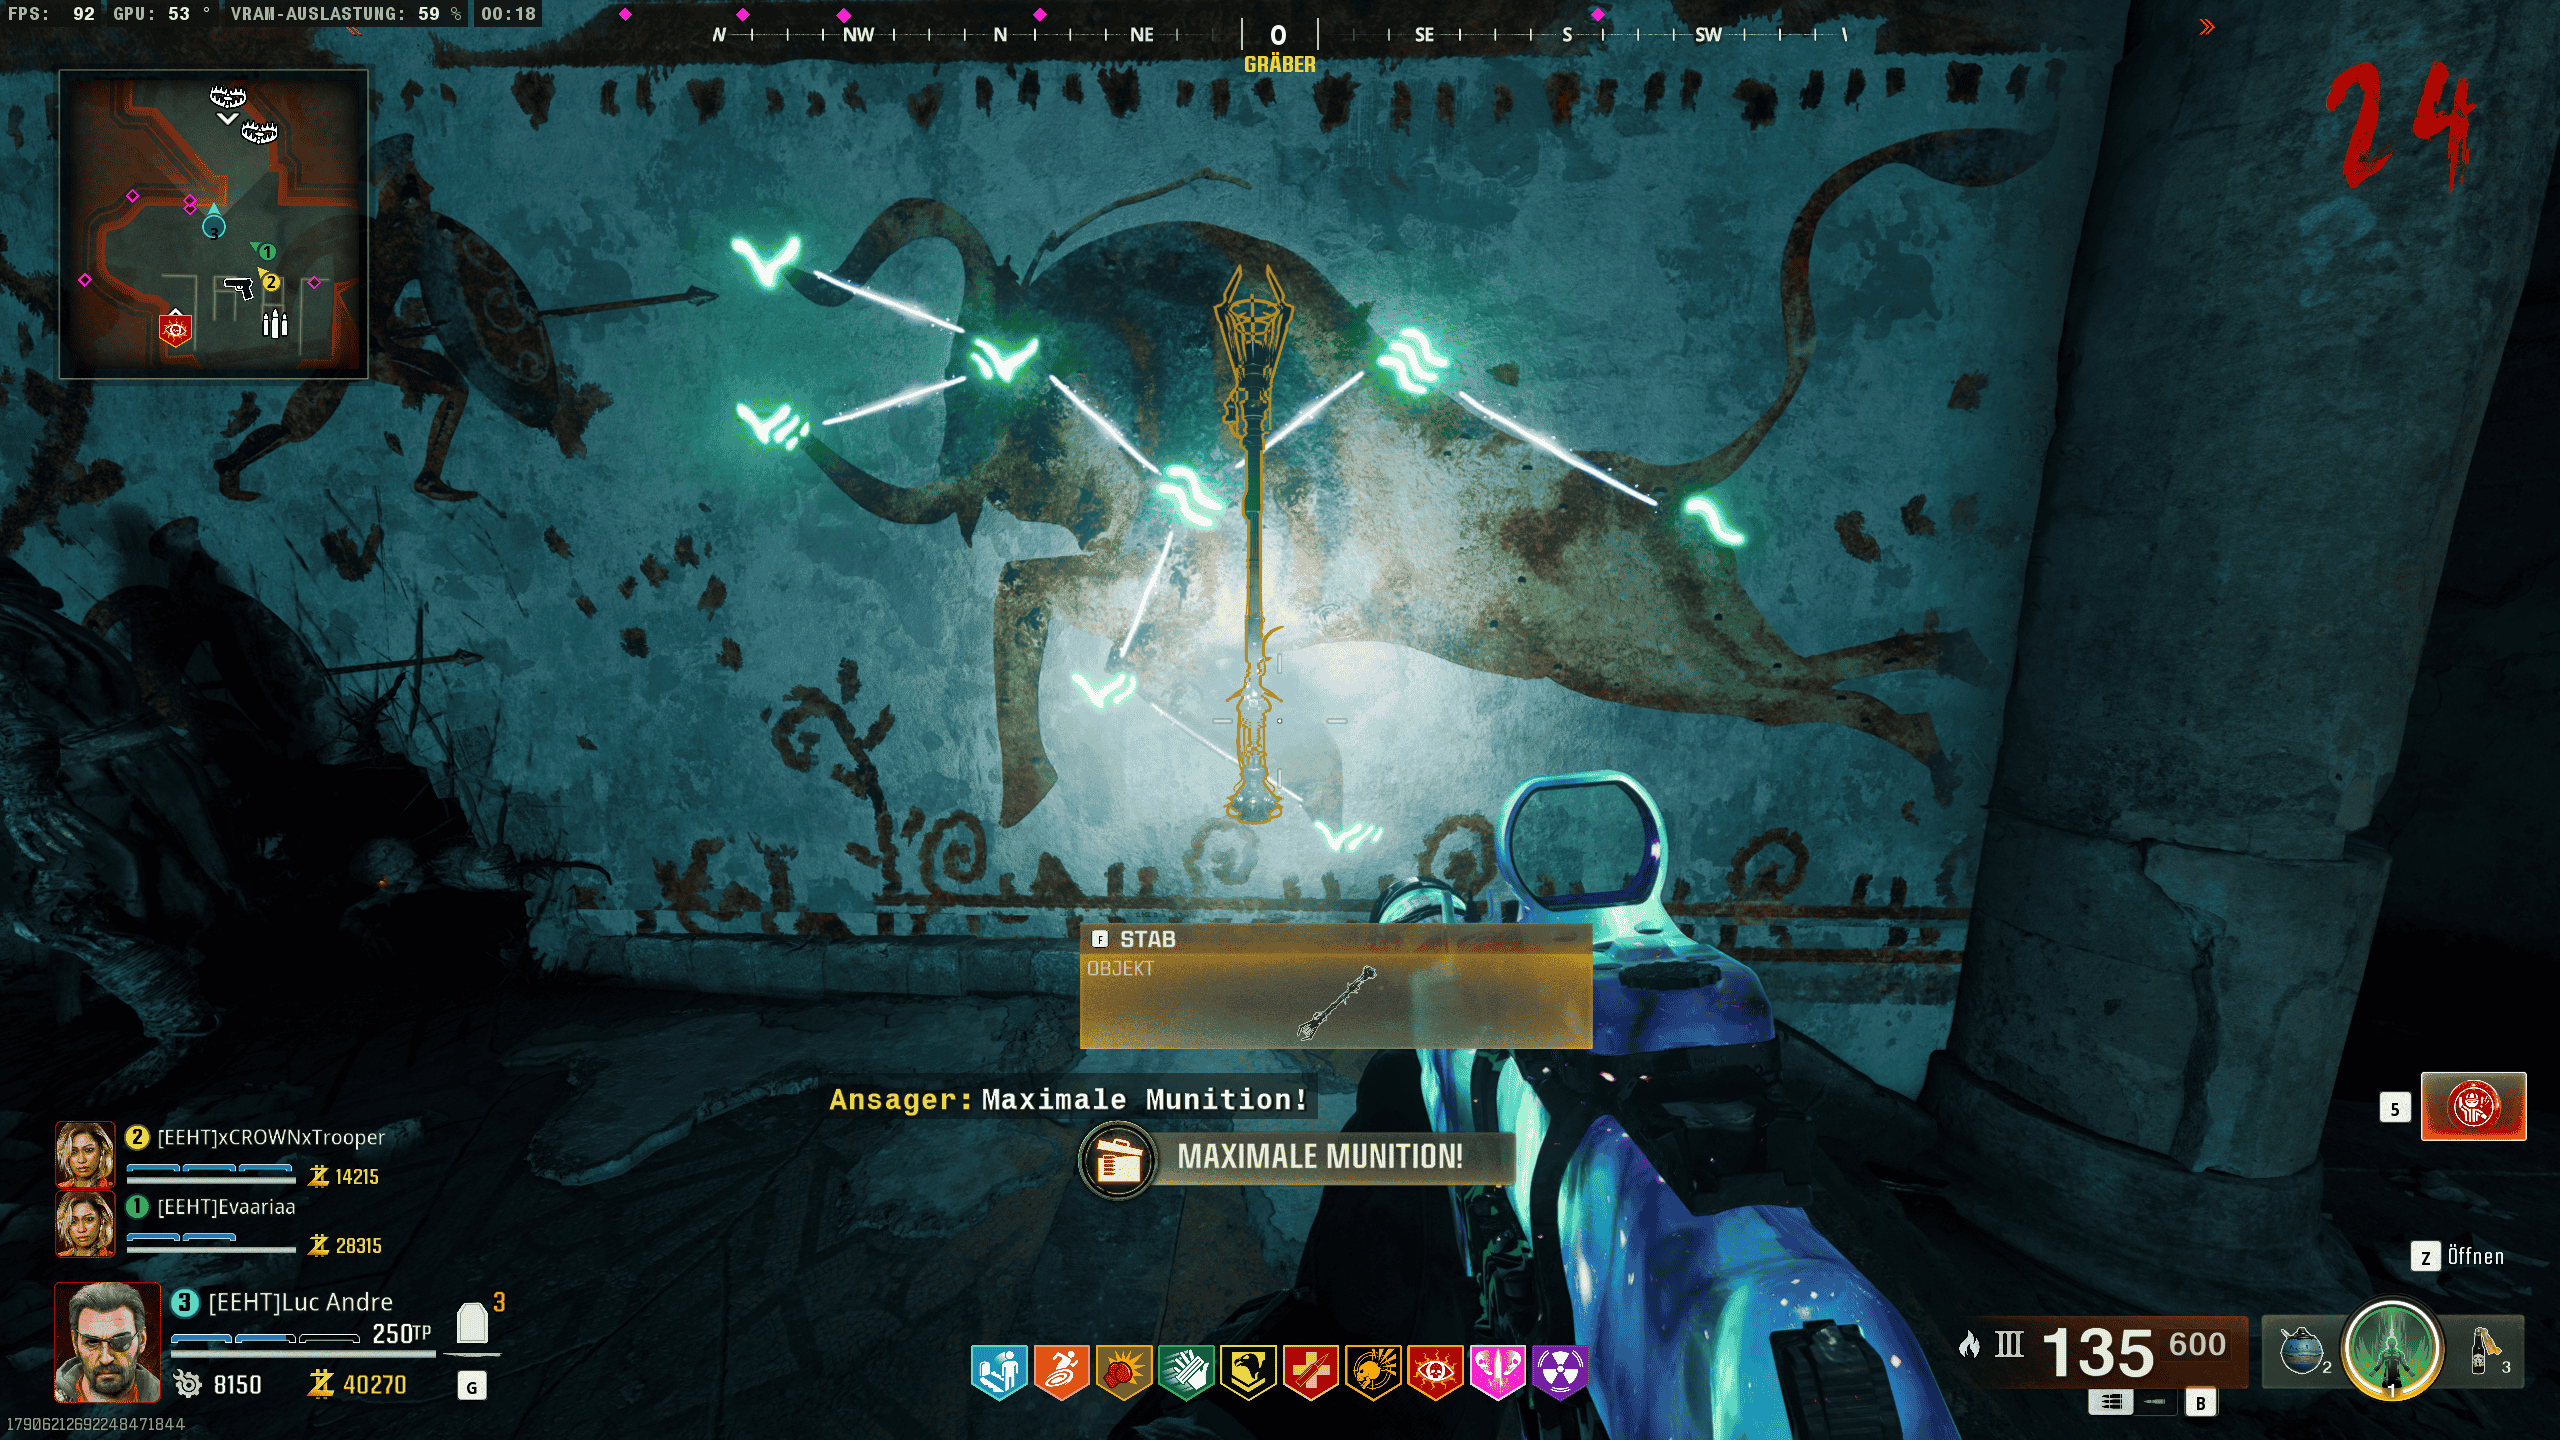
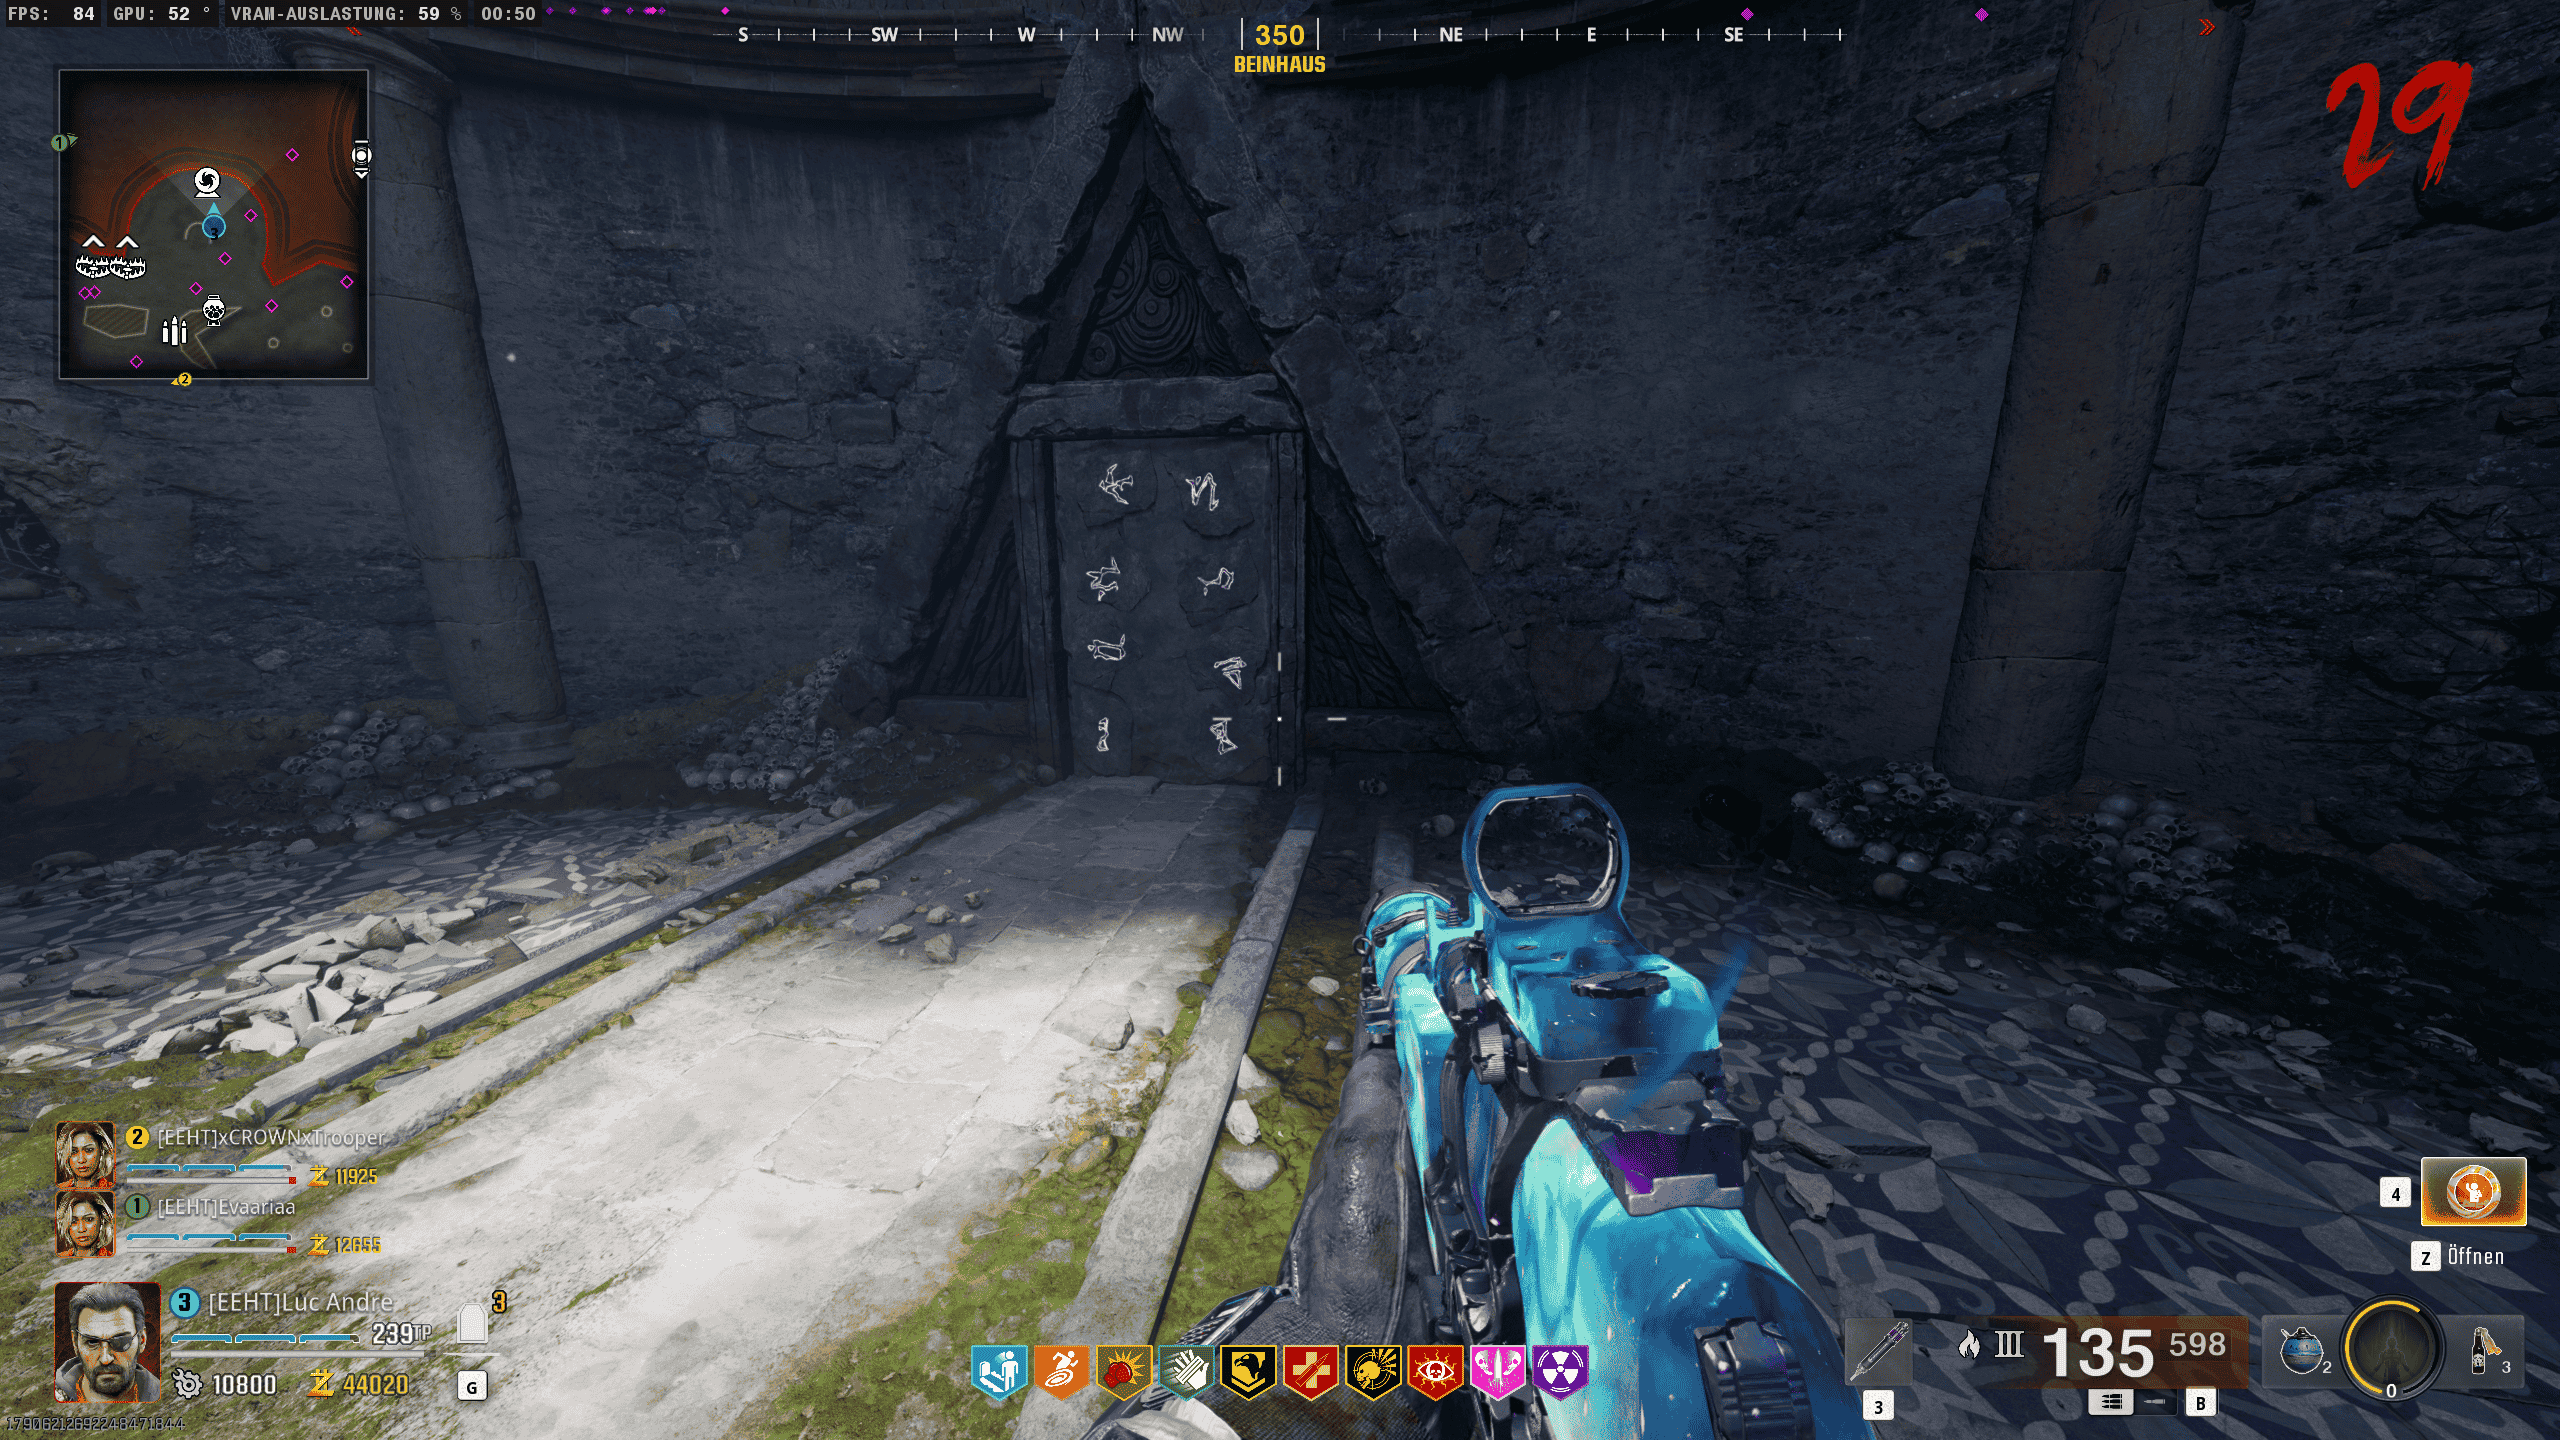
Pick up the staff and head to the Neolithic Catacombs. There, you will find a mural depicting an archer. Similar to the bull, symbols will start to appear next to the archer. These symbols must be shot in the correct order, just as you did before with the bull.
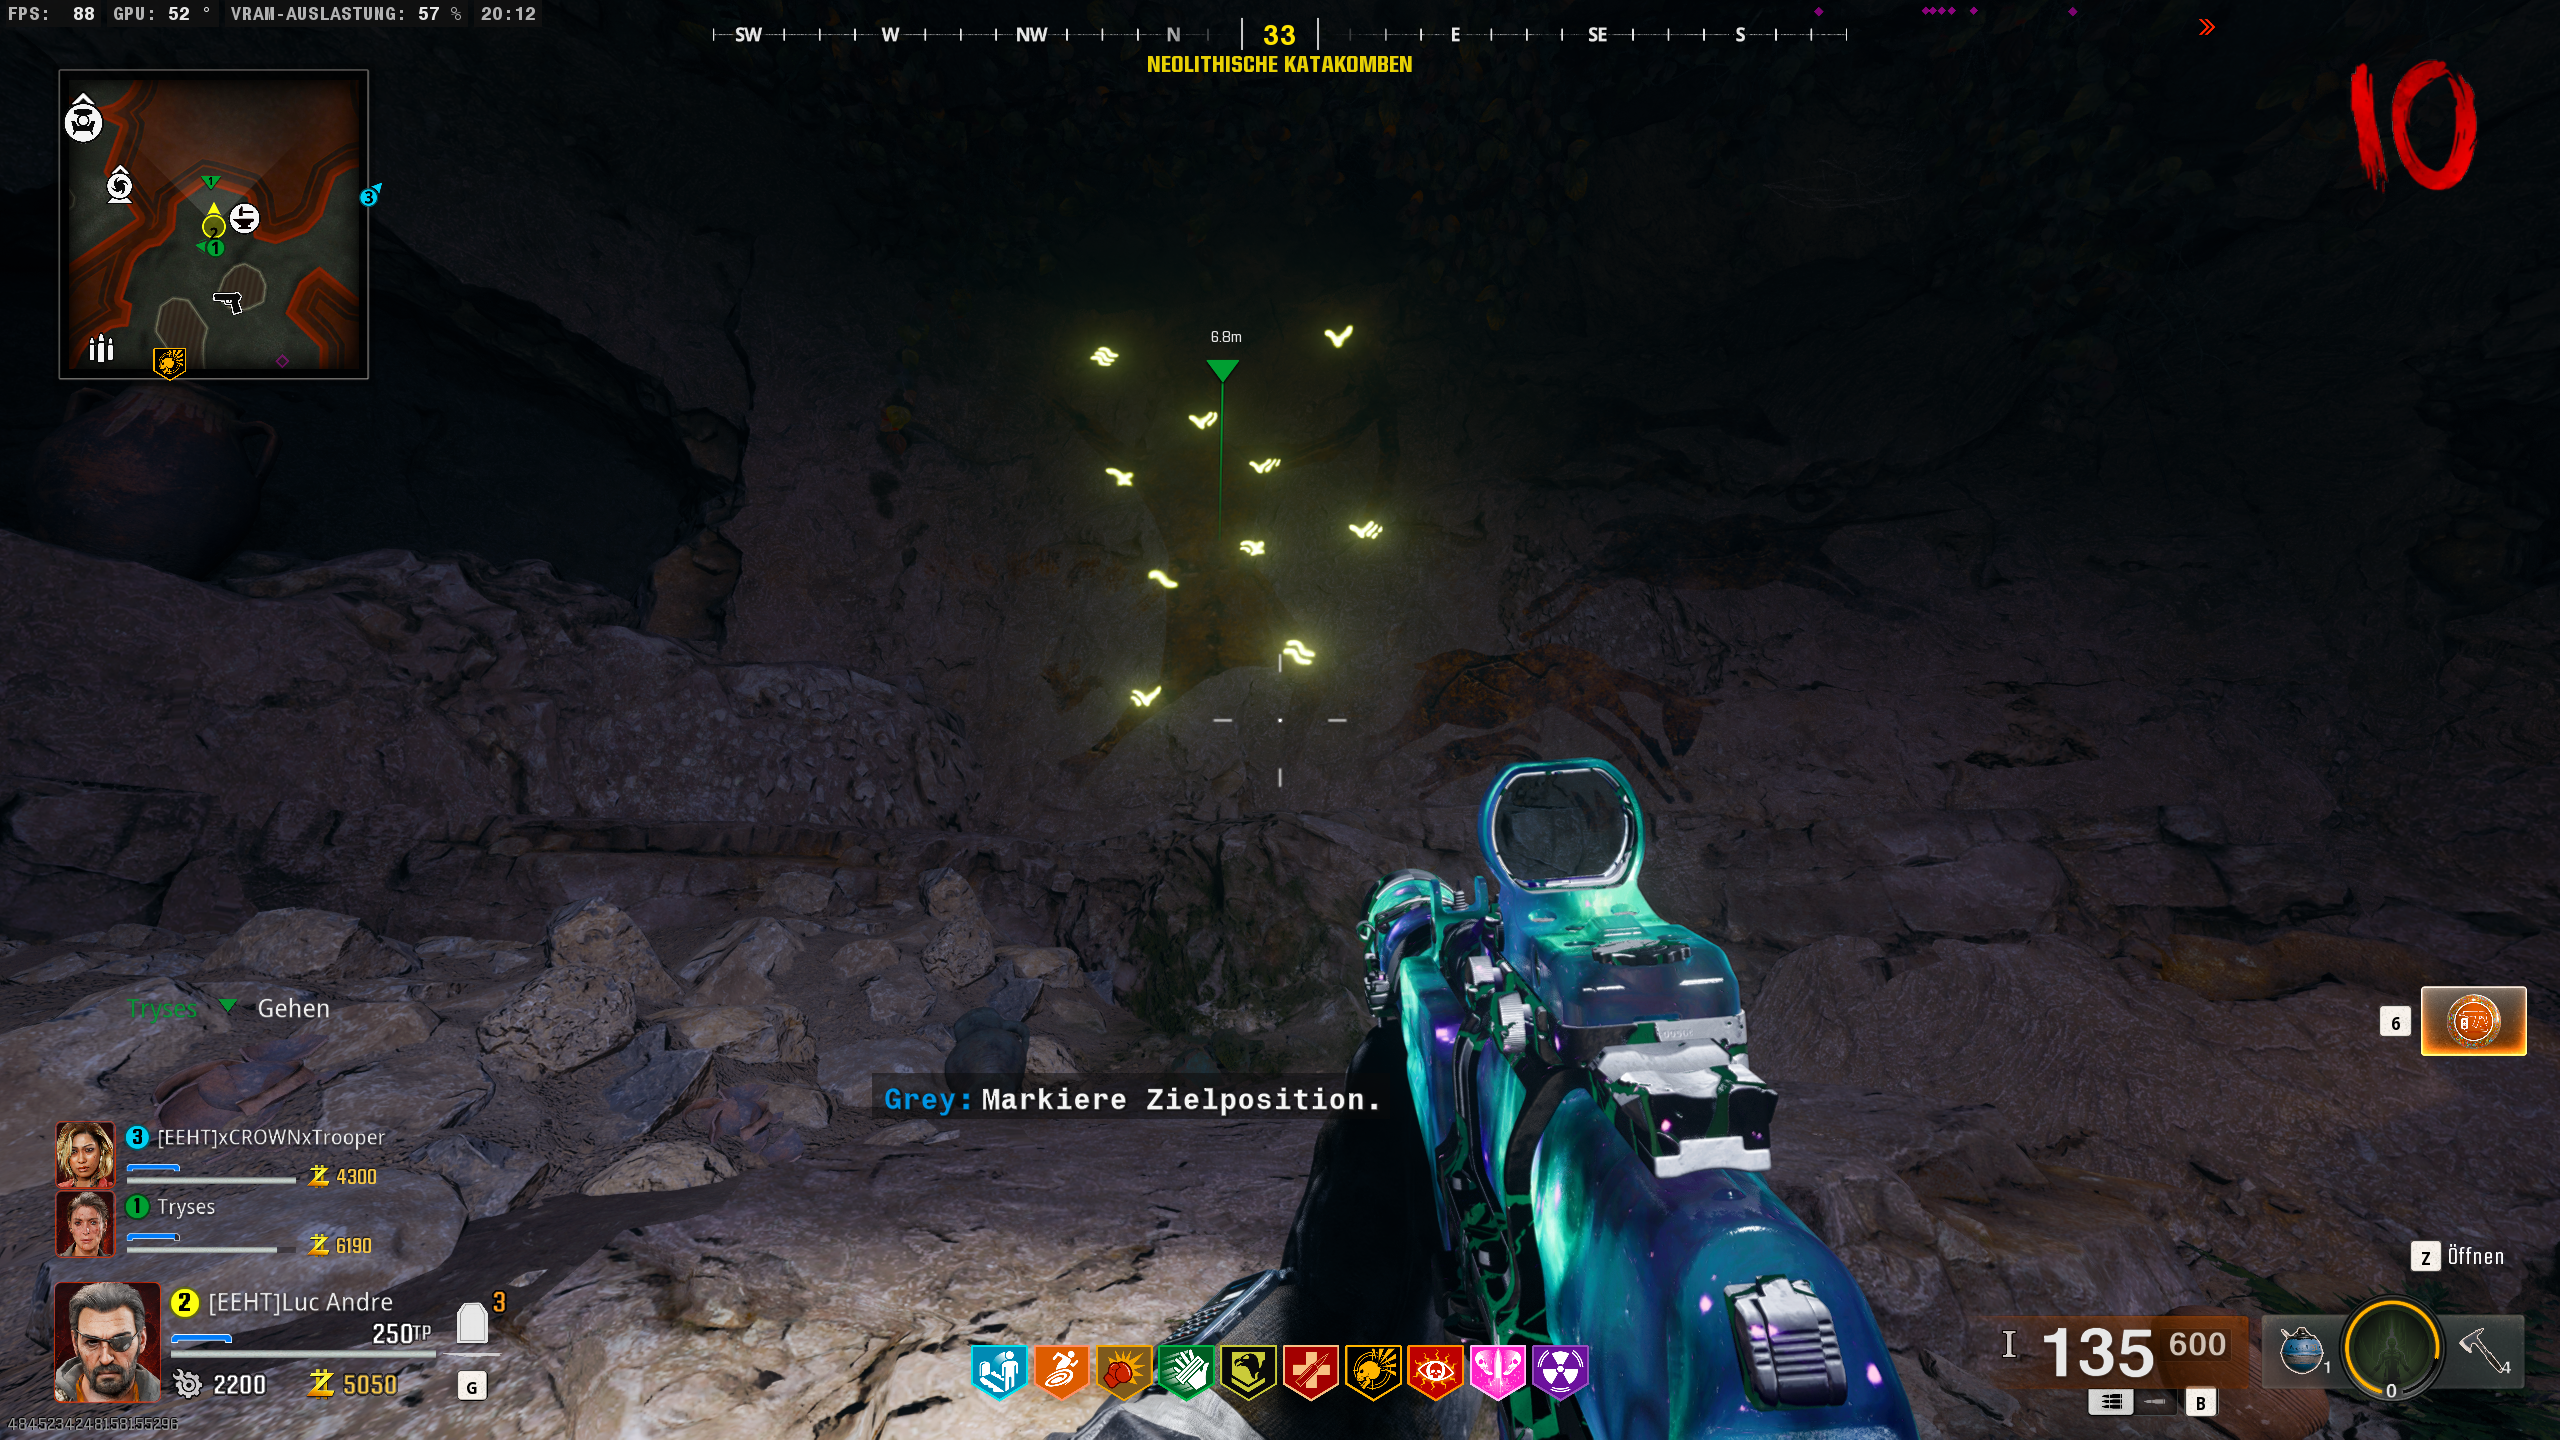
The correct order of the symbols now corresponds to the numbers 1 – 10, but in Roman numerals:
1 = I
2 = II
3 = III
4 = IV
5 = V
6 = VI
7 = VII
8 = VIII
9 = IX
10 = X
Again, pay close attention to the numbers 7 and 8, as they can be easily confused. Once you’ve shot all the symbols in the correct order, another encounter will begin, similar to the one with the bull.
After completing the encounter, you will receive the Staff Head for the Ice Staff.
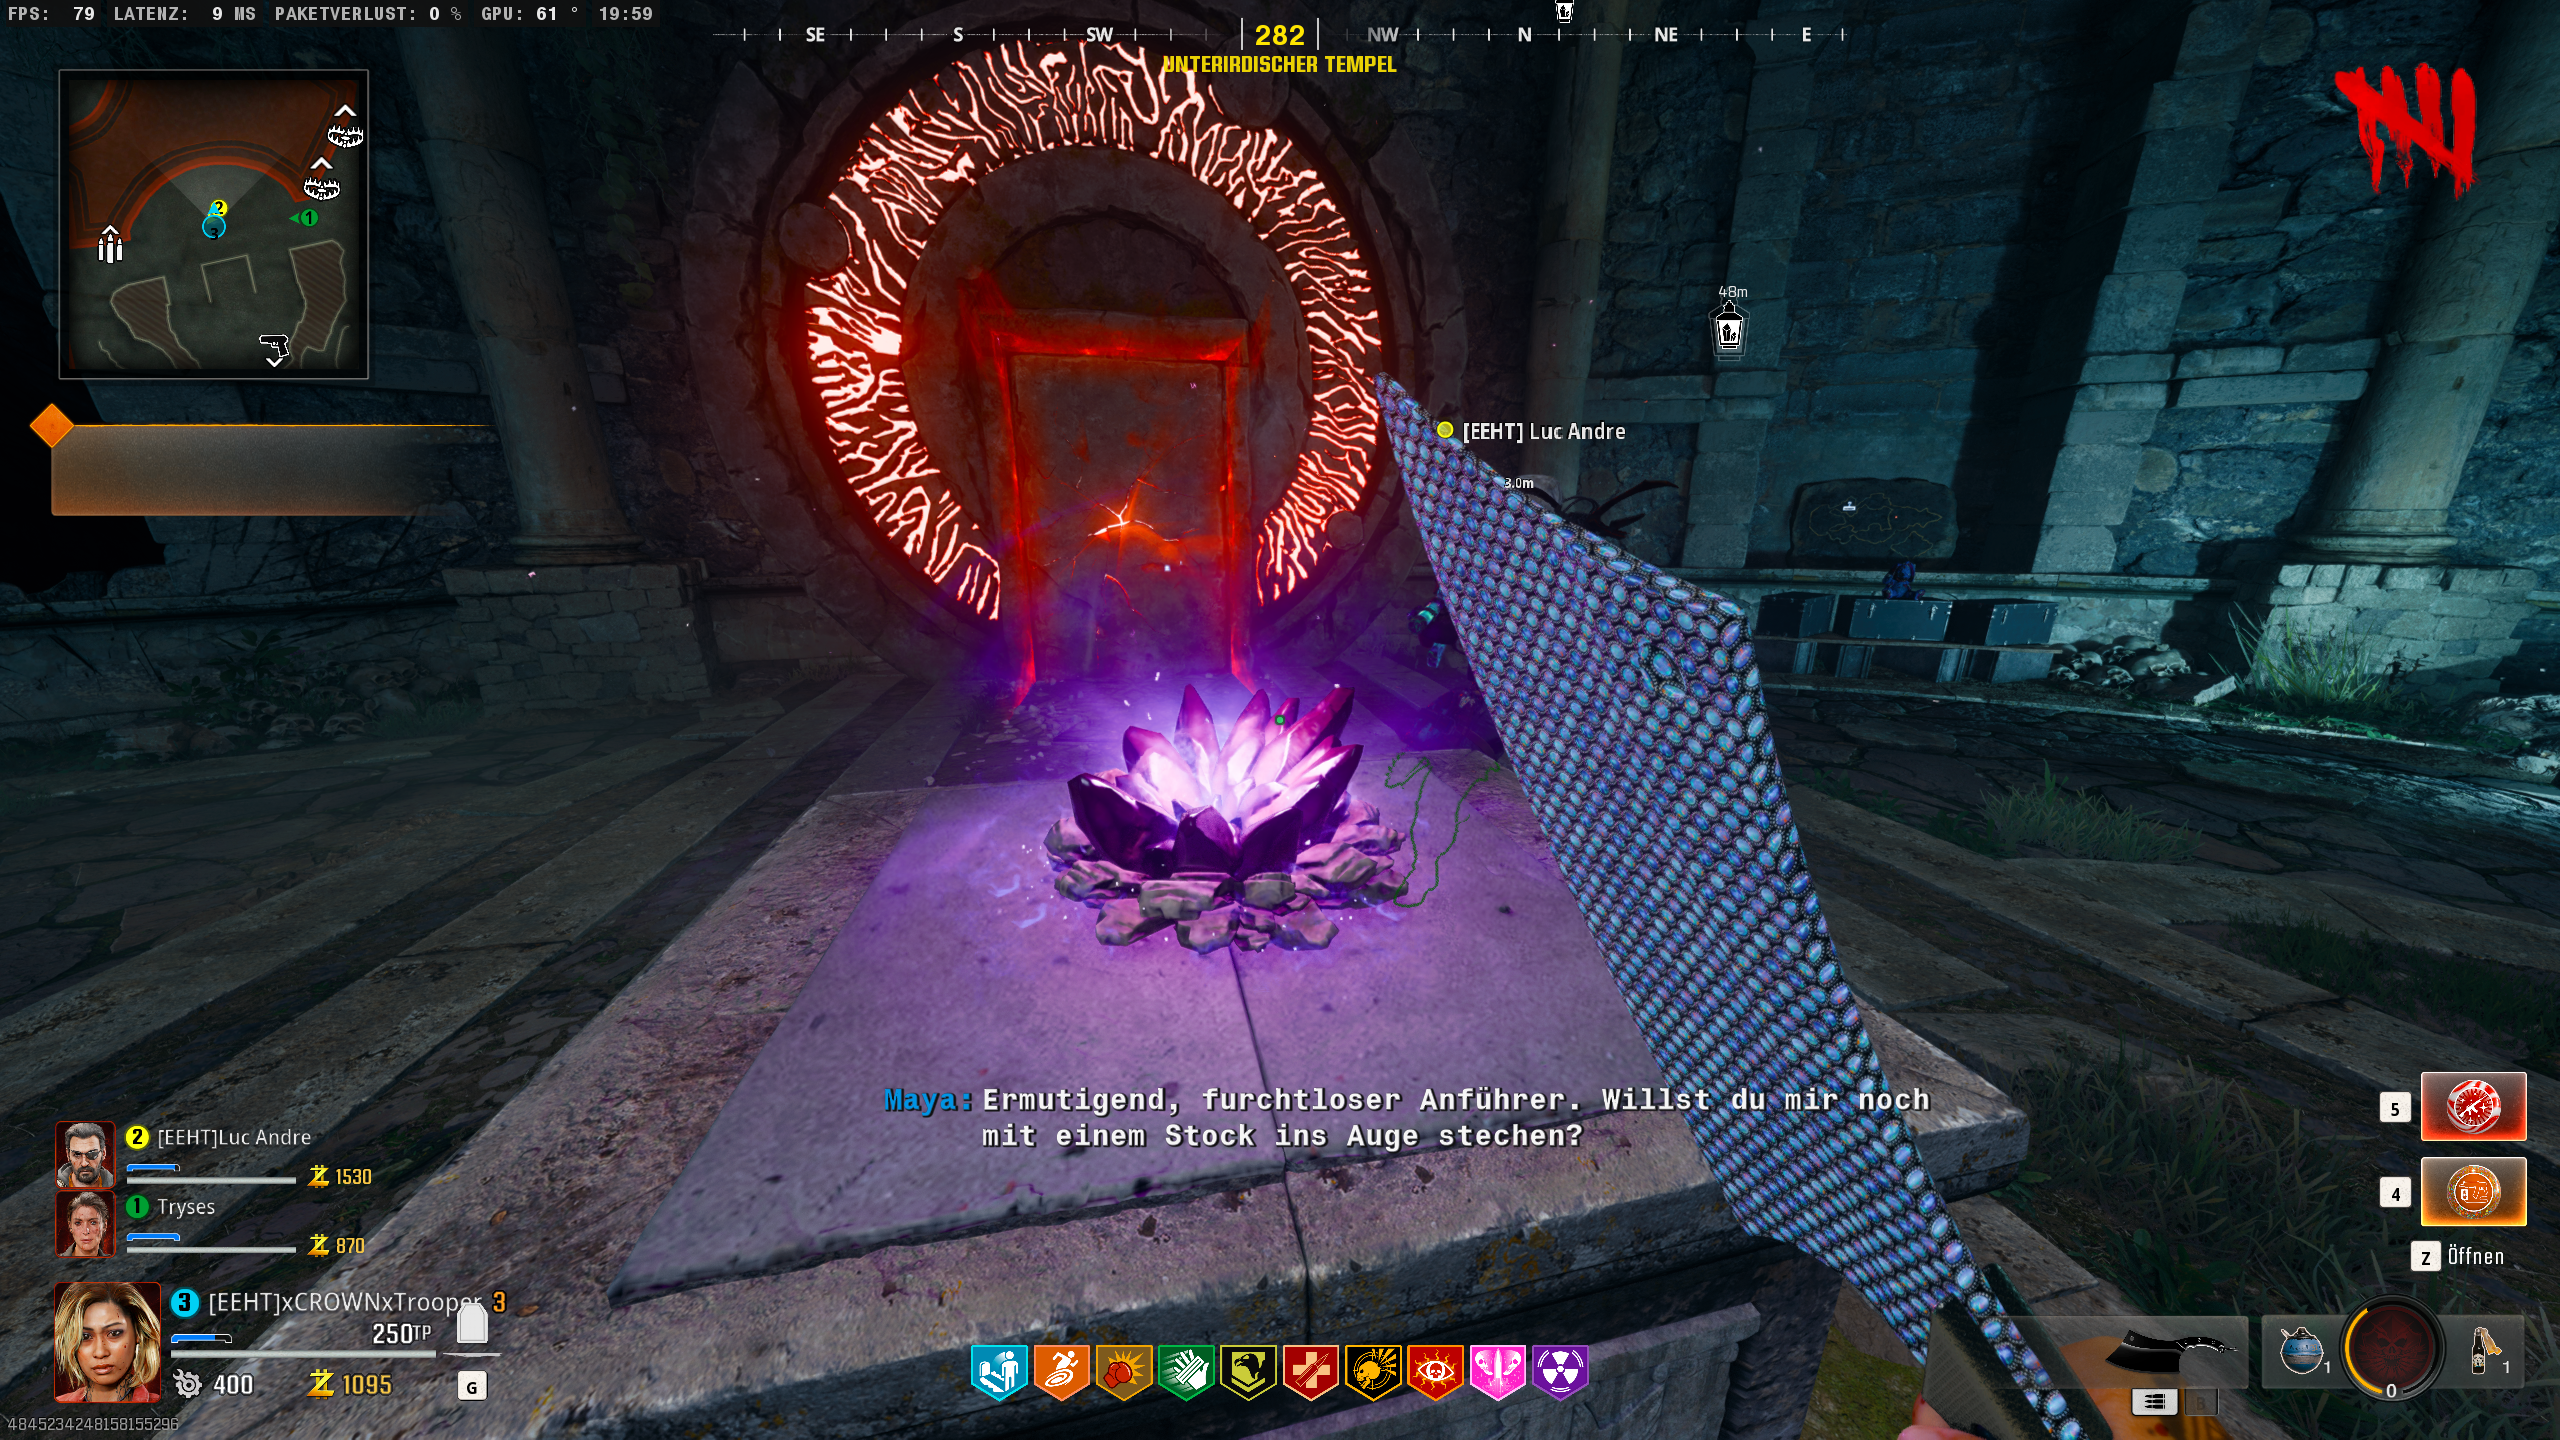
Once you’ve picked up the final part for the staff, return to the Dark Aether Nexus. Head to the designated location and interact with the hole. This will cause the parts for the Ice Staff to float in front of the hole, triggering the next encounter.
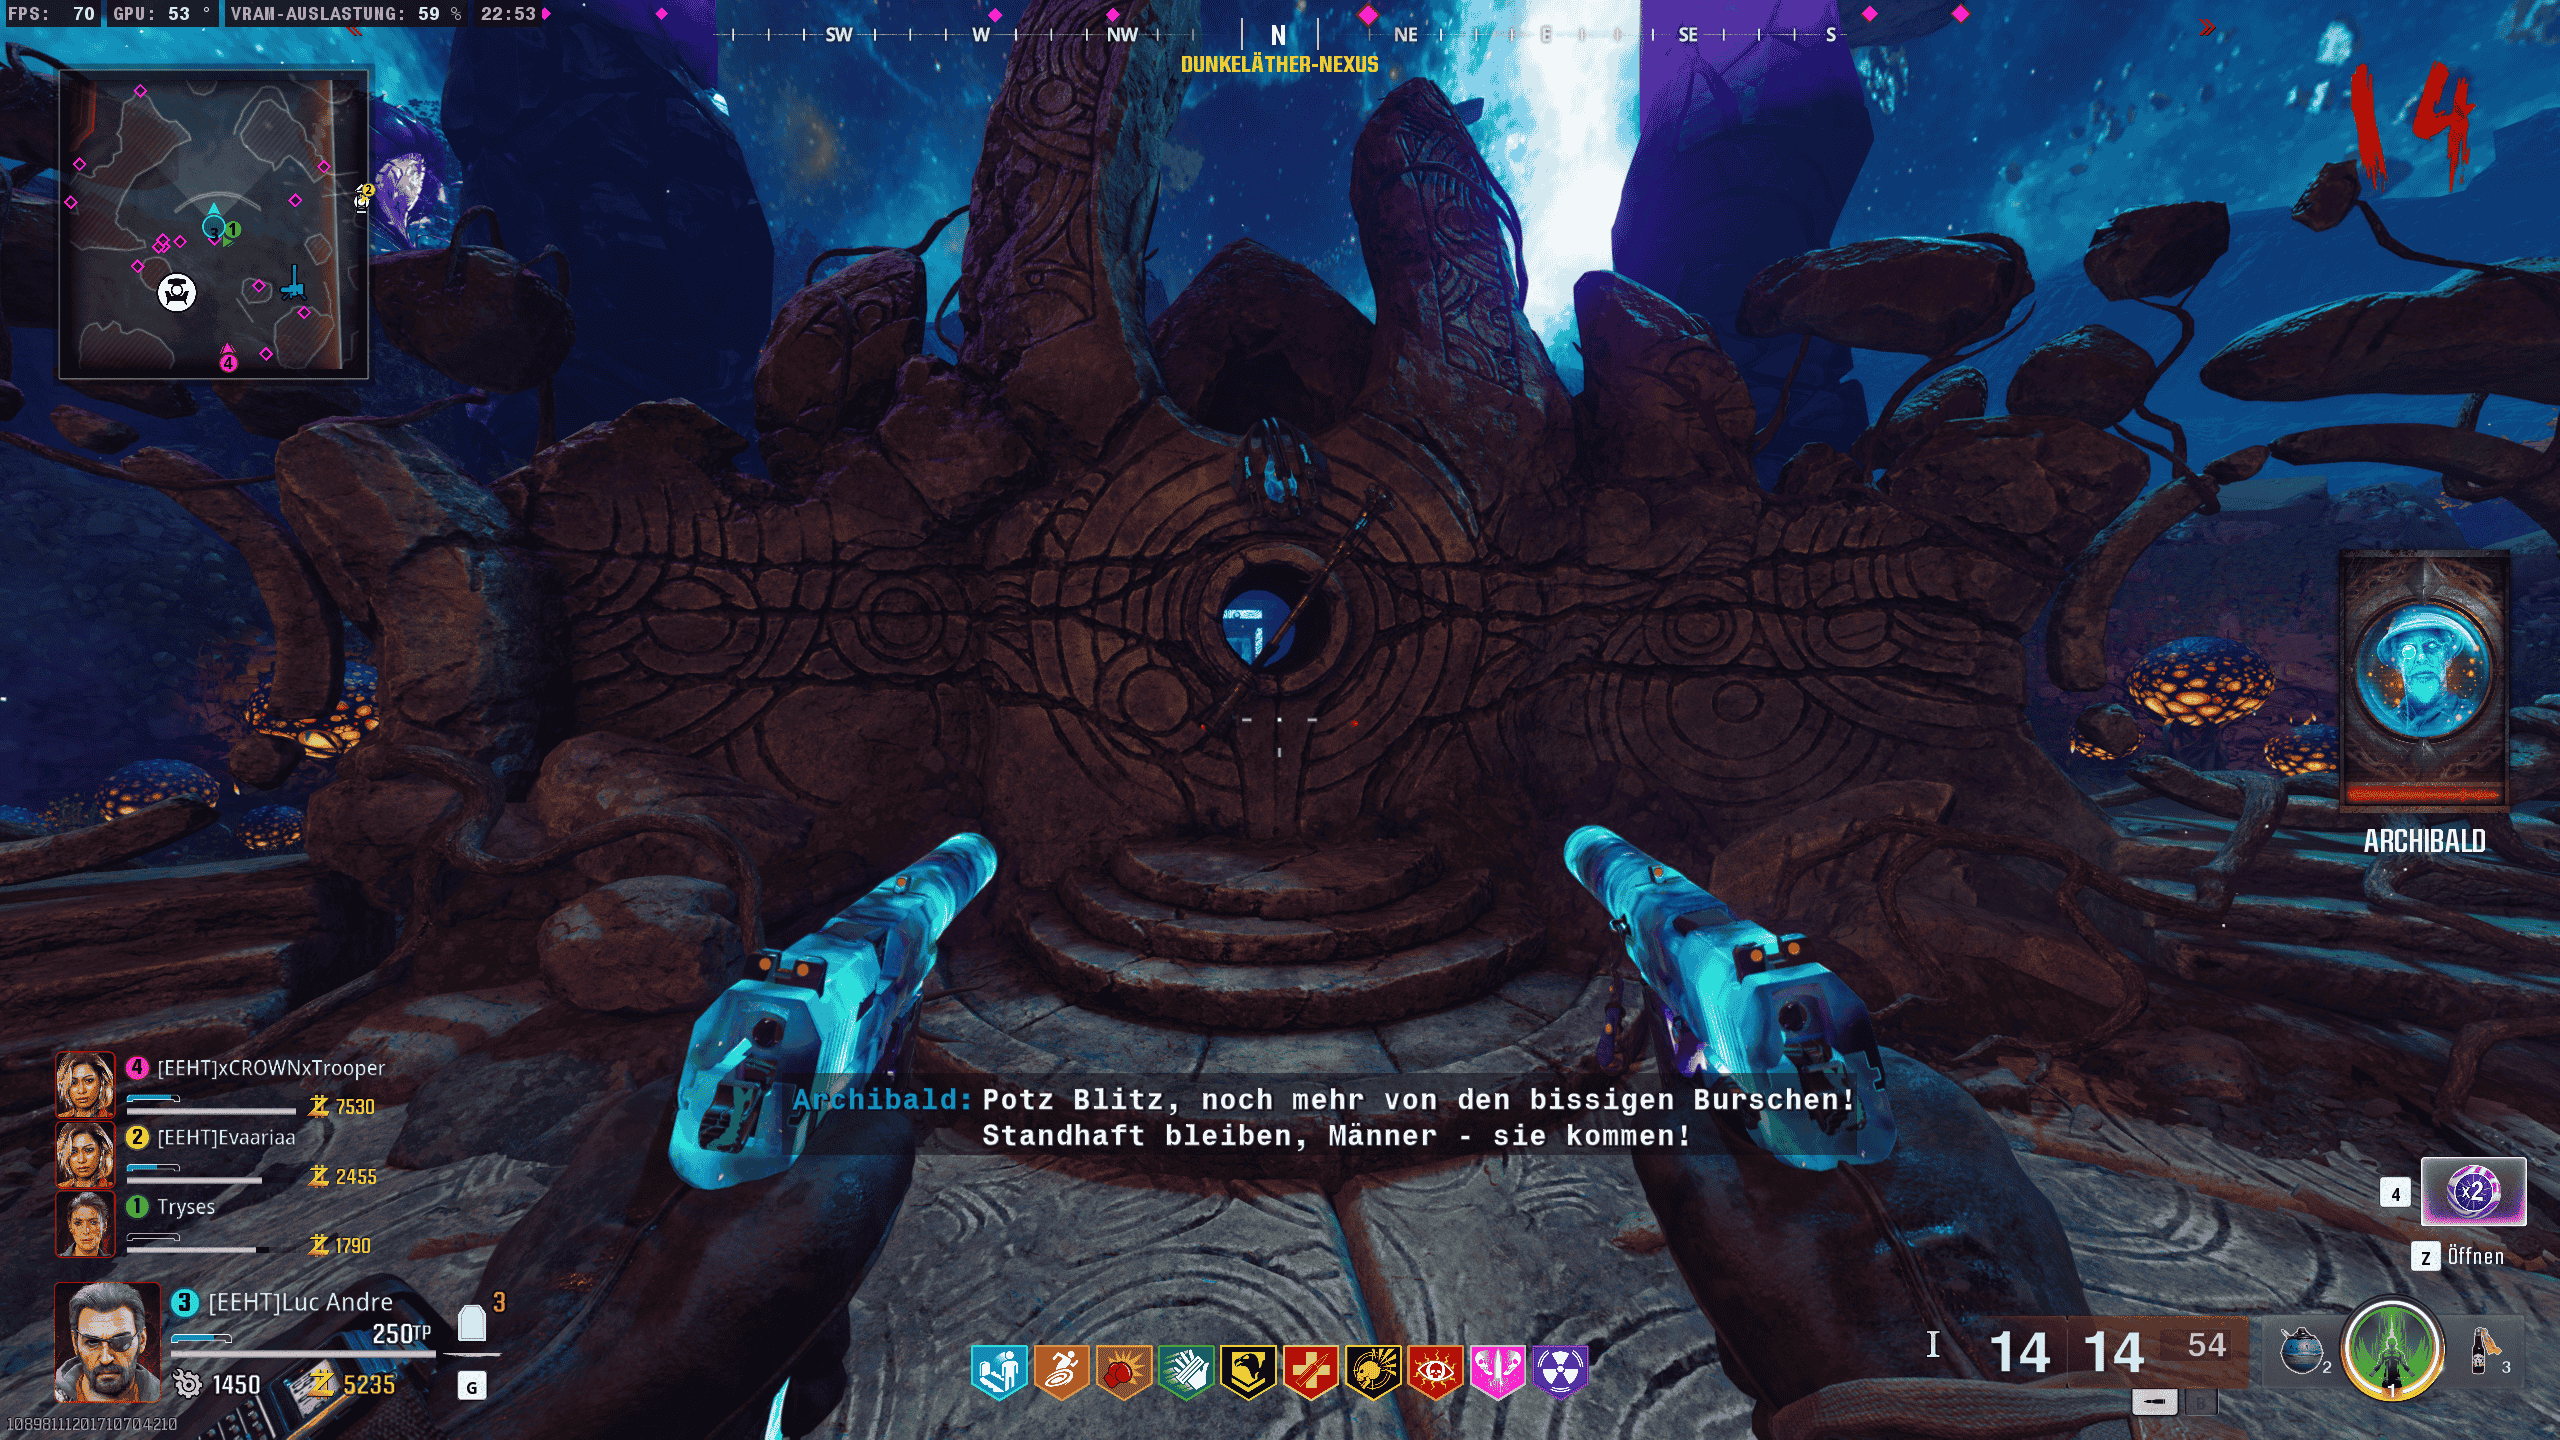
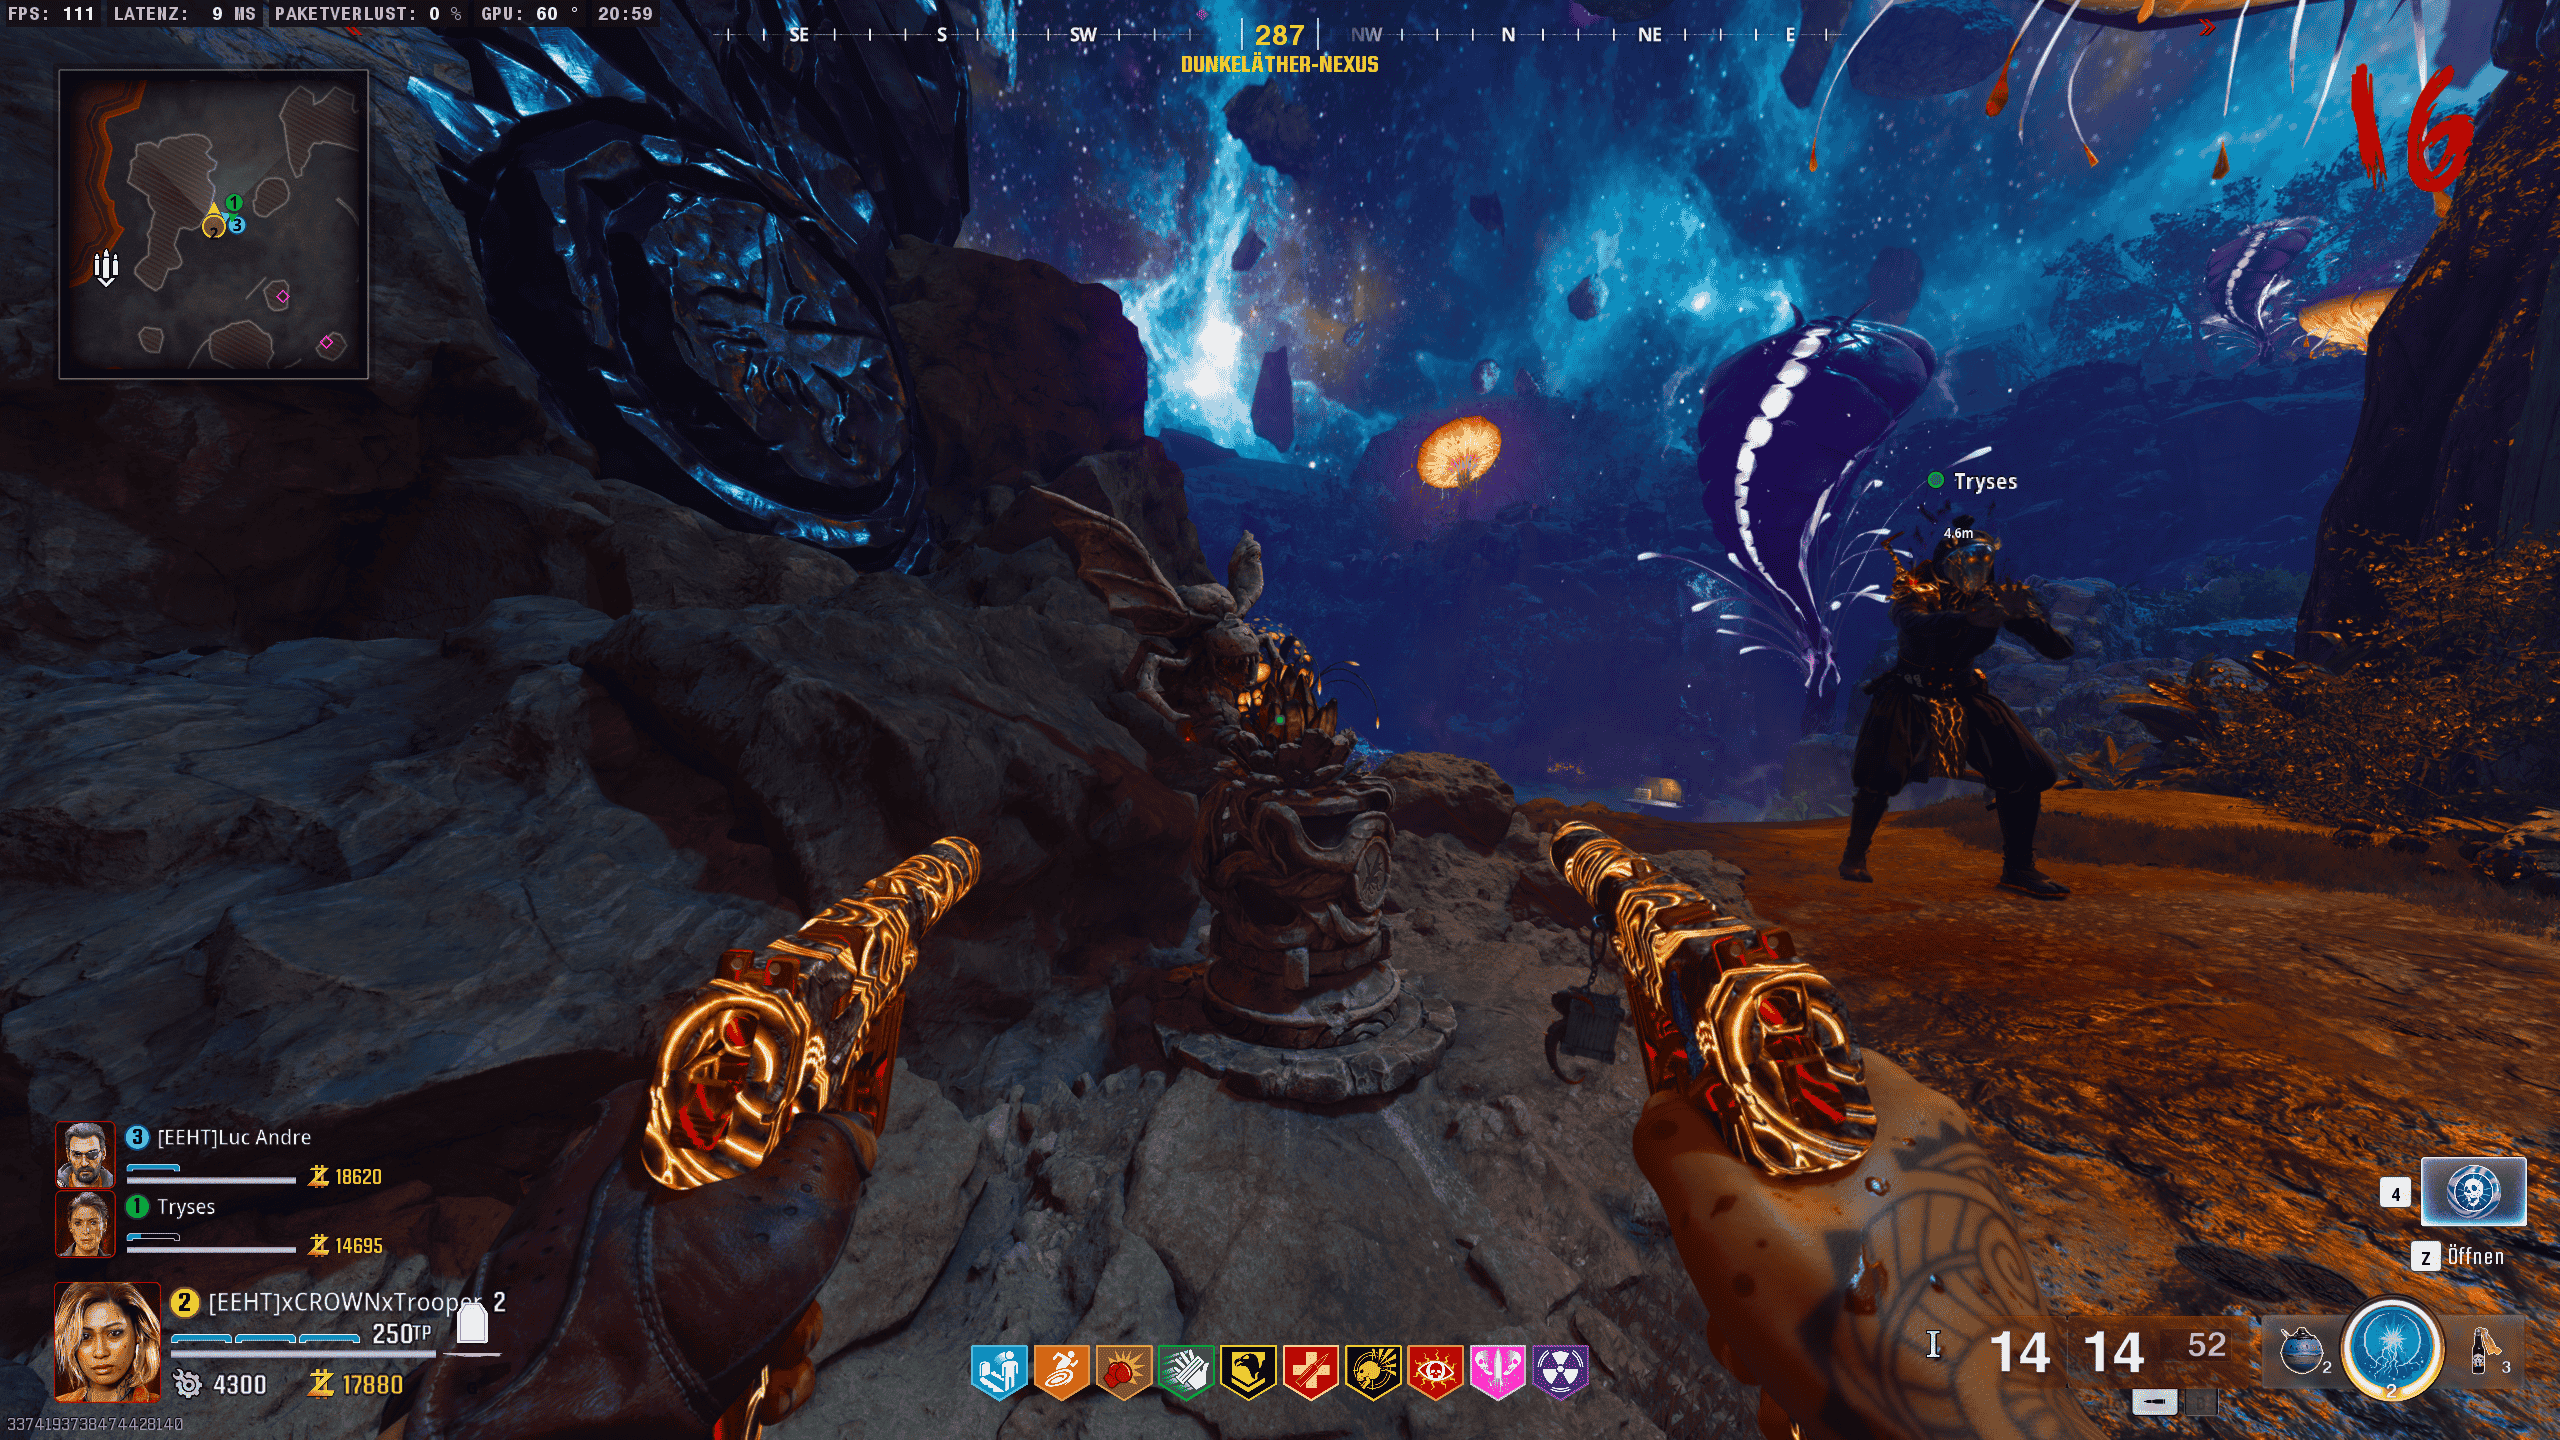
Now, you need to shoot zombies with glowing purple eyes in order to “charge” the staff. As you eliminate them, the staff will slowly charge up. Keep killing these specific zombies until the staff is fully powered.
Once you’ve successfully completed the encounter, you can pick up the Ice Staff and proceed to the next step in the Easter Egg.
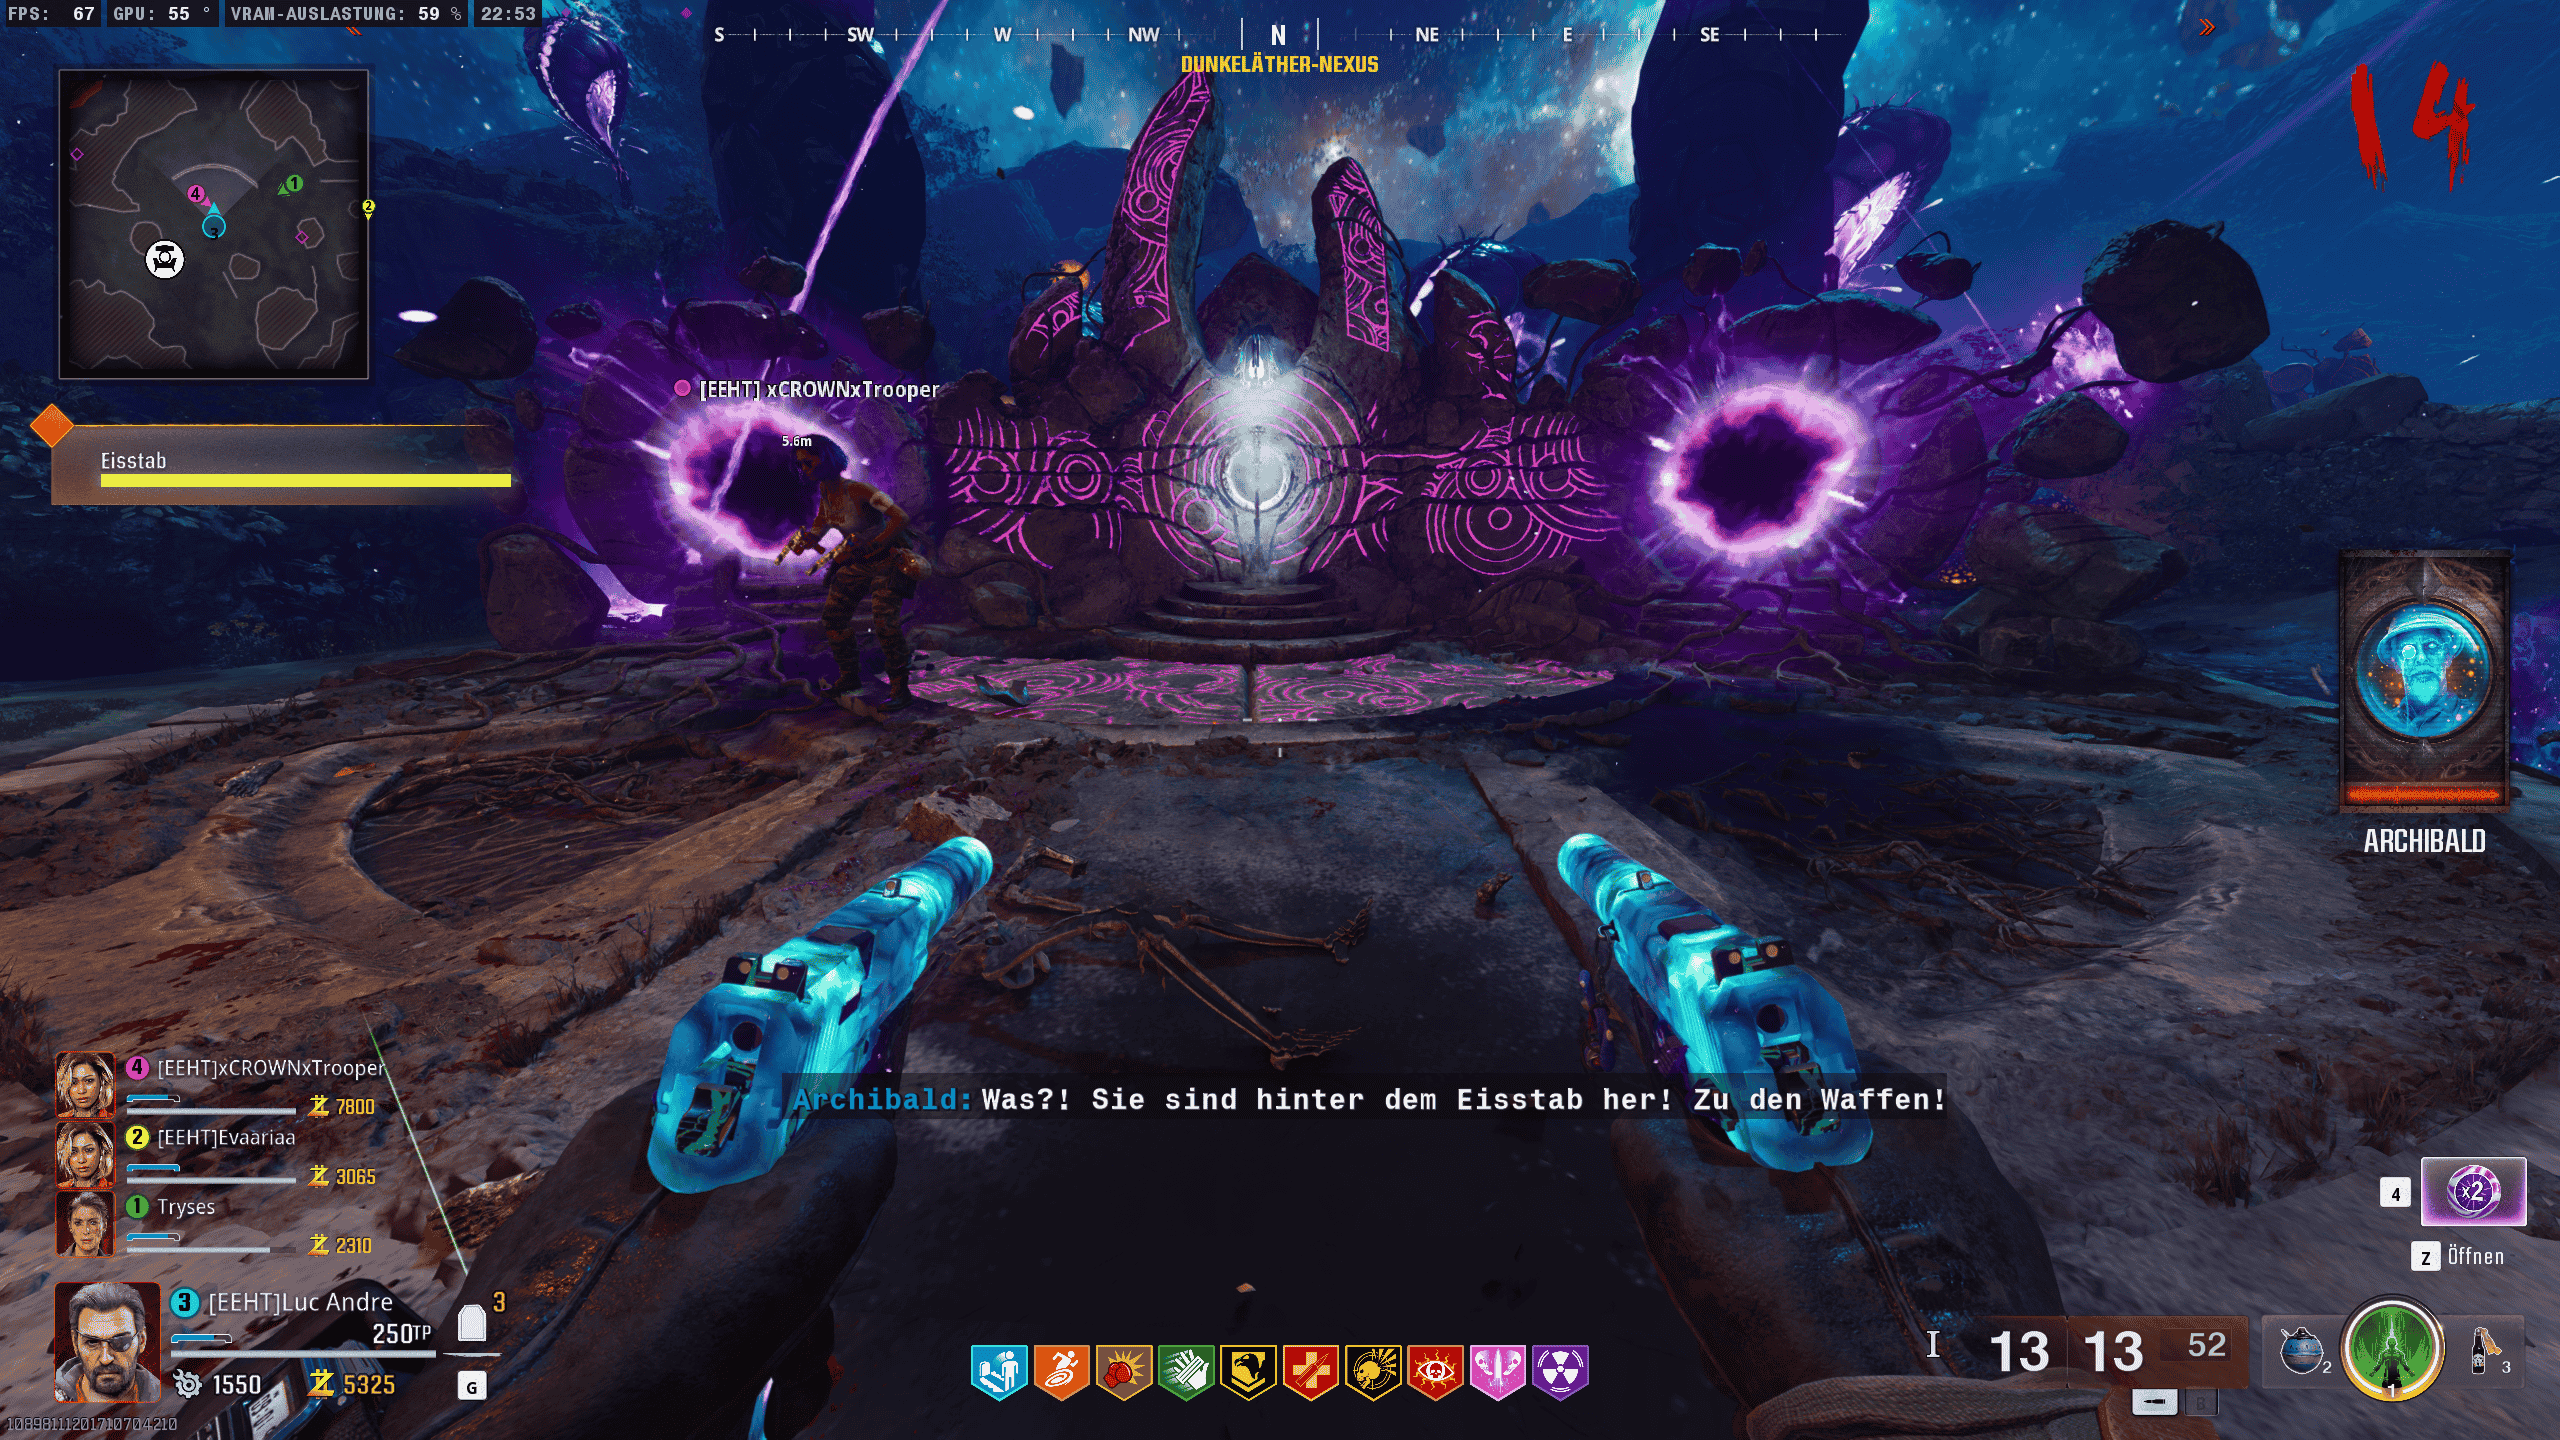
To progress further in the Easter Egg, you need to upgrade the Ice Staff.
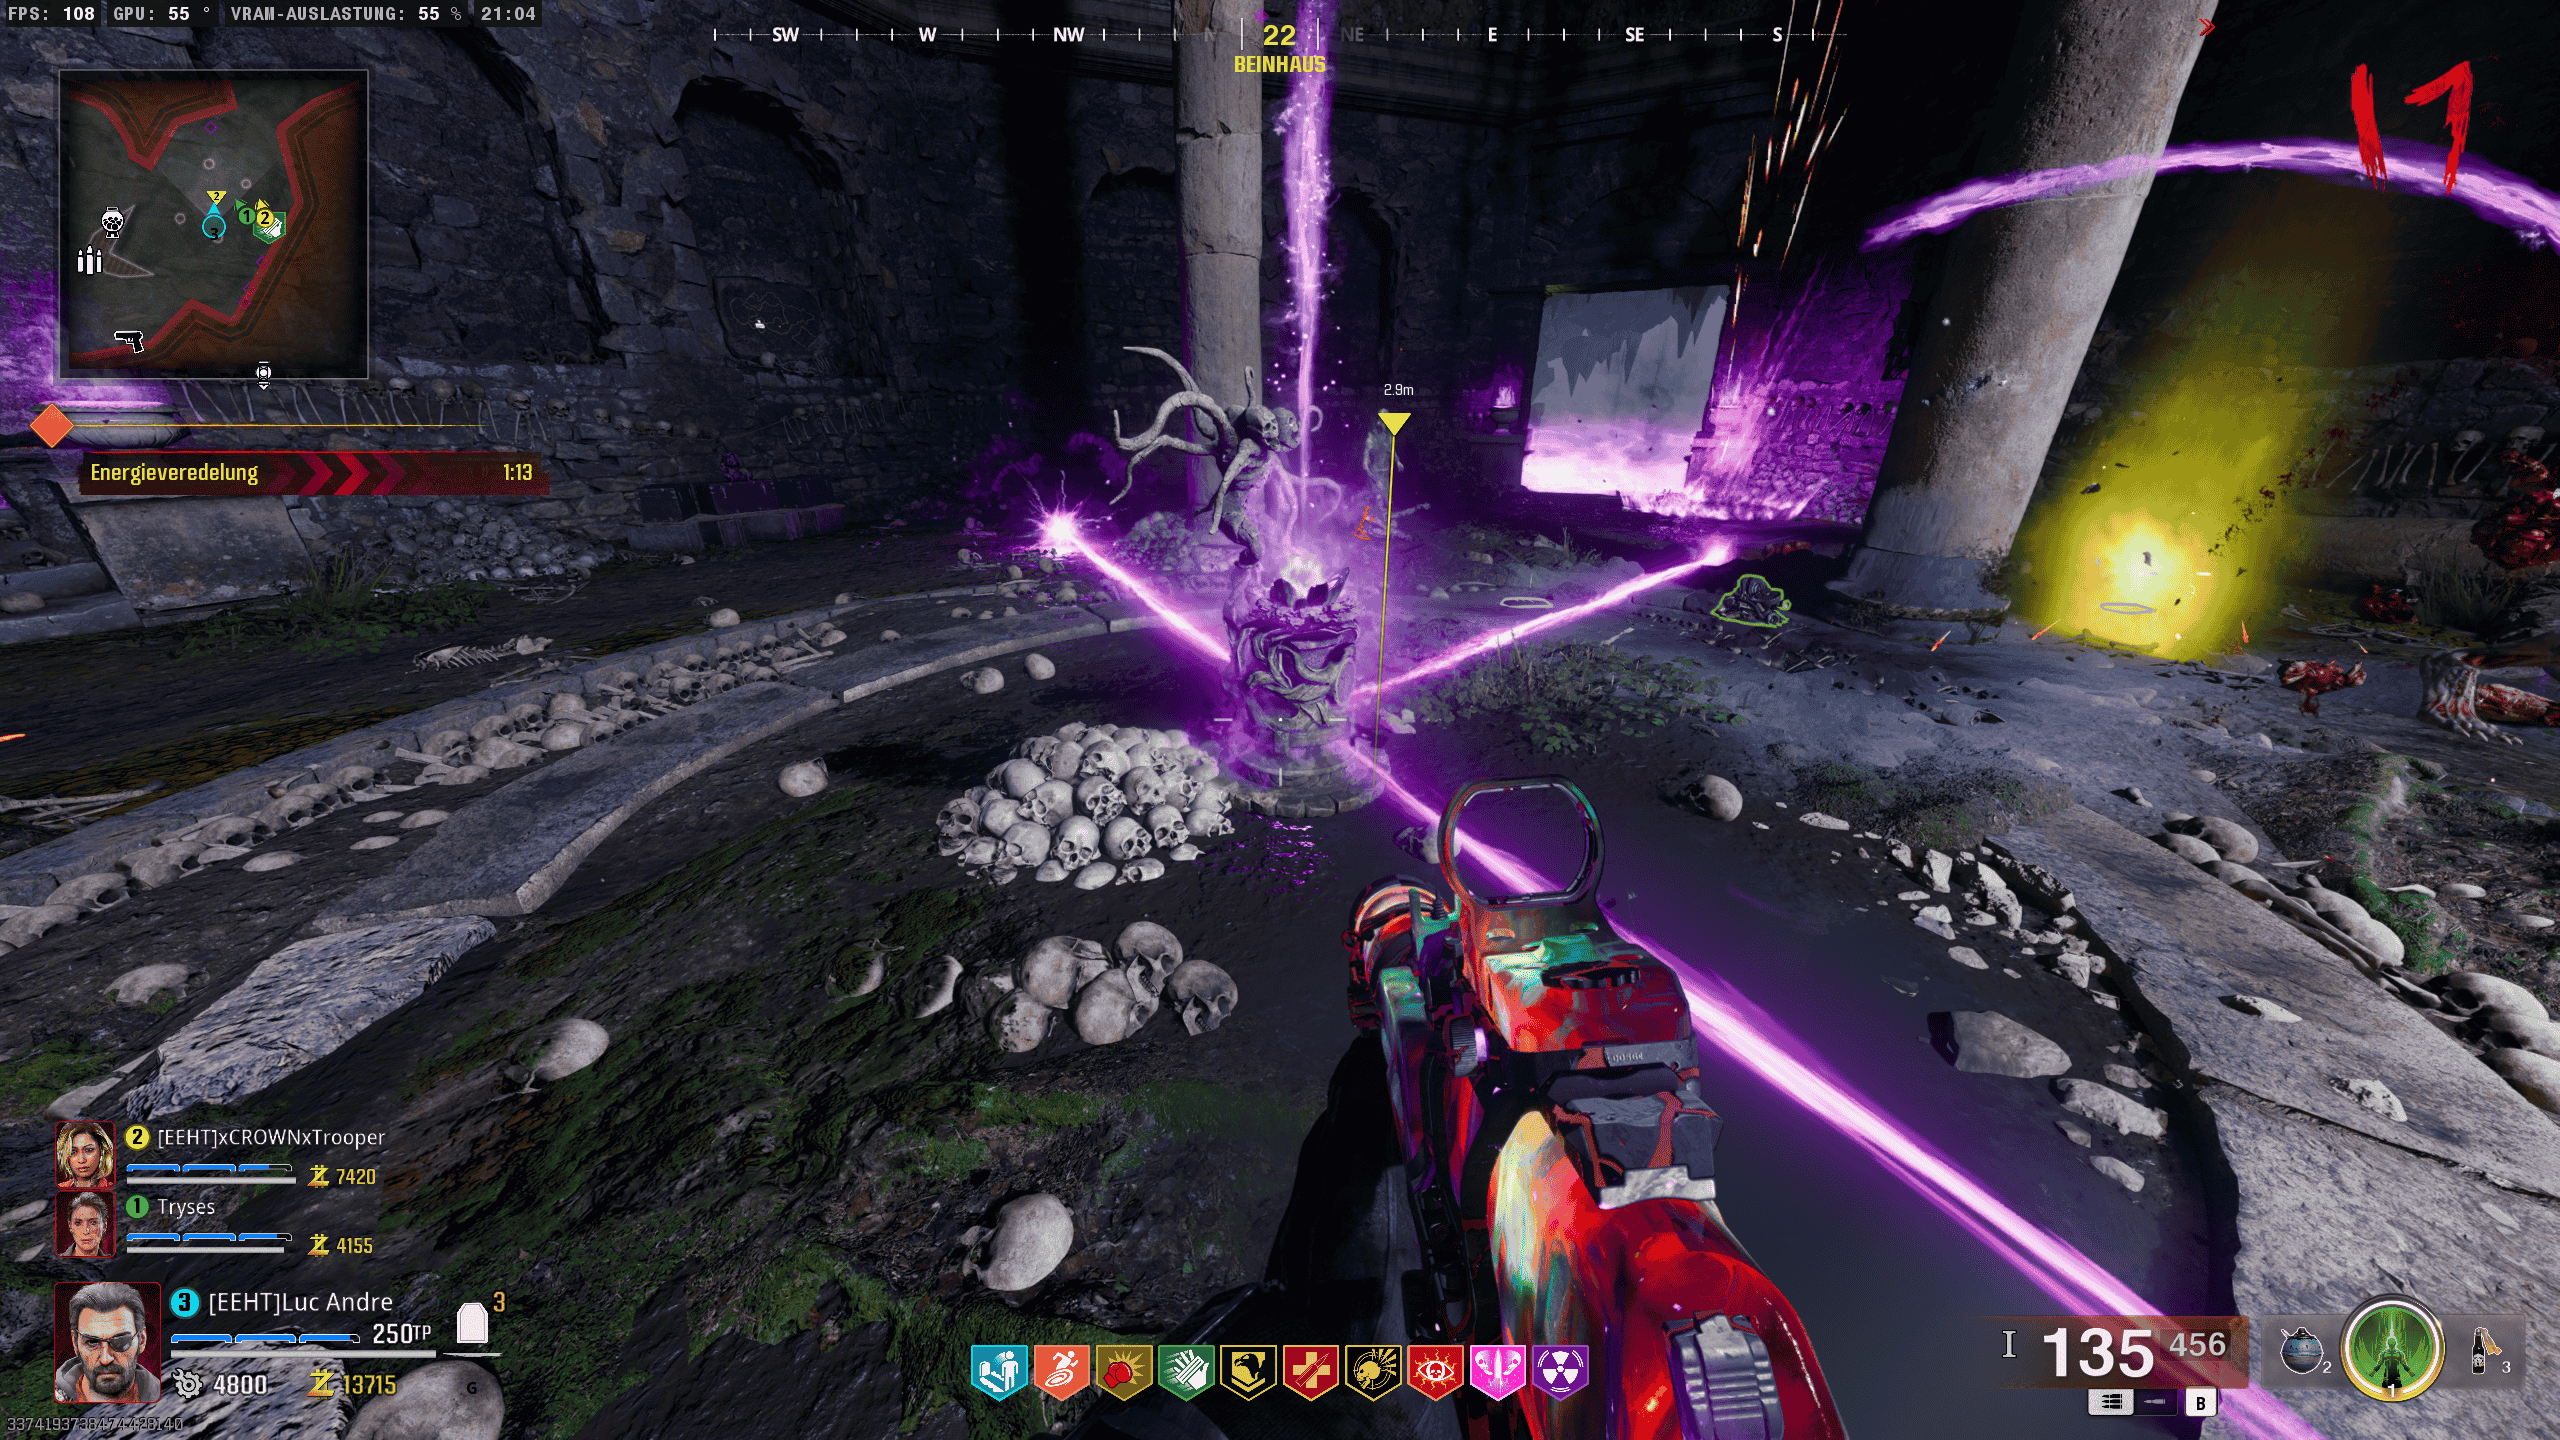
The first step is to freeze three crystal lamps within 10-15 seconds using the Ice Staff. If the crystals are too far apart, you can shoot the ones that are too far away to make them spawn closer to each other.
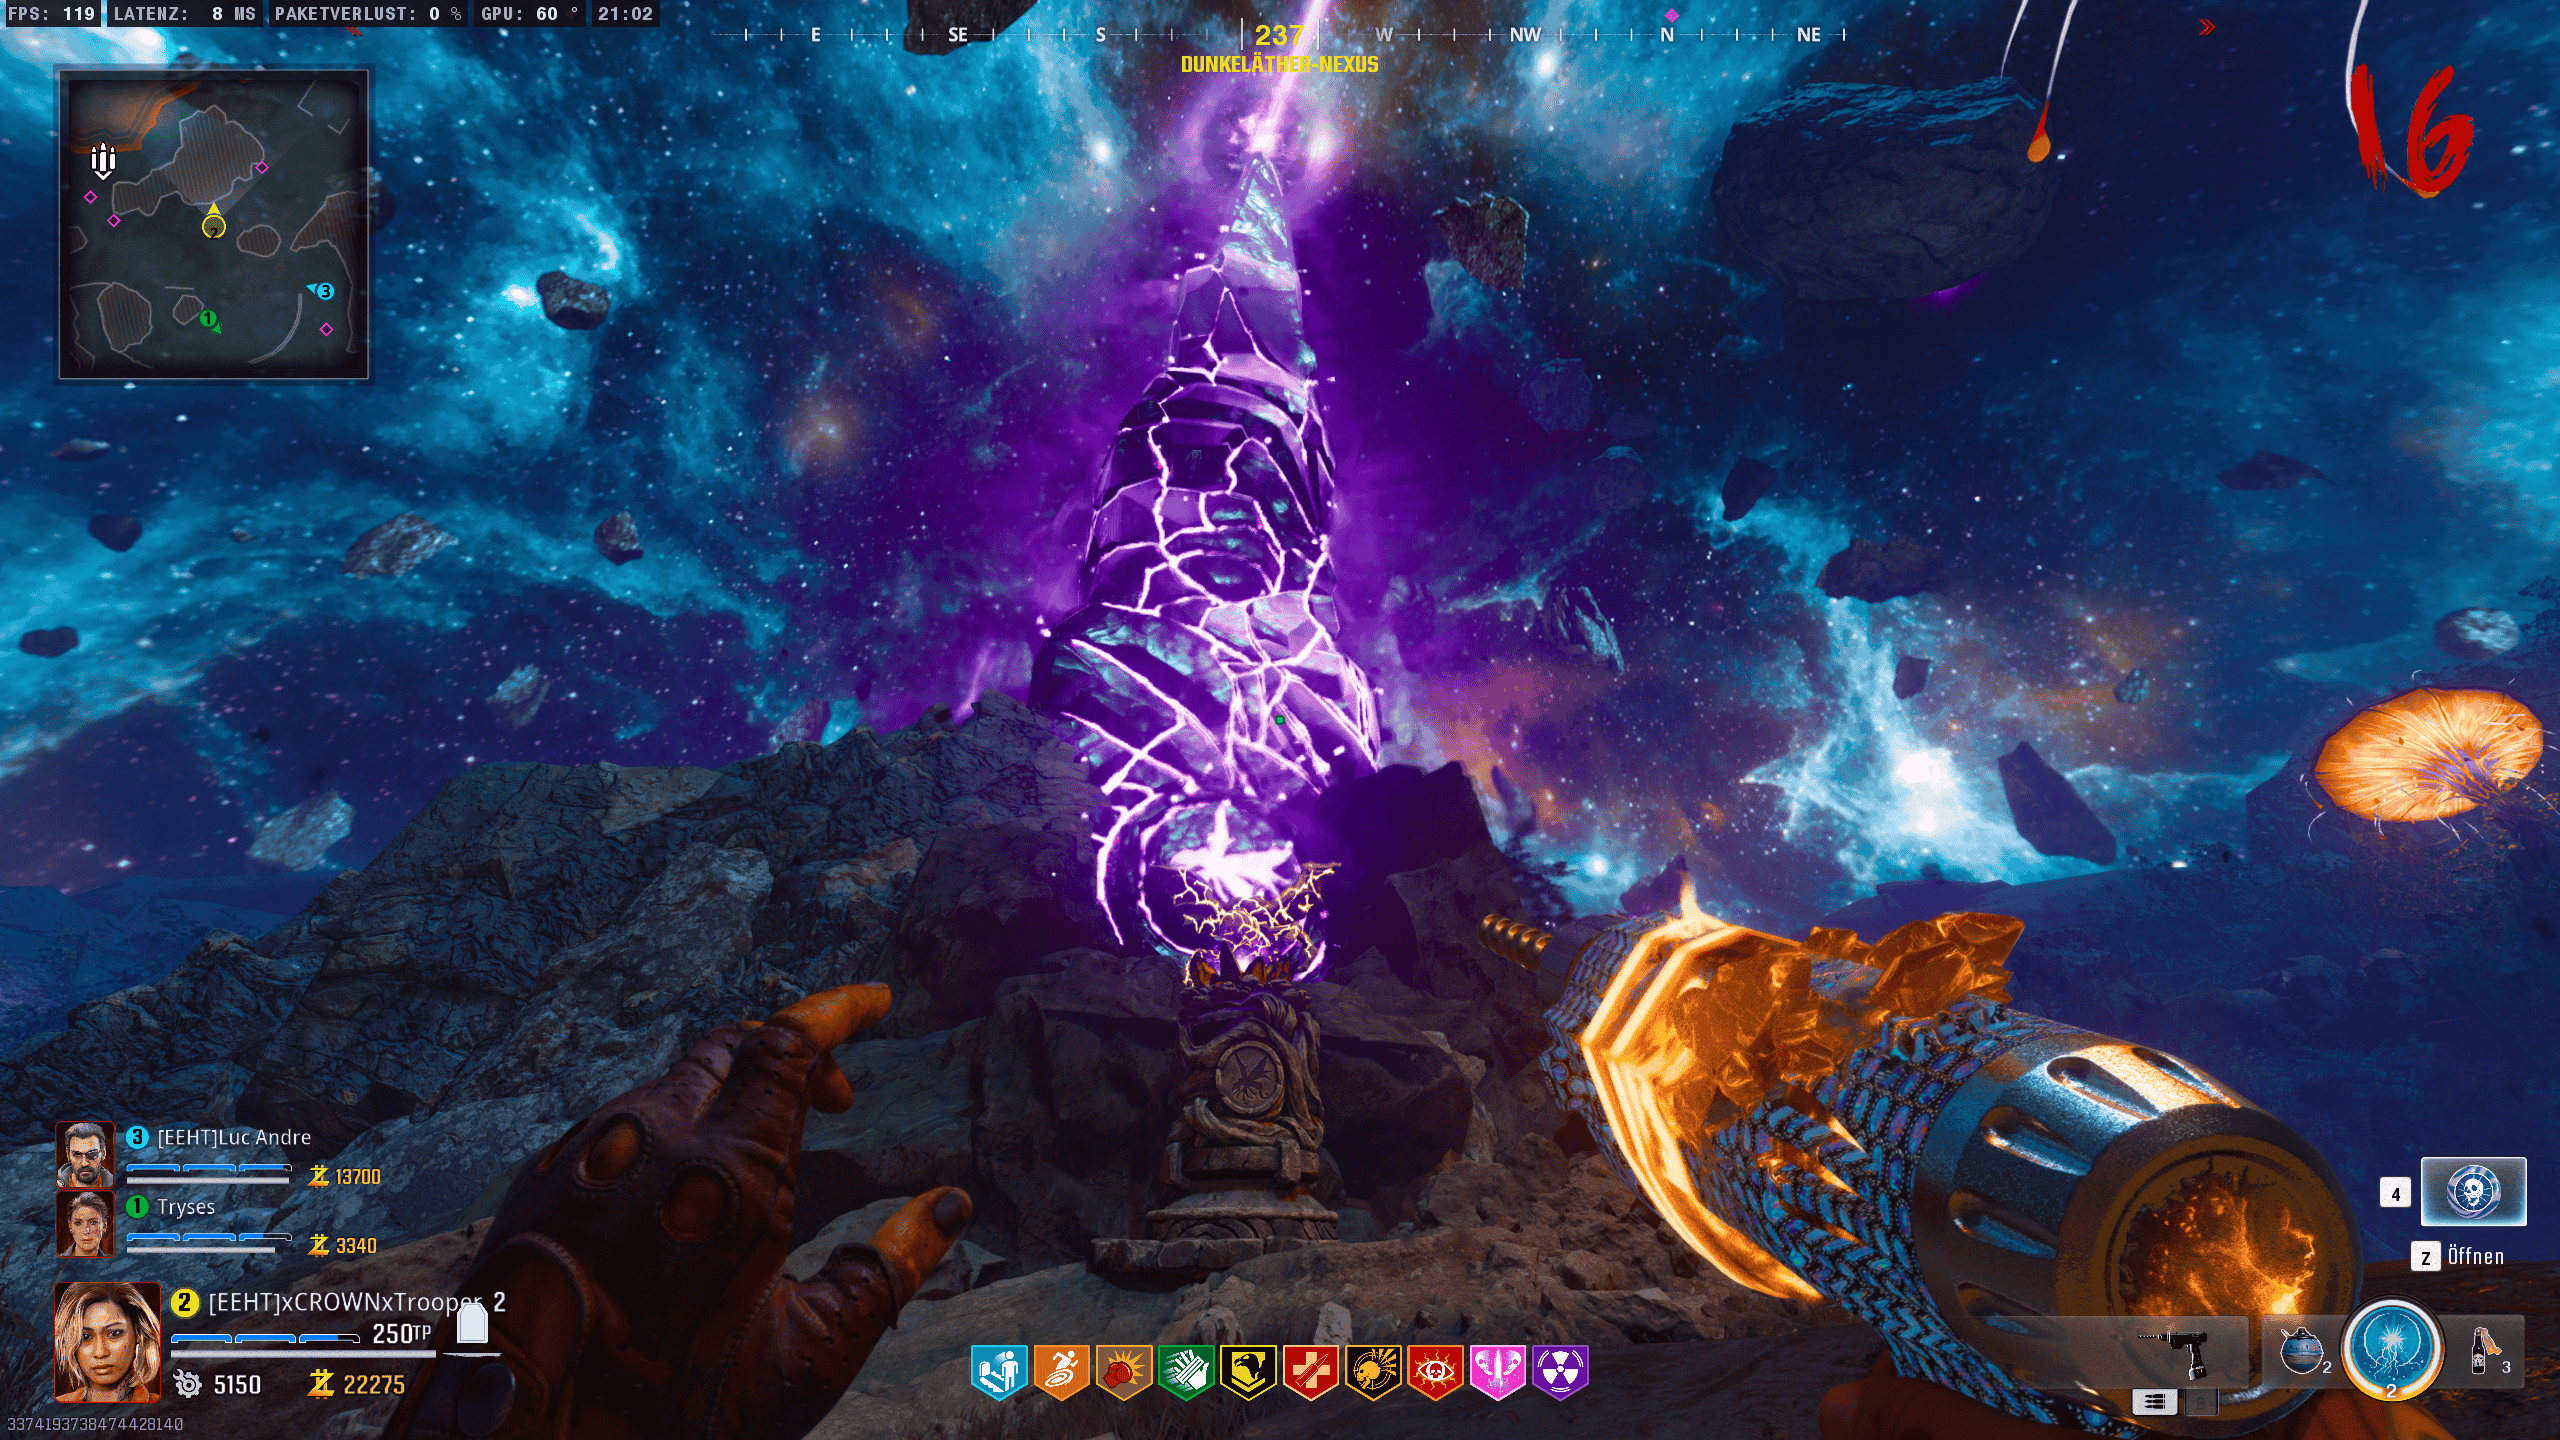
Once you’ve frozen all three crystals within the time limit, you will hear a voice line from Archibald. After that, head back to the Dark Aether Nexus and look for three floating rocks in the air, each with a glowing symbol on them.
Now, shoot the floating rocks multiple times with the Ice Staff until they stop moving toward the ground. Be cautious, as the symbols can be hard to see depending on your graphics settings. You can either take a screenshot to zoom in on the symbols or use a good scope to help with visibility.
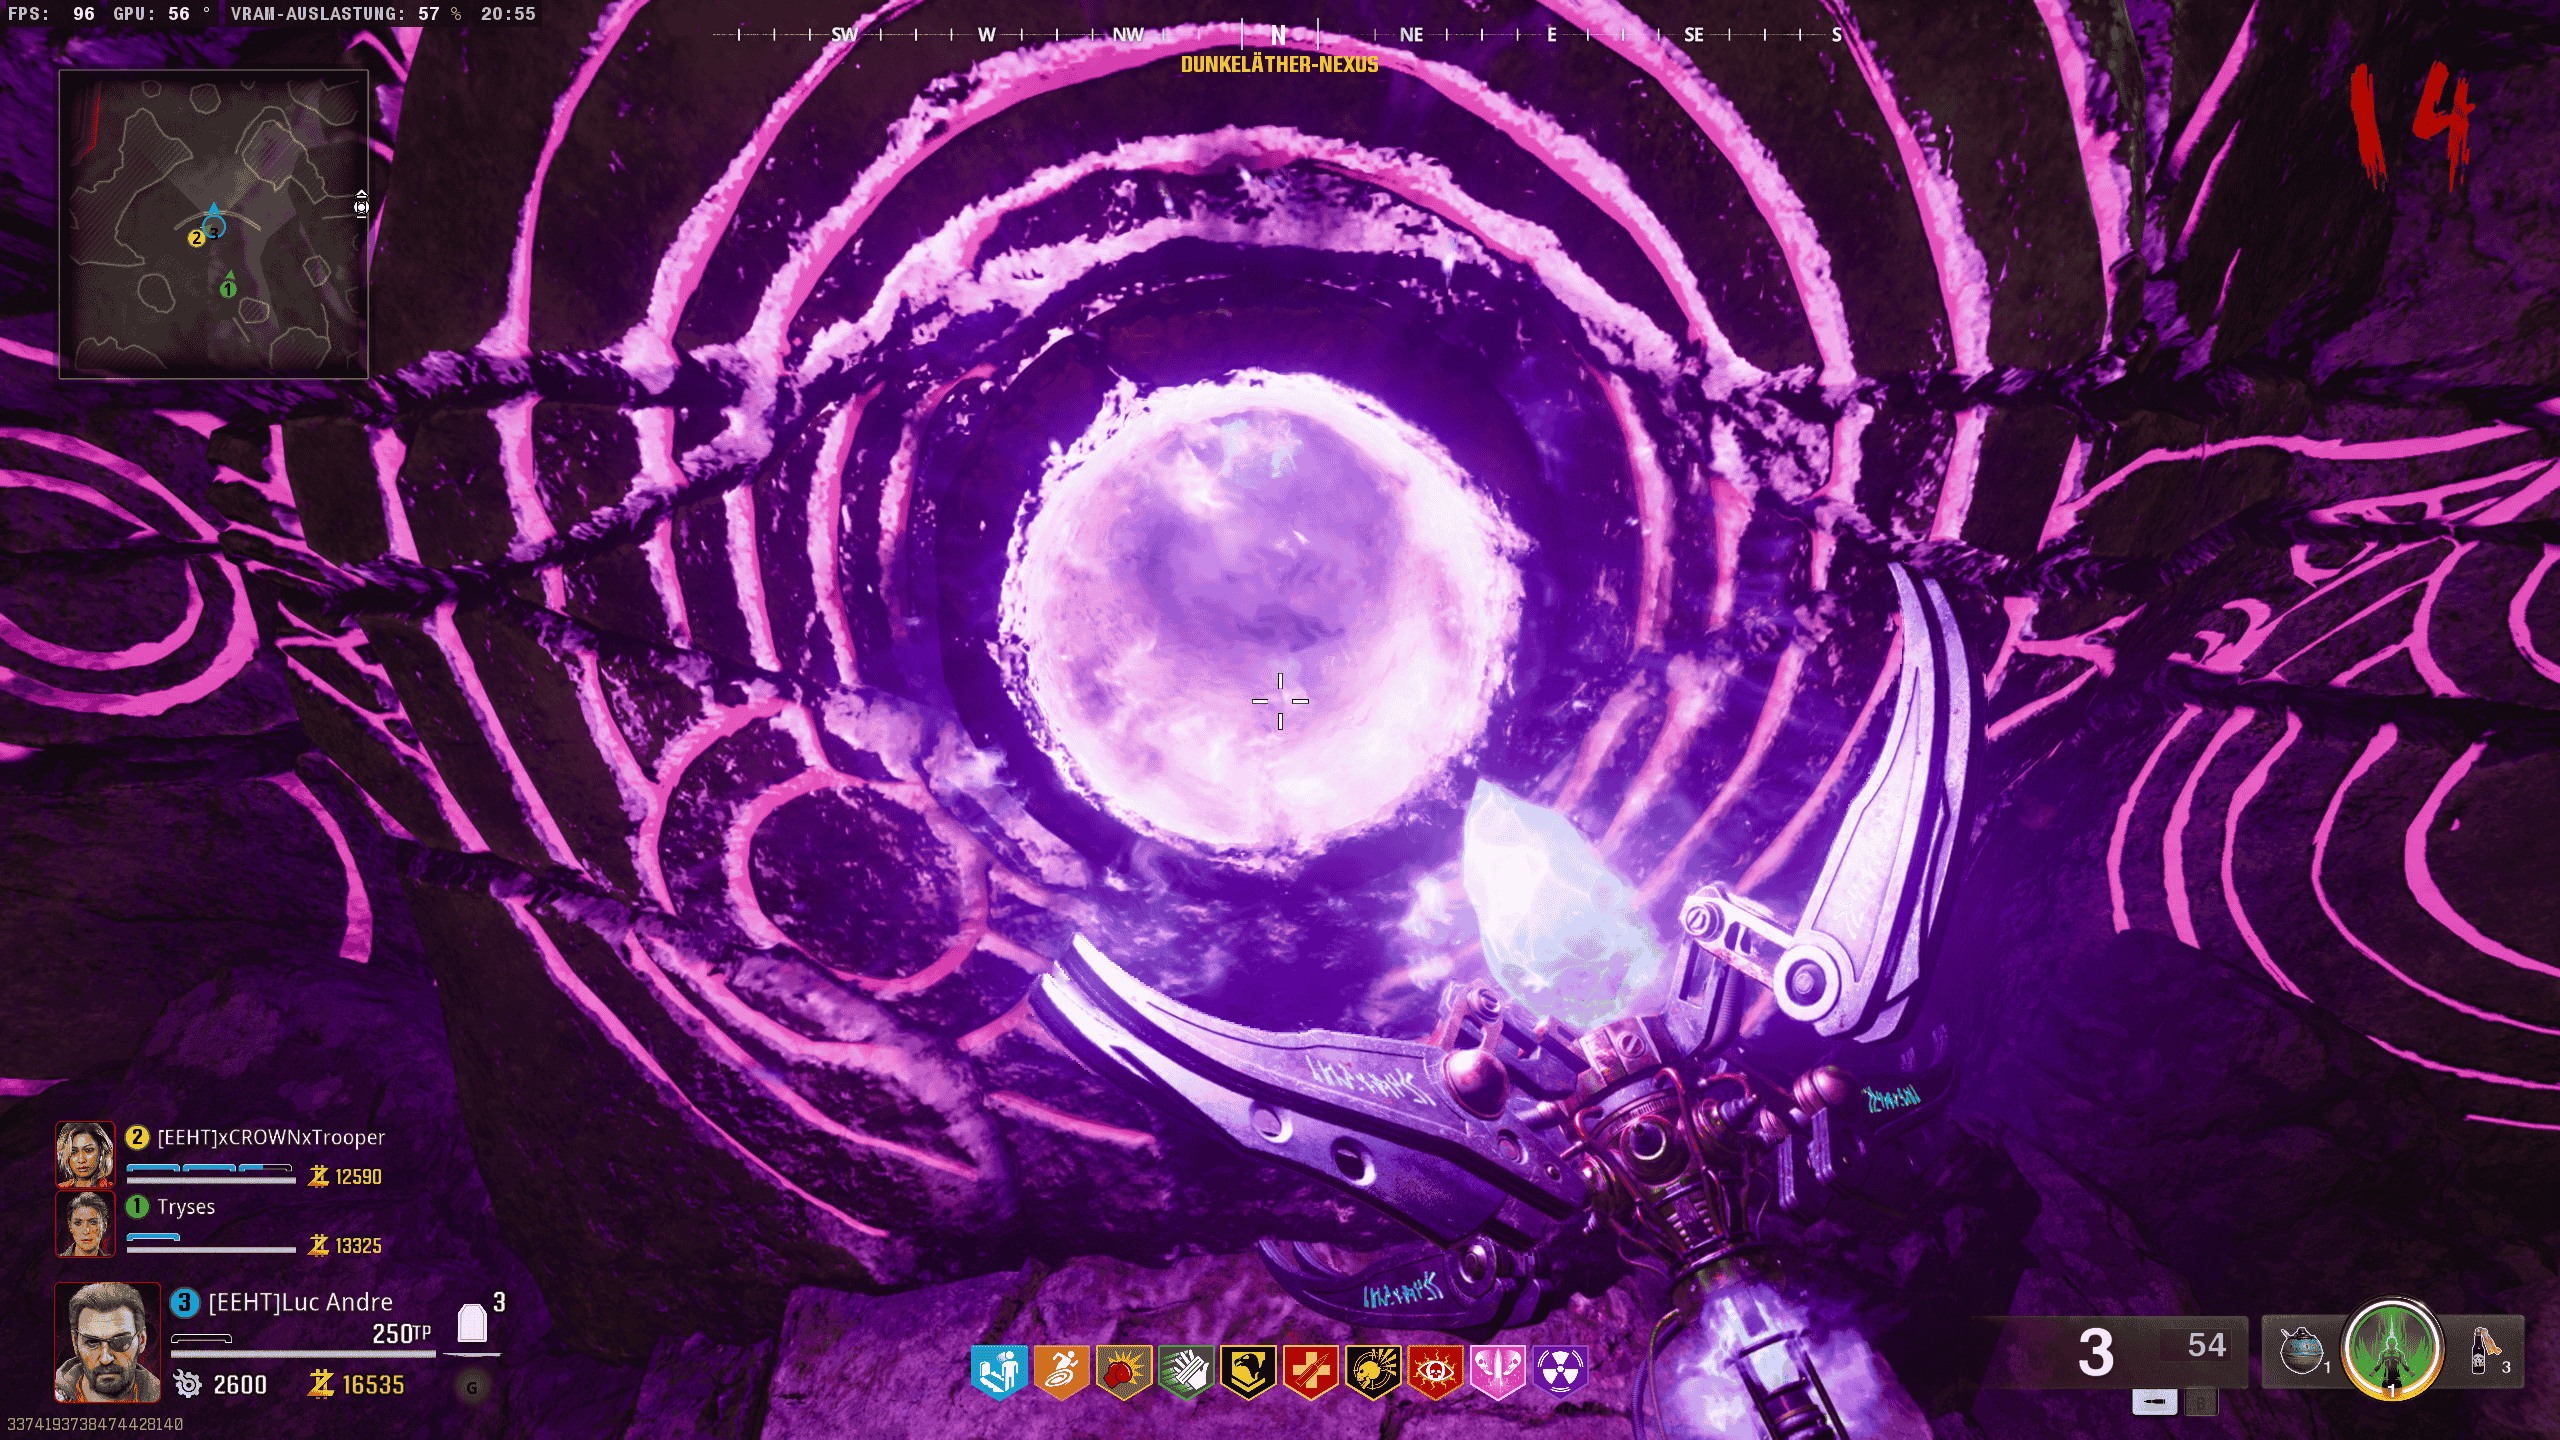
Once this is done, a portal will close. Go through the portal on the opposite side and head to the sealed portal. You will notice symbols on the portal.
Now, shoot the symbols on the portal with the Ice Staff that you had previously memorized. Once you’ve done that, the portal will open again. Go through the now-opened portal, and you will land on a rock. On this rock, you will see a purple orb. Interact with the orb to continue.
Once you’ve interacted with the orb, the rock will tilt and drop you back to the ground. Now, you need to fill the orb with souls. The orb will spawn zombies, special zombies, and elite zombies, which you must kill to keep the orb charged. Make sure not to move too far from the orb, as it needs to stay filled with souls. If you move too far away or don’t get enough kills, the step will fail, and you’ll have to try again in the next round.
Once this step is completed, you can upgrade the staff by interacting with the wall and the hole again.
After upgrading the staff, you can also heal your teammates and proceed to the next step.
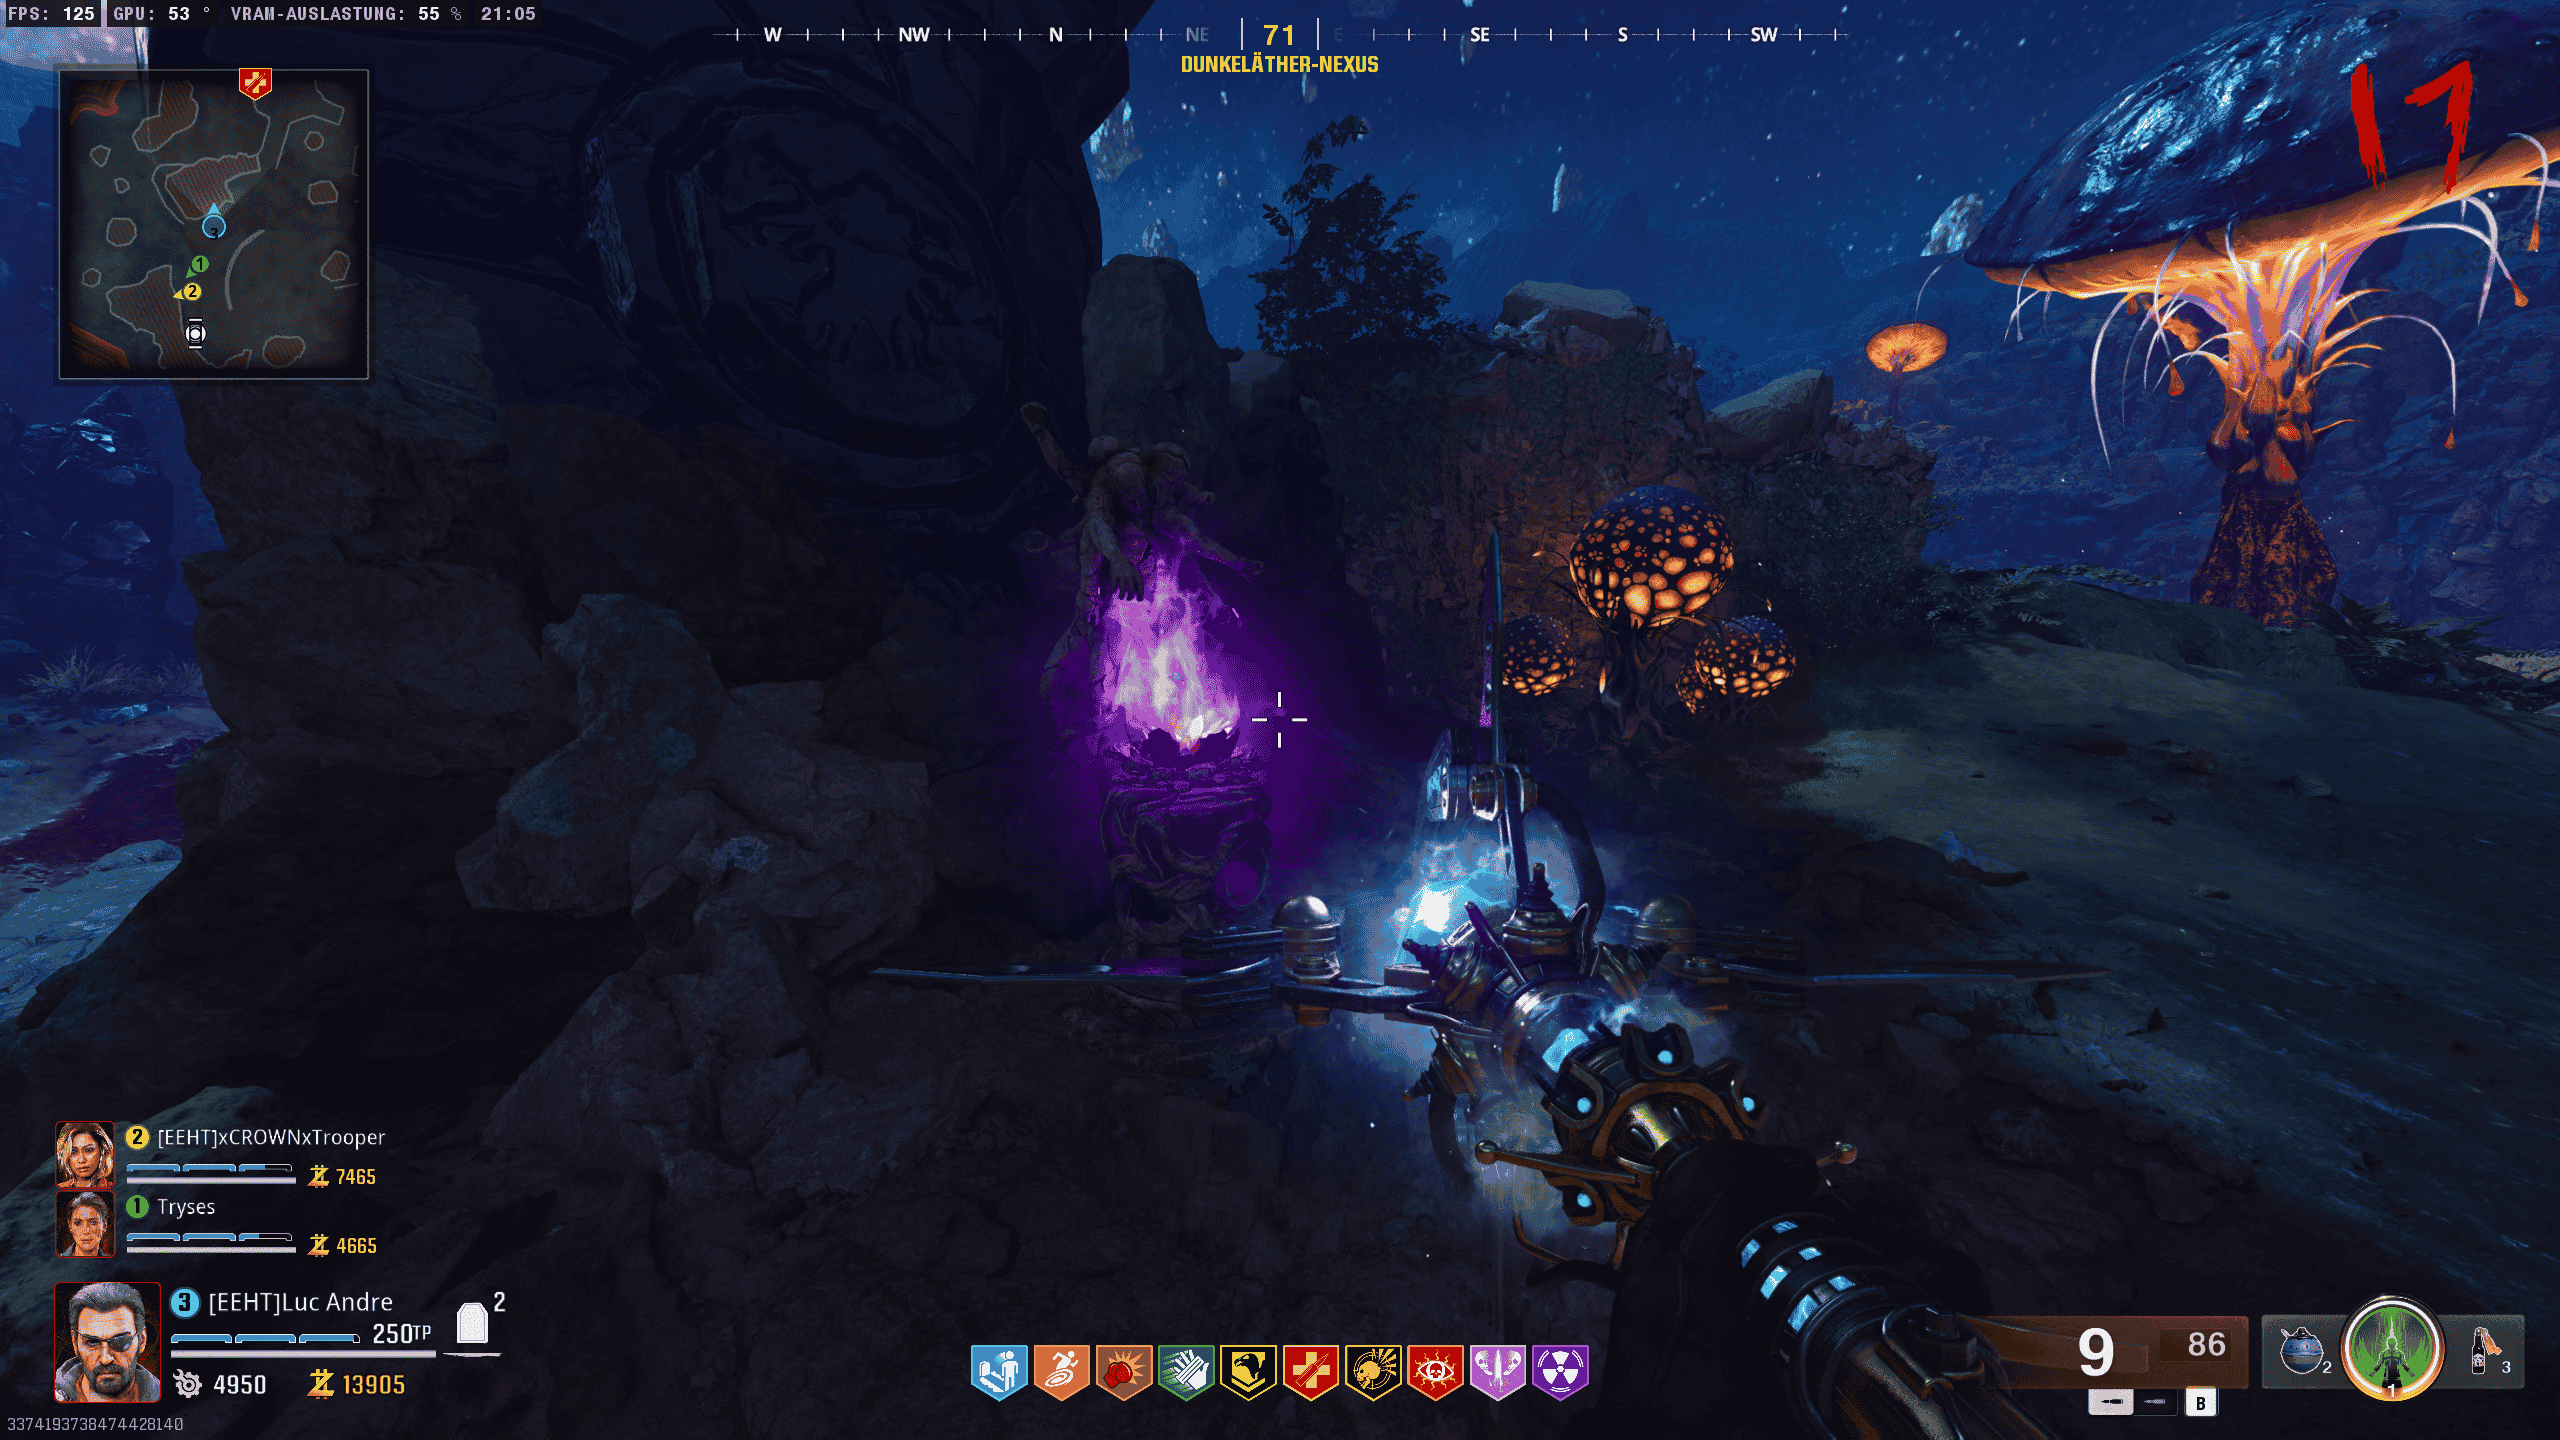
Head to the statue with the Vermin in the Dark Aether.
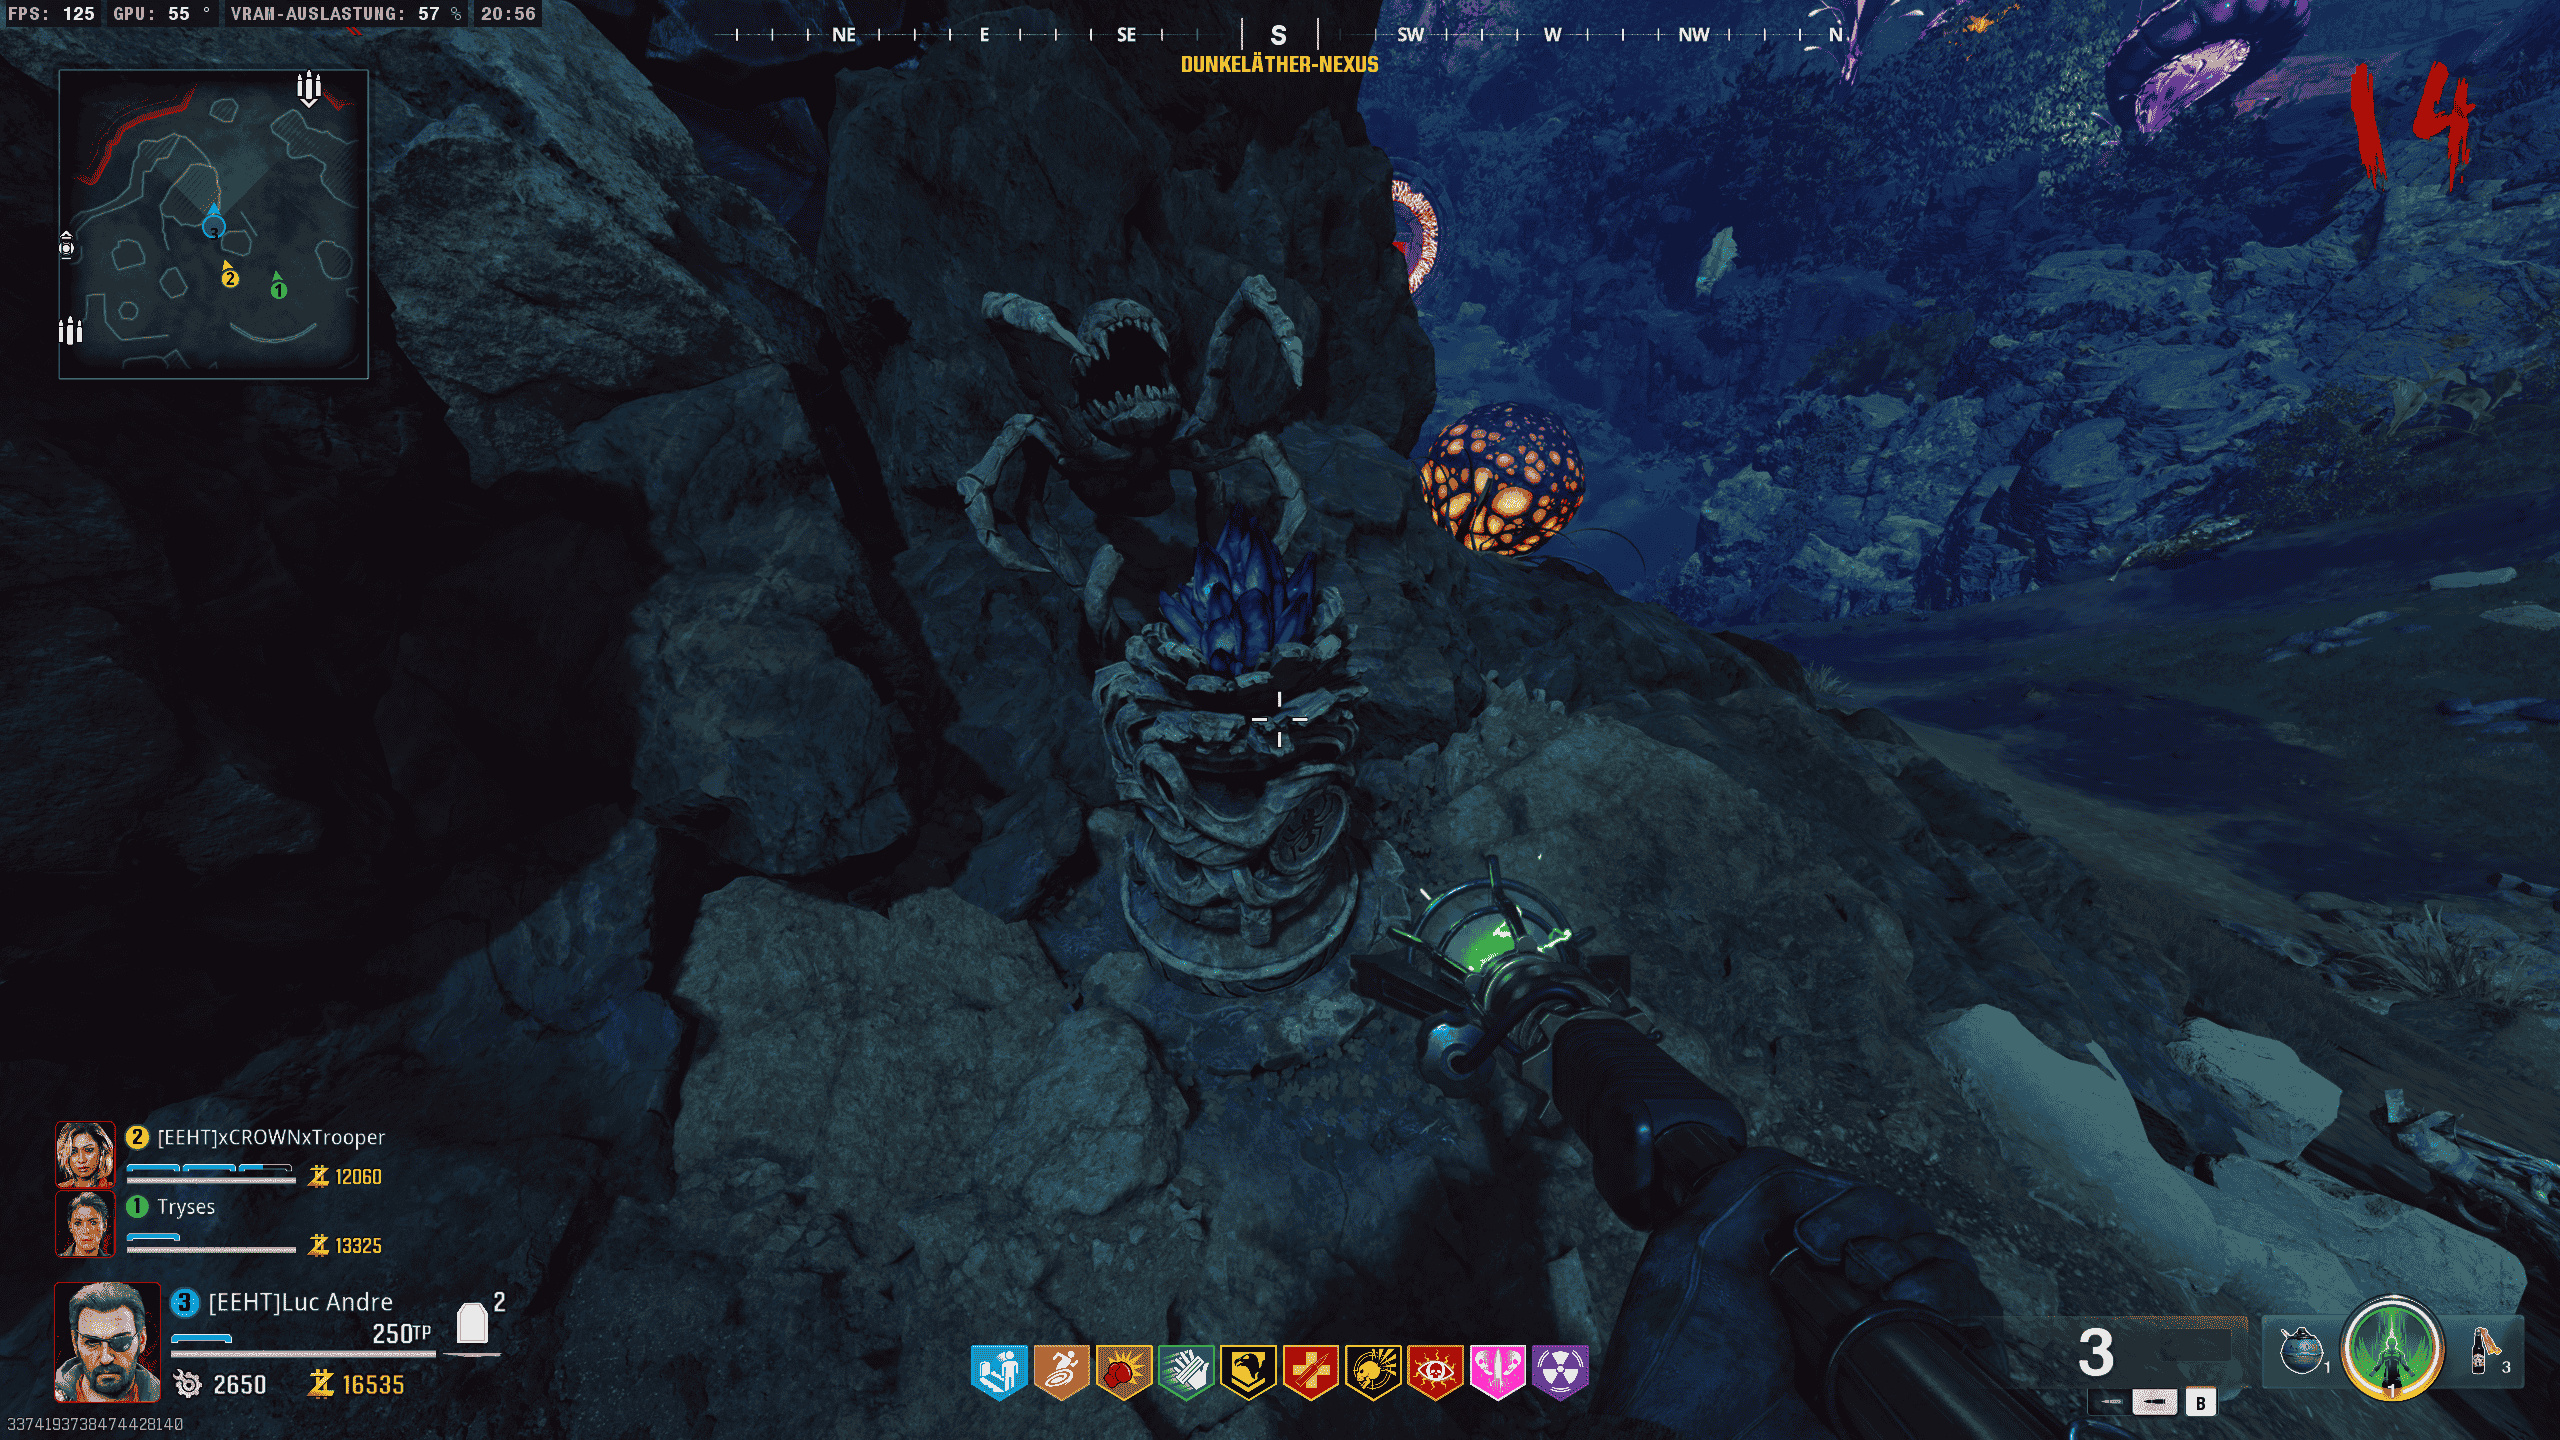
Shoot the Healing Shot at the crystal, and it will begin to glow.
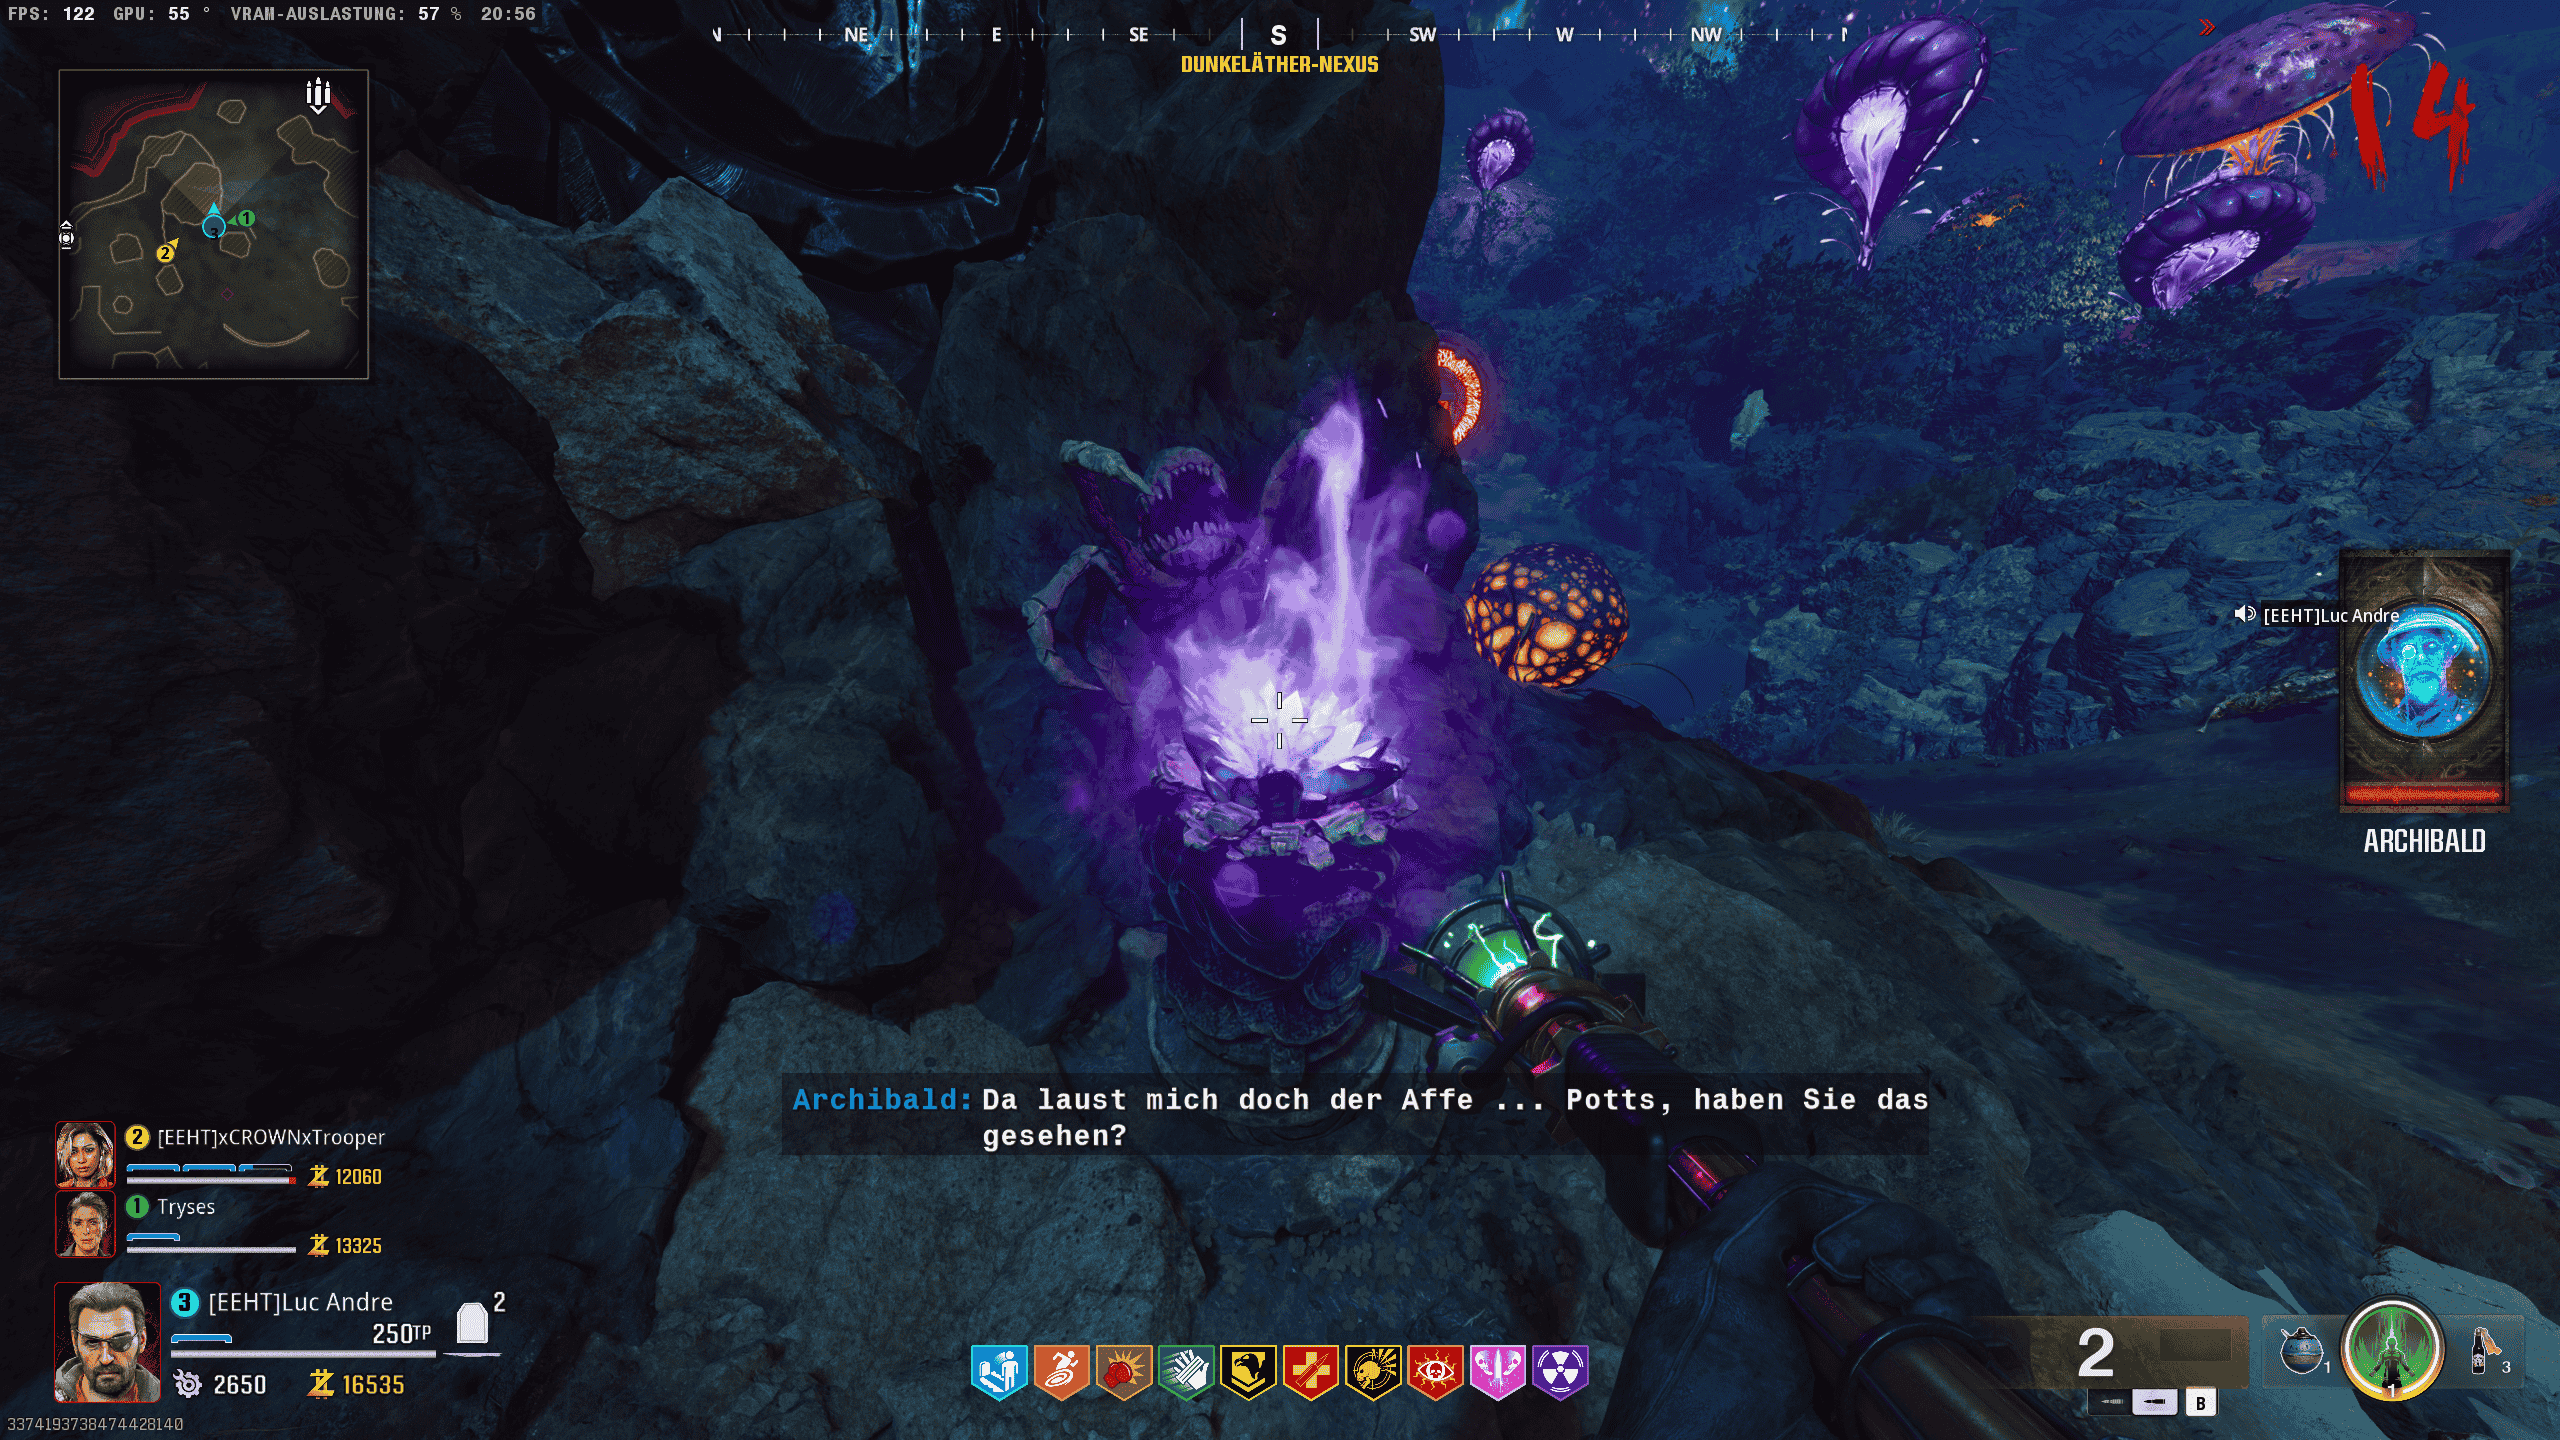
Interact with the crystal, then head to the spawn area (blue portal). There, you will find another statue, which you can interact with again.
This will trigger another encounter and lock you in the area. During the encounter, pests will spawn, and you must kill them within a certain amount of time.
Once you’ve completed this step, you can interact with the statue again and bring the part you just collected back to the statue in the Dark Aether.
WARNING: You will now notice a health bar on the left side of your screen. If you are hit by zombies, the bar will decrease. You can take about 3 hits before this step fails. Therefore, be cautious and make sure to equip PHD so you can slide through the spawning zombies without taking damage.
Once you’re back at the statue in the Dark Aether, interact with it, and you will notice that the pillar begins to glow.
Once you’ve completed this, you can move on to the next step.
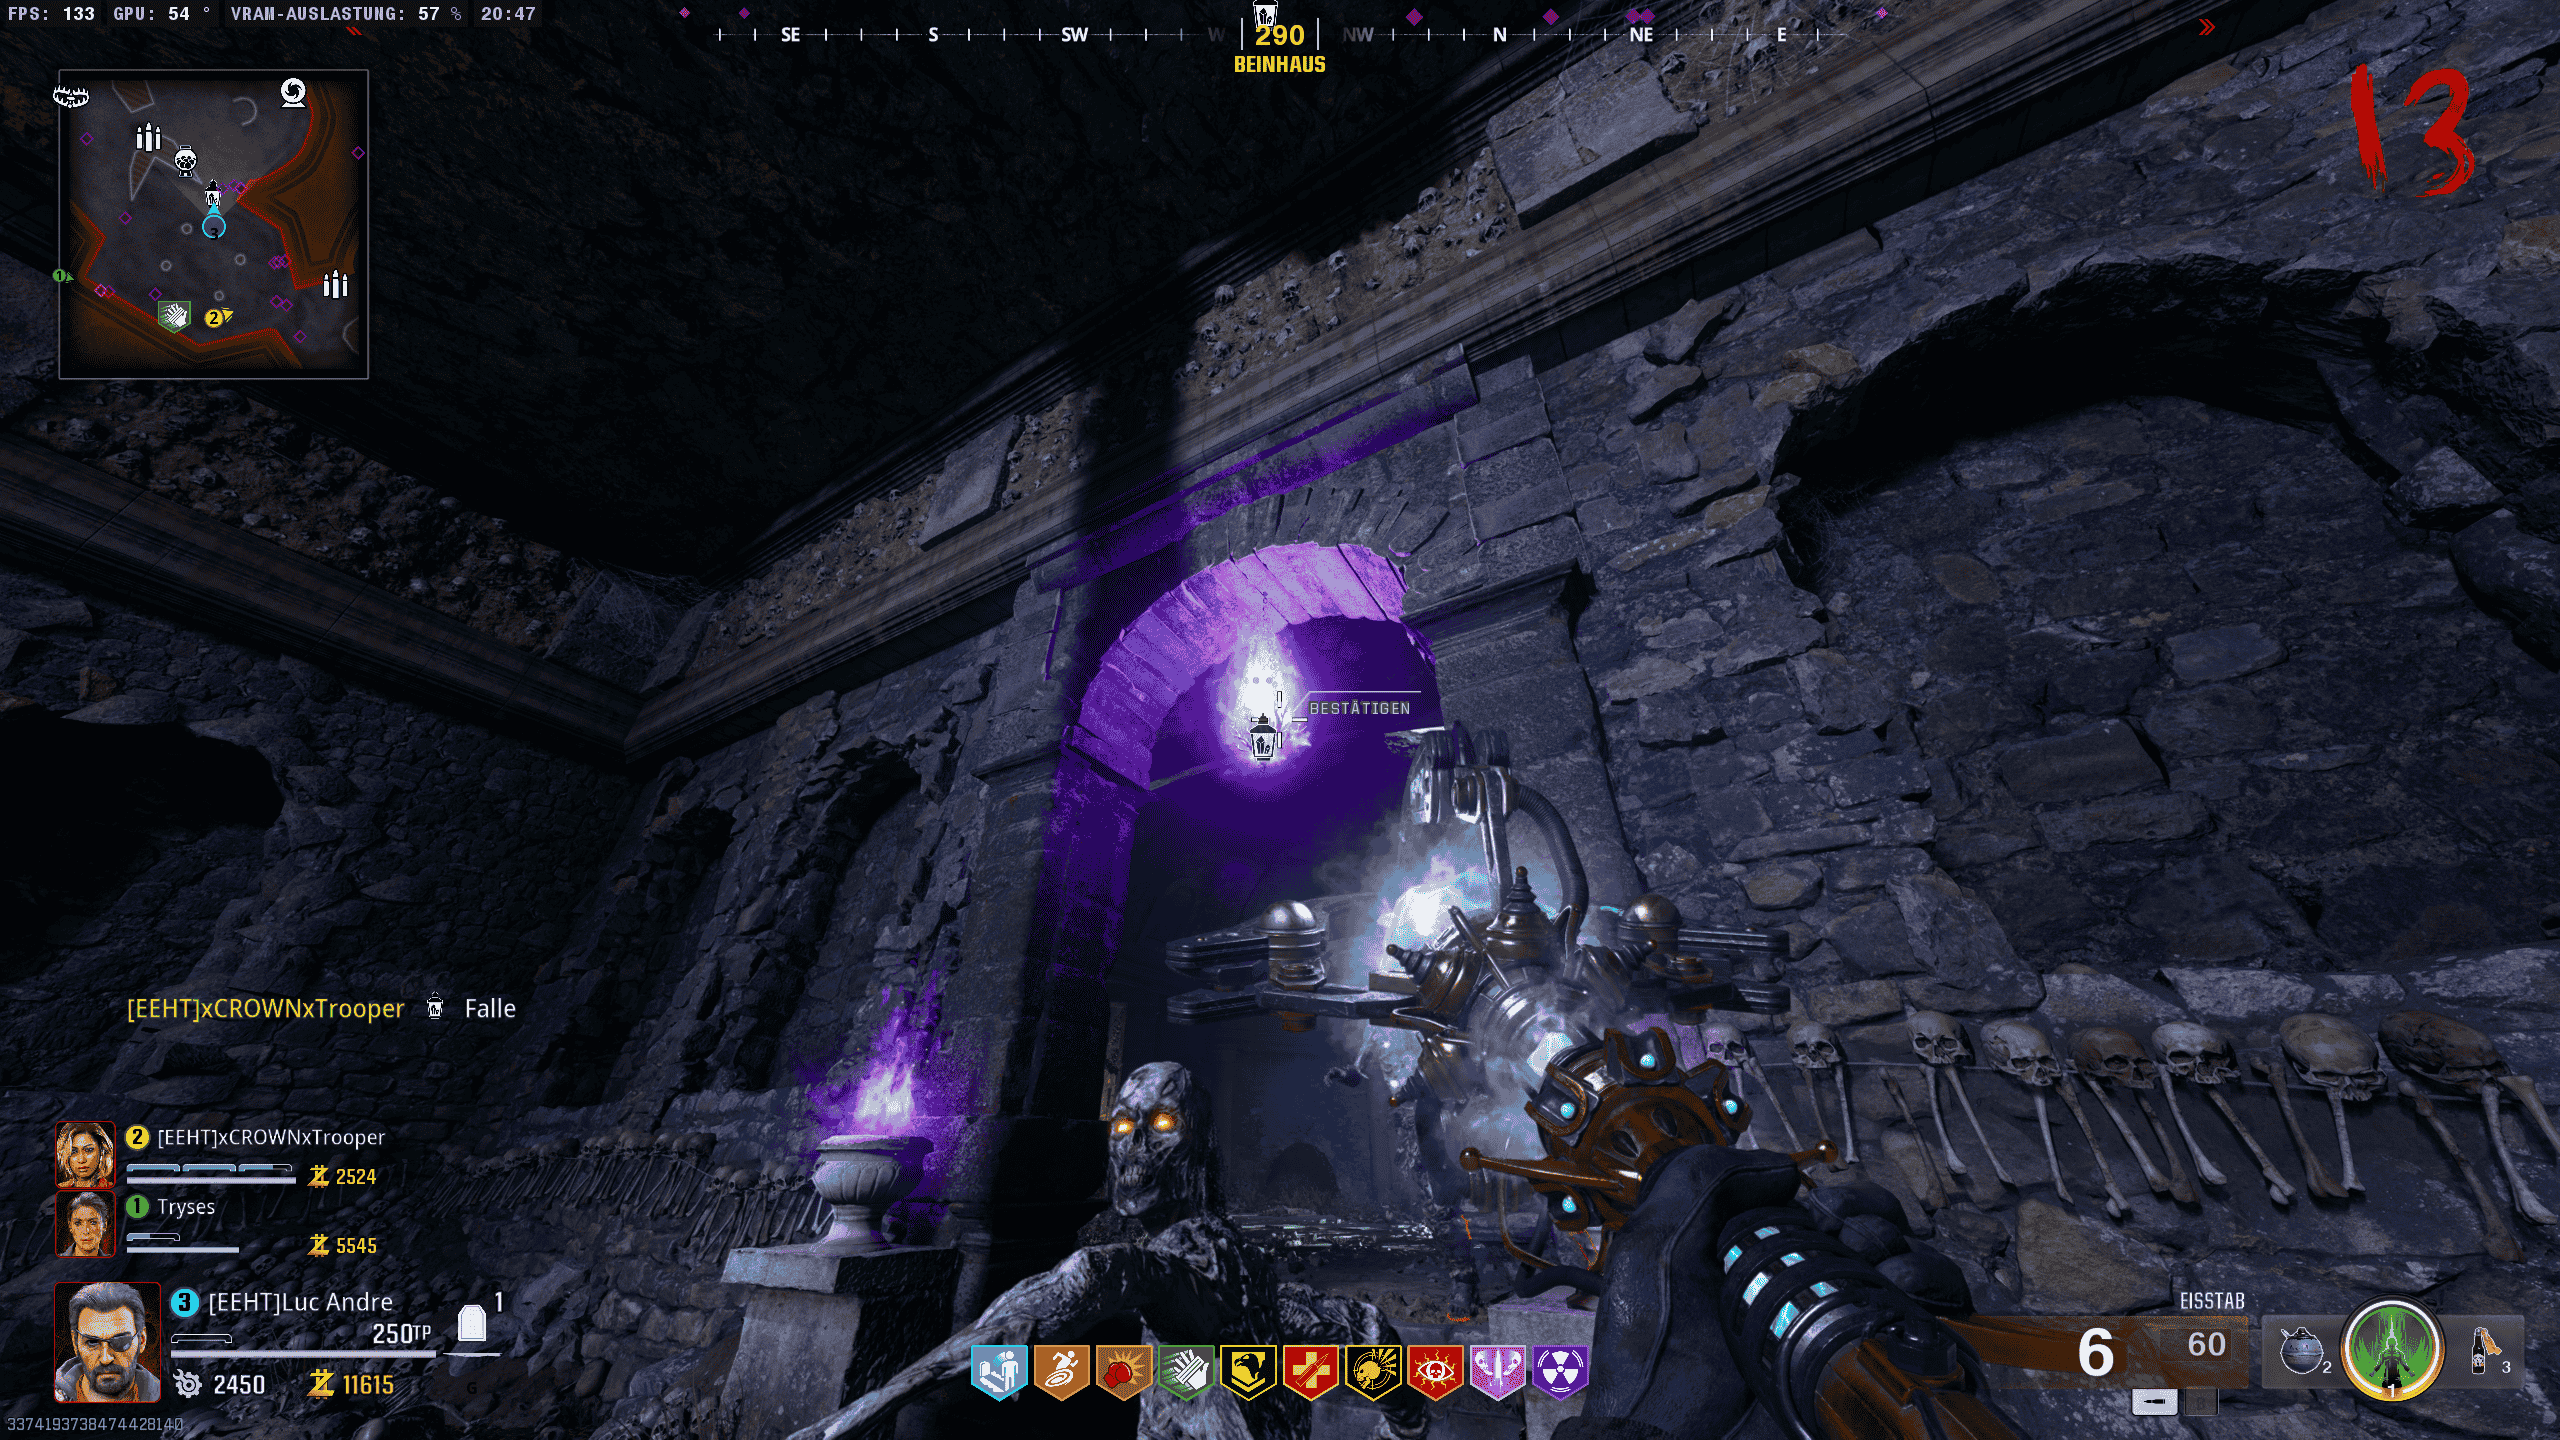
As with the statue with the parasite, we need to do the same with the parasite statue. Shoot the statue with the yellow crystal in the Dark Ether with the healing shot.
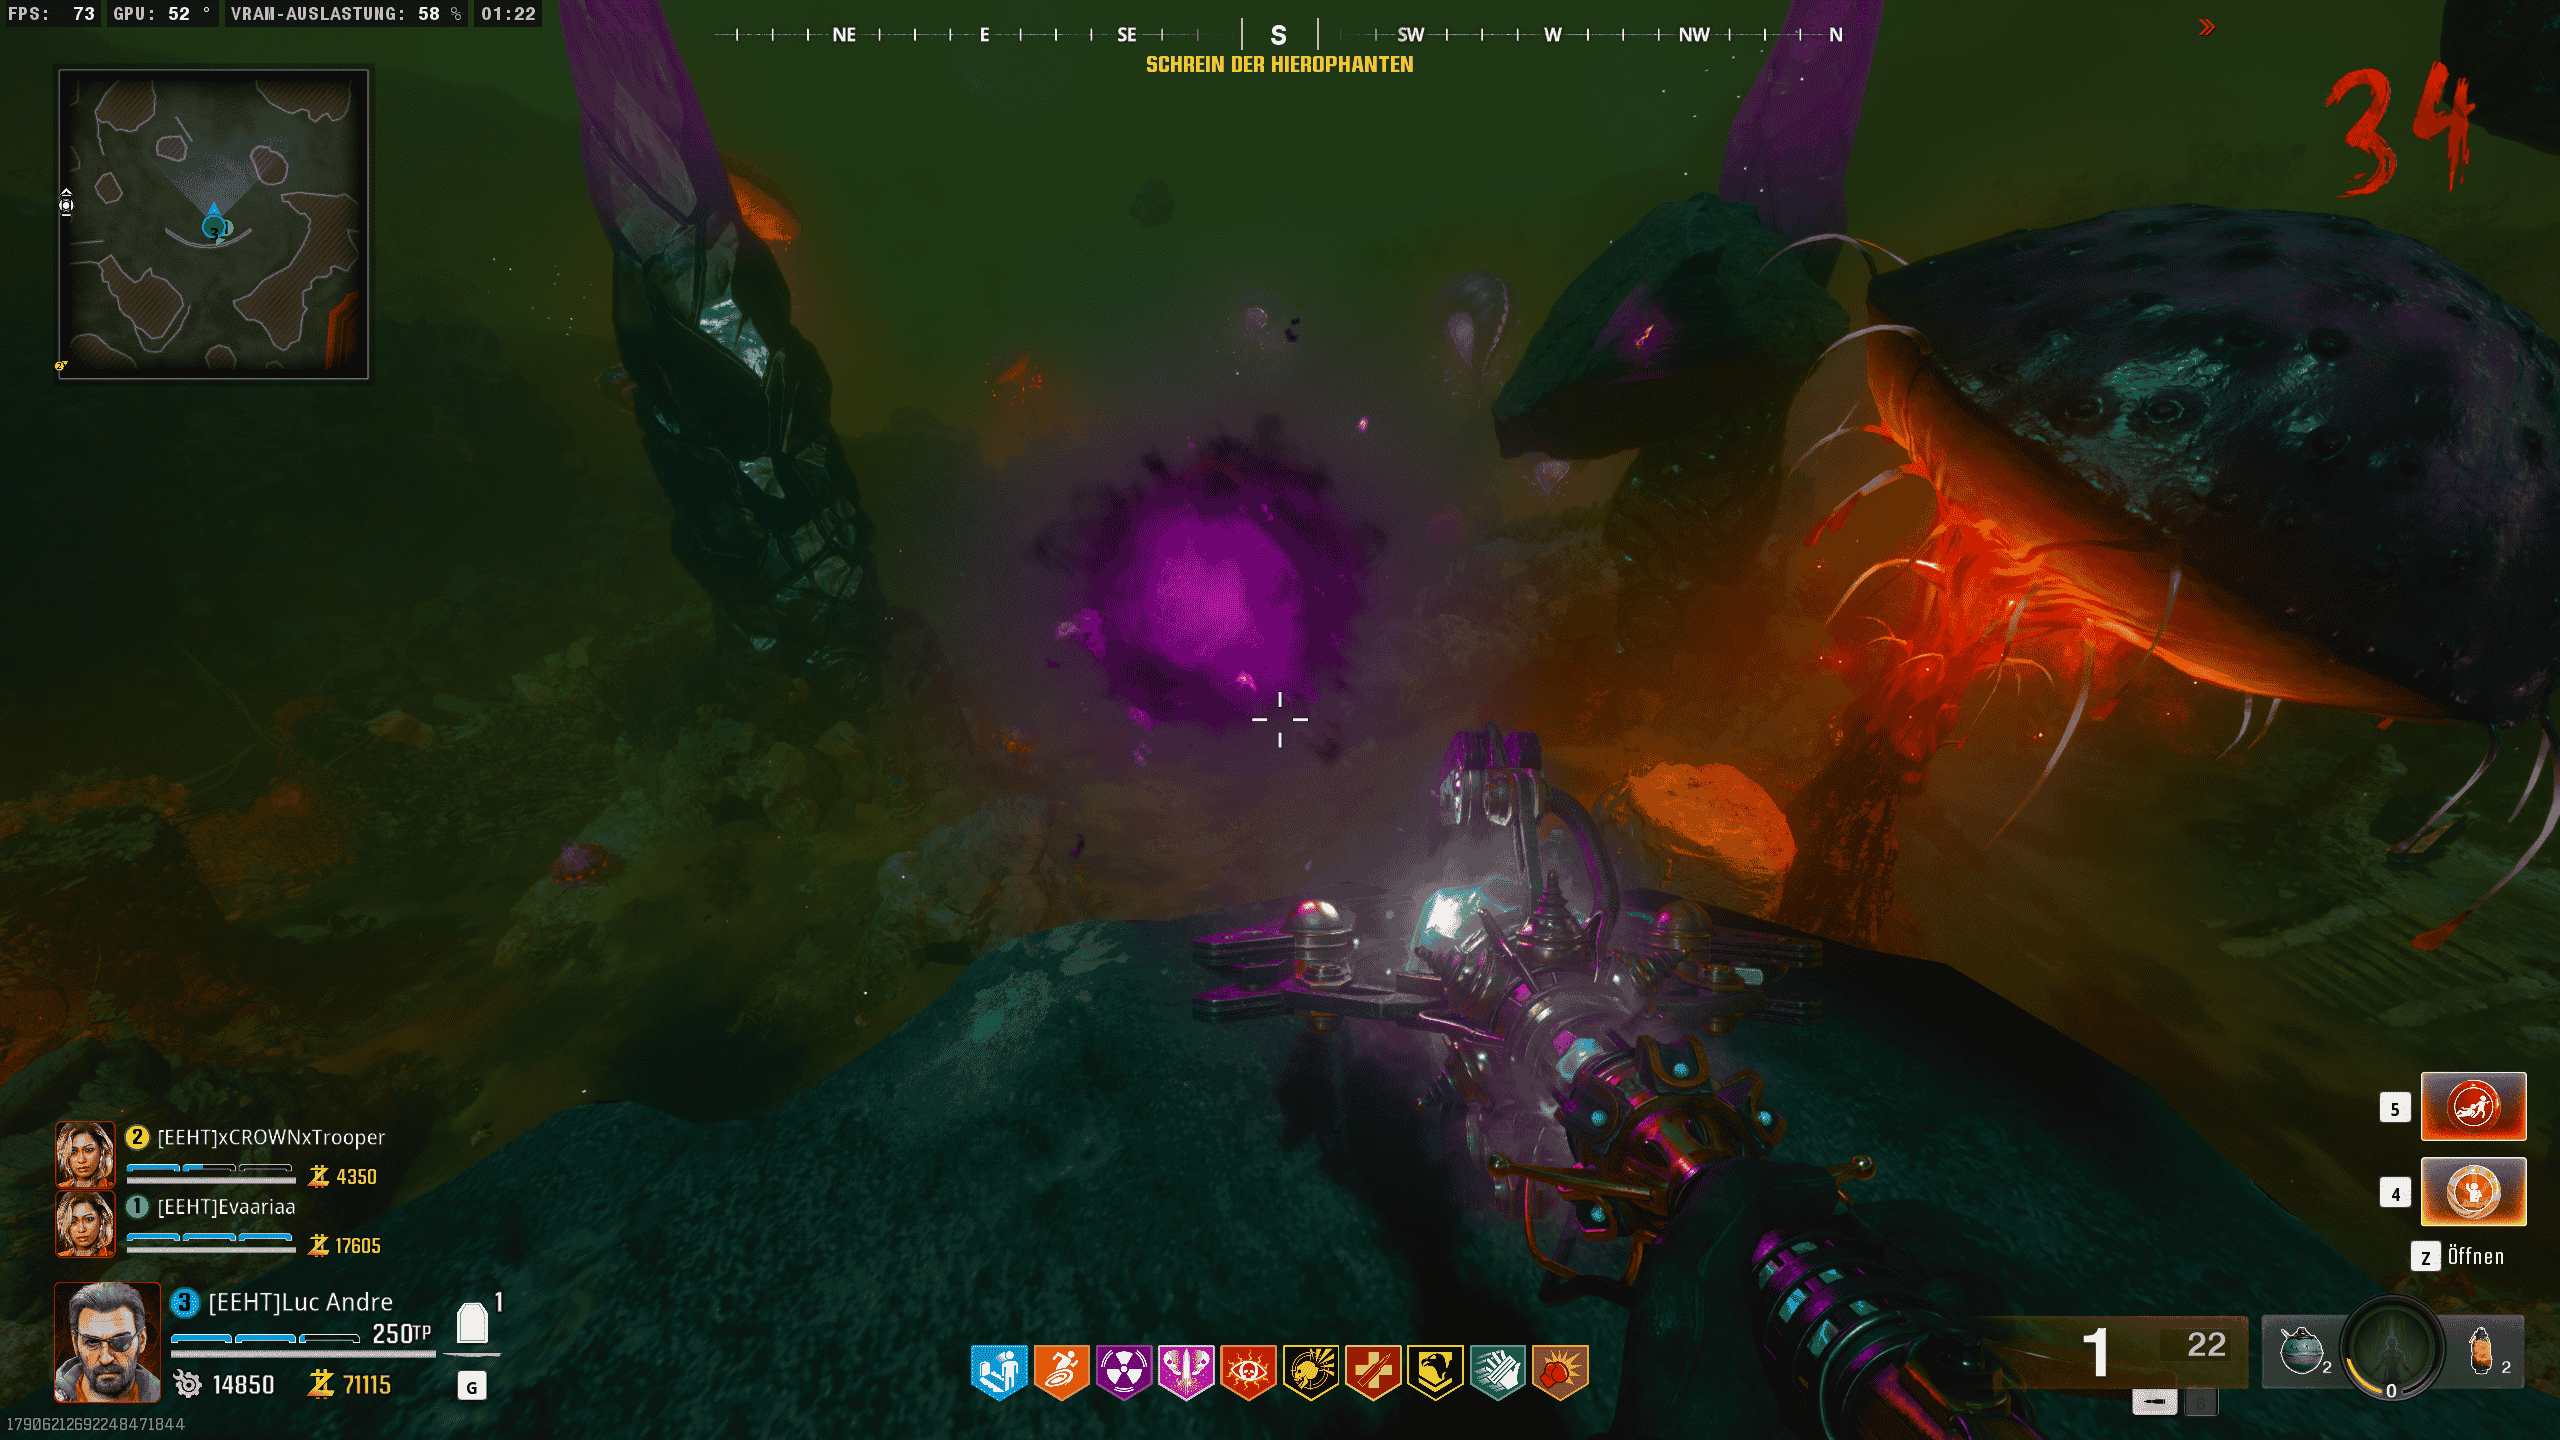
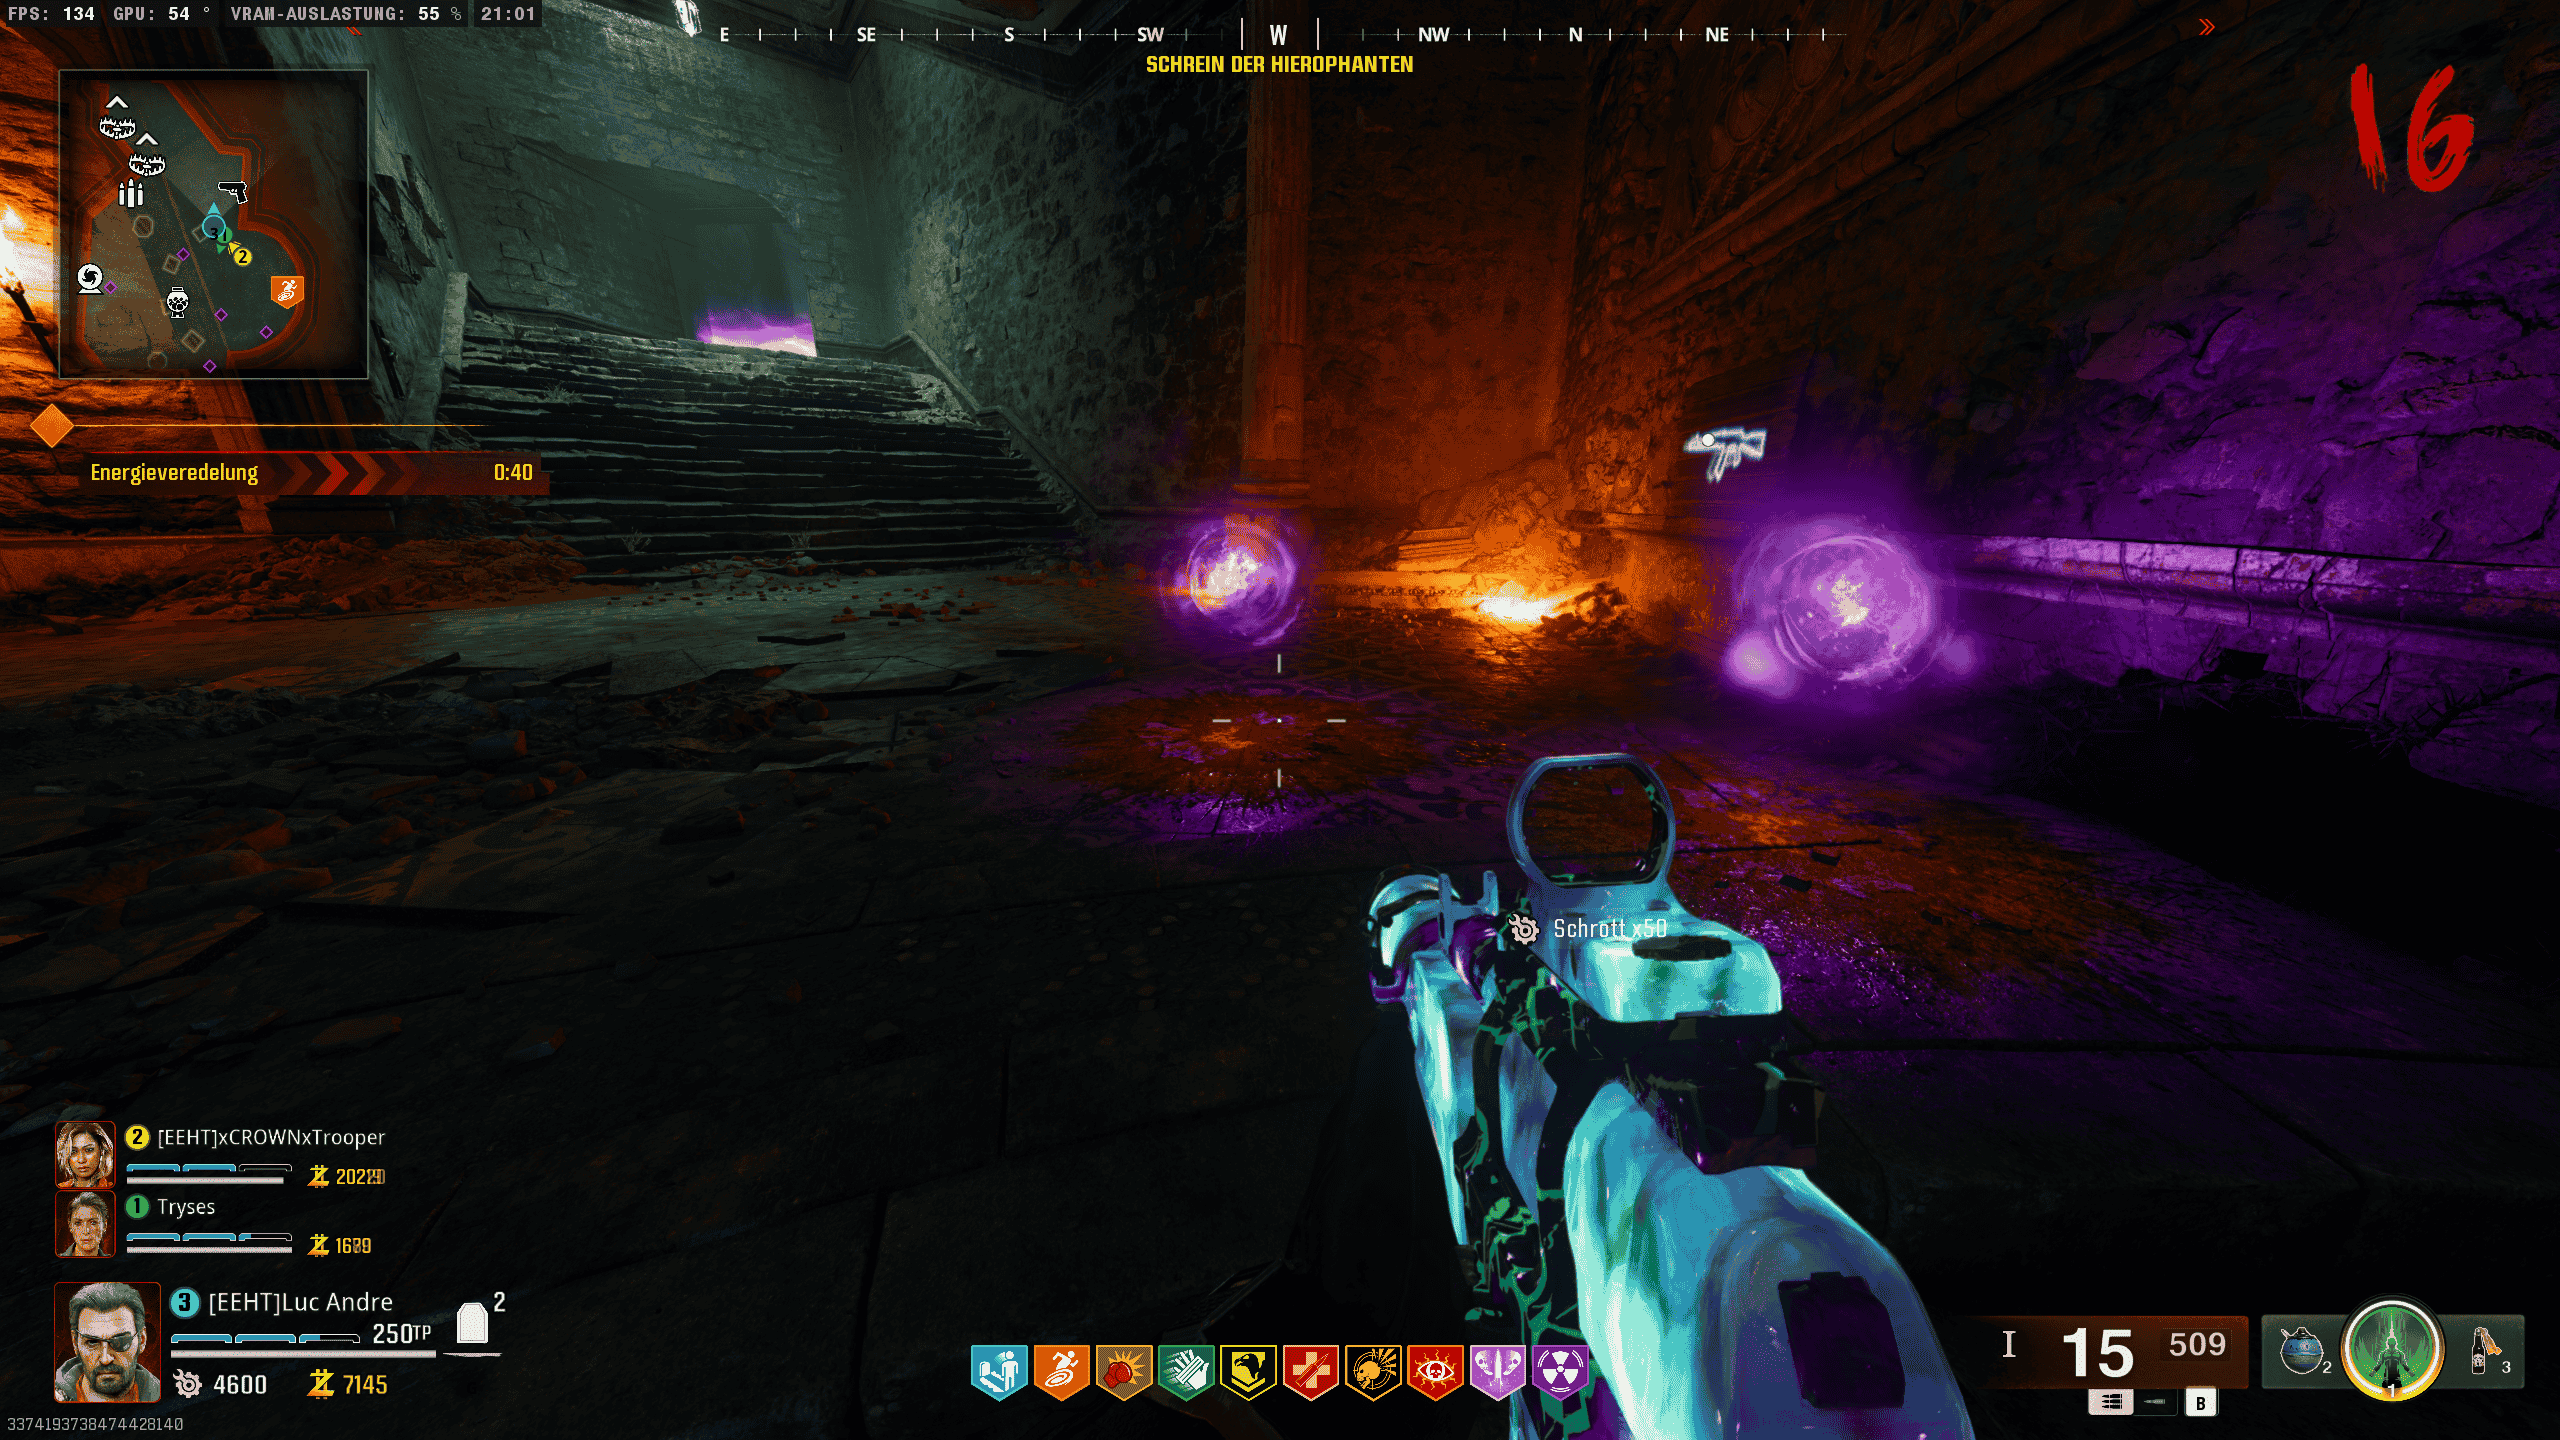
Interact again with the glowing crystal and then head to the Shrine of the Hierophants (yellow portal) and interact with it. This encounter differs from the one with the vermin. Parasites will spawn, which you need to shoot. They will drop purple orbs, which you need to pick up (just walk through them) and bring to the statue.
Once you have collected enough of these orbs, you can interact with the statue again and must now return to the statue in the Dark Ether. Again, you must not take any damage. Once you reach the statue, this column will also begin to glow.
You can now proceed with the next statue.
Now, head to the statue with the Doppelghast and the green crystal. Shoot it like the other two to activate the statue.
Now, go through the green portal to reach the Ossuary. There, you’ll find the second statue. Interact with it, and Doppelghasts will spawn. Once you’ve killed the first Doppelghast, pink beams will appear on the ground. These won’t deal any damage to you but will instead kill the other Doppelghasts.
Once you’ve killed all the Doppelghasts and can interact with the statue again, follow the same steps as with the other statues. Head back into the Dark Ether to activate the Doppelghast’s column.

You can now proceed with the fourth and final statue.
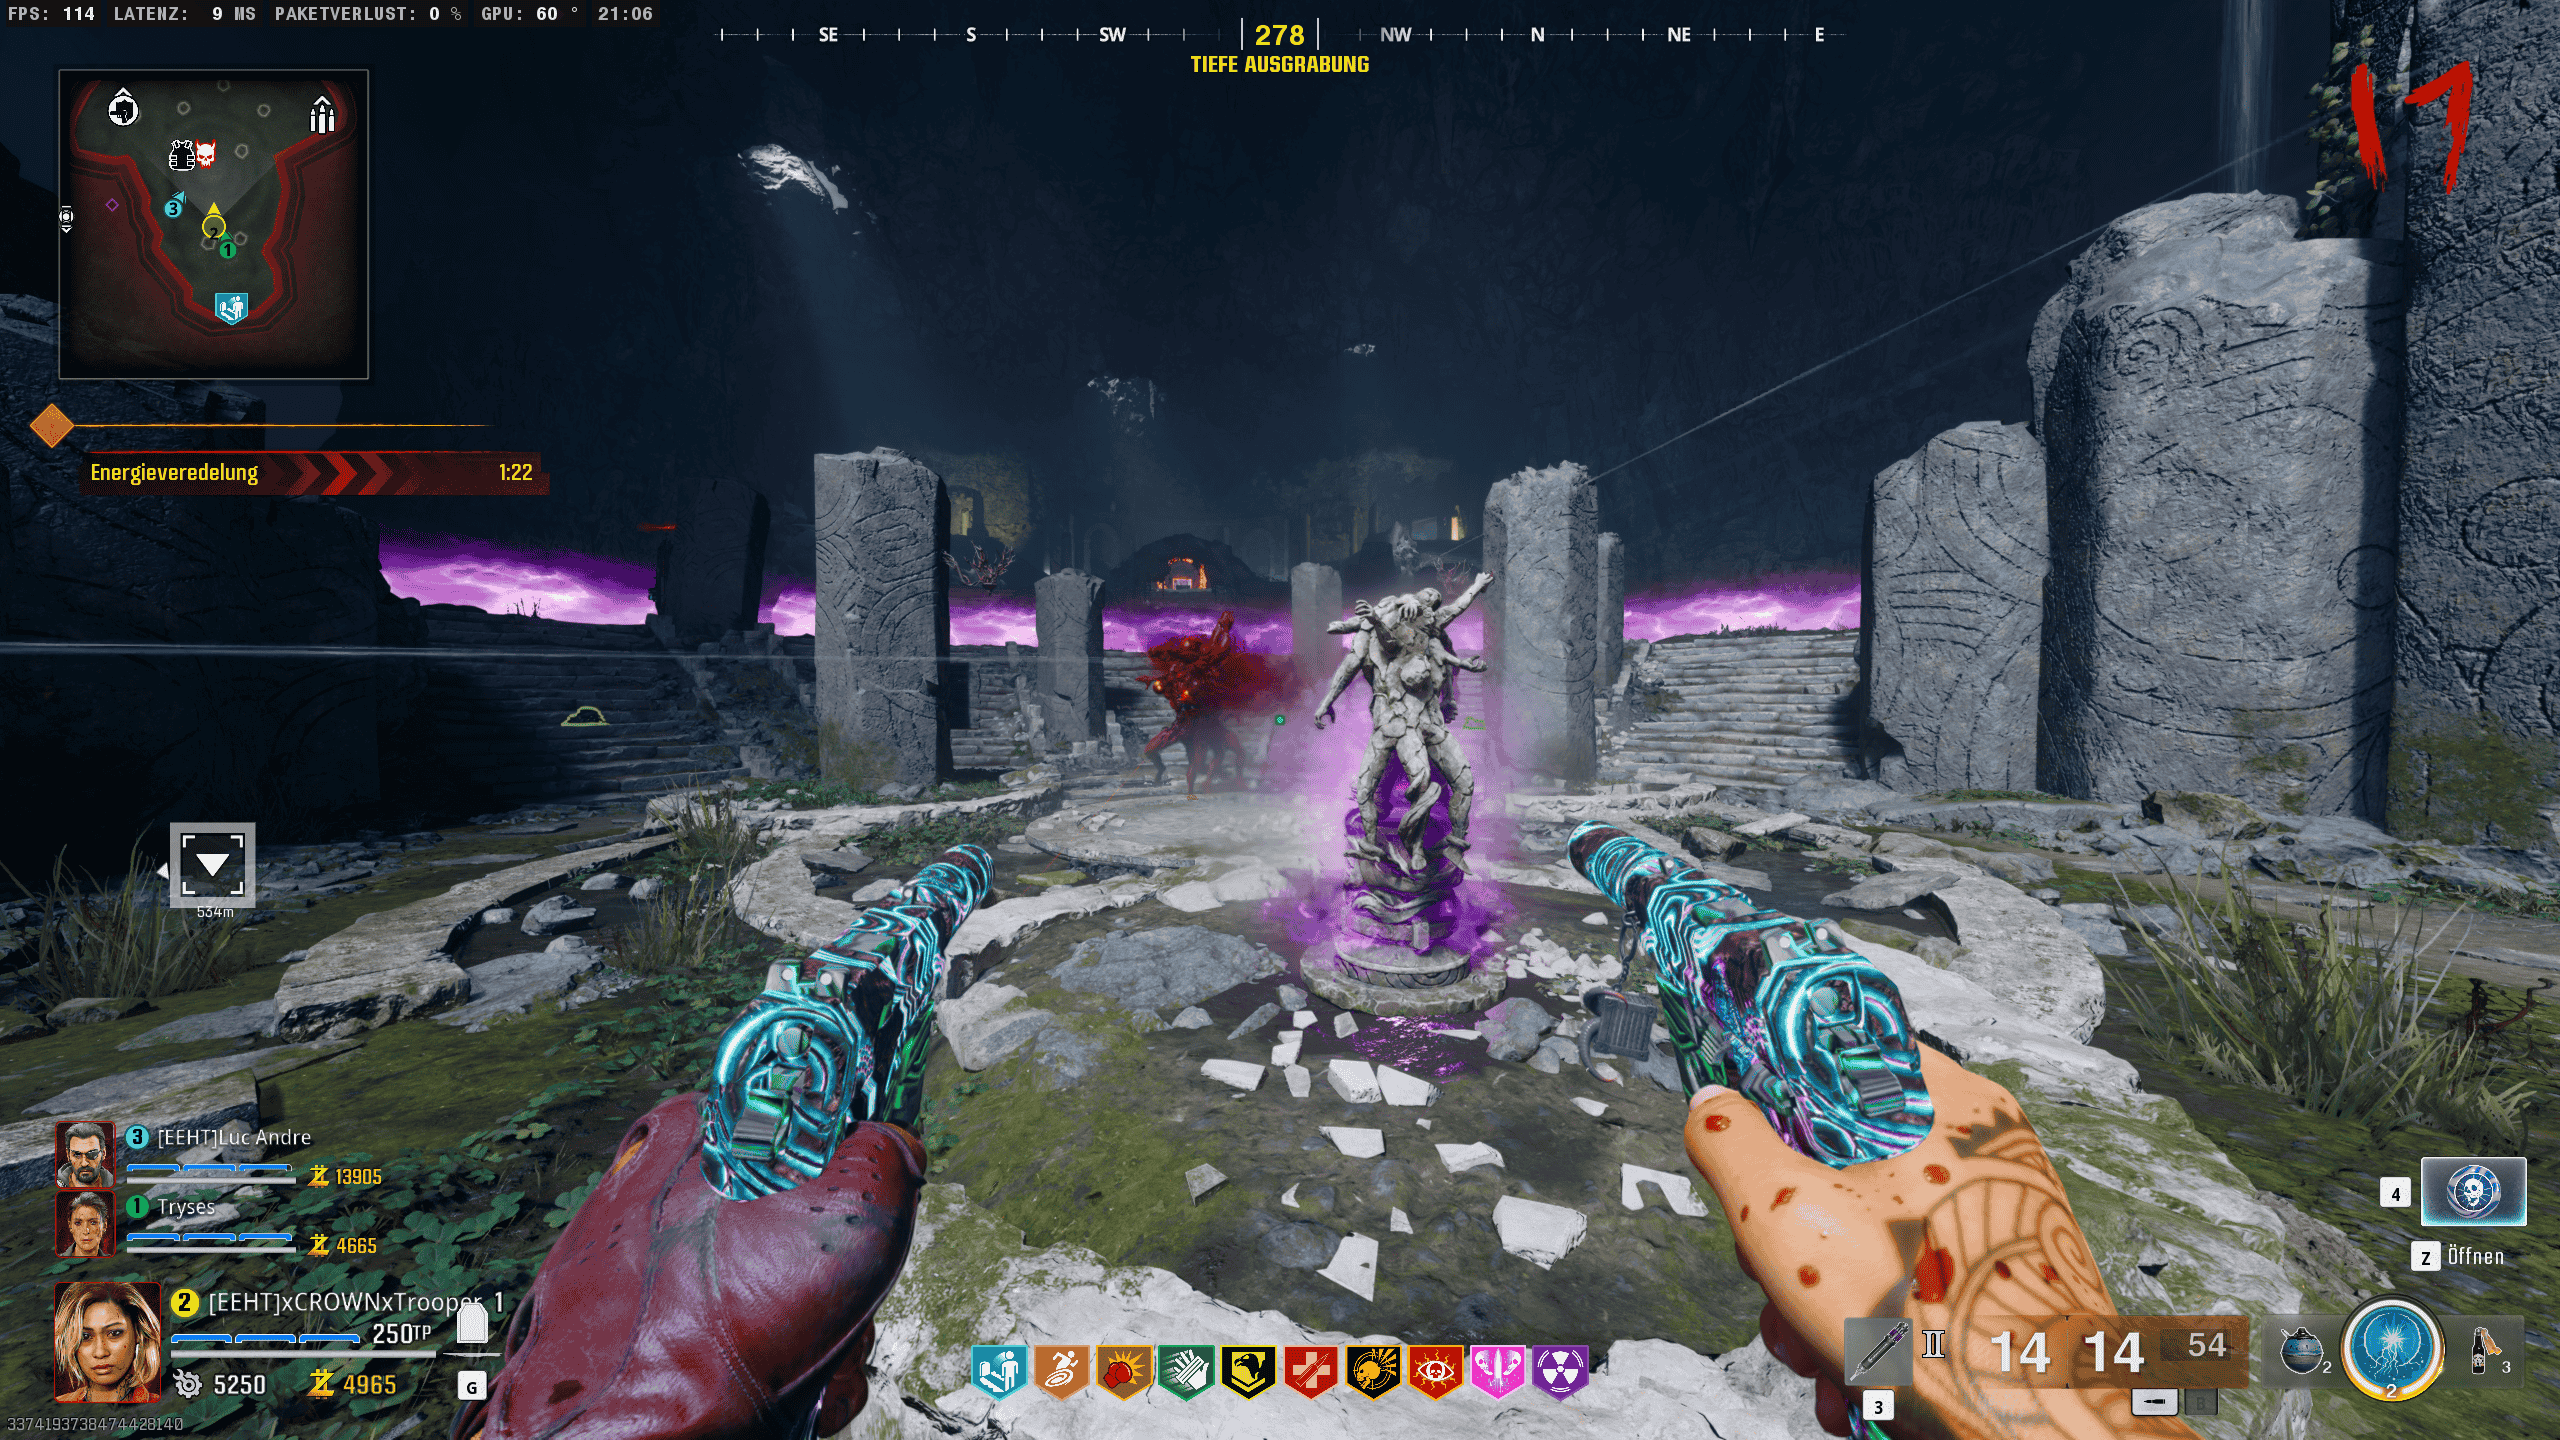
Now, head to the Amalgam statue in the Dark Ether and activate it again with the Ice Staff.
Now, go through the red portal and head straight to the Deep Excavation. There, you will recognize the Amalgam statue. Interact with it, and a red Amalgam (Elite Zombie) will spawn, which you need to kill.
Once you’ve killed it, interact with the statue again and head back into the Dark Ether to activate the final column. If you’ve succeeded, you will notice four connections to the crystal in the air.
One of the beams will move away from the columns and the crystal. Follow it, and you will return to the platform where you started the Easter egg. You’ll notice that the beam hits the floating round stone slab, causing the symbols to begin glowing.
When you interact with the platform, a bridge will form in front of you. Cross this bridge to reach the boss arena.
IMPORTANT INFORMATION BEFORE THE BOSSFIGHT
The Sentinel Artifact boss fight in The Tomb is a tough one, with many attacks capable of instantly eliminating players. Proper preparation is crucial to stand a chance in this fight. First, make sure to equip all available Perks and Tier 3 armor, or opt for Gold Armor if you’re feeling daring enough for the challenge.
Survivability and Perks aside, the right weapons are key. A Tier 3 Pack-a-Punch Assault Rifle or Light Machine Gun with Legendary (orange) rarity is essential, as the fight is all about maximizing DPS. Weapons like the Ice Staff, Ray Gun, and other explosive damage tools won’t harm the boss. It’s also wise to bring the Light Mend Ammo Mod for fast healing and to weaken the Doppelghasts during the fight.
Support is equally important. The Aether Shroud Field Upgrade can be a game-changer in this battle, and GobbleGums like Kill Joy (for Insta-Kill) and Idle Eyes (to make zombies passive) are incredibly helpful for surviving the various phases. A Mutant Injector can also give you some temporary breathing space when too many enemies are overwhelming you. Once you’re fully prepared, head to the boss arena to begin the fight.
Once everything is prepared, the fight in the boss arena can begin.
Head to the artifact and interact with it:

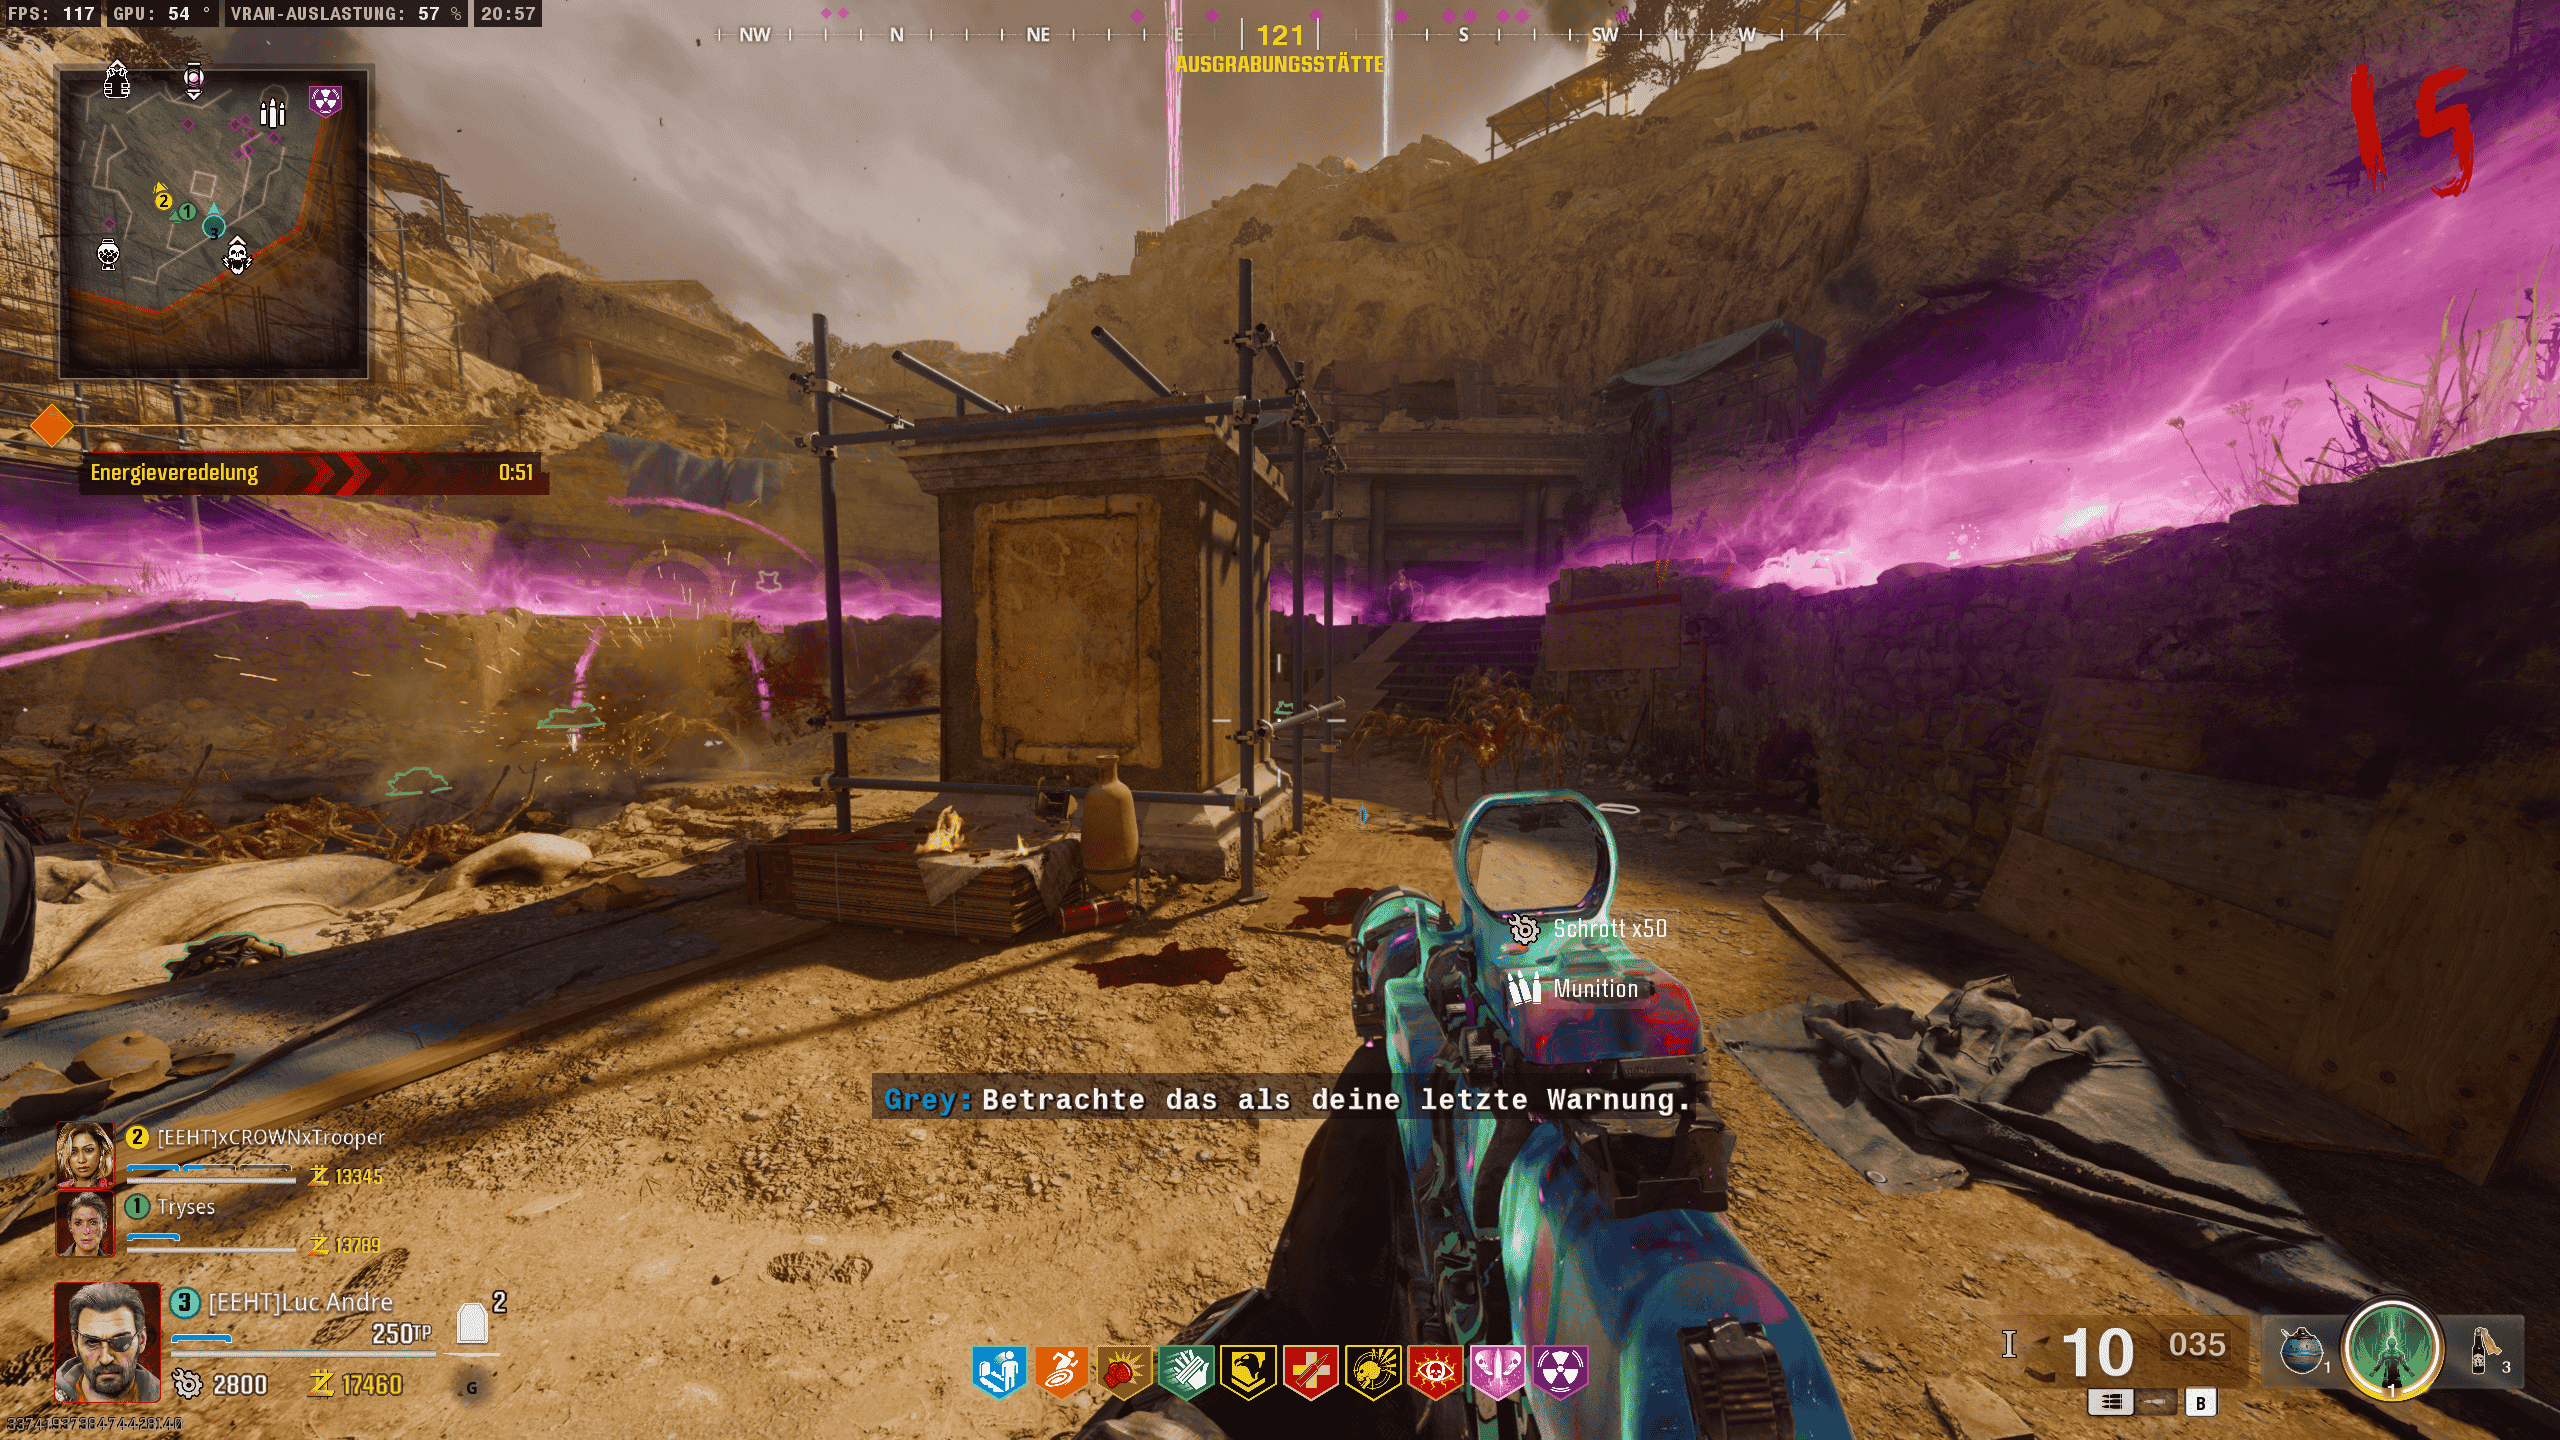
After completing the trials and ensuring all players are ready, head into the newly unlocked room in the Dark Aether Nexus. Cross the bridge and interact with the Sentinel Artifact to initiate the boss fight. The artifact will rise up and begin firing a continuous energy beam. Getting hit by this beam is incredibly dangerous, as it can stun players and deal significant damage. To avoid it, you’ll need to stay out of its path. The beam will fire in a counter-clockwise direction, starting from the lower floor and moving upward. To navigate:
- If the beam is targeting the upper floor, move to the lower floor.
- If the beam is targeting the lower floor, move to the upper floor.
To survive, use the Ice Staff to group zombies together and eliminate them, which will recharge your Aether Shroud. This should be used on Amalgams, Doppelghasts, and Mimics. While the Ice Staff won’t deal damage to the boss itself, it will make the special and elite zombies take more damage.
Damage Phases:
You won’t be able to deal damage to the Sentinel Artifact while it’s in its orange state. You’ll have to wait for it to shift into a blue, ghostly phase. During this phase, activate Aether Shroud to take a breather from the zombies and focus on shooting the artifact to break it, dealing 10% damage.
Continue to avoid the Sentinel Artifact’s attacks and wait for a window to deal damage. Each phase will introduce a new version of the artifact, with four phases similar to each other before things ramp up in the fifth and sixth phases.
Phase Five:
From this phase on, you will continue to face Doppelghasts, Mimics and Amalgams!
In this phase, you won’t be waiting for the artifact’s attacks to stop. Instead, a heavy zombie will randomly have the Sentinel Artifact attached to its head. Kill this zombie, and when the artifact drops, destroy it to deal a major chunk of damage and proceed to phase six.
Phase Six:
The sixth phase is the toughest. The Sentinel Artifact will now attach itself to a Doppelghast. This phase can be brutal, so using Aether Shroud can help manage the red Elite Doppelghast, which is very fast, has high health, and can instantly eliminate players even with armor and perks.
Phase Seven:
This phase mirrors five and six, where an enemy will carry the Sentinel Artifact. You’ll need to defeat this enemy and then destroy the dropped artifact. This time, it will be a Mimic holding the artifact.
Phase Eight:
In this phase, an Amalgam will have the Sentinel Artifact attached.
Final Phase:
For the final phase, the Sentinel Artifacts will form a semi-circle. Players need to rush to the Northeast wall, where one final artifact will be located. Use Aether Shroud again and focus on dealing as much damage as possible to this single Sentinel Artifact to win the fight. Missing this shot will result in the entire team being wiped out.
Once the final Sentinel Artifact is destroyed, head to the central pillar, interact with it, and the final cutscene for The Tomb will play, completing the Easter egg.