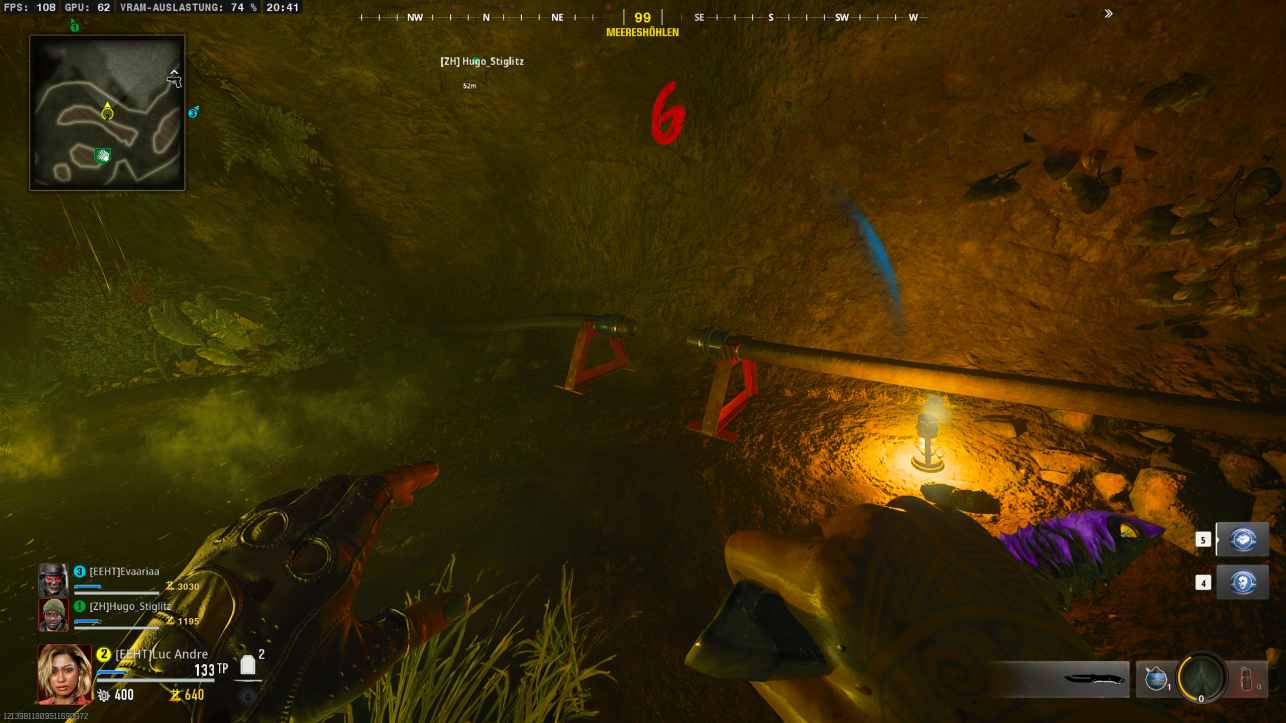
Call of Duty®: Black Ops 6 “Terminus” Easter Egg Guide
Located in the Philippine Sea is the remote Terminus Island complex. Historical data indicates a pre-WWII coal mining operator on the island, abandoned around 1932. Ten years later, Terminus became a forward U.S. Naval base. Mothballed until 1965, the CIA converted it into a Top-Secret outpost used for the detention of [REDACTED] In 1984, [REDACTED] . In 1986, Project Janus took over the island, building a laboratory in the subterranean mining caves.
After Peck and Maya break the Requiem crew out of their prison cells, they soon learn this is a bio-research station for Project Janus. Your handlers are Peck and Strauss, and for the richest story experience, you’ll want to choose your Operator crew from Grigori Weaver, Elizabeth Grey, Mackenzie ‘Mac’ Carver, and Maya Aguinaldo – the dedicated crew of characters featured throughout Black Ops 6 Zombies’ storyline.
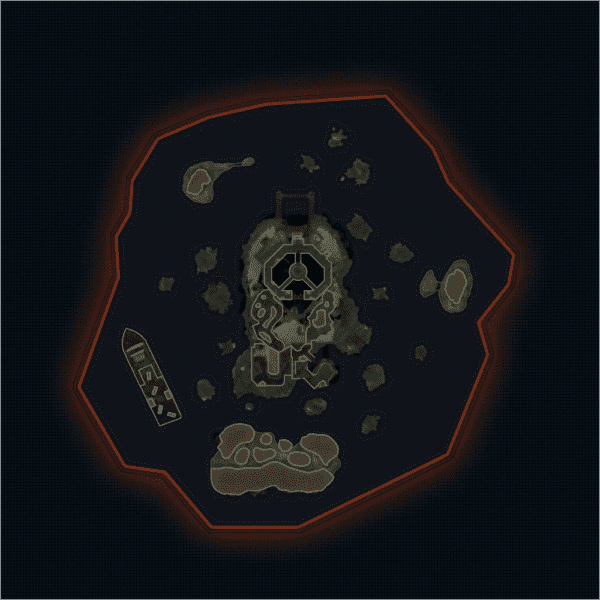
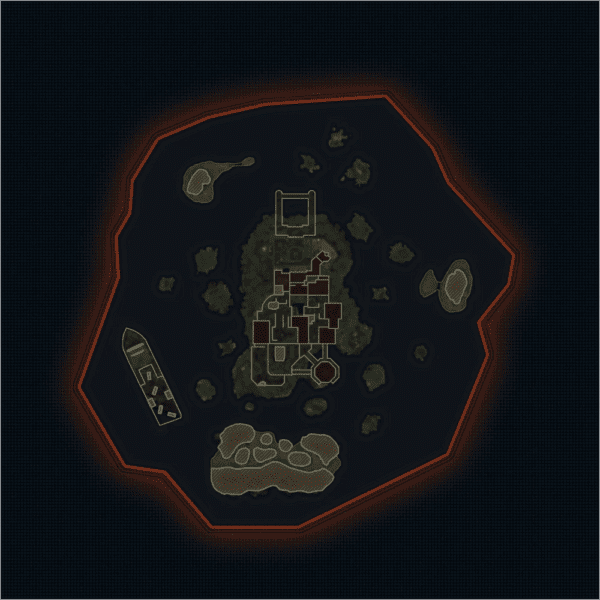
To start the Easter egg, you first need to turn on the power and activate the Pack-a-Punch (PaP). Follow the orange symbols on the screen. The tasks involve activating three AMP generators.
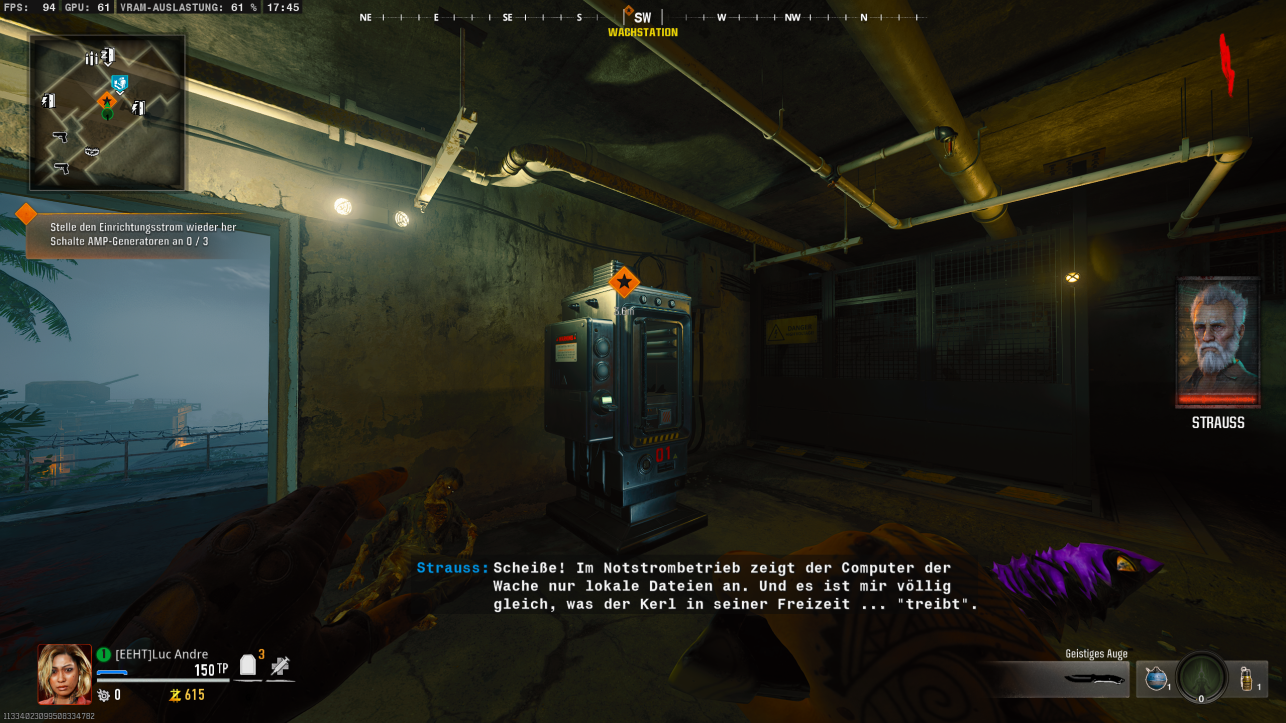
After activating each generator, a short encounter will begin where you must defend the generator for a certain amount of time. If you fail, finish the wave and try again in the next one.
Once all three generators are activated, you can retrieve the Pack-a-Punch from the water.
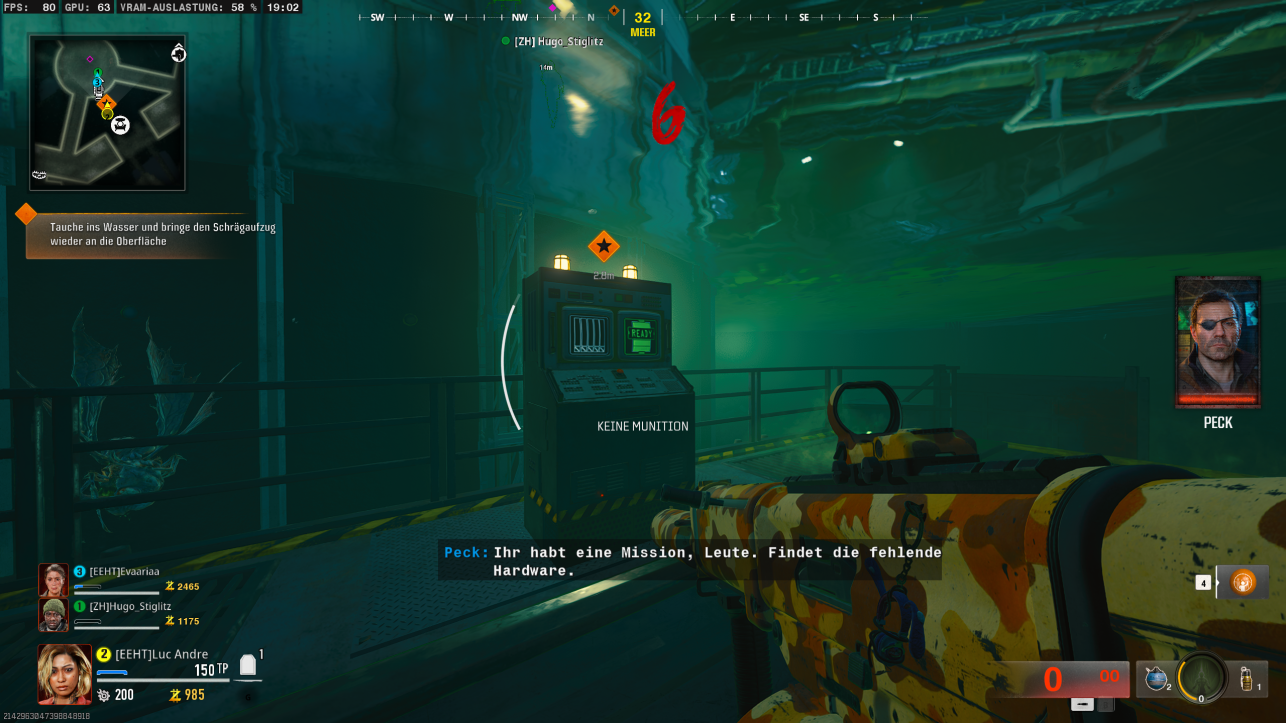
The Wonder Weapon, known as the Beamsmasher, is essential to completing the Easter egg.
You can obtain it in two ways: by crafting it or through the Mystery Box. Using the Mystery Box, you have the highest chance (50%) of obtaining it if you use the “Wunderbar” gum. From the box, you’ll either get the Ray Gun or the Beamsmasher.
To craft the Wonder Weapon, you’ll need three parts:
- EMF Pendant
- Multiphasic Resonator
- AMP Ammo
For the first part, the lab needs to be opened. Someone on your team must equip the “Dead Wire” ammo mod. Next, activate the lift that the PaP is on to ascend.
On the way up, the person with Dead Wire must shoot three power boxes.
The first power box is located in a window across from the PaP. Once the first box is shot, turn right to see another power box on the wall. After shooting it, turn right again and shoot the third power box.
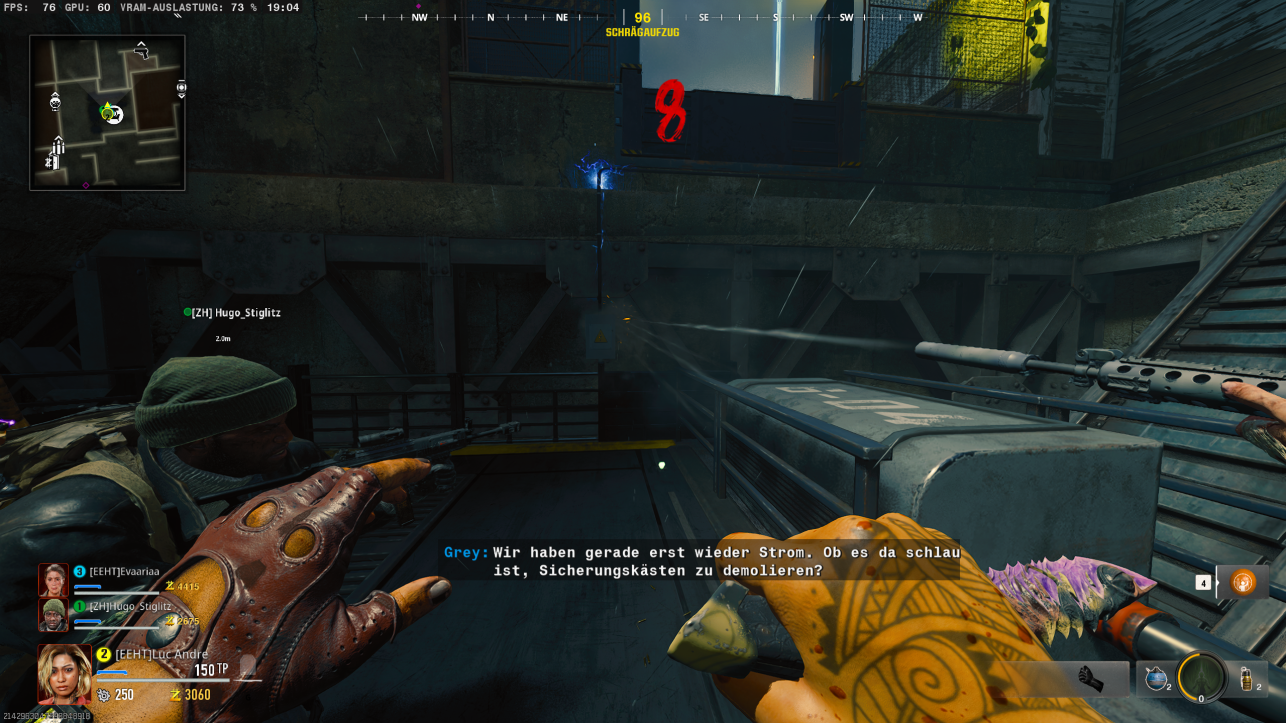
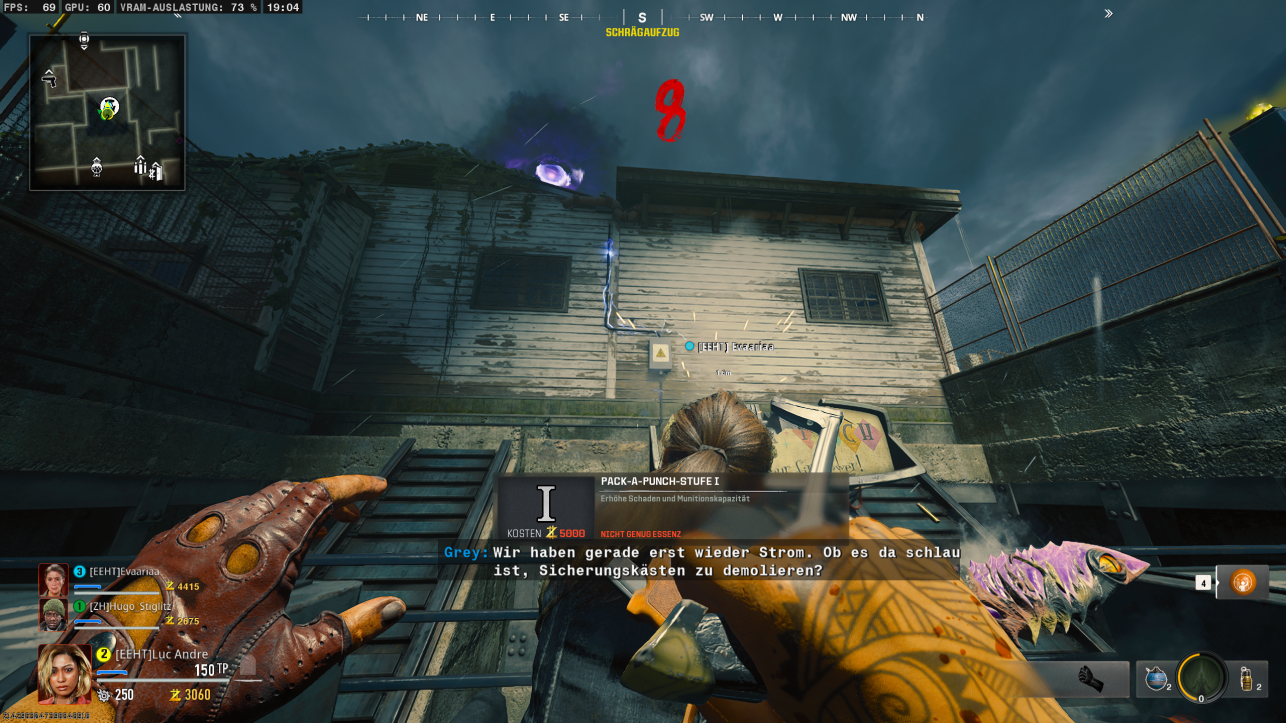
You’ll now notice the electricity flowing up through the building’s wiring. Exit the lift through the doorway on the right of the PaP, then go left up the stairs, past the pool table, and down the next staircase. At this point, you’ll see a power box above the generators. Shoot this power box as well.
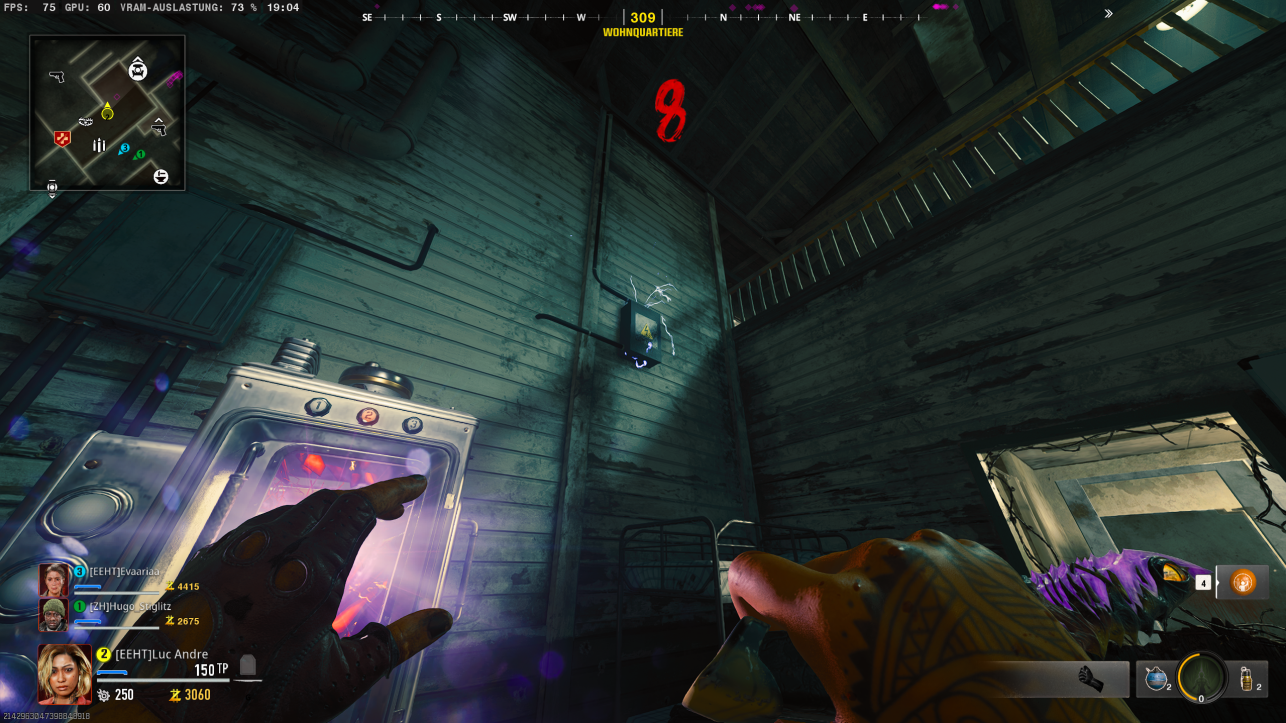
Next, exit the room on the side where the generator is located. Right next to the blue door, you’ll find the final power box. Shoot this one to complete the sequence.
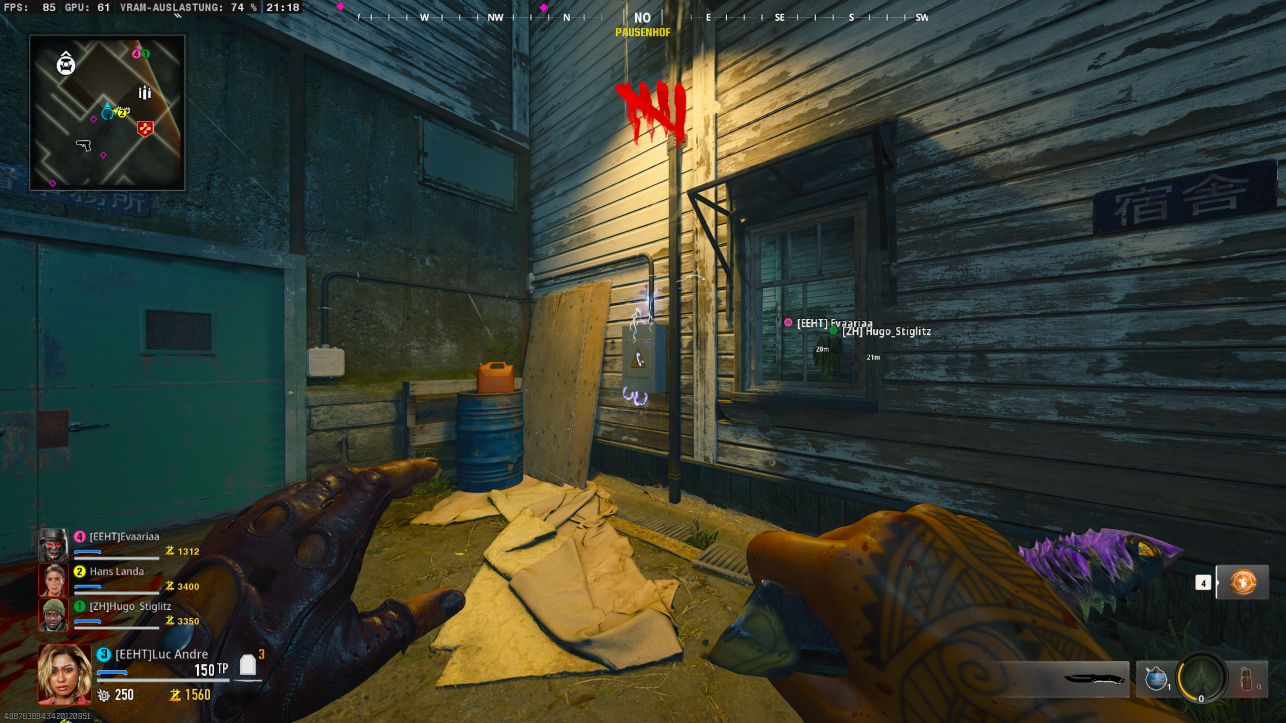
Afterward, the blue door will open, granting access to the research office.
When you enter this room, you’ll see a zombie on the left side lying on the ground, attempting to crawl out. Kill it, and it will drop the EMF Pendant for you.
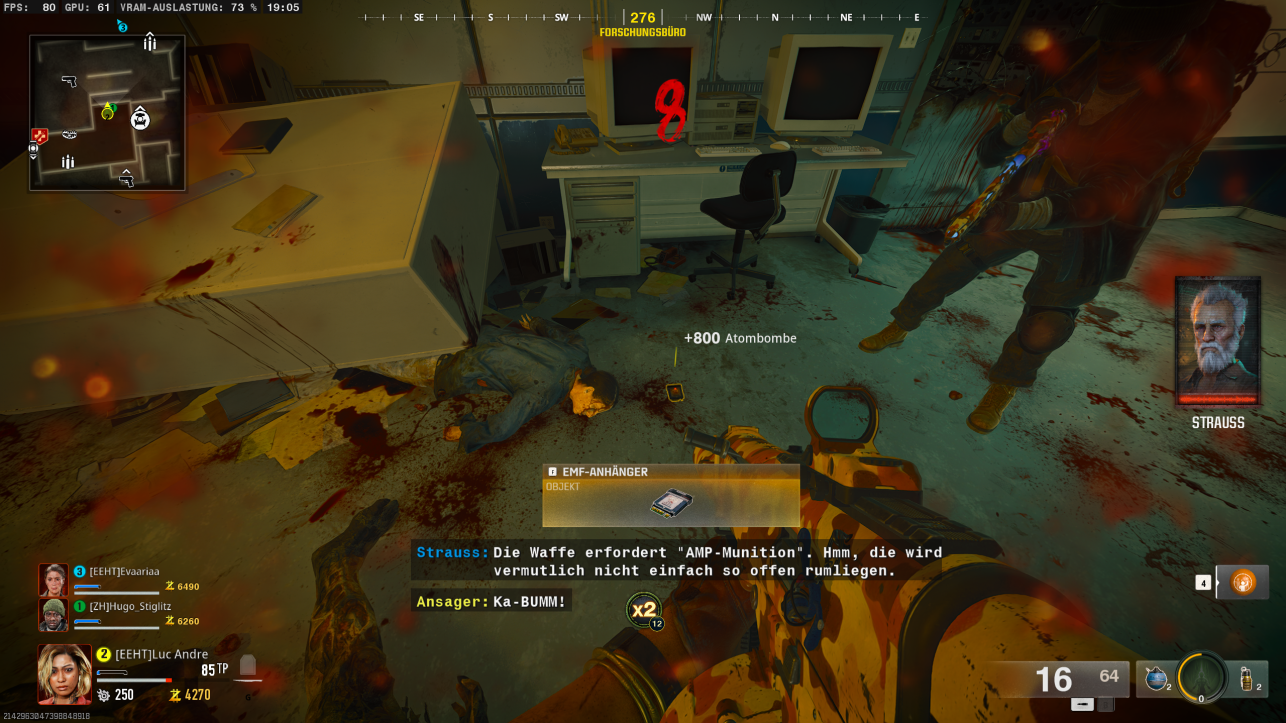
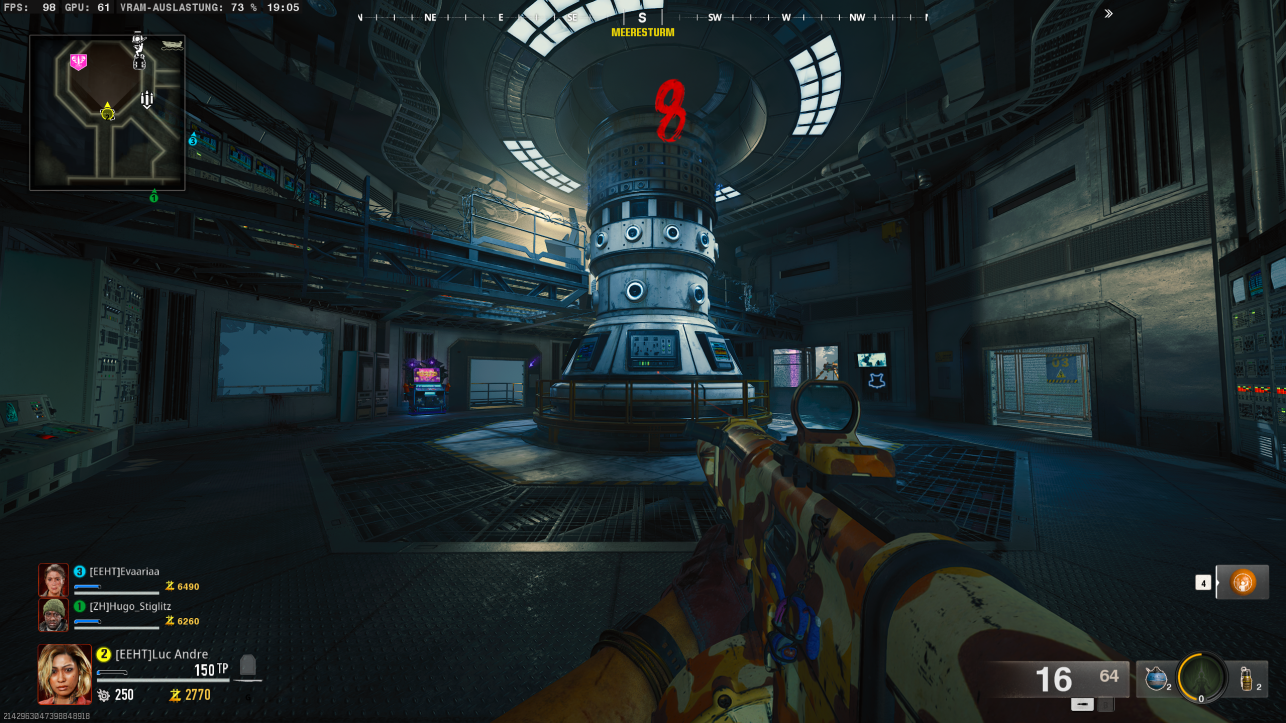
The next part, the Multiphasic Resonator, can be found at the Sea Tower.
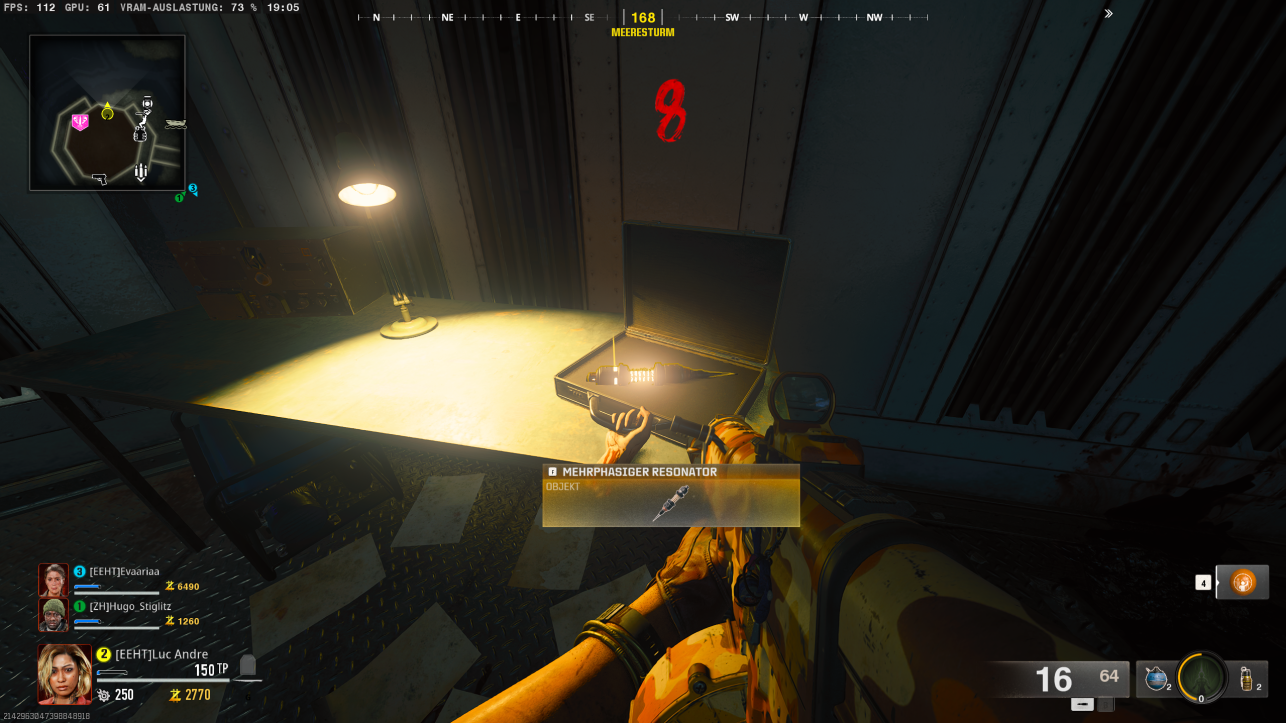
On a table, you’ll find a suitcase with a severed hand inside. Open it and pick up the Resonator.
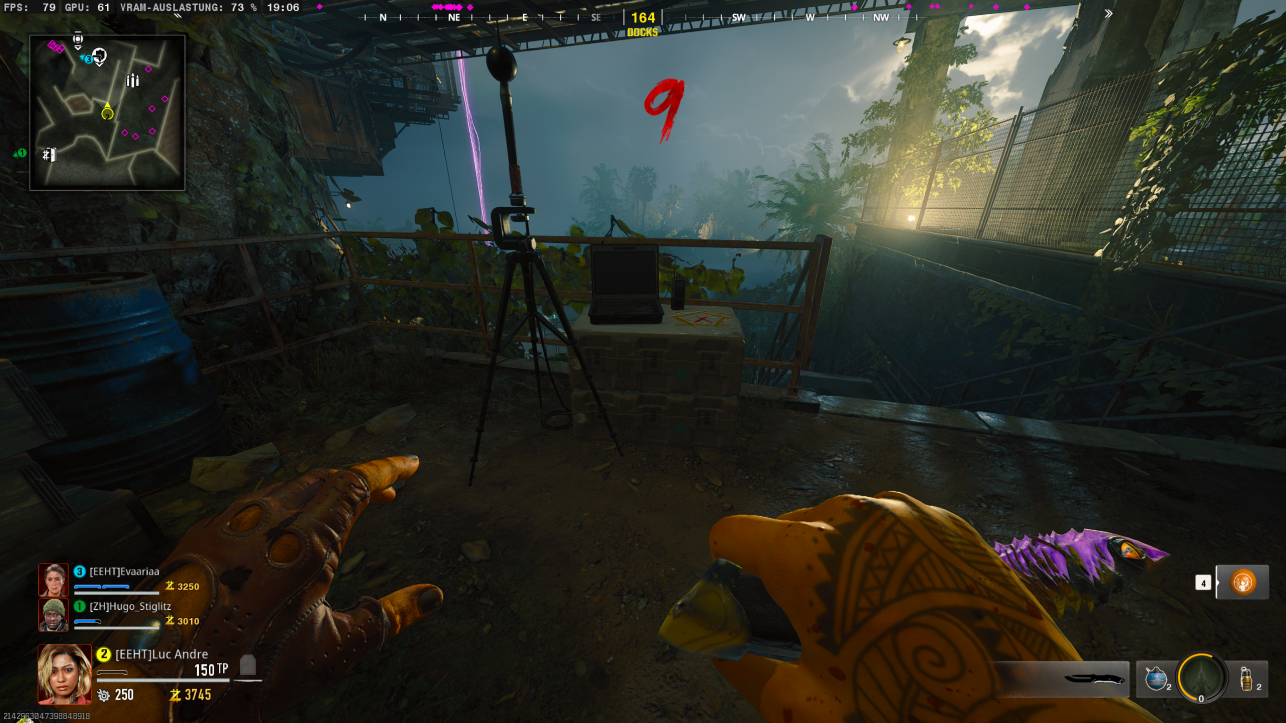
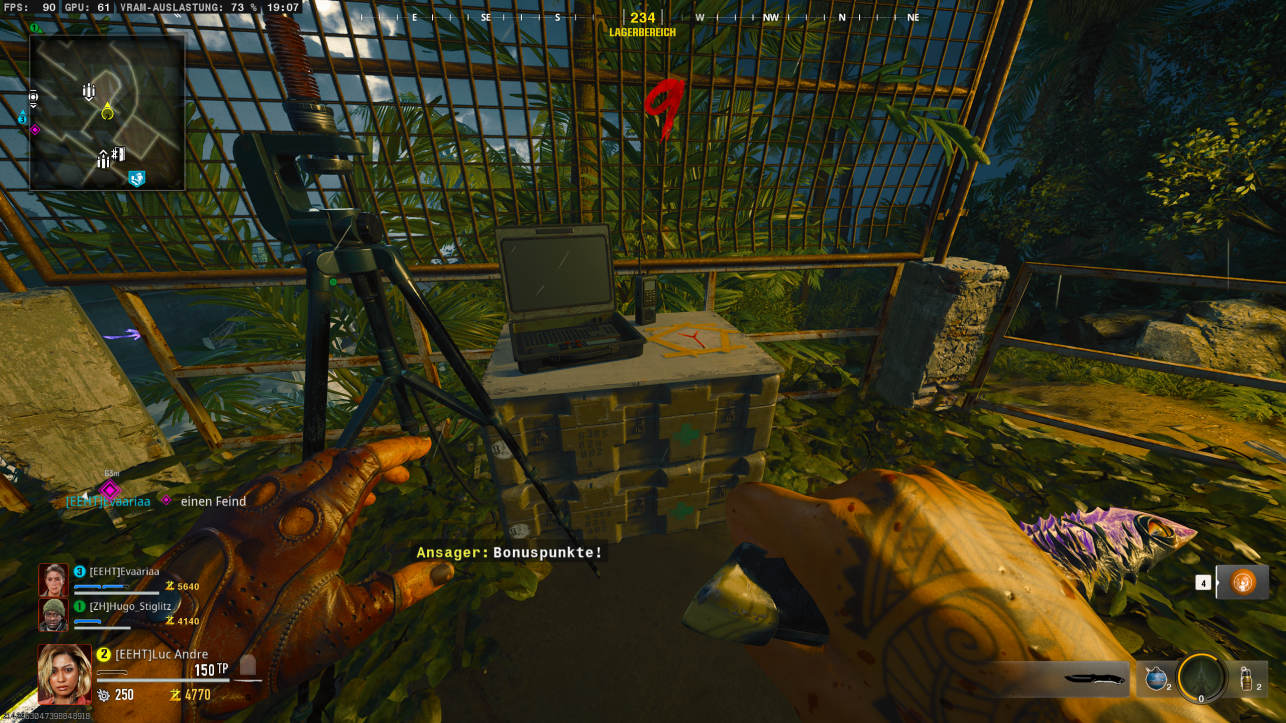
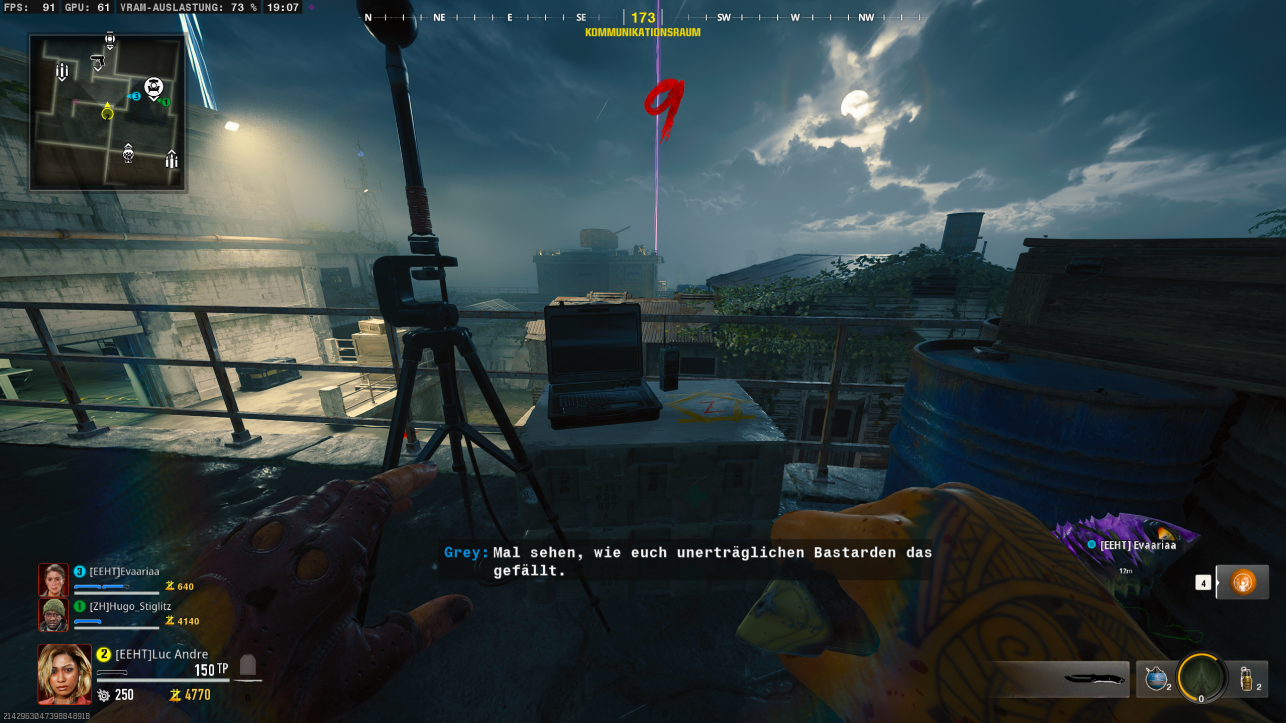
Now, three laptops need to be activated. They are located in the following positions:
- Docks
- Storage Area
- Communication Room
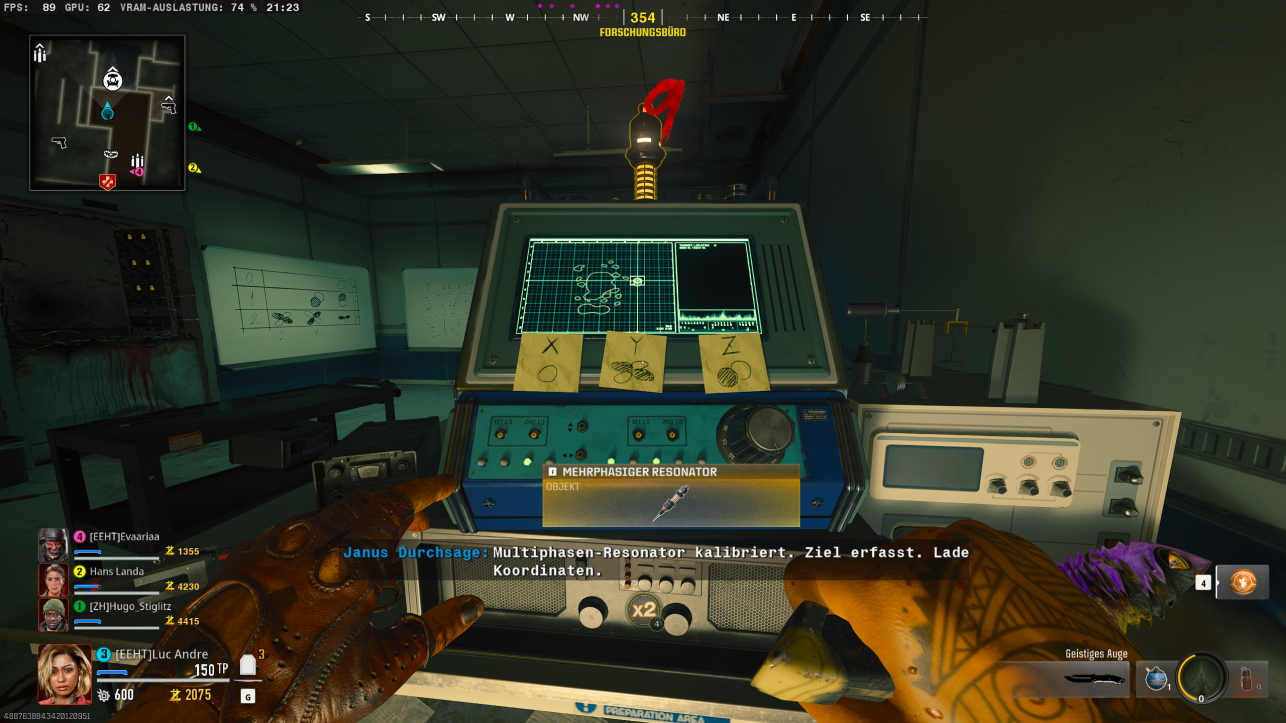
Activate these laptops in any order. Once they are activated, return to the lab. On the table, you’ll find a computer with the black knob. Interact with this to place the Resonator. Then, interact with it again to start using the knobs.
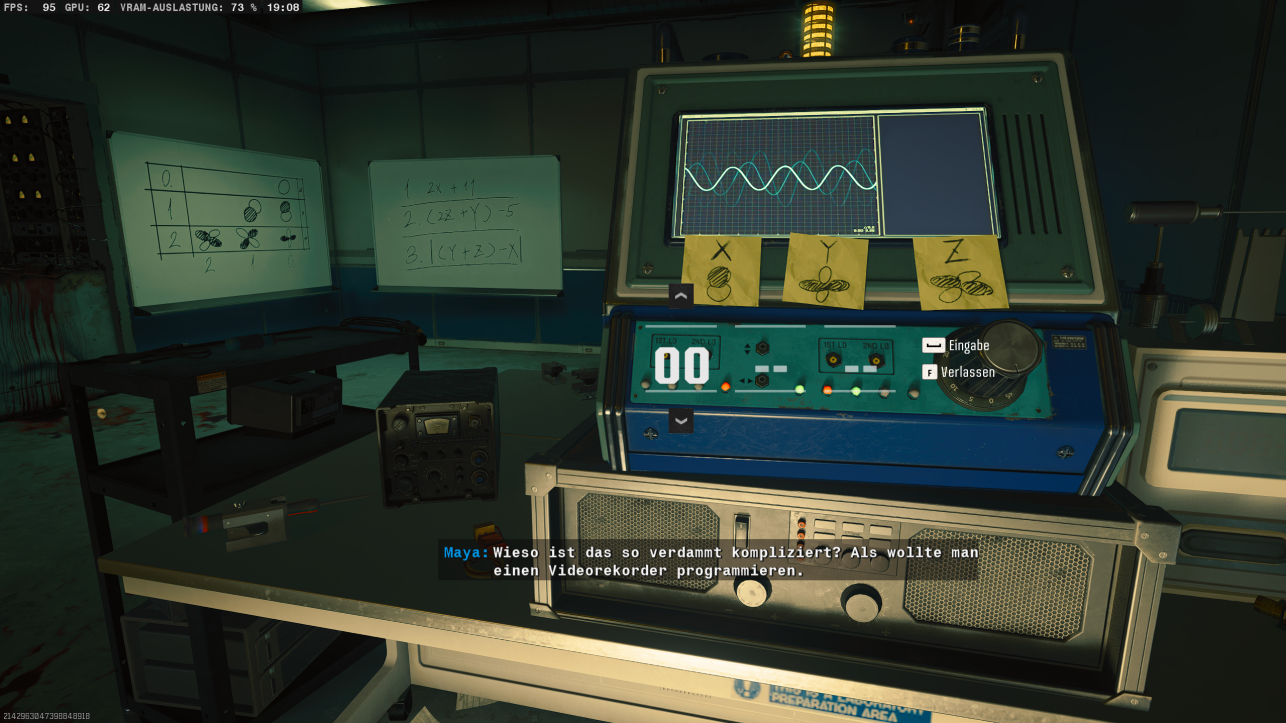
You will now notice three notes with the letters x, y, and z, each featuring different symbols.
This is where your brainpower and mathematical skills come into play. You can attempt to solve the equations on your own or purchase the solution from Peck for 5,000 Essence.
In the room, there are also two whiteboards. On one, you will see the symbols from the notes, while on the other, you will find the three mathematical equations that need to be solved:
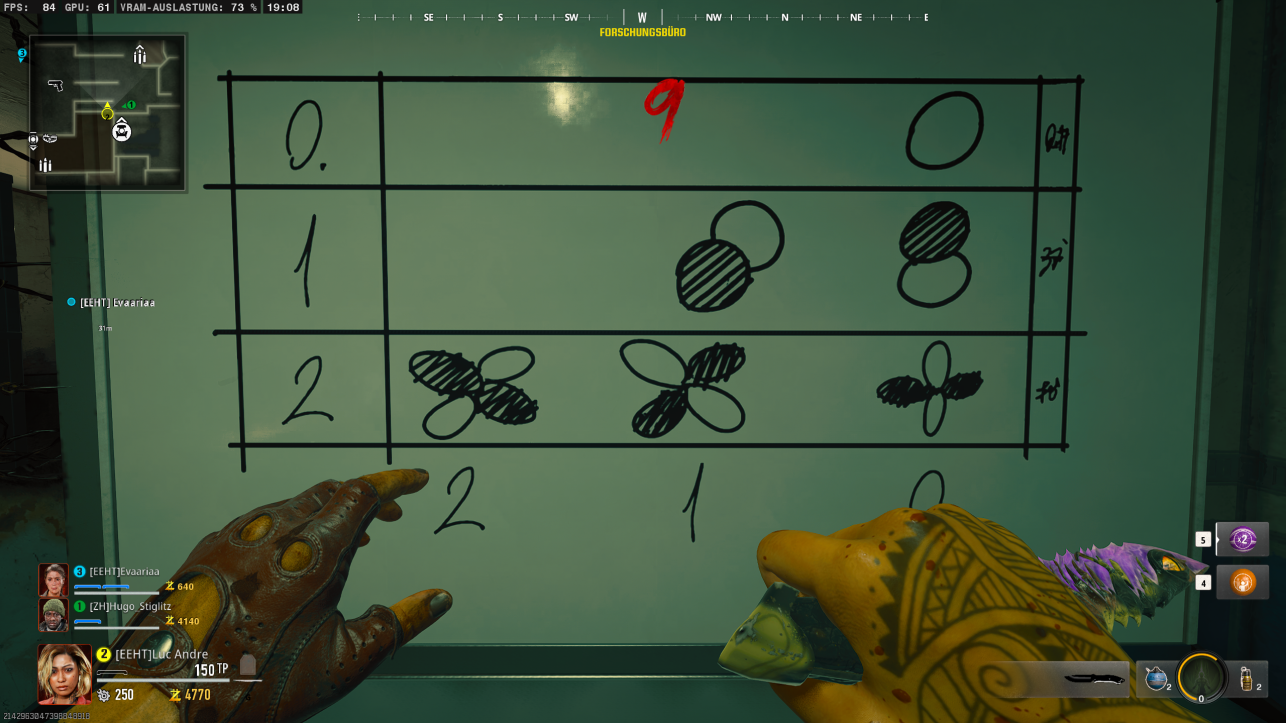
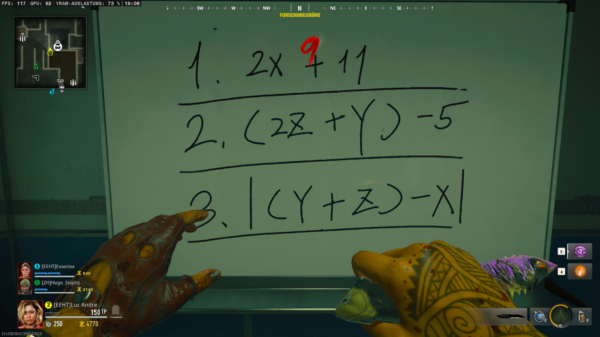
To find the values of the corresponding letters, locate the symbol on the whiteboard.
Take the number from the row label (left side of the table) where the corresponding symbol is found. The second number is from the column label (bottom of the table). This will give you the corresponding value for each letter (x, y, z), and you will need to do this for all three.
IMPORTANT: The values change with each round.
In our example, the values were as follows:
- X = 10
- Y = 20
- Z = 22
With these values, you can solve the three equations from the other whiteboard:
- 2X + 11
Take double the value of X (20), add 11, and you get 31. - (2Z + Y) – 5
Take double the value of Z (44), add Y (20) for a subtotal of 64, then subtract 5 to get 59. - (Y + Z) – X
Add Y (20) and Z (22) for a subtotal of 42, then subtract X (10) to get 32.
Now you have the required code: 31, 59, & 32. Enter this code into the machine and confirm it. If you entered it correctly, the numbers will light up green, and the screen will display a map with a moving target indicator.
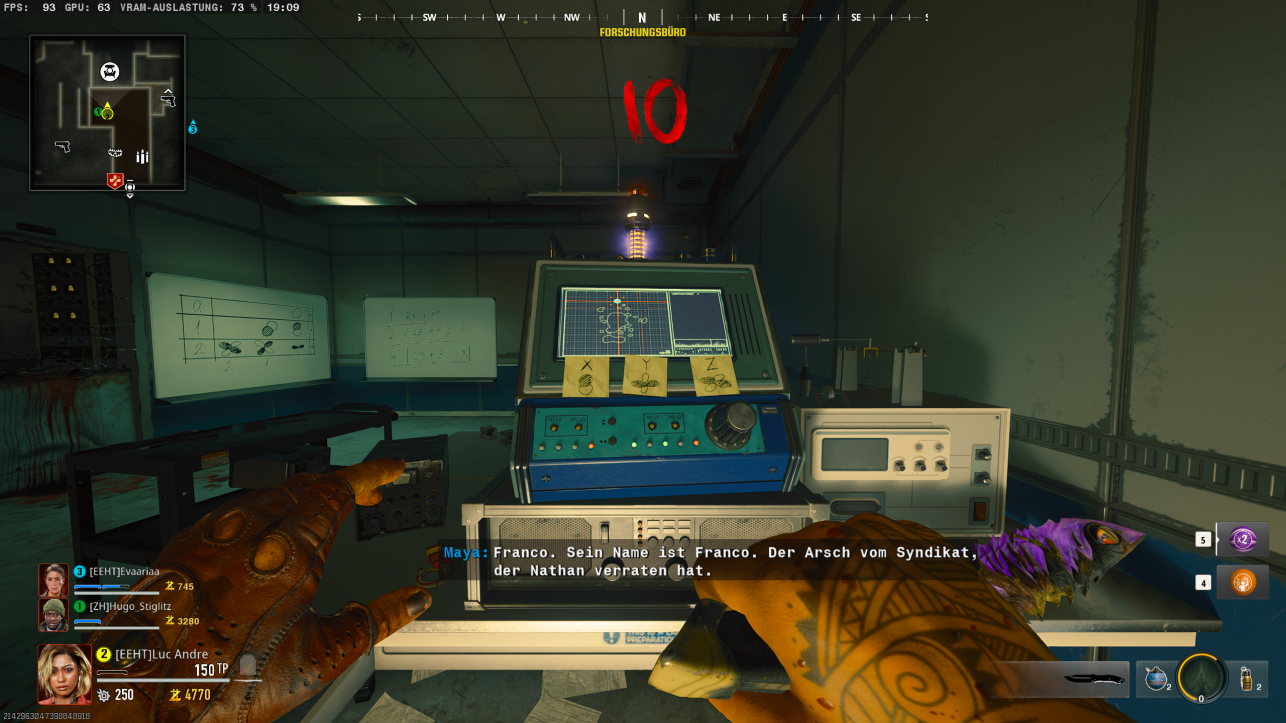
Now, you need to play until Round 9 or until the next wave, if you are already past Round 9. Once that’s done, interact with the machine again, and it will show you a location on the map. Also, pick up the Resonator again, as you will need it for the next step.
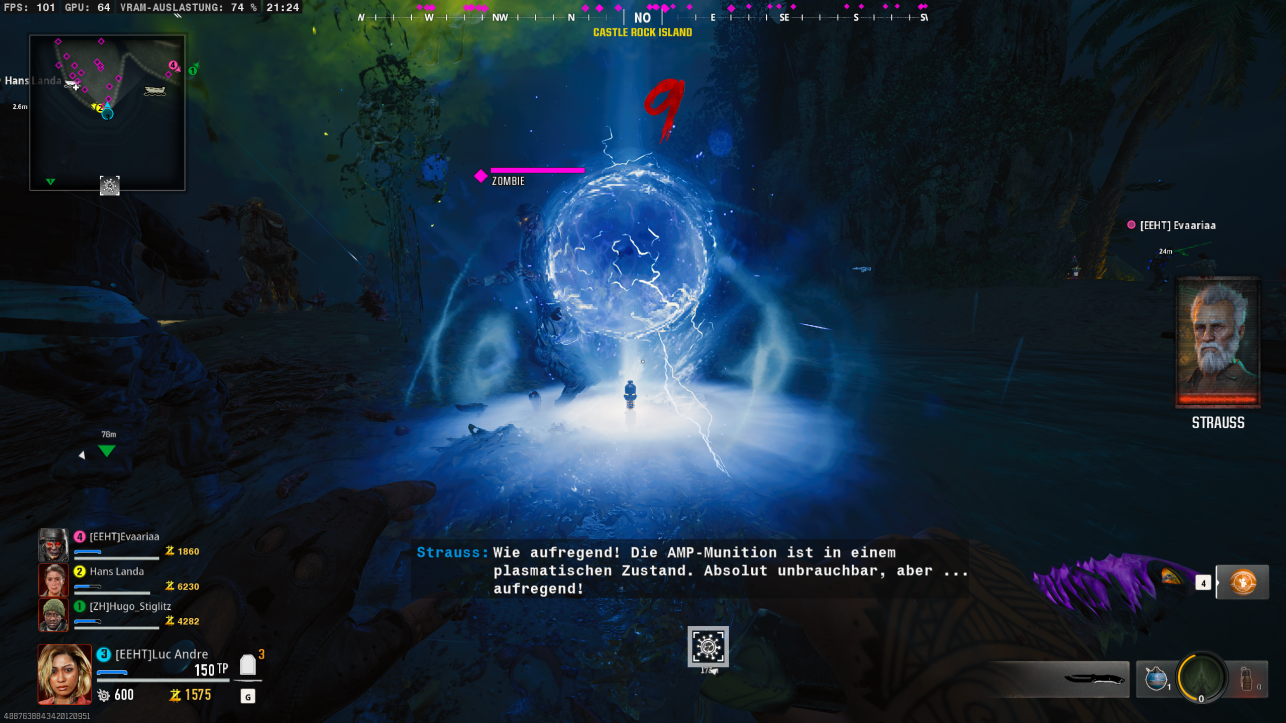
Now, take a boat to Castle Rock Island, where you will see a blue orb. Approach it and interact with it to activate an encounter. During this encounter, the orb will hit certain zombies with a beam.
You can identify these zombies by a colored shimmer around them. When you kill them, they will drop a sphere. You need to pick up this sphere and bring it to the large main orb by walking through it.
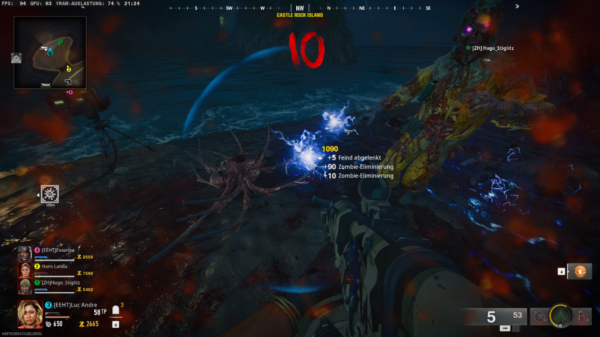
Do this as many times as the number of players in your team.
Once you’ve brought enough spheres to the main orb, it will fly to a different location. You can now pick up the Resonator again and head to the next island.
You need to complete three spheres in total (Blue, Yellow, and Purple), which are located on the following islands:
- Castle Rock Island (Blue)
- Crab Island (Green)
- Temple Island (Purple)
After completing all three spheres, you will be able to pick up the last part: the AMP Ammo.
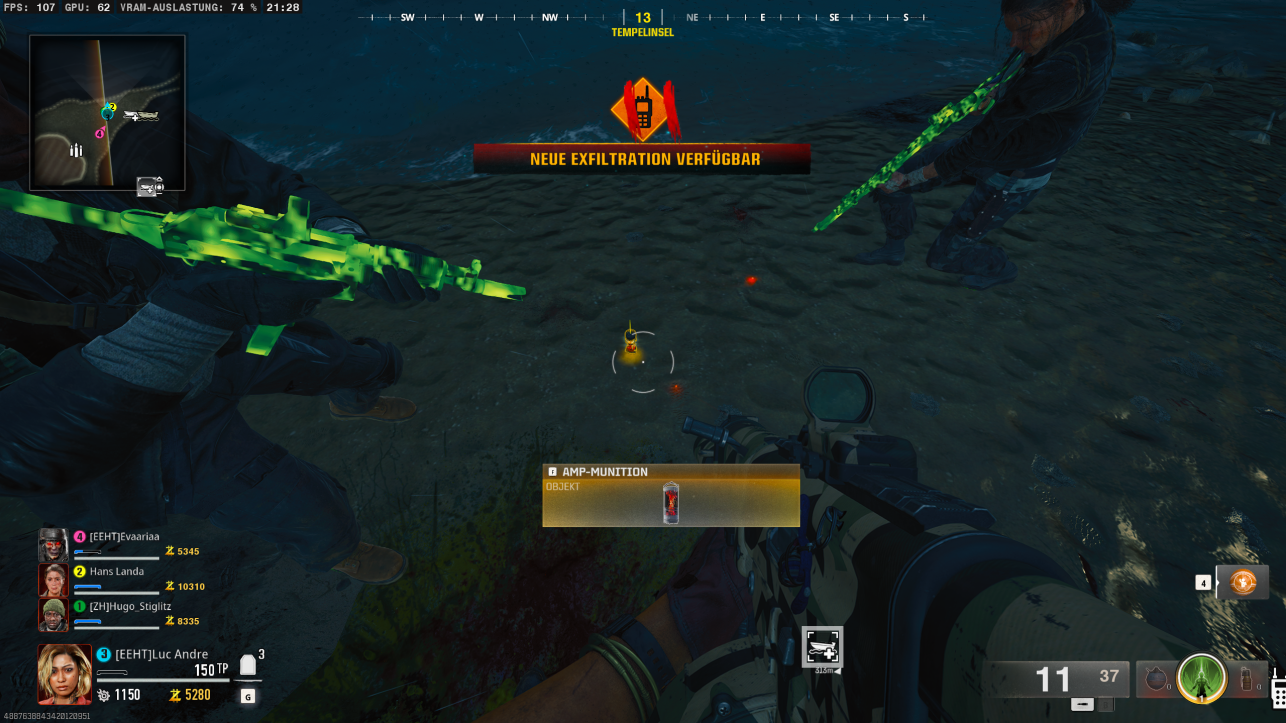
Now, head back to the lab and use the workbench to assemble the Wonder Weapon.
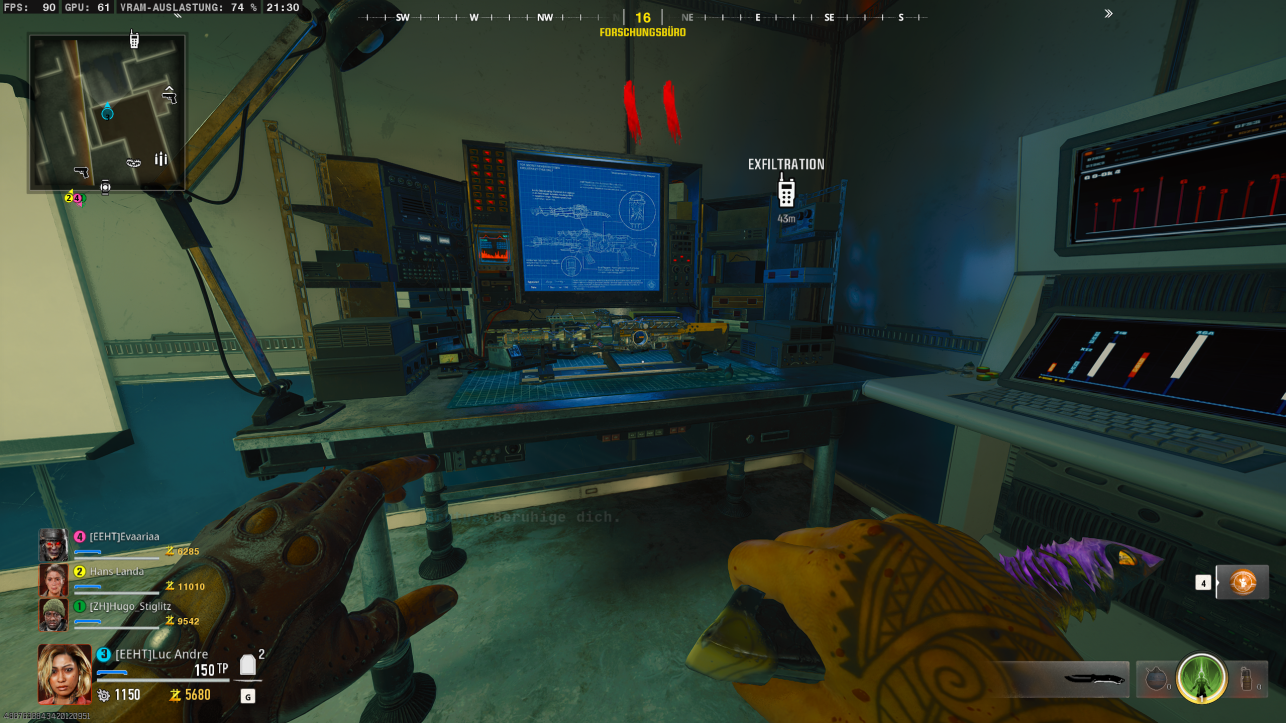
The next step is to find a hard drive. To locate it, you will need the Wonder Weapon.
The hard drive can be found in the tentacle traps. Activate the tentacle trap and shoot it with the beam of the Wonder Weapon. You’ll need to shoot the trap for a while; it may take some time before it releases the hard drive.
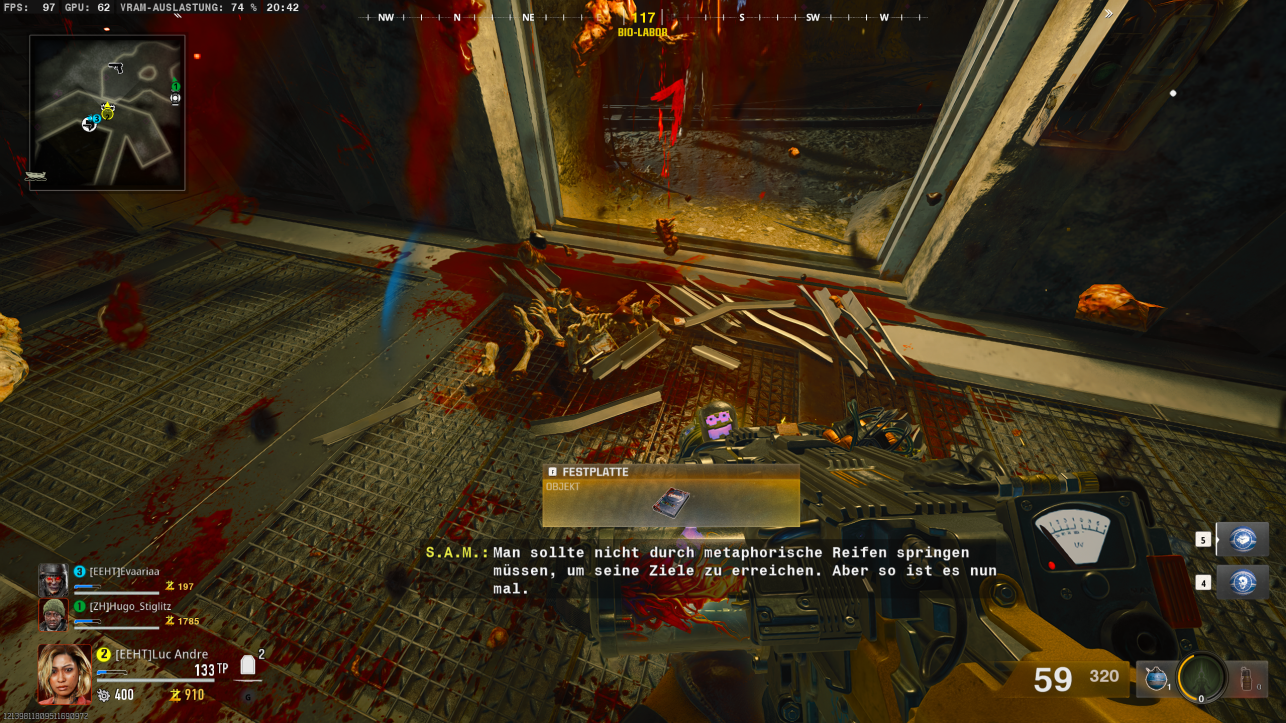
TIP: Look for the trap where the grate is already damaged. The hard drive should be inside that one.
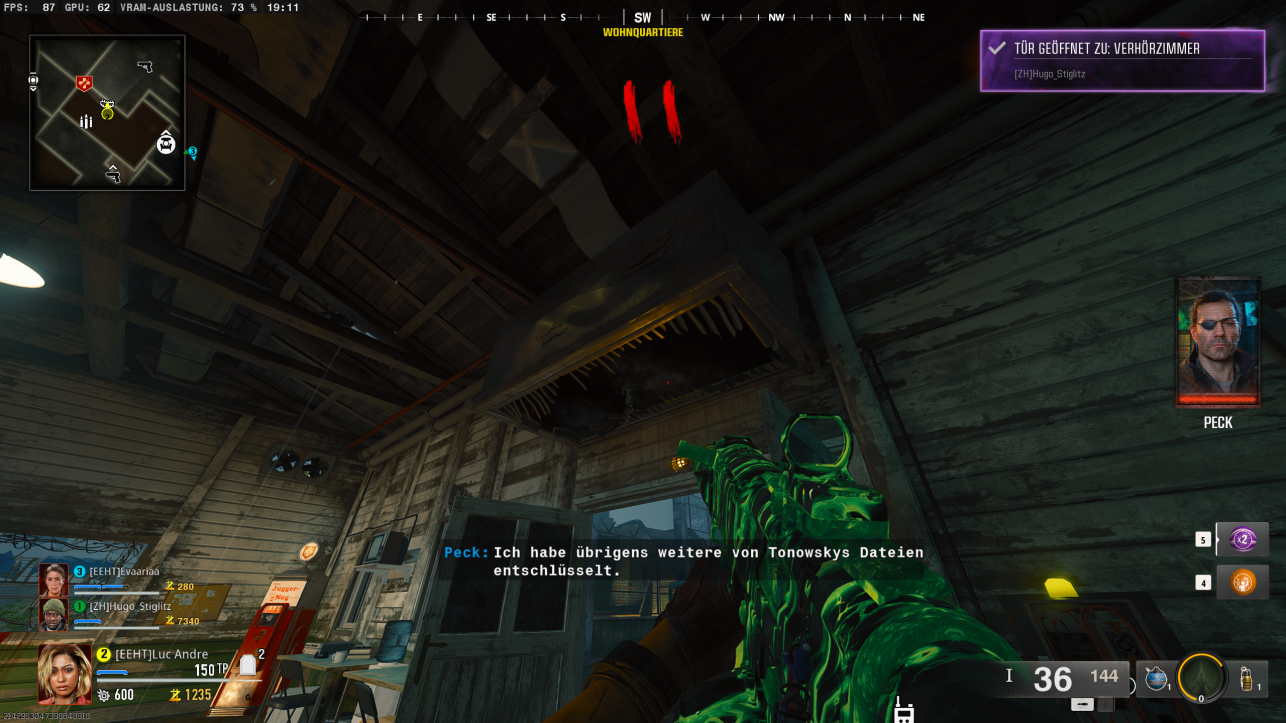
The traps are located in the following places:
- 2 in the Bio-Lab
- 1 in the Living Quarters
- 1 at the Watch Station
Once you have picked up the hard drive, take it to Peck and place it in the mailbox.
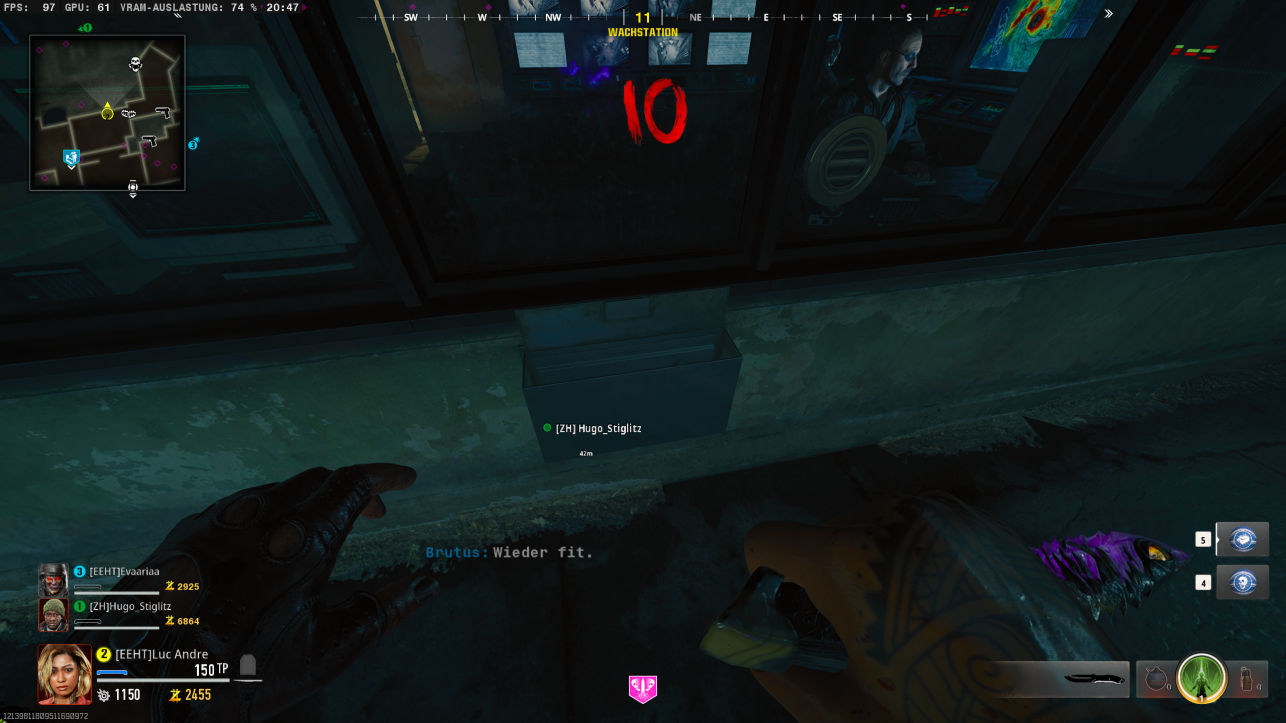
Now, head to the Bio-Lab. There, you will see a round apparatus with a window in the center.
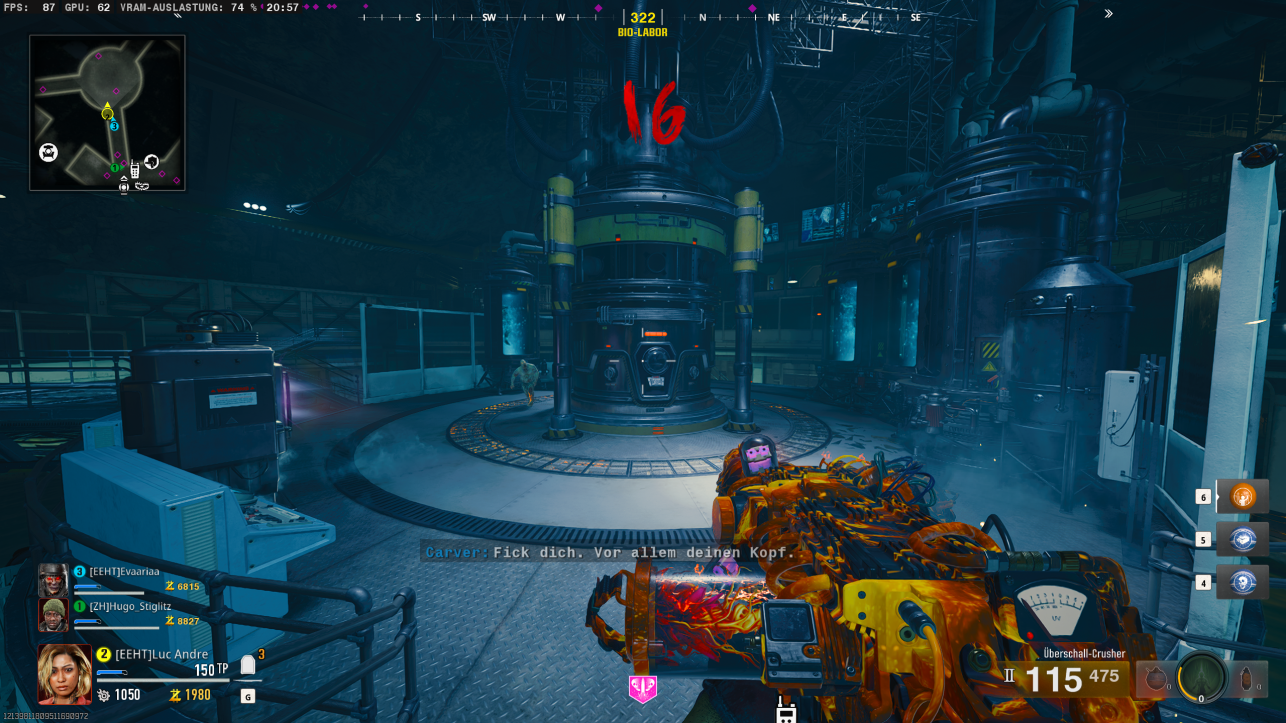
Interact with the apparatus, and the window will open, allowing Nathan to begin speaking with you.
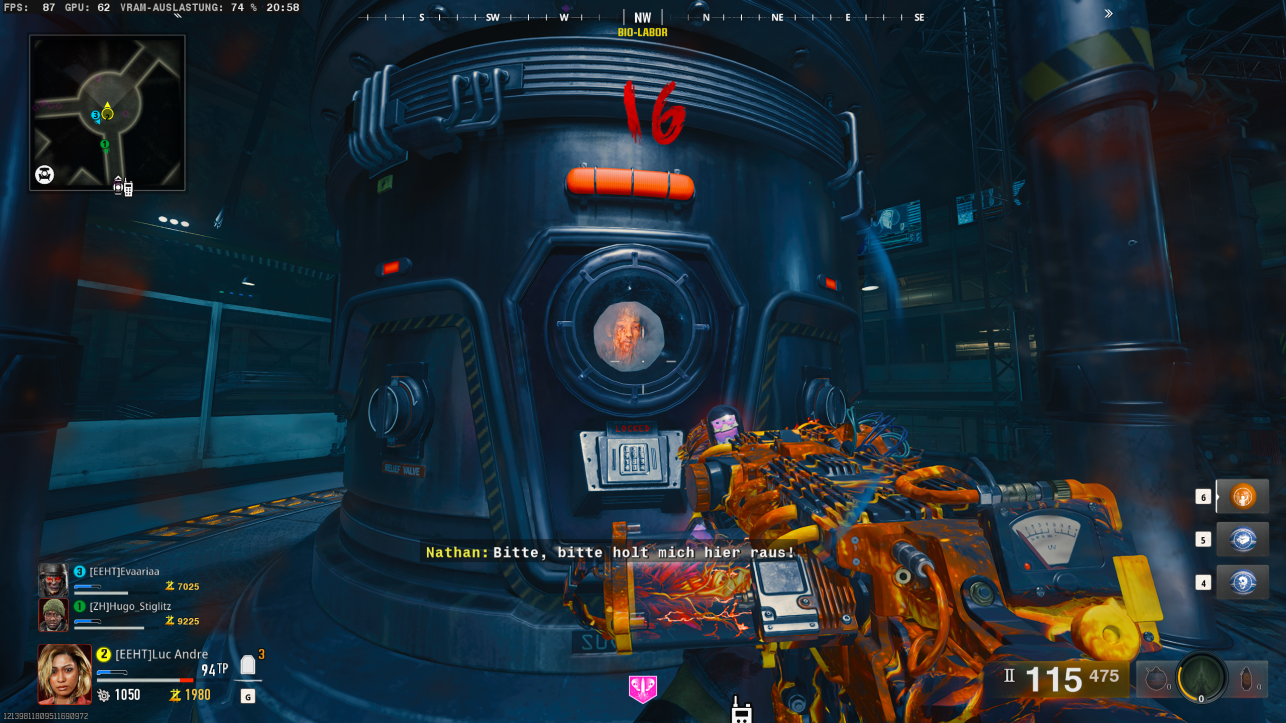
He will inform you that a three-digit code is required.
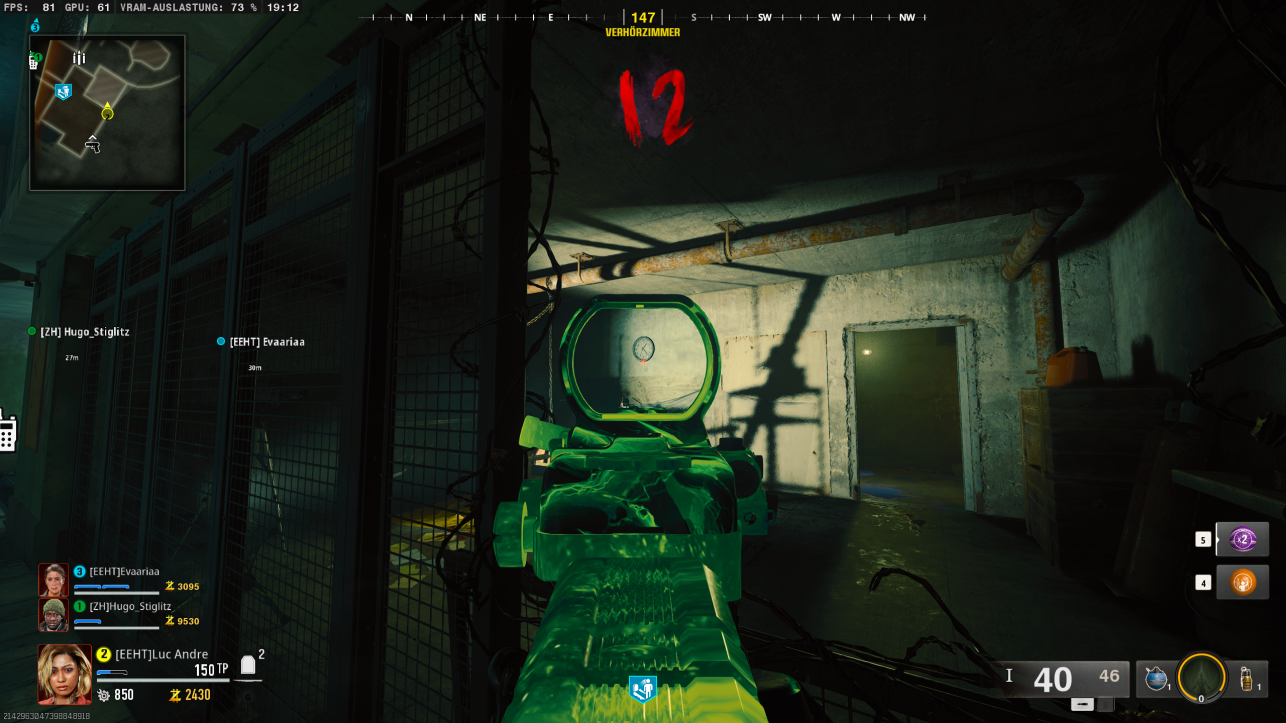
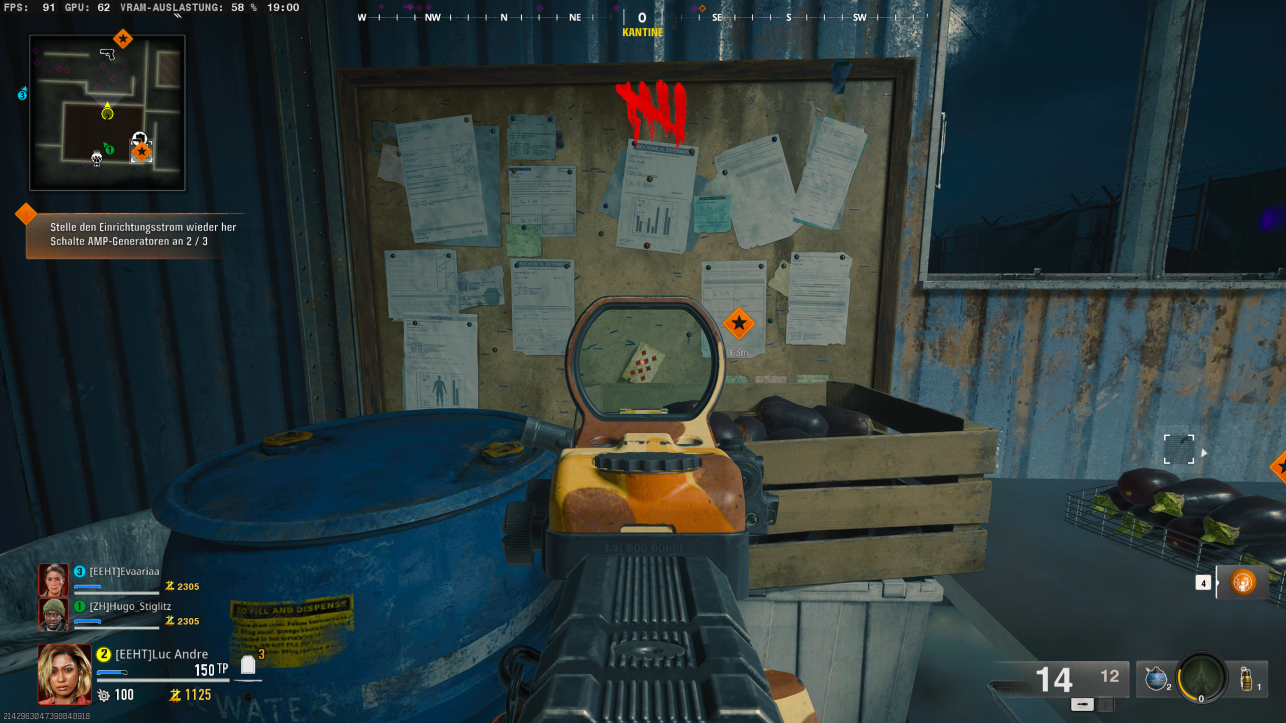
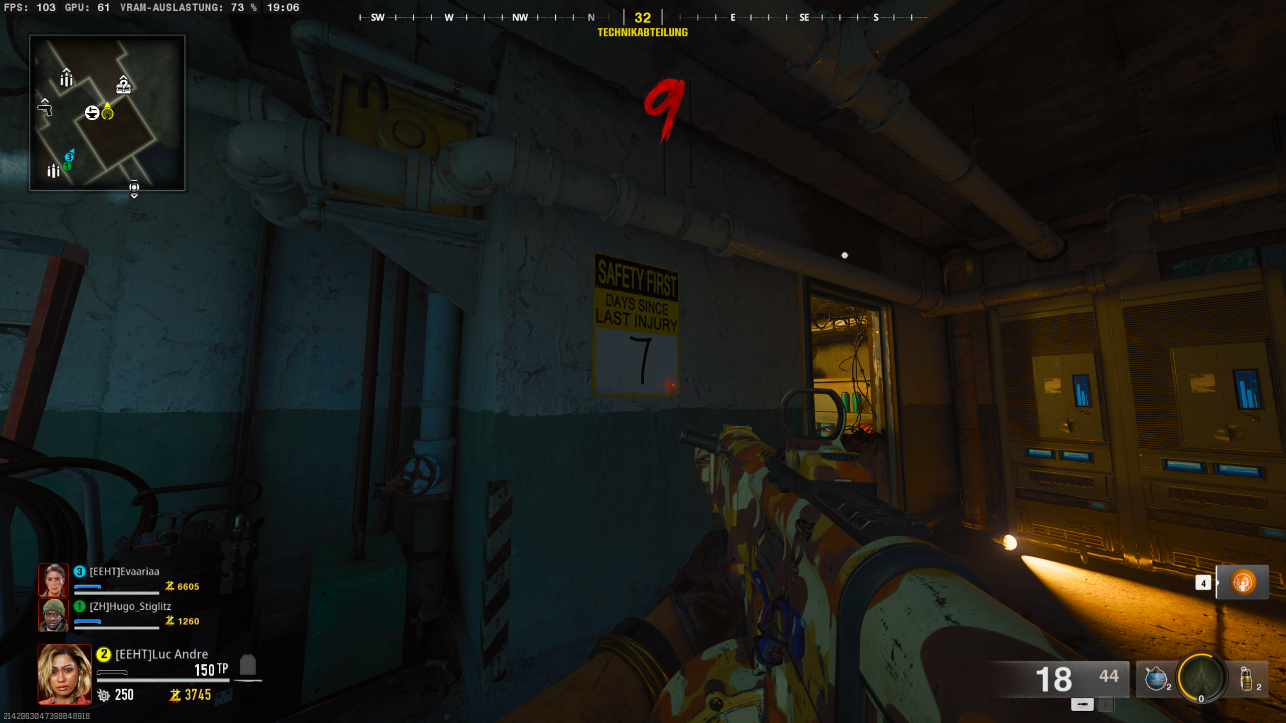
The three numbers are located in the following places and must be entered in this order:
- Interrogation Room: The hour hand will give you the correct number.
- Mess Hall
- Technical Department
Now, return to the Bio-Lab and interact with the keypad located beneath the window where Nathan is looking out. You can now enter the code. If you’ve entered it correctly, you will see “Unlocked” displayed in green text on the keypad.
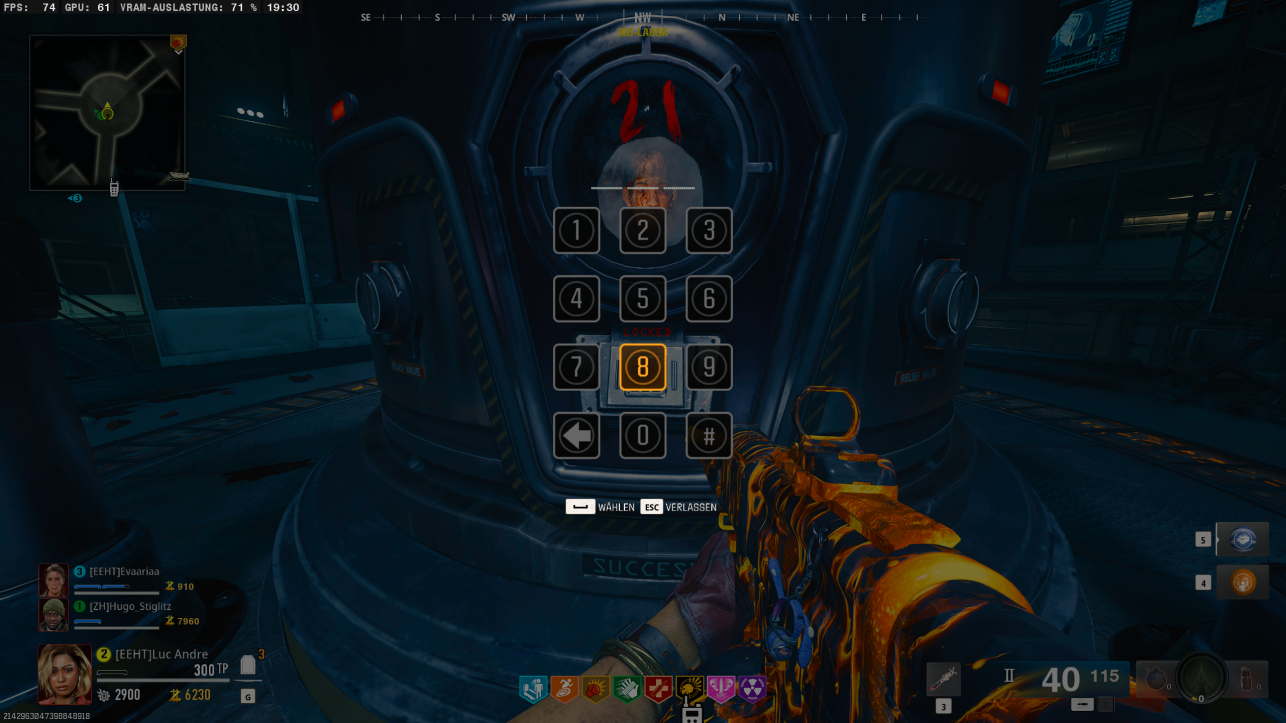
NOTE:
Once you free Nathan, you will face a boss fight. Nathan is, as you will discover, an Amalgam and possesses similar abilities but has significantly more health. Additionally, he will heal himself by consuming other zombies. You will be trapped in the lab, and zombies will continue to spawn until you defeat Nathan.
Make sure you are well-equipped, with weapons that are properly Pack-a-Punched and upgraded.
Use powerful weapons like Wonder Weapons, high-damage weapons, or those with a high rate of fire.
Here’s a general guideline we recommend:
- Rounds 1 – 20:
- Punch Level 2 and Blue Weapon Tier
- From Round 20 onward:
- Punch Level 3 and Blue Weapon Tier
After successfully entering the code, you will need to activate the dials together and at the same time.
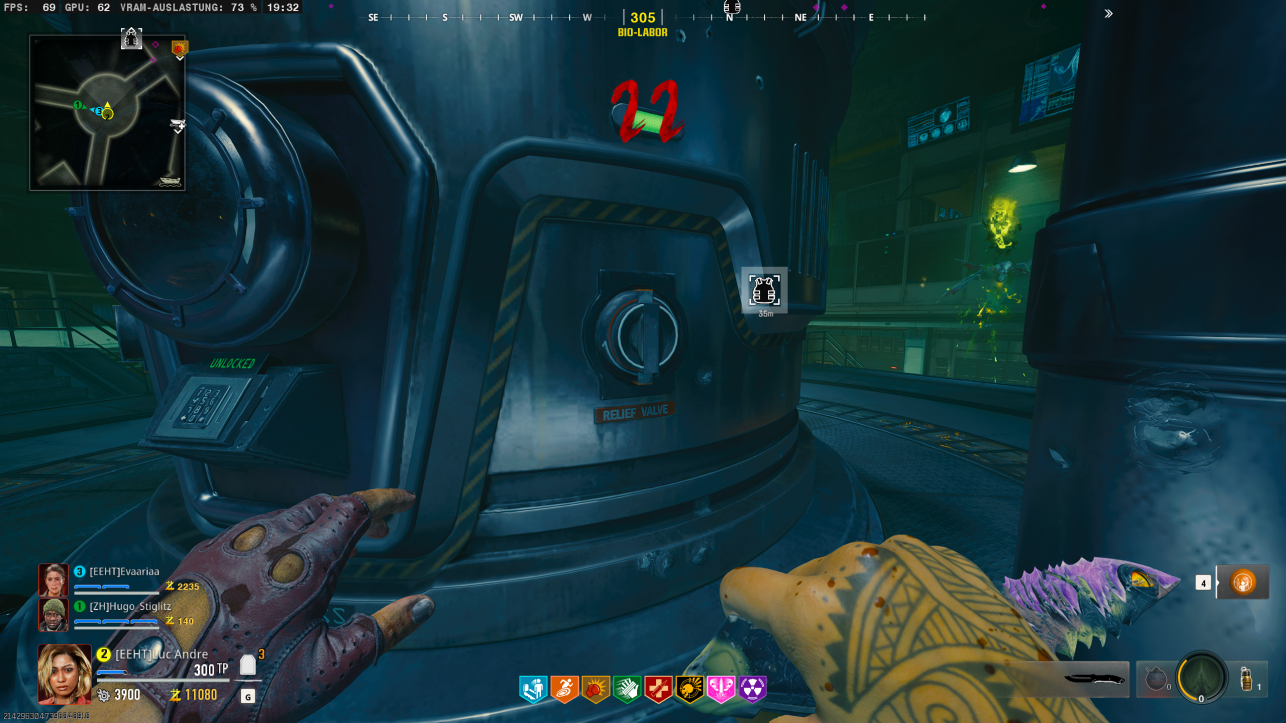
If you successfully complete this, the screen will briefly flash white, and the boss fight will begin.
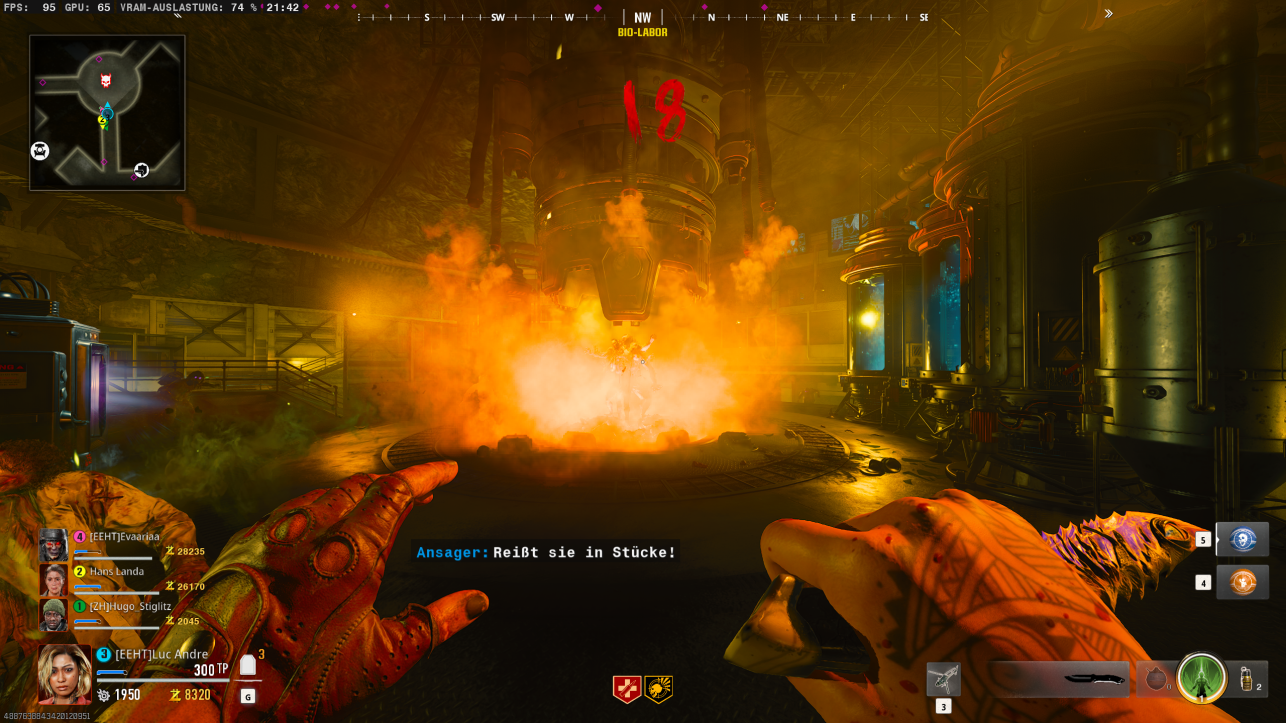
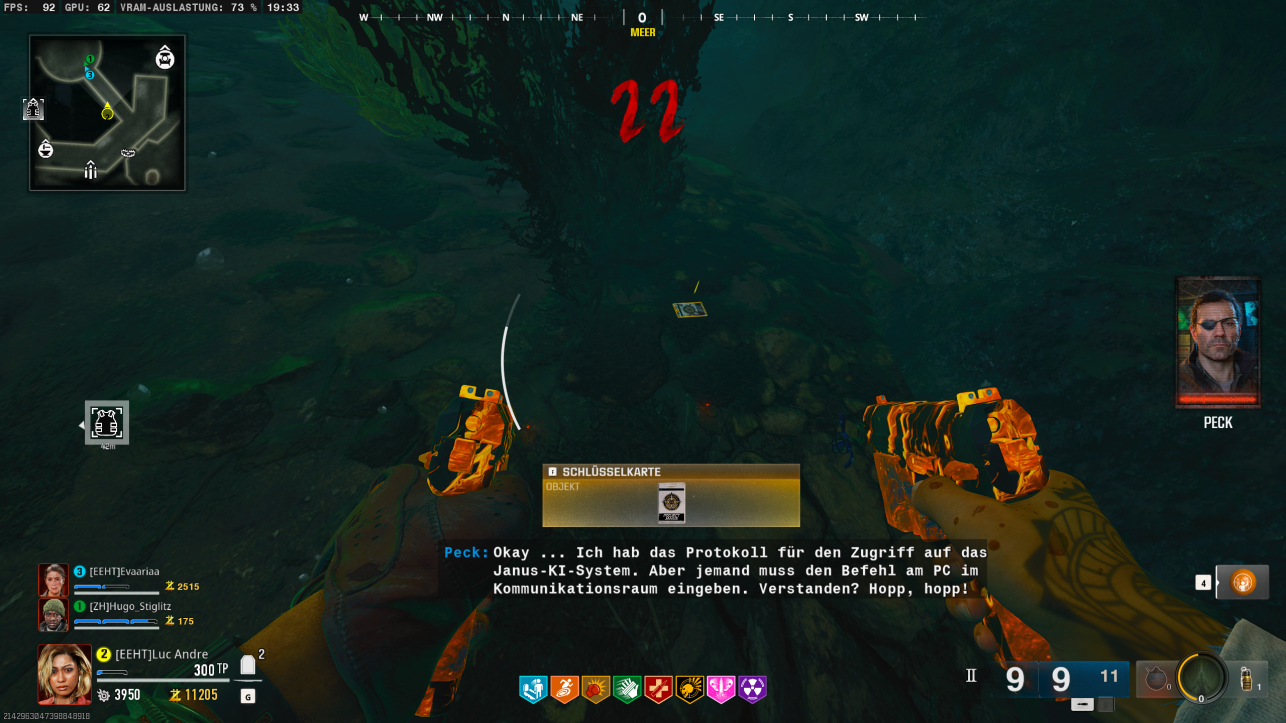
After defeating him, there will be a short cutscene. Afterwards, jump into the water to the right of the Pack-a-Punch and collect the keycard that he dropped.
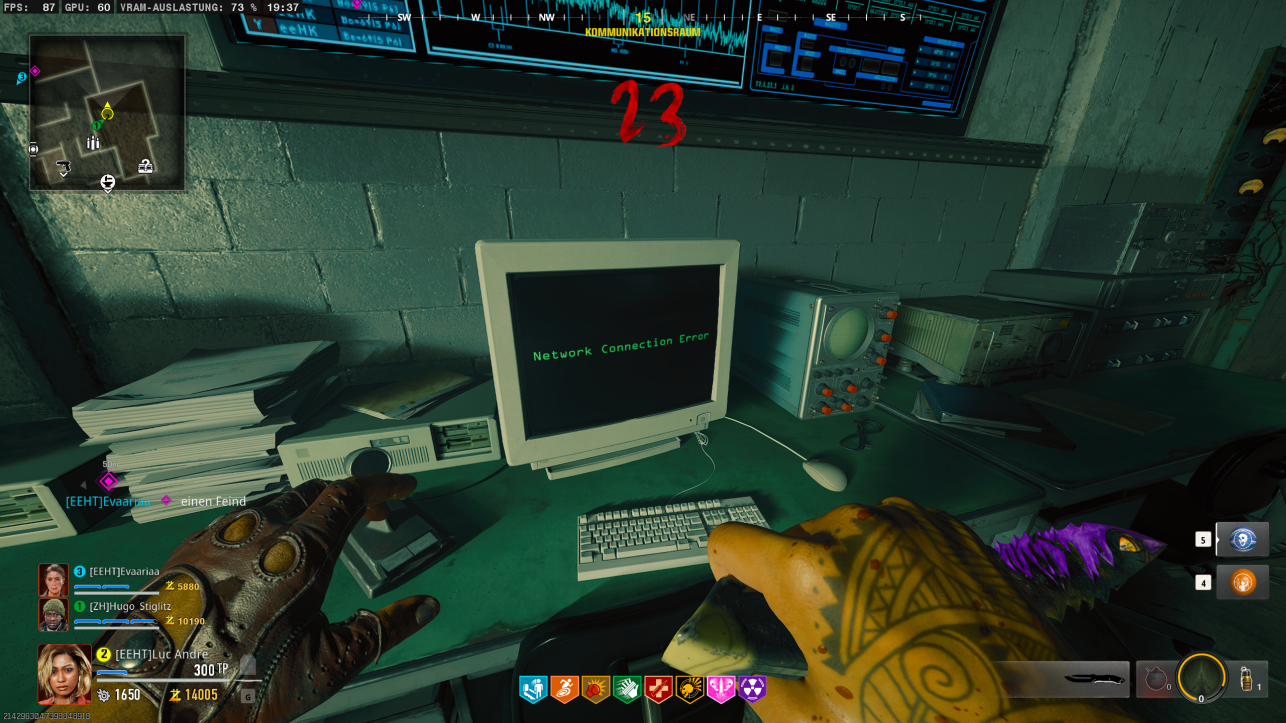
Once you have picked up the keycard, head to the Communication Room and interact with the computer that has the green text. You will receive an error message indicating that a network error has been detected.
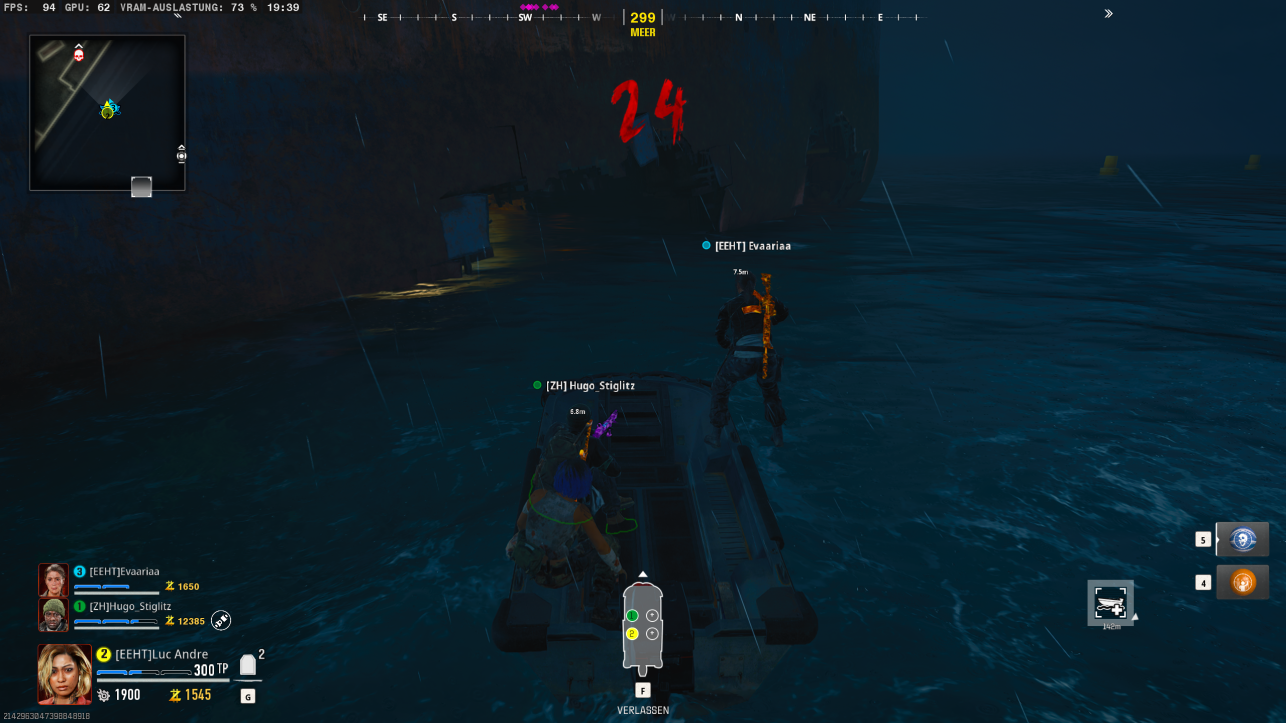
Now, head to the shipwreck. On the sides of the wreck, you will see a hole. Drive into it and use the ladder, which will take you to the workshop. Wait until all players are inside.
On the table, you will see two knot connectors. Only interact with them once all players are in the room, as engaging with either of them will seal the room and start a three-phase encounter.
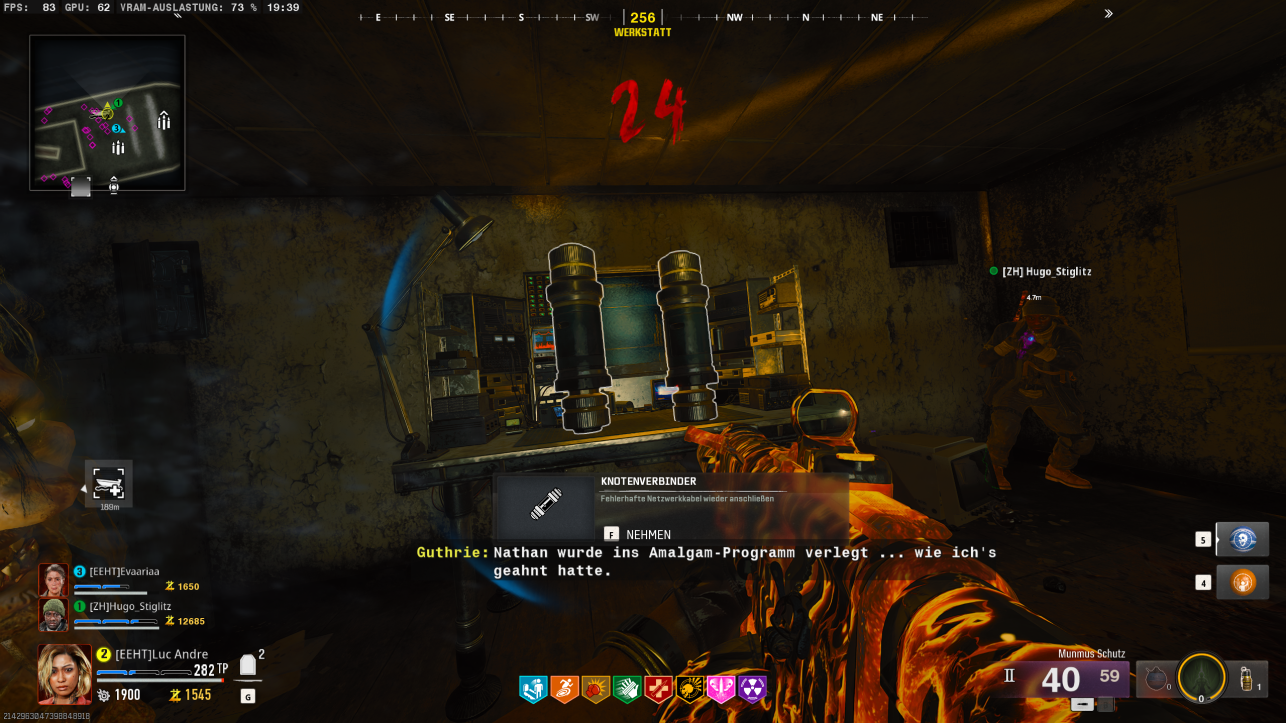
After completing the encounter, you will receive a Max Ammo, and you can take the connectors outside to your boat.
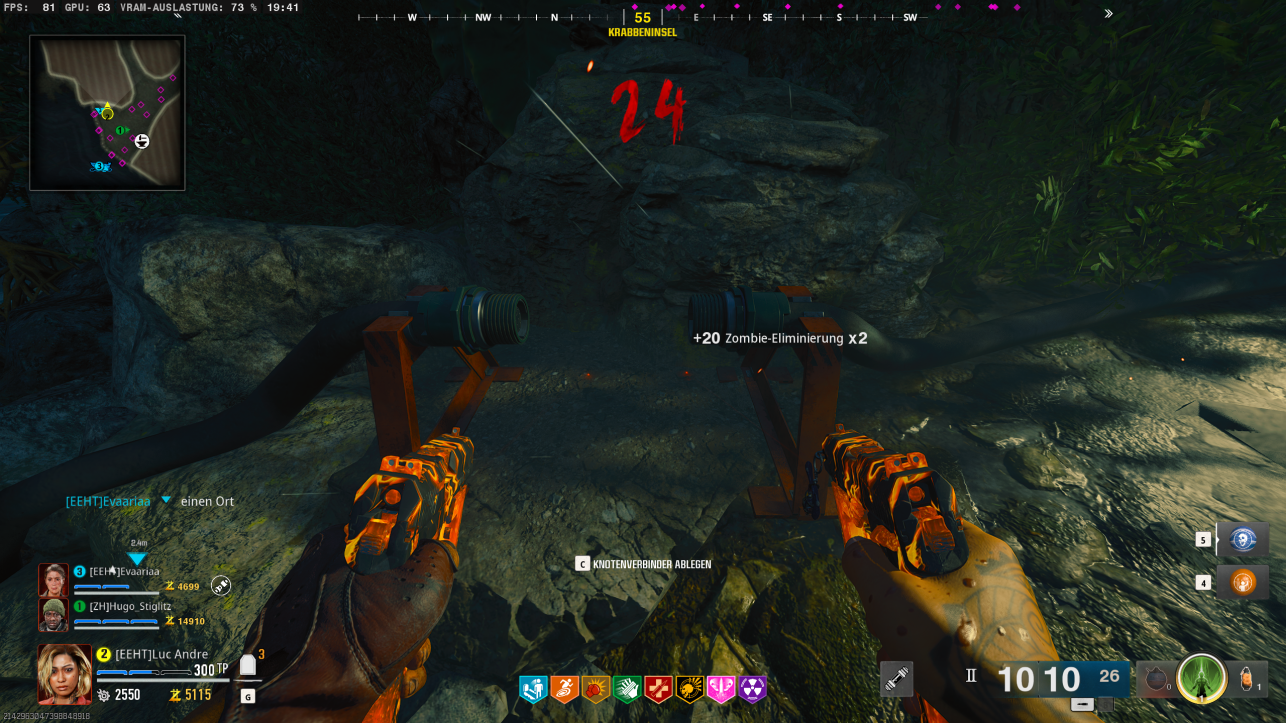
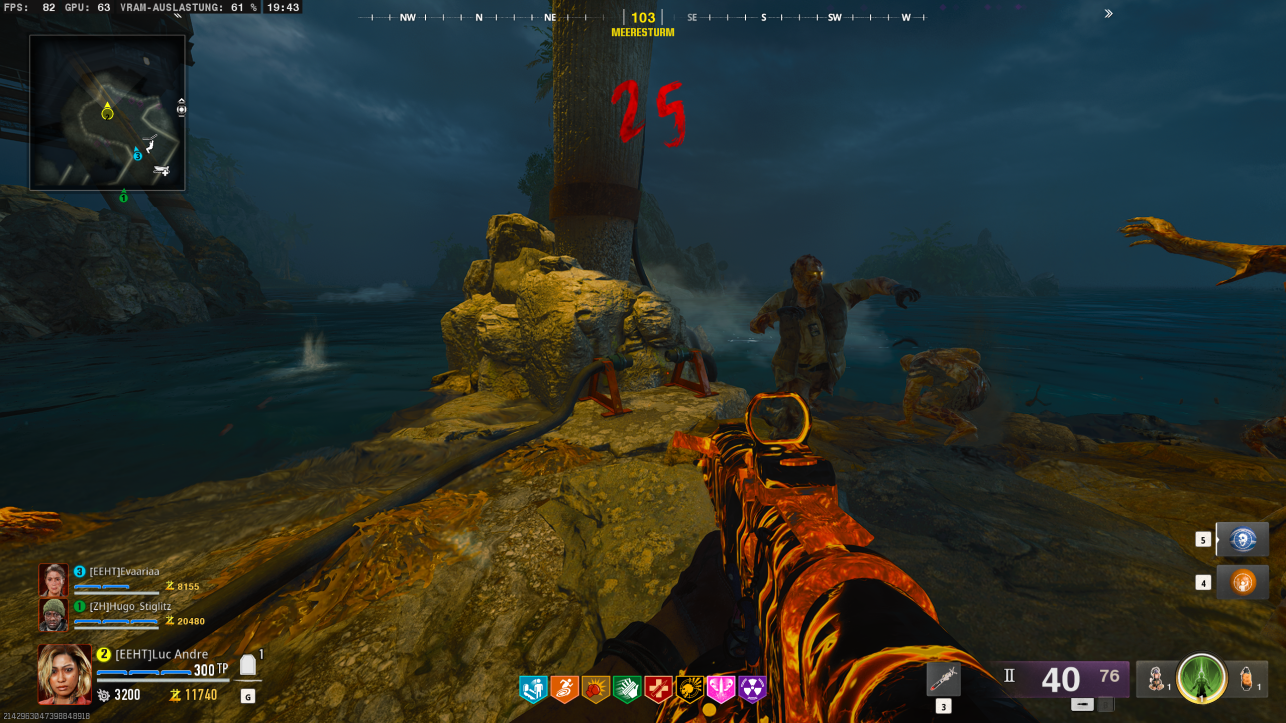
The two knot connectors need to be placed at two locations. There are three possible sites, one of which will always already have a connector in place:
- Crab Island
- Sea Tower
- Sea Caves
Protect the person who is placing the connector. Once the network connection is restored, head to Peck.
Pick up the hacking device from the mailbox at Peck’s location.
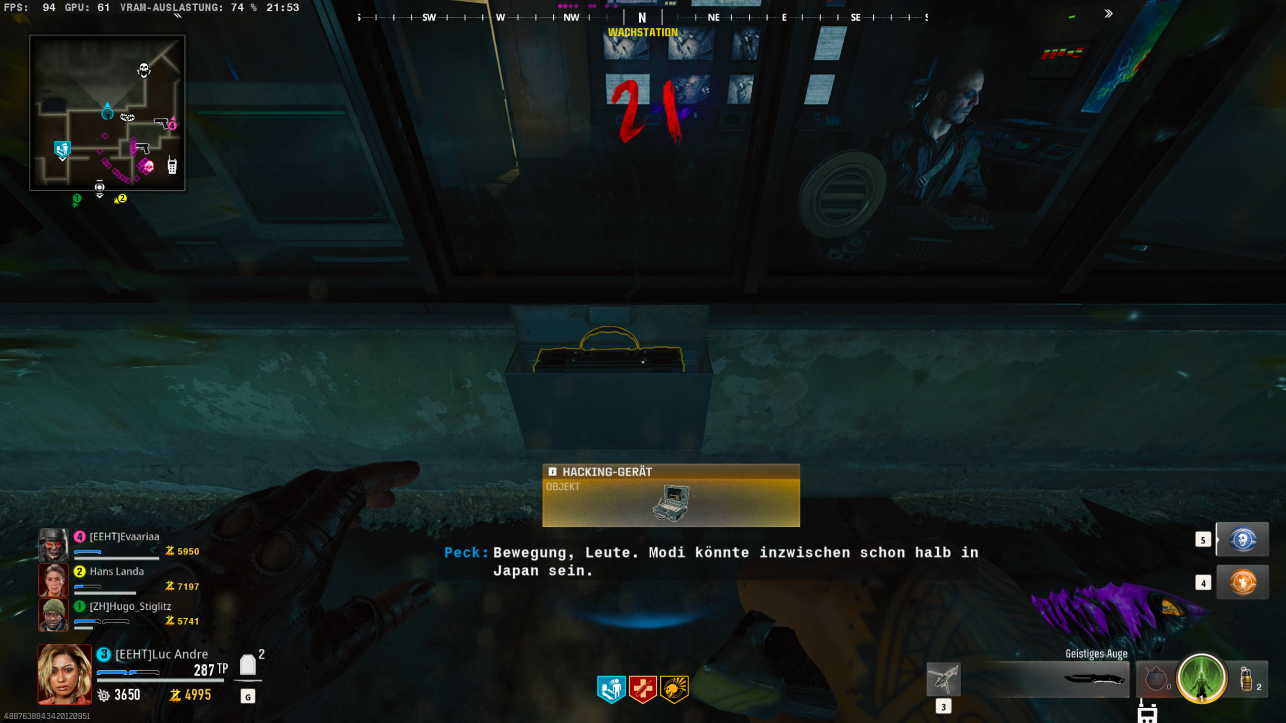
Now, head back to the sea and look for three buoys with a satellite on top. It’s best to start at one buoy and then follow the yellow buoys for the quickest route to the next ones.
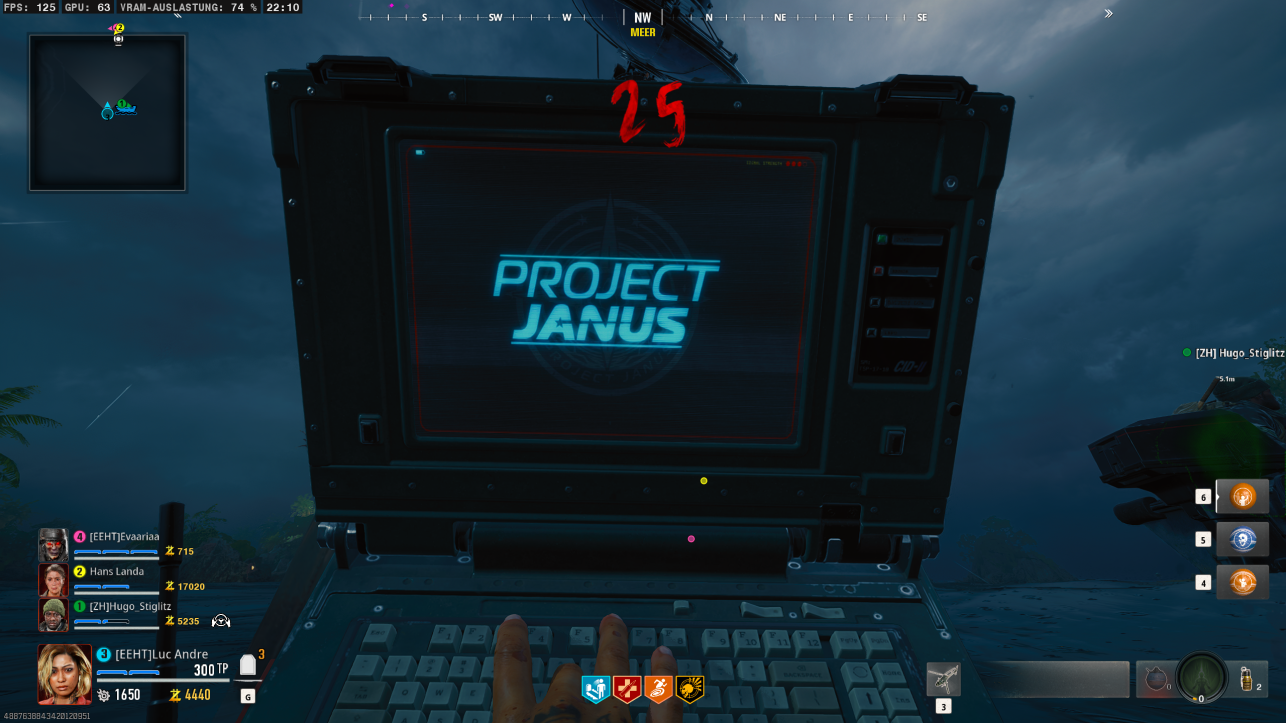
The player who picked up the hacking device is the only one who can hack the buoys. Keep in mind that once you hack a buoy, a timer will start. You must hack all three buoys within this time limit.
IMPORTANT NOTE:
After hacking all three buoys, a FATAL TIMER will start! If this timer runs out, the Easter Egg will end, and you will have to start over.
Once you have hacked all the buoys, make your way back to the Bio-Lab as quickly as possible. There, you will find three warheads. Again, you need to protect the person who is disarming the bomb.
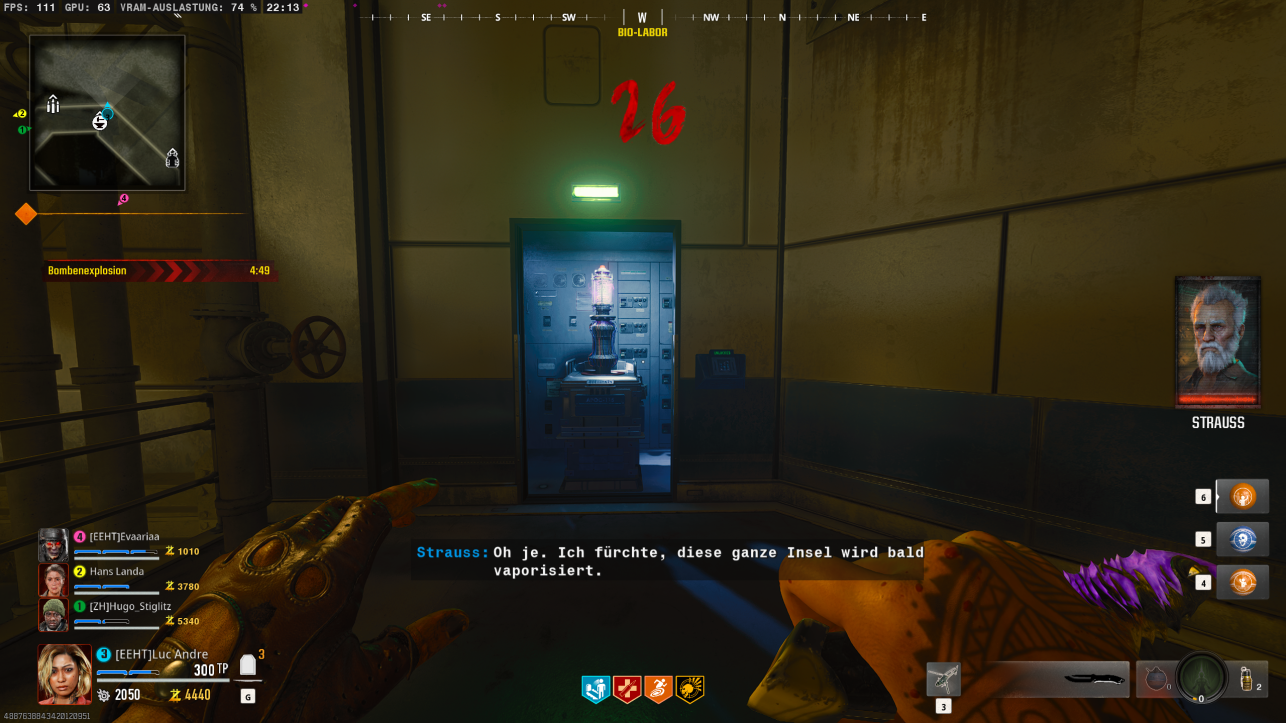
Once you have disarmed everything, the boss fight can begin.
IMPORTANT NOTE:
The boss fight on Terminus is nearly impossible to complete without proper preparation. Therefore, we recommend the following equipment:
Primary Weapon: Punch Level 3 + Weapon Tier Legendary (Orange)
Secondary Weapon: Wonder Weapon or Punch Level 3 + Weapon Tier Legendary (Orange)
Ammo Mods: Napalm Burst
Armor: Level 3
Perks: Deadshot Daiquiri, Speed Cola, Stamin-Up, Jugger-Nog, Quick Revive, PHD Flopper
Field Upgrade: Energy Mine
Tactical Equipment: Monkey Bomb
Primary Equipment: Casimir
Killstreak: Mangler Injection
Self-Revive: Yes
Primary Weapon: Punch Level 3 + Weapon Tier Legendary (Orange)
Secondary Weapon: Wonder Weapon or Punch Level 3 + Weapon Tier Legendary (Orange)
Ammo Mods: Napalm Burst
Armor: Level 3
Perks: Deadshot Daiquiri, Speed Cola, Stamin-Up, Jugger-Nog, Quick Revive, PHD Flopper
Field Upgrade: Energy Mine & Franzied Guard
Tactical Equipment: Monkey Bomb
Primary Equipment: Casimir
Killstreak: 2x Mangler Injection
Self-Revive: Yes
Primary Weapon: Punch Level 3 + Weapon Tier Legendary (Orange)
Secondary Weapon: Wonder Weapon or Punch Level 3 + Weapon Tier Legendary (Orange)
Ammo Mods: Napalm Burst
Armor: Level 3
Perks: Deadshot Daiquiri, Speed Cola, Stamin-Up, Jugger-Nog, Quick Revive, PHD Flopper
Field Upgrade: Energy Mine, Frenzied Guard & Healing Aura
Tactical Equipment: Monkey Bomb
Primary Equipment: Casimir
Killstreak: 2x Mangler Injection & 1x Chopper
Self-Revive: Yes
Primary Weapon: Punch Level 3 + Weapon Tier Legendary (Orange)
Secondary Weapon: Wonder Weapon or Punch Level 3 + Weapon Tier Legendary (Orange)
Ammo Mods: Napalm Burst
Armor: Level 3
Perks: Deadshot Daiquiri, Speed Cola, Stamin-Up, Jugger-Nog, Quick Revive, PHD Flopper
Field Upgrade: 1x Energy Mine, 1x Franzied Guard & 2x Healing Aura
Tactical Equipment: Monkey Bomb
Primary Equipment: Casimir
Killstreak: 3x Mangler Injection & 1x Chopper
Self-Revive: Yes
The final fight can be started at the following door in the Bio-Lab.
Approach the final fight calmly and don’t let stress overwhelm you. Ensure that no panic ensues, and always be mindful of the boss’s arms to dodge his attacks. The final fight is divided into three phases.
Phase 1
In this phase, focus on shooting the red bubbles on the boss’s shoulders. If you have one, use the helicopter support to deal damage to the bubbles more quickly.
Between Phase 1
Now, shoot the boss’s tentacles in the back area. Move together in one direction and shoot at the arms until they disappear.
Phase 2
In this phase, concentrate your firepower on the boss’s torso. Now is the time to deploy the Mangler Injection. Get as close to the boss as possible and fire the cannon at his mouth.
Between Phase 2
This phase is the same as Between Phase 1.
Phase 3
This phase is crucial. The boss will charge an attack that will instantly kill you if you are not in cover. Watch for this attack; you’ll recognize it when he raises his arms and an electric ball starts to grow above his head. In this phase, concentrate your fire on his eyes. You can again deal significant damage with the Mangler.
If you survive all three phases, you will have completed the Easter Egg!


