Call of Duty®: Black Ops 6 „Liberty Falls“ Easter Egg Guide
“A small town in West Virginia is caught up in the grip of a mysterious outbreak. Assess the situation, contain the threat, and find the lost scientist who may hold the key to salvation.“— Mission Briefing
To start the Easter egg, you need to buy up the entire town. The game will guide you using orange star symbols. Once you’re in the church, you’ll see a machine on the right wall. You need to interact with it, and you’ll receive a voice line.
The Pack-a-Punch is also located there.
Once you’ve unlocked the Pack-a-Punch, it’s time to craft the Jetgun. You’ll need three different parts for this:
- Water Pressure Gauge
- Handbrake
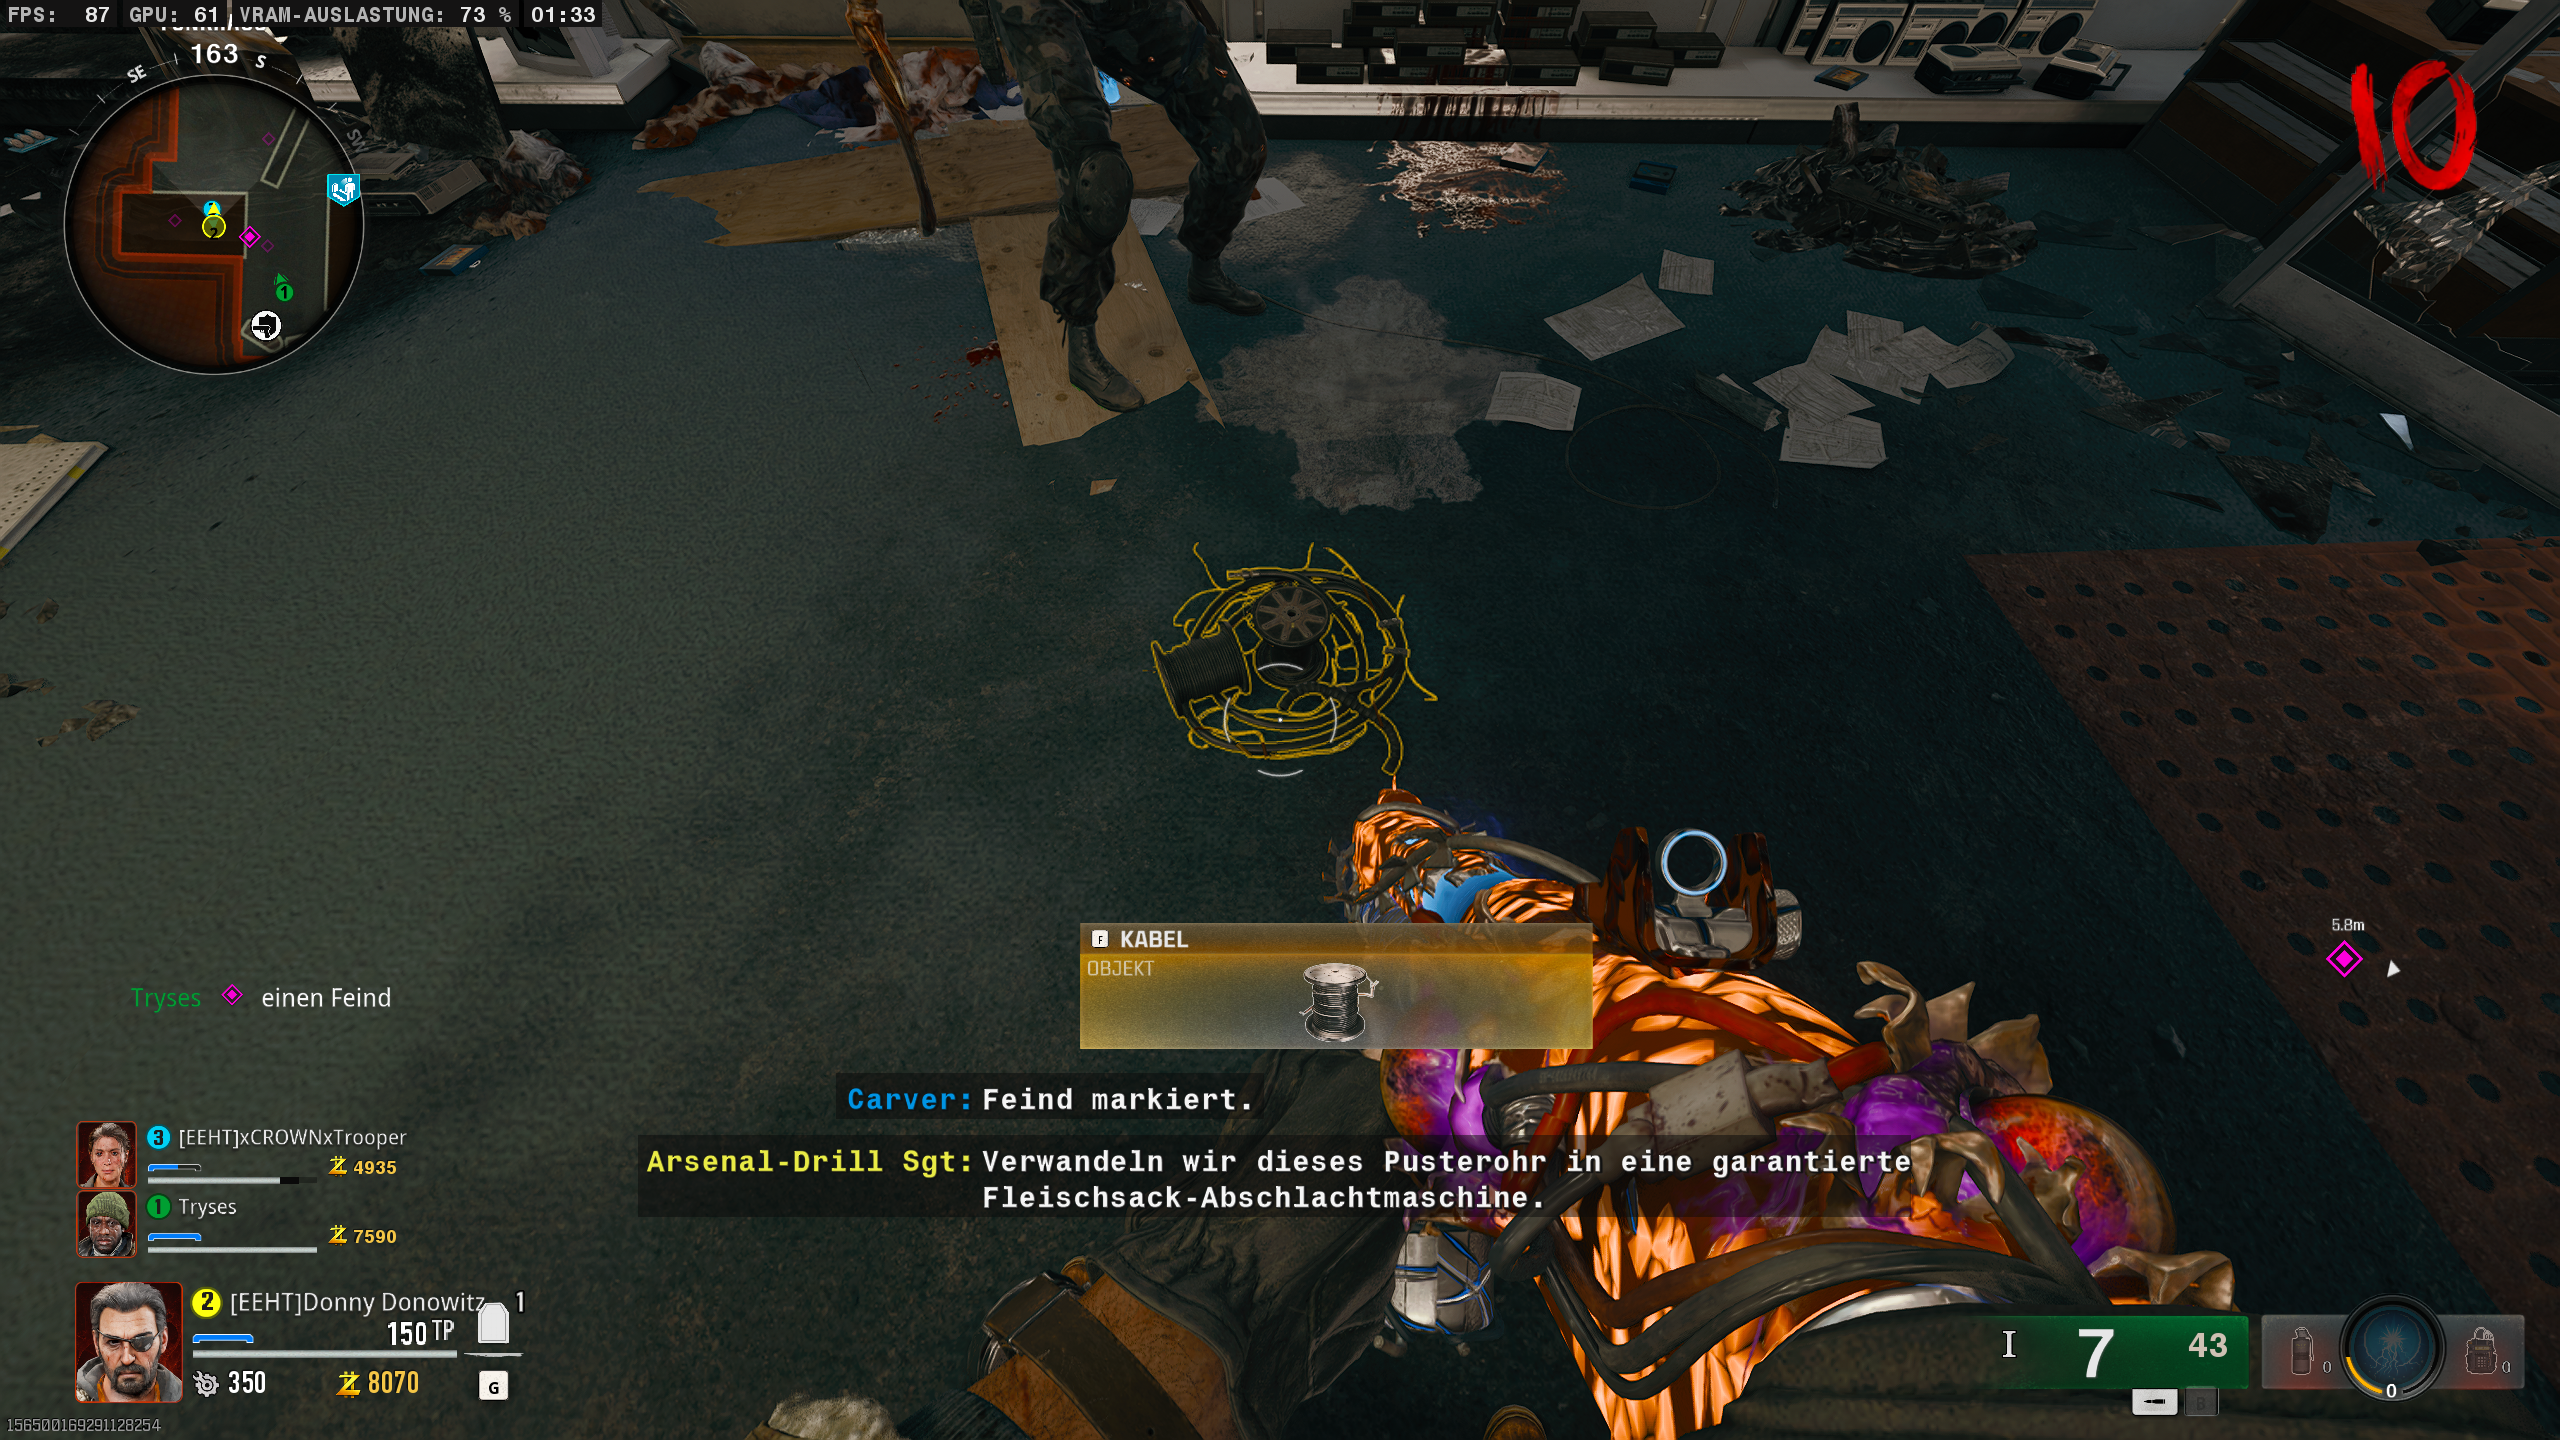
- Cable
Water Pressure Gauge
To obtain the Water Pressure Gauge, you need a water valve. This is located at the local flower shop. Interact with the valve, and you’ll receive the necessary part.
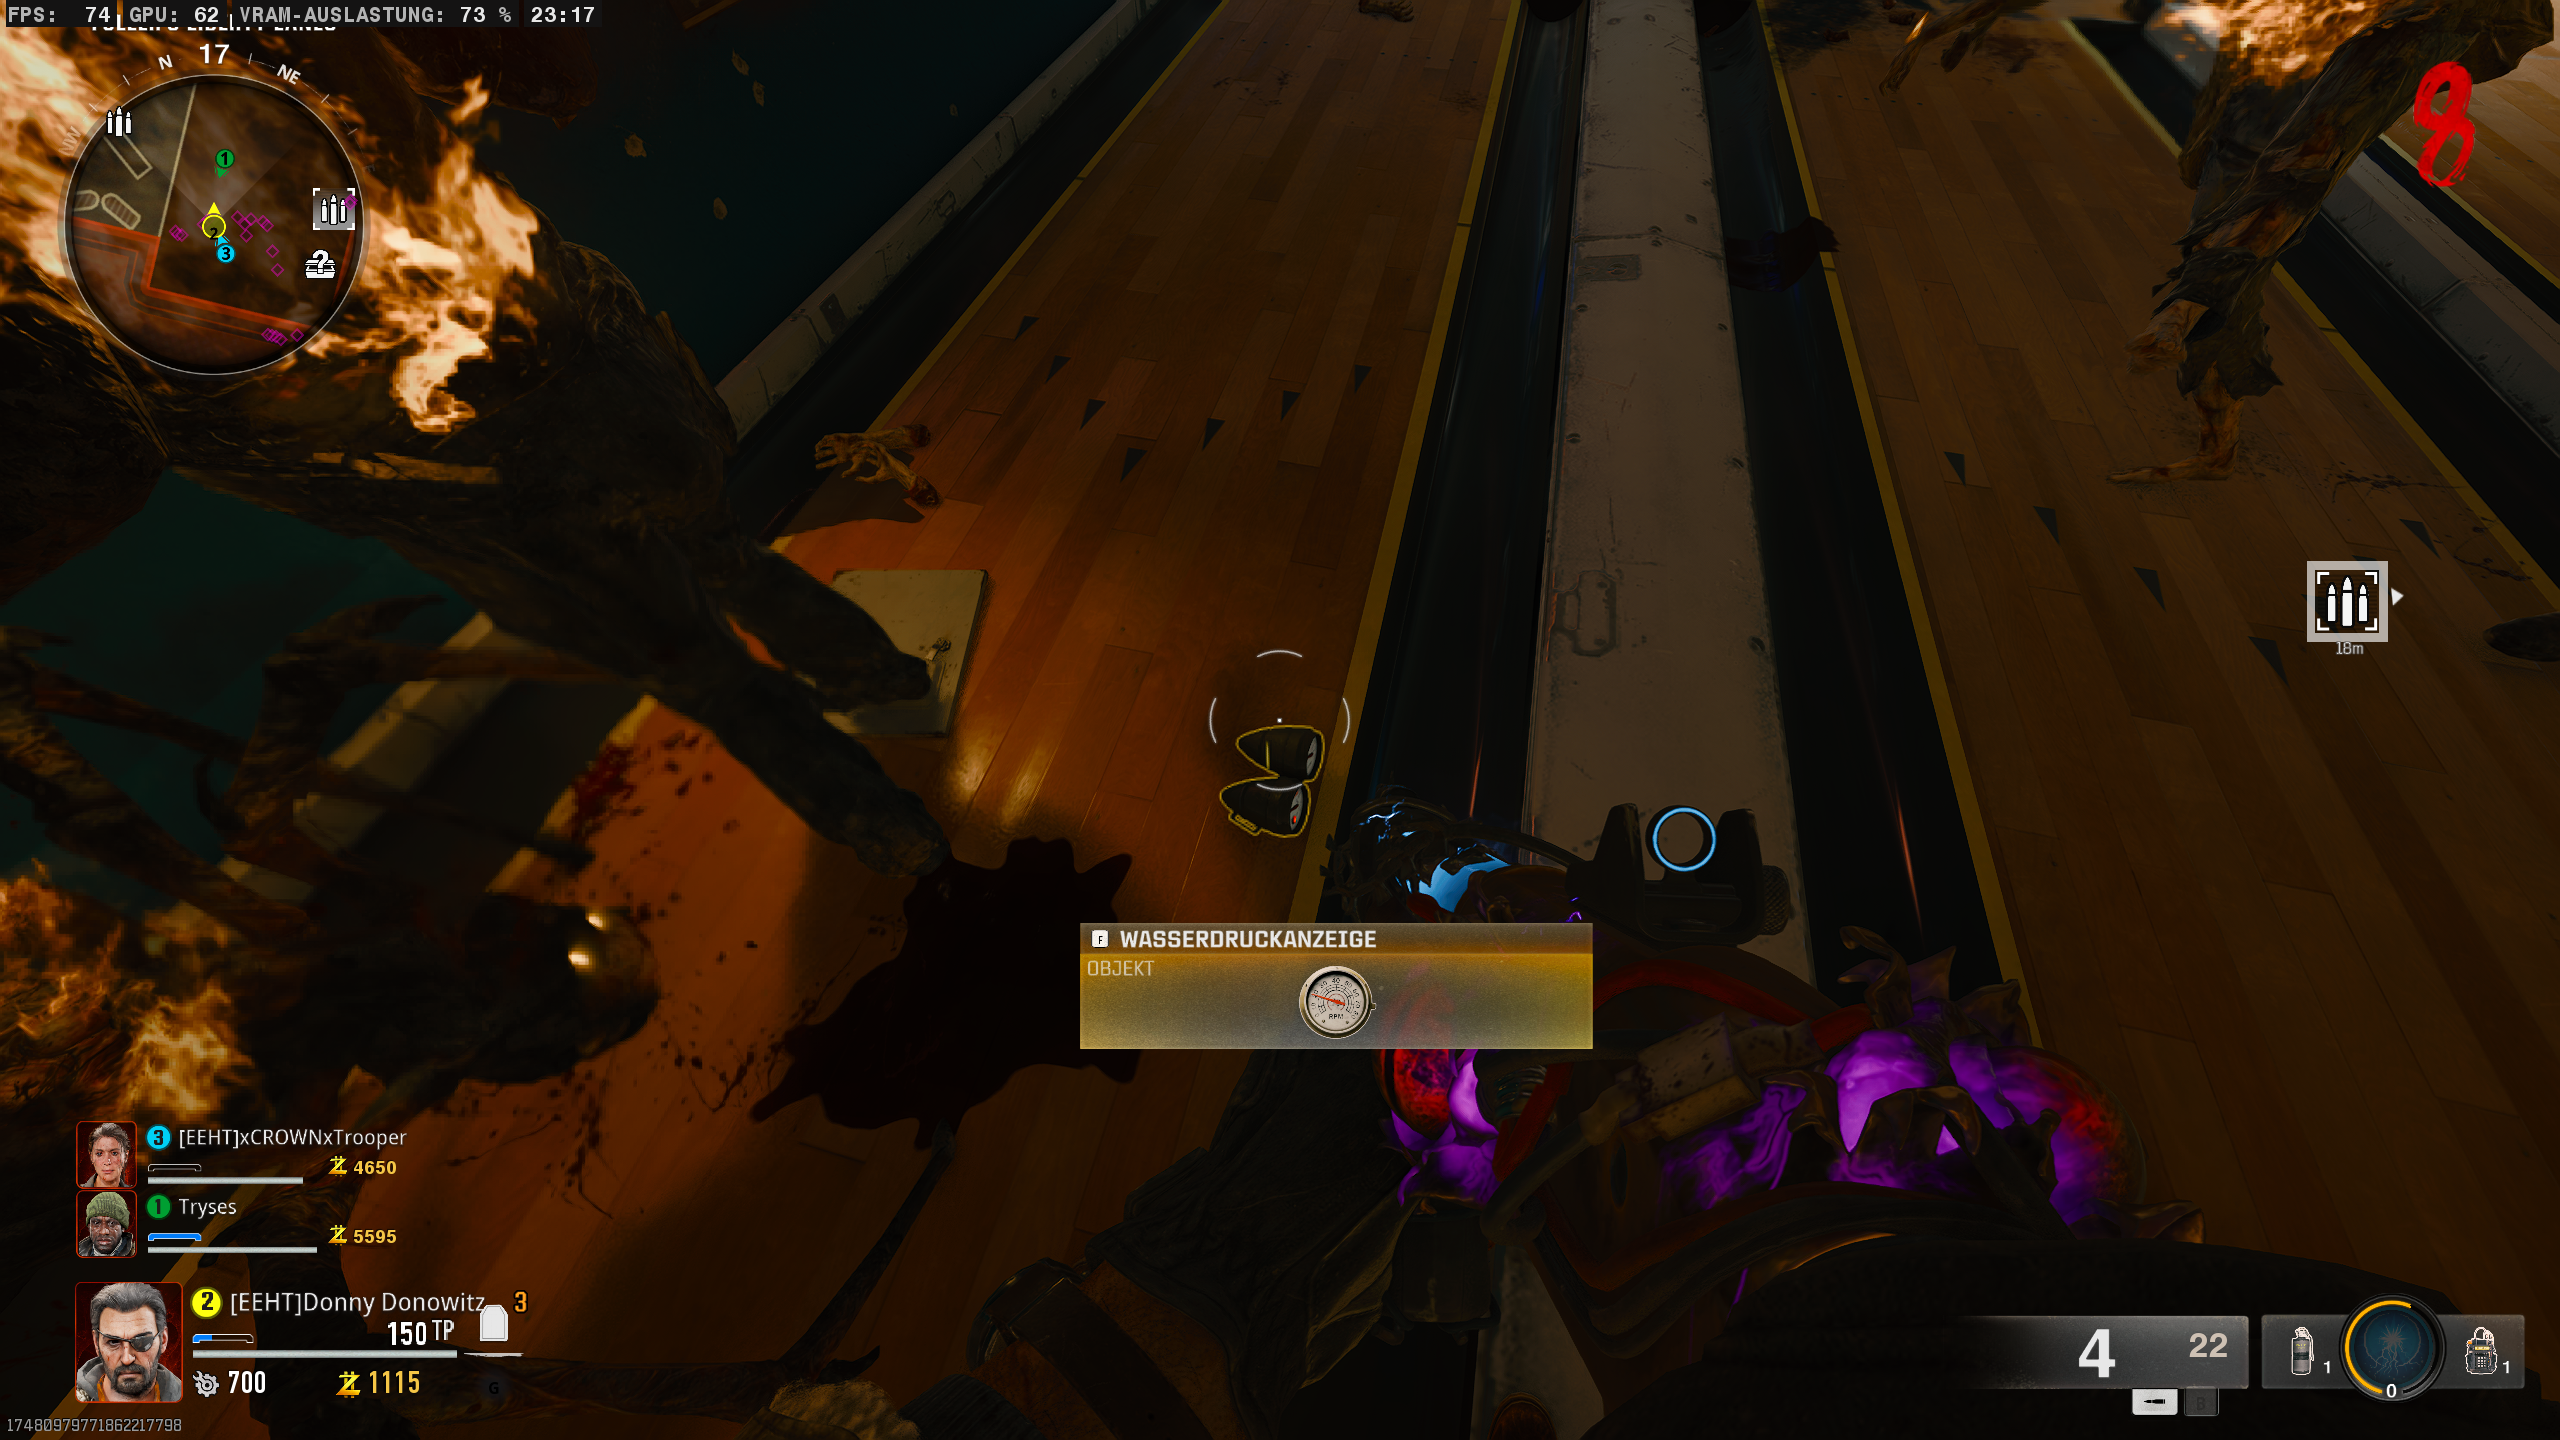
After picking up the valve, head to the bowling alley. On the right side of the bowling lane, you’ll see a yellow box.
Shoot at the box, and it will open.
Insert the valve and hold the interact button to increase the water pressure. During this time, several zombies and pests will spawn, so the remaining players must protect the one increasing the water pressure. Continue this until the pressure is fully increased. The attacking zombies will burst into flames, and the Water Pressure Gauge will drop to the ground. Pick it up, and you’ve obtained the first part.
Handbrake
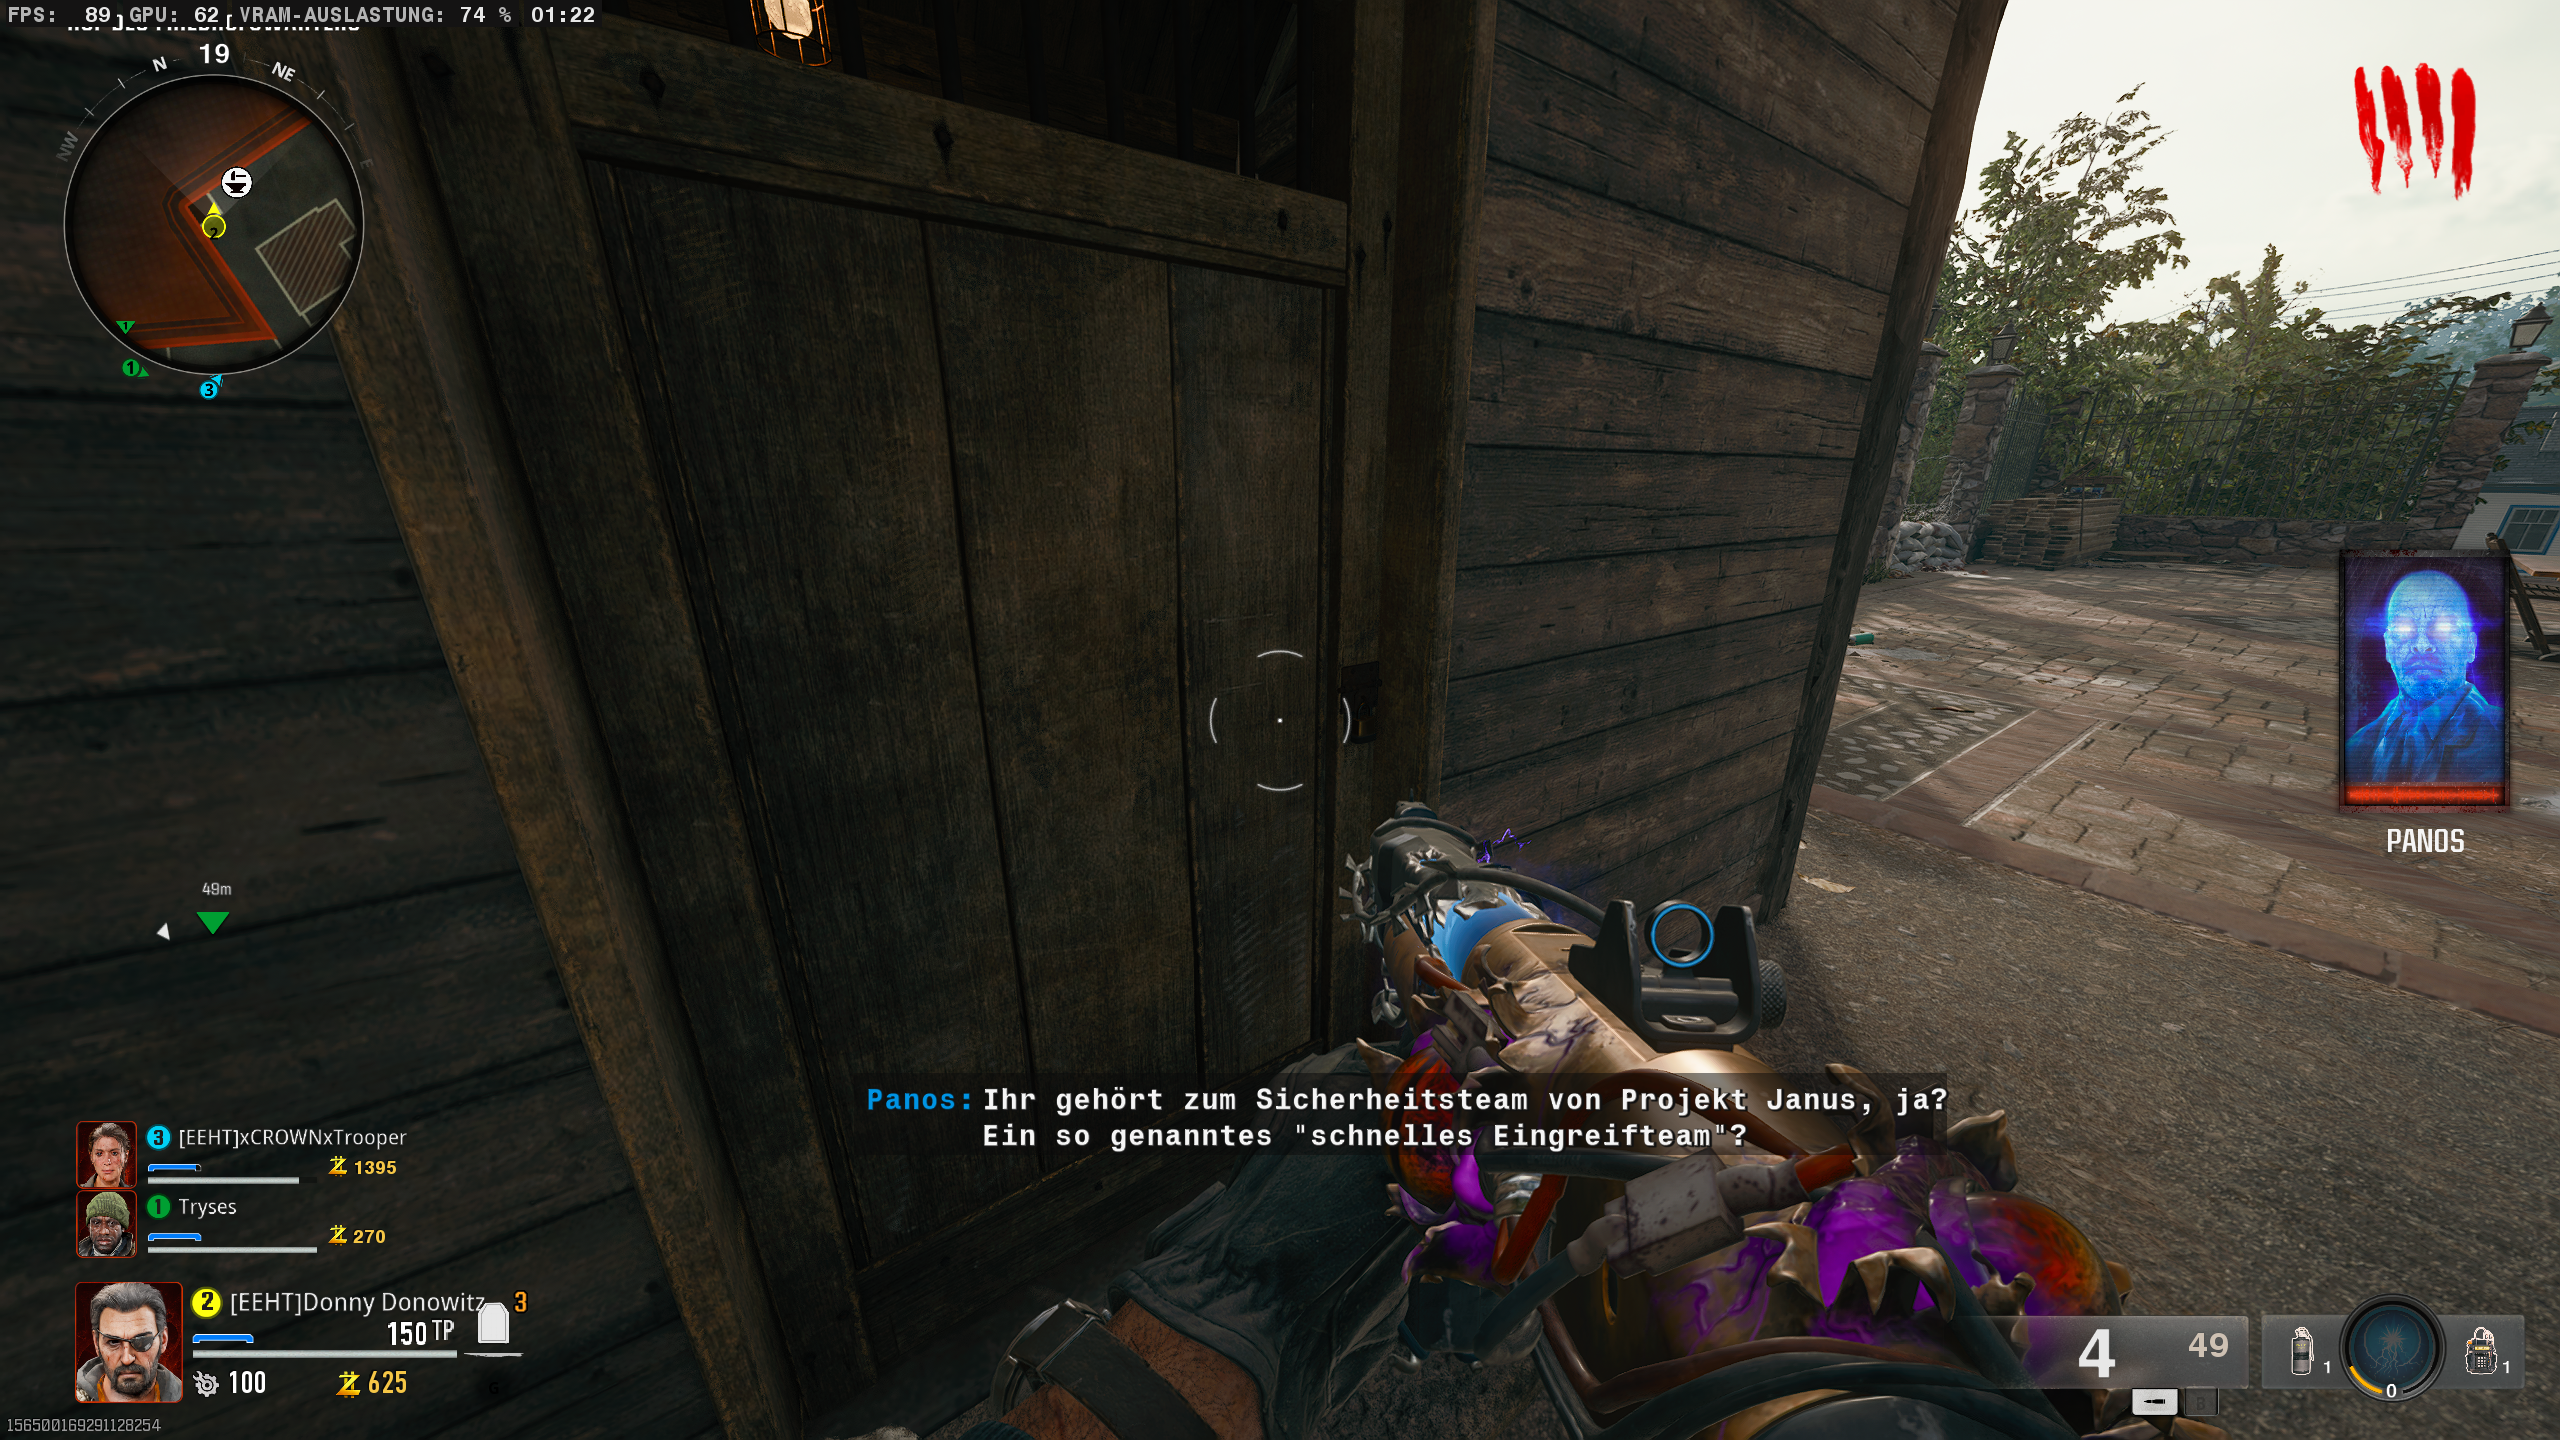
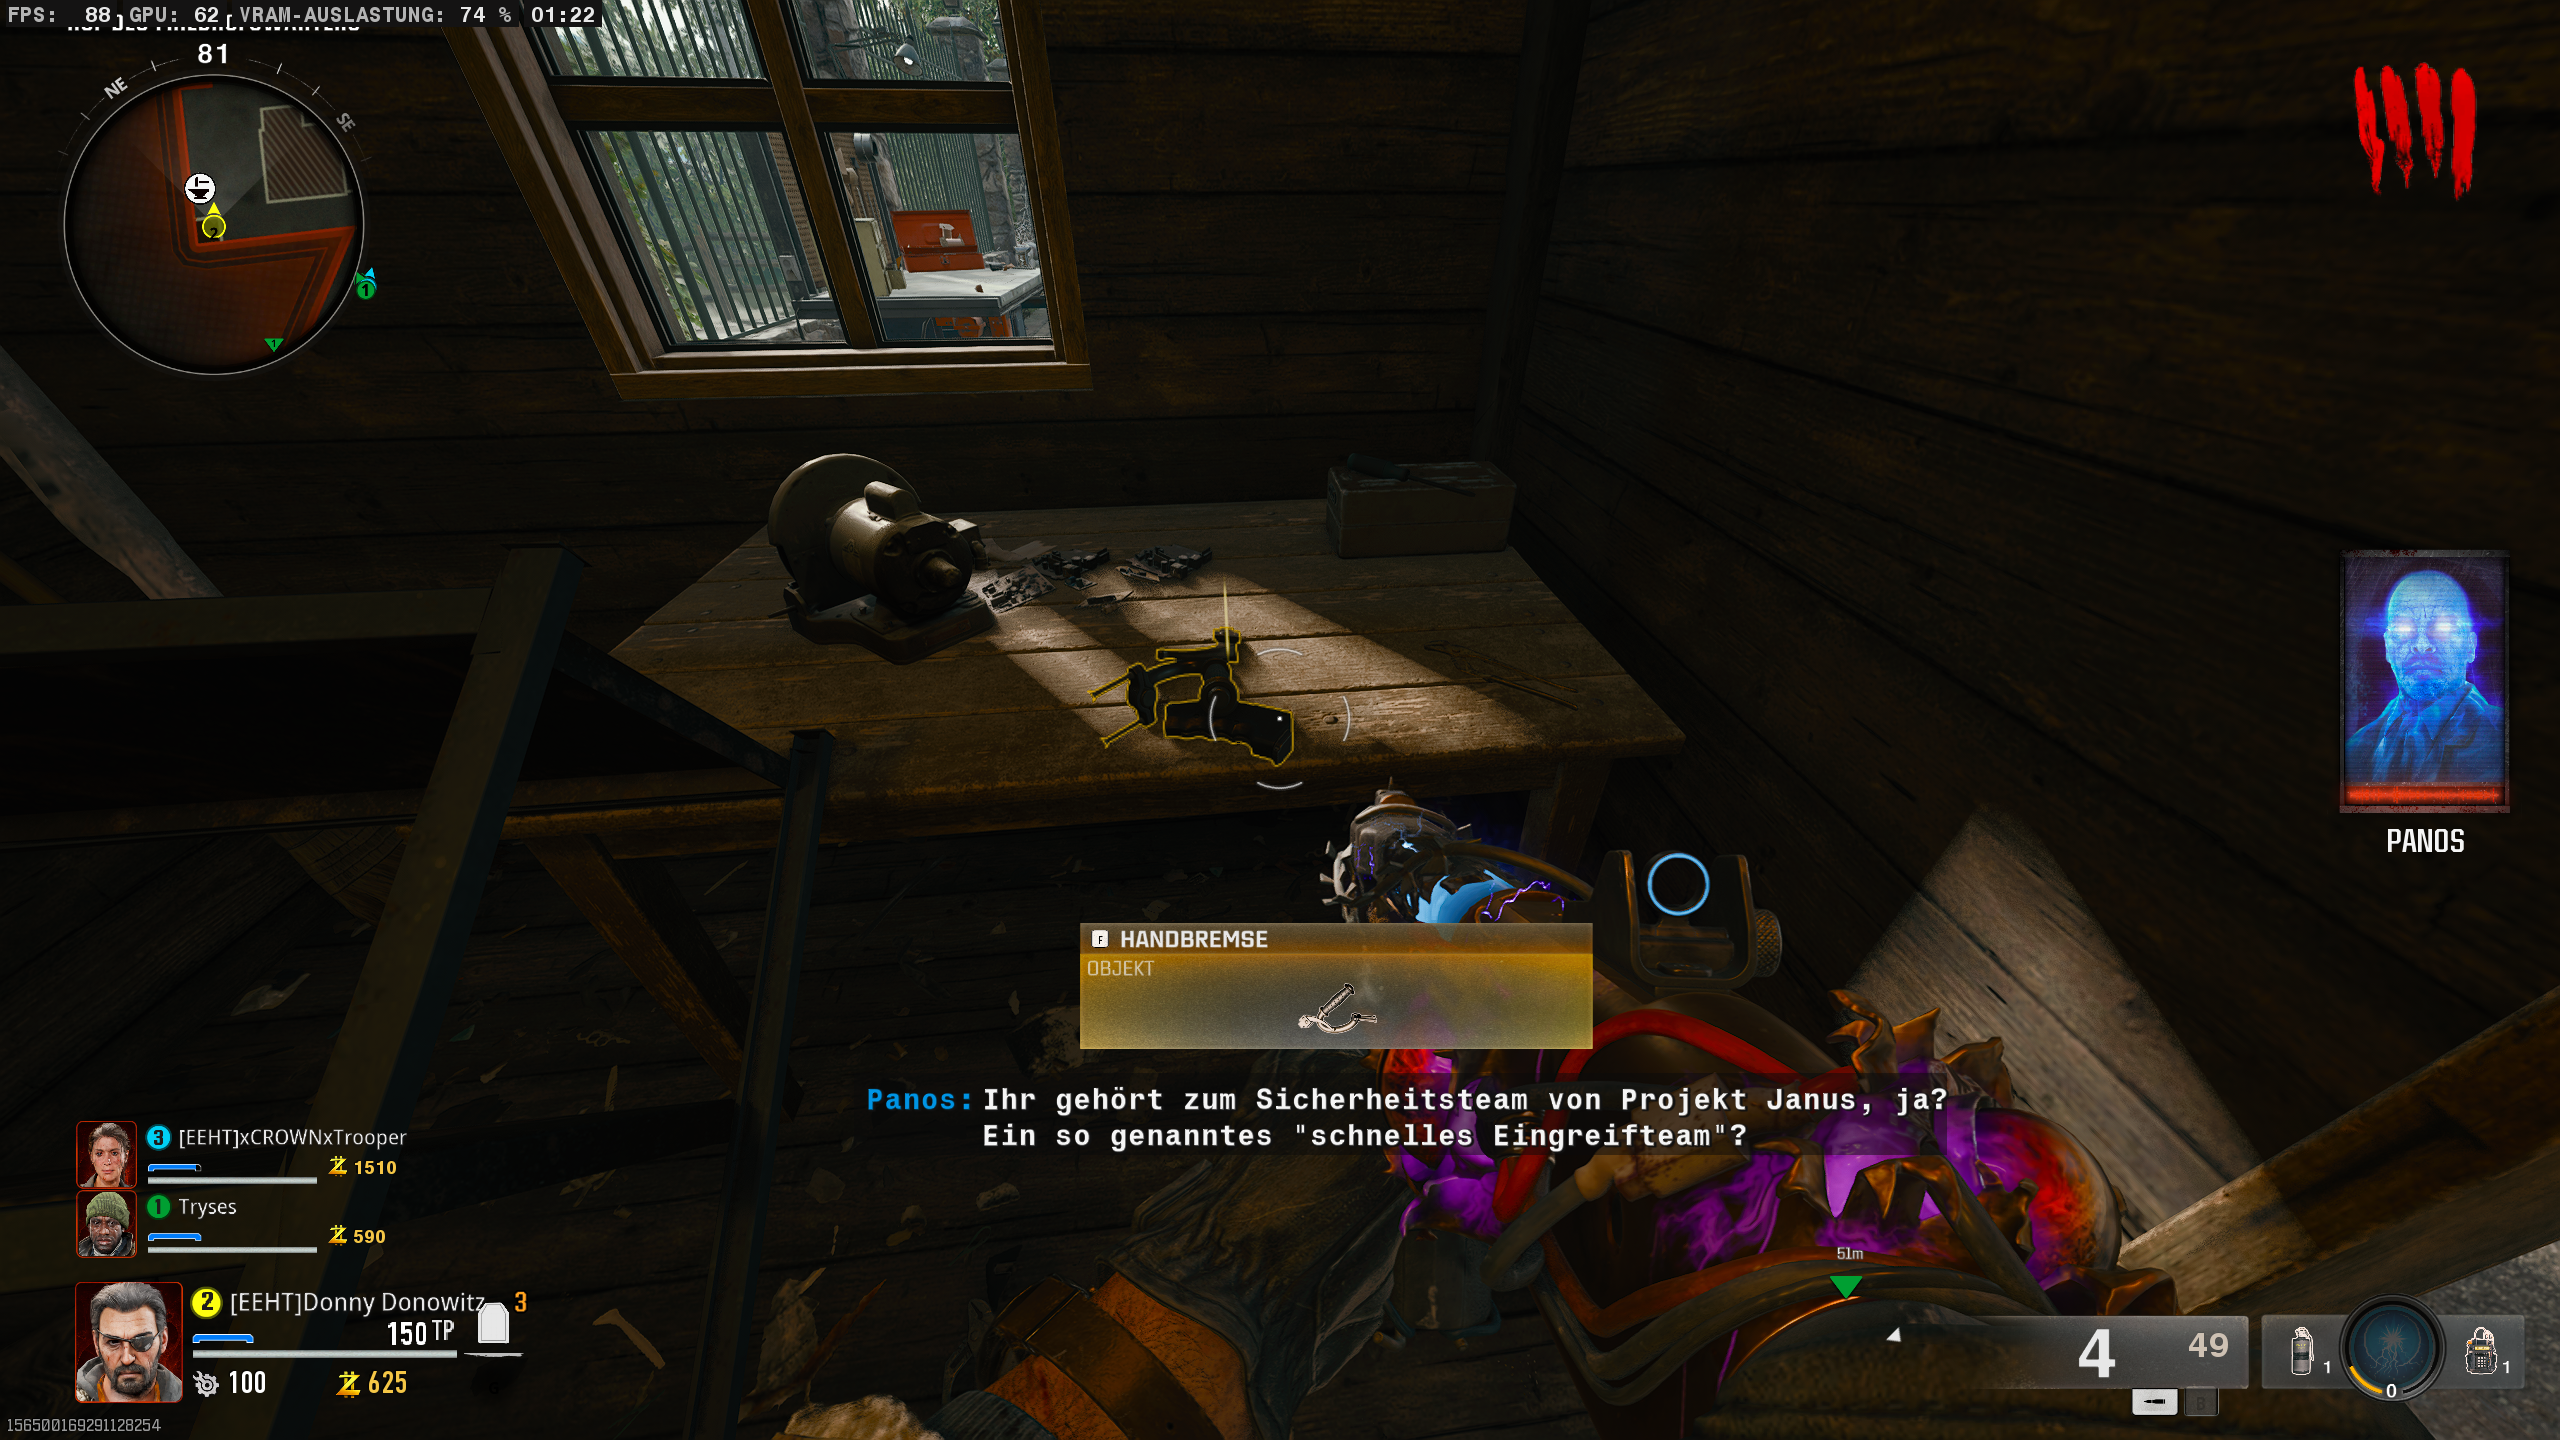
The handbrake is located in a small wooden cabin and can only be accessed with a key. Head to the cemetery and keep an eye out for the cemetery caretaker. He stands out from the other zombies and wears a bag around his neck. Kill him, and he will drop the key you need.
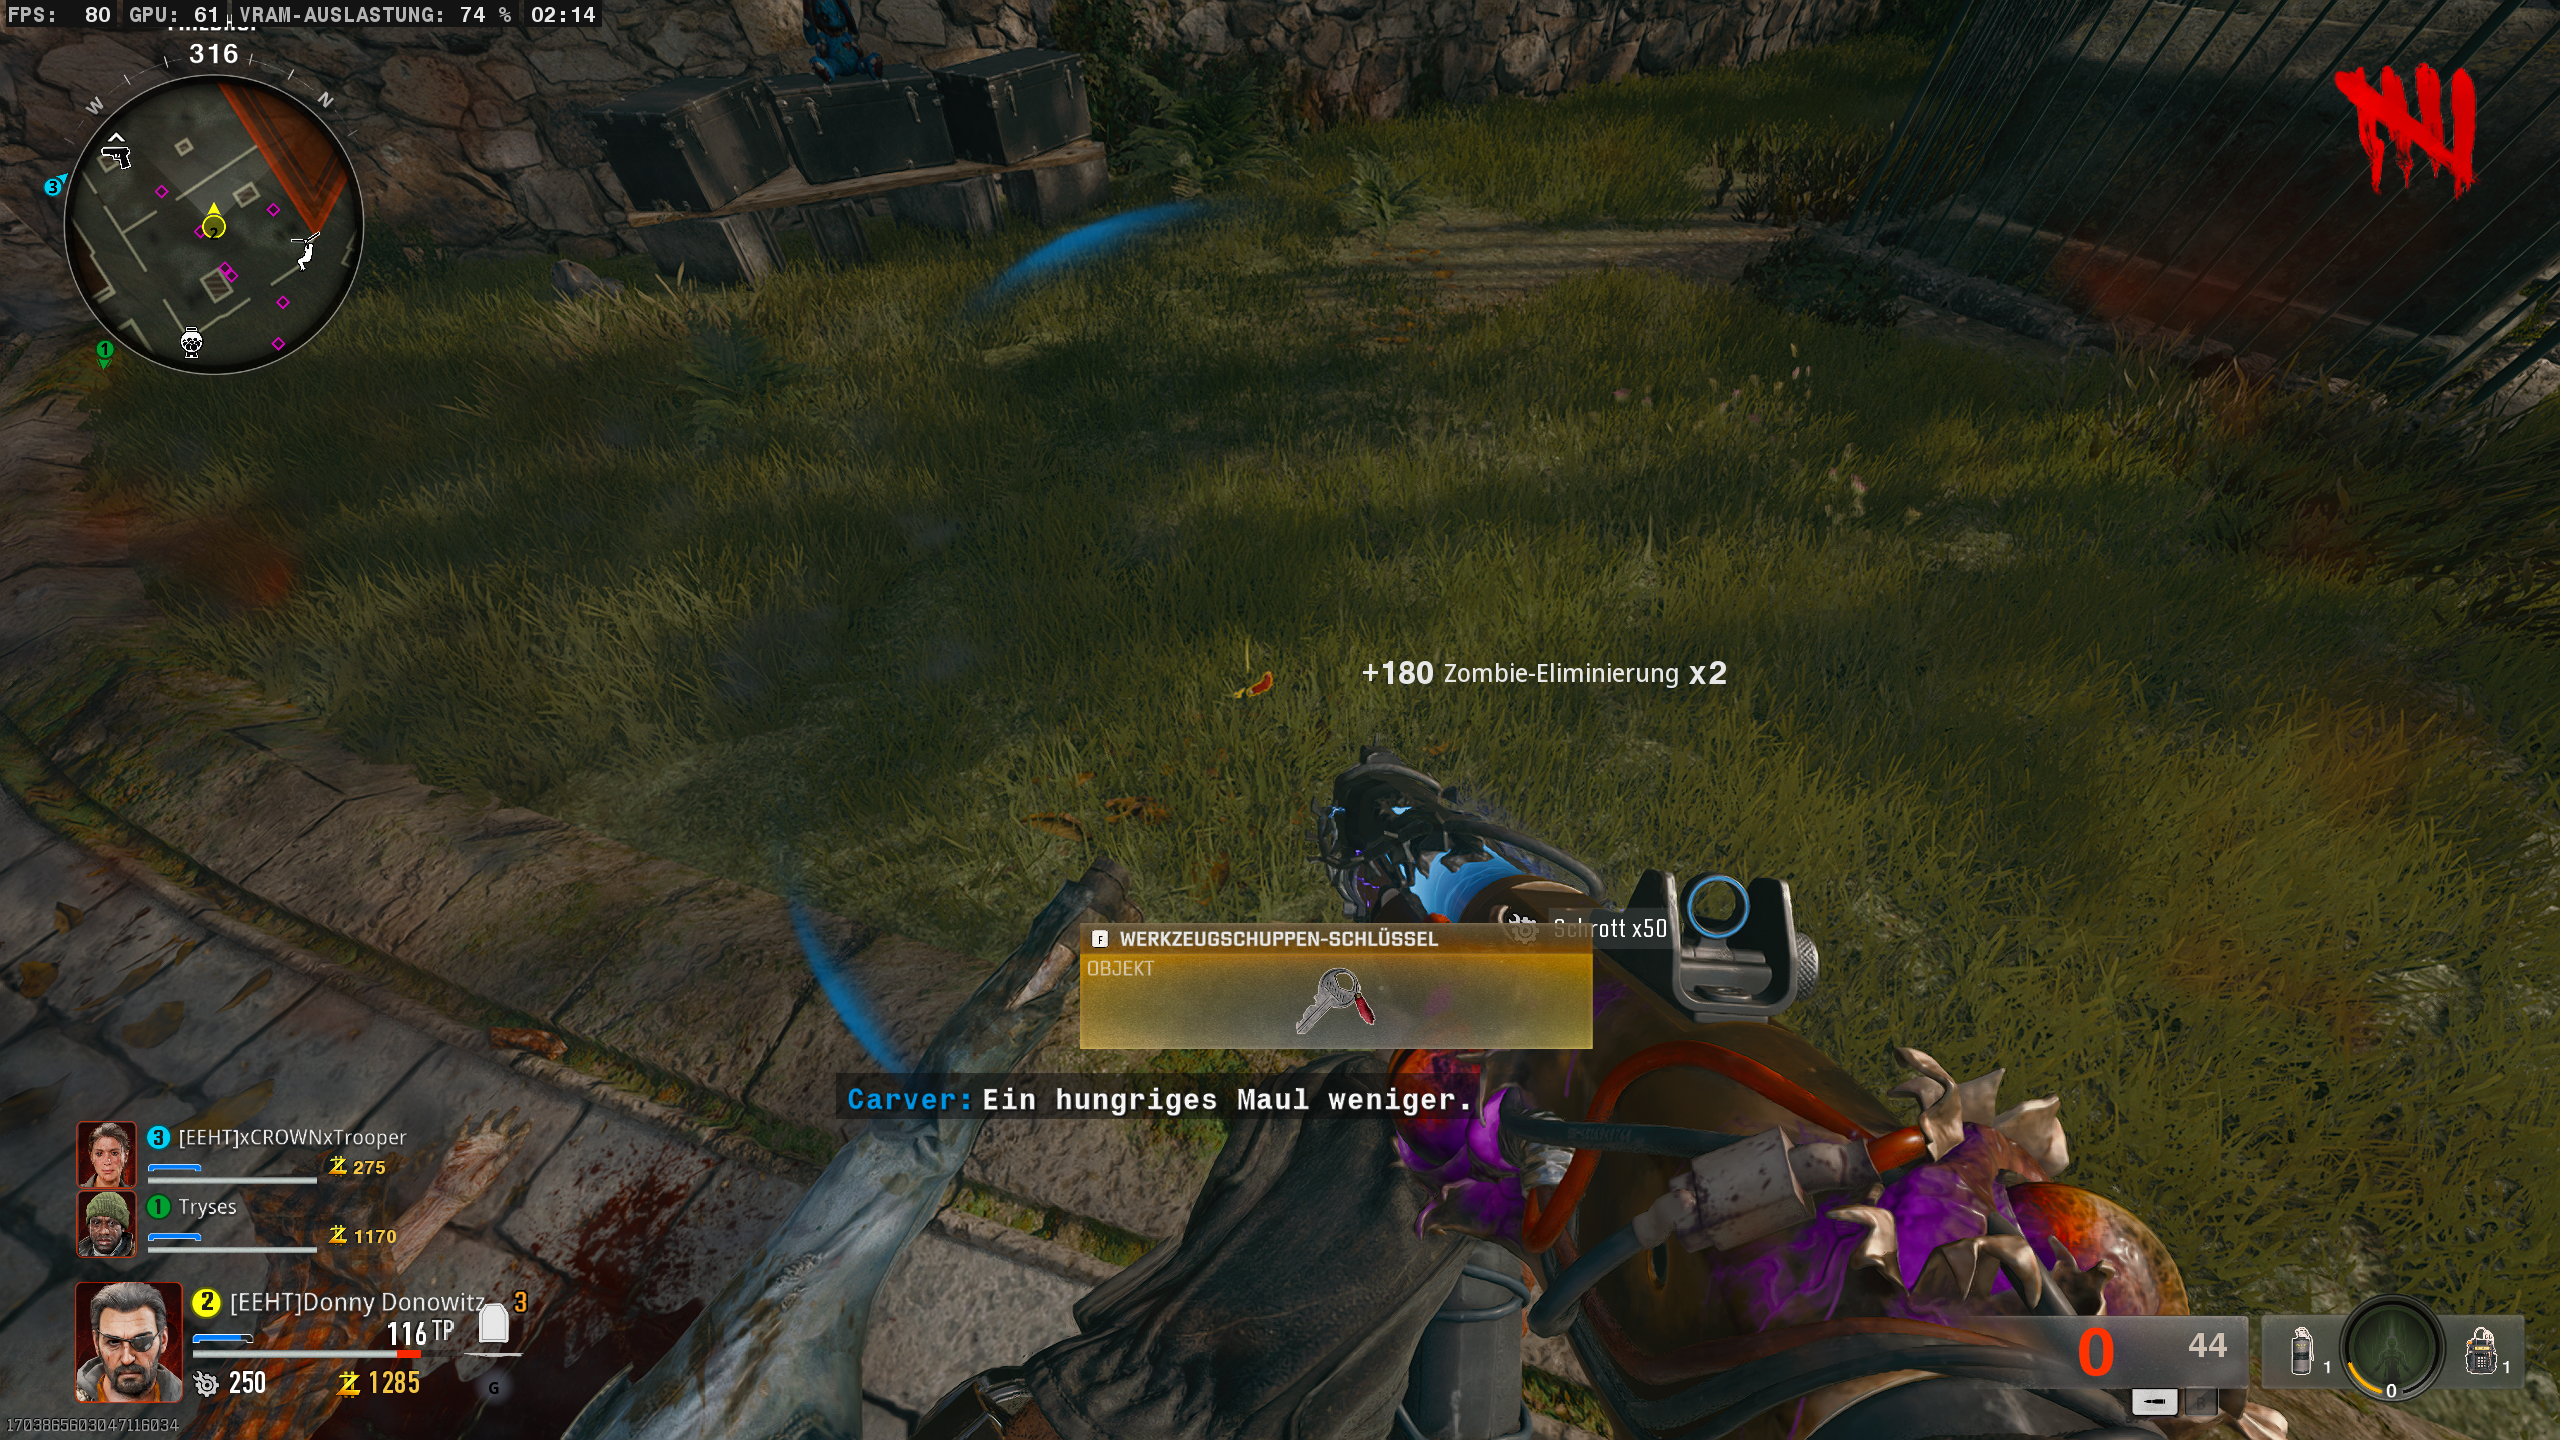
Once you’ve picked up the key, head straight to the wooden cabin and unlock it to obtain the handbrake.
Cable
To get the cables, at least one player in the group needs to equip a Mangler Cannon. You can craft this at the workbench for 1,250 scrap, or you can shoot it off a Mangler by targeting its hand.
The third part is located in the radio shop. Use the Mangler Cannon to shoot at the grates by the entrance, and they will be blown away.
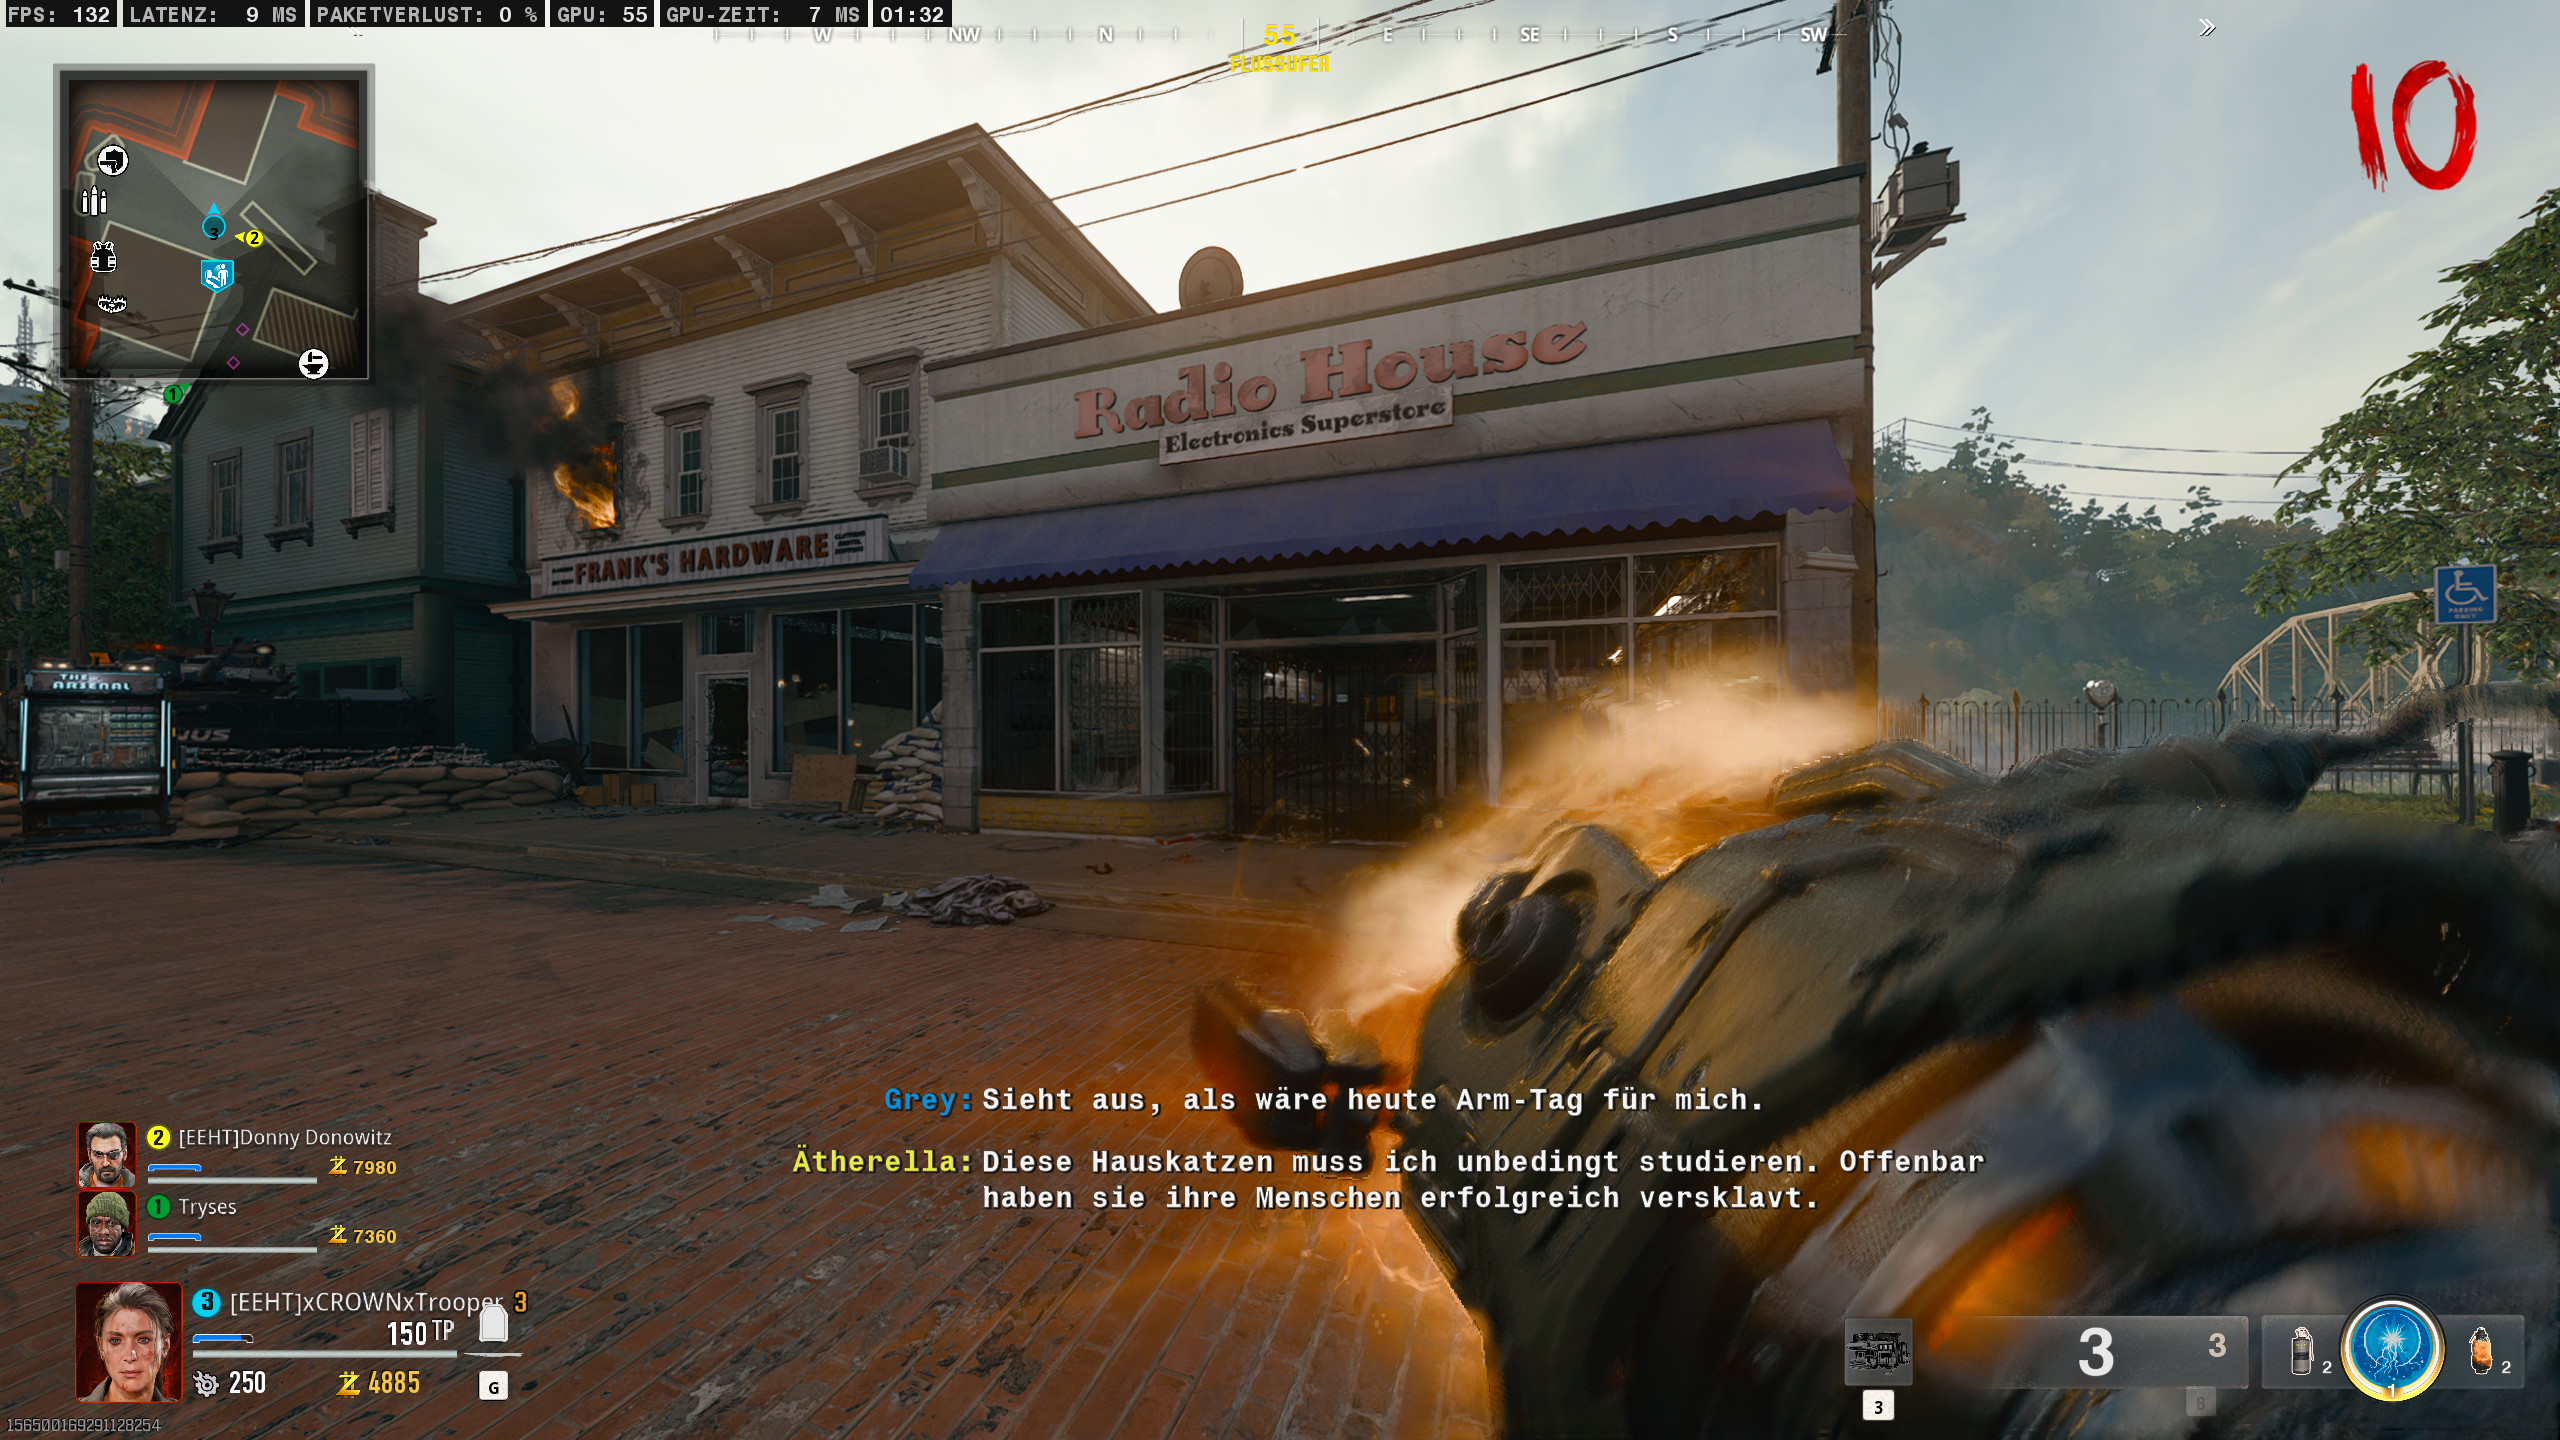
After that, head into the shop and search the scrap piles on the ground. One of them will yield the final part for you.
After you have collected all three parts, head to the motel. On the upper floor, you’ll find the Jetgun on a workbench, where you can craft it.
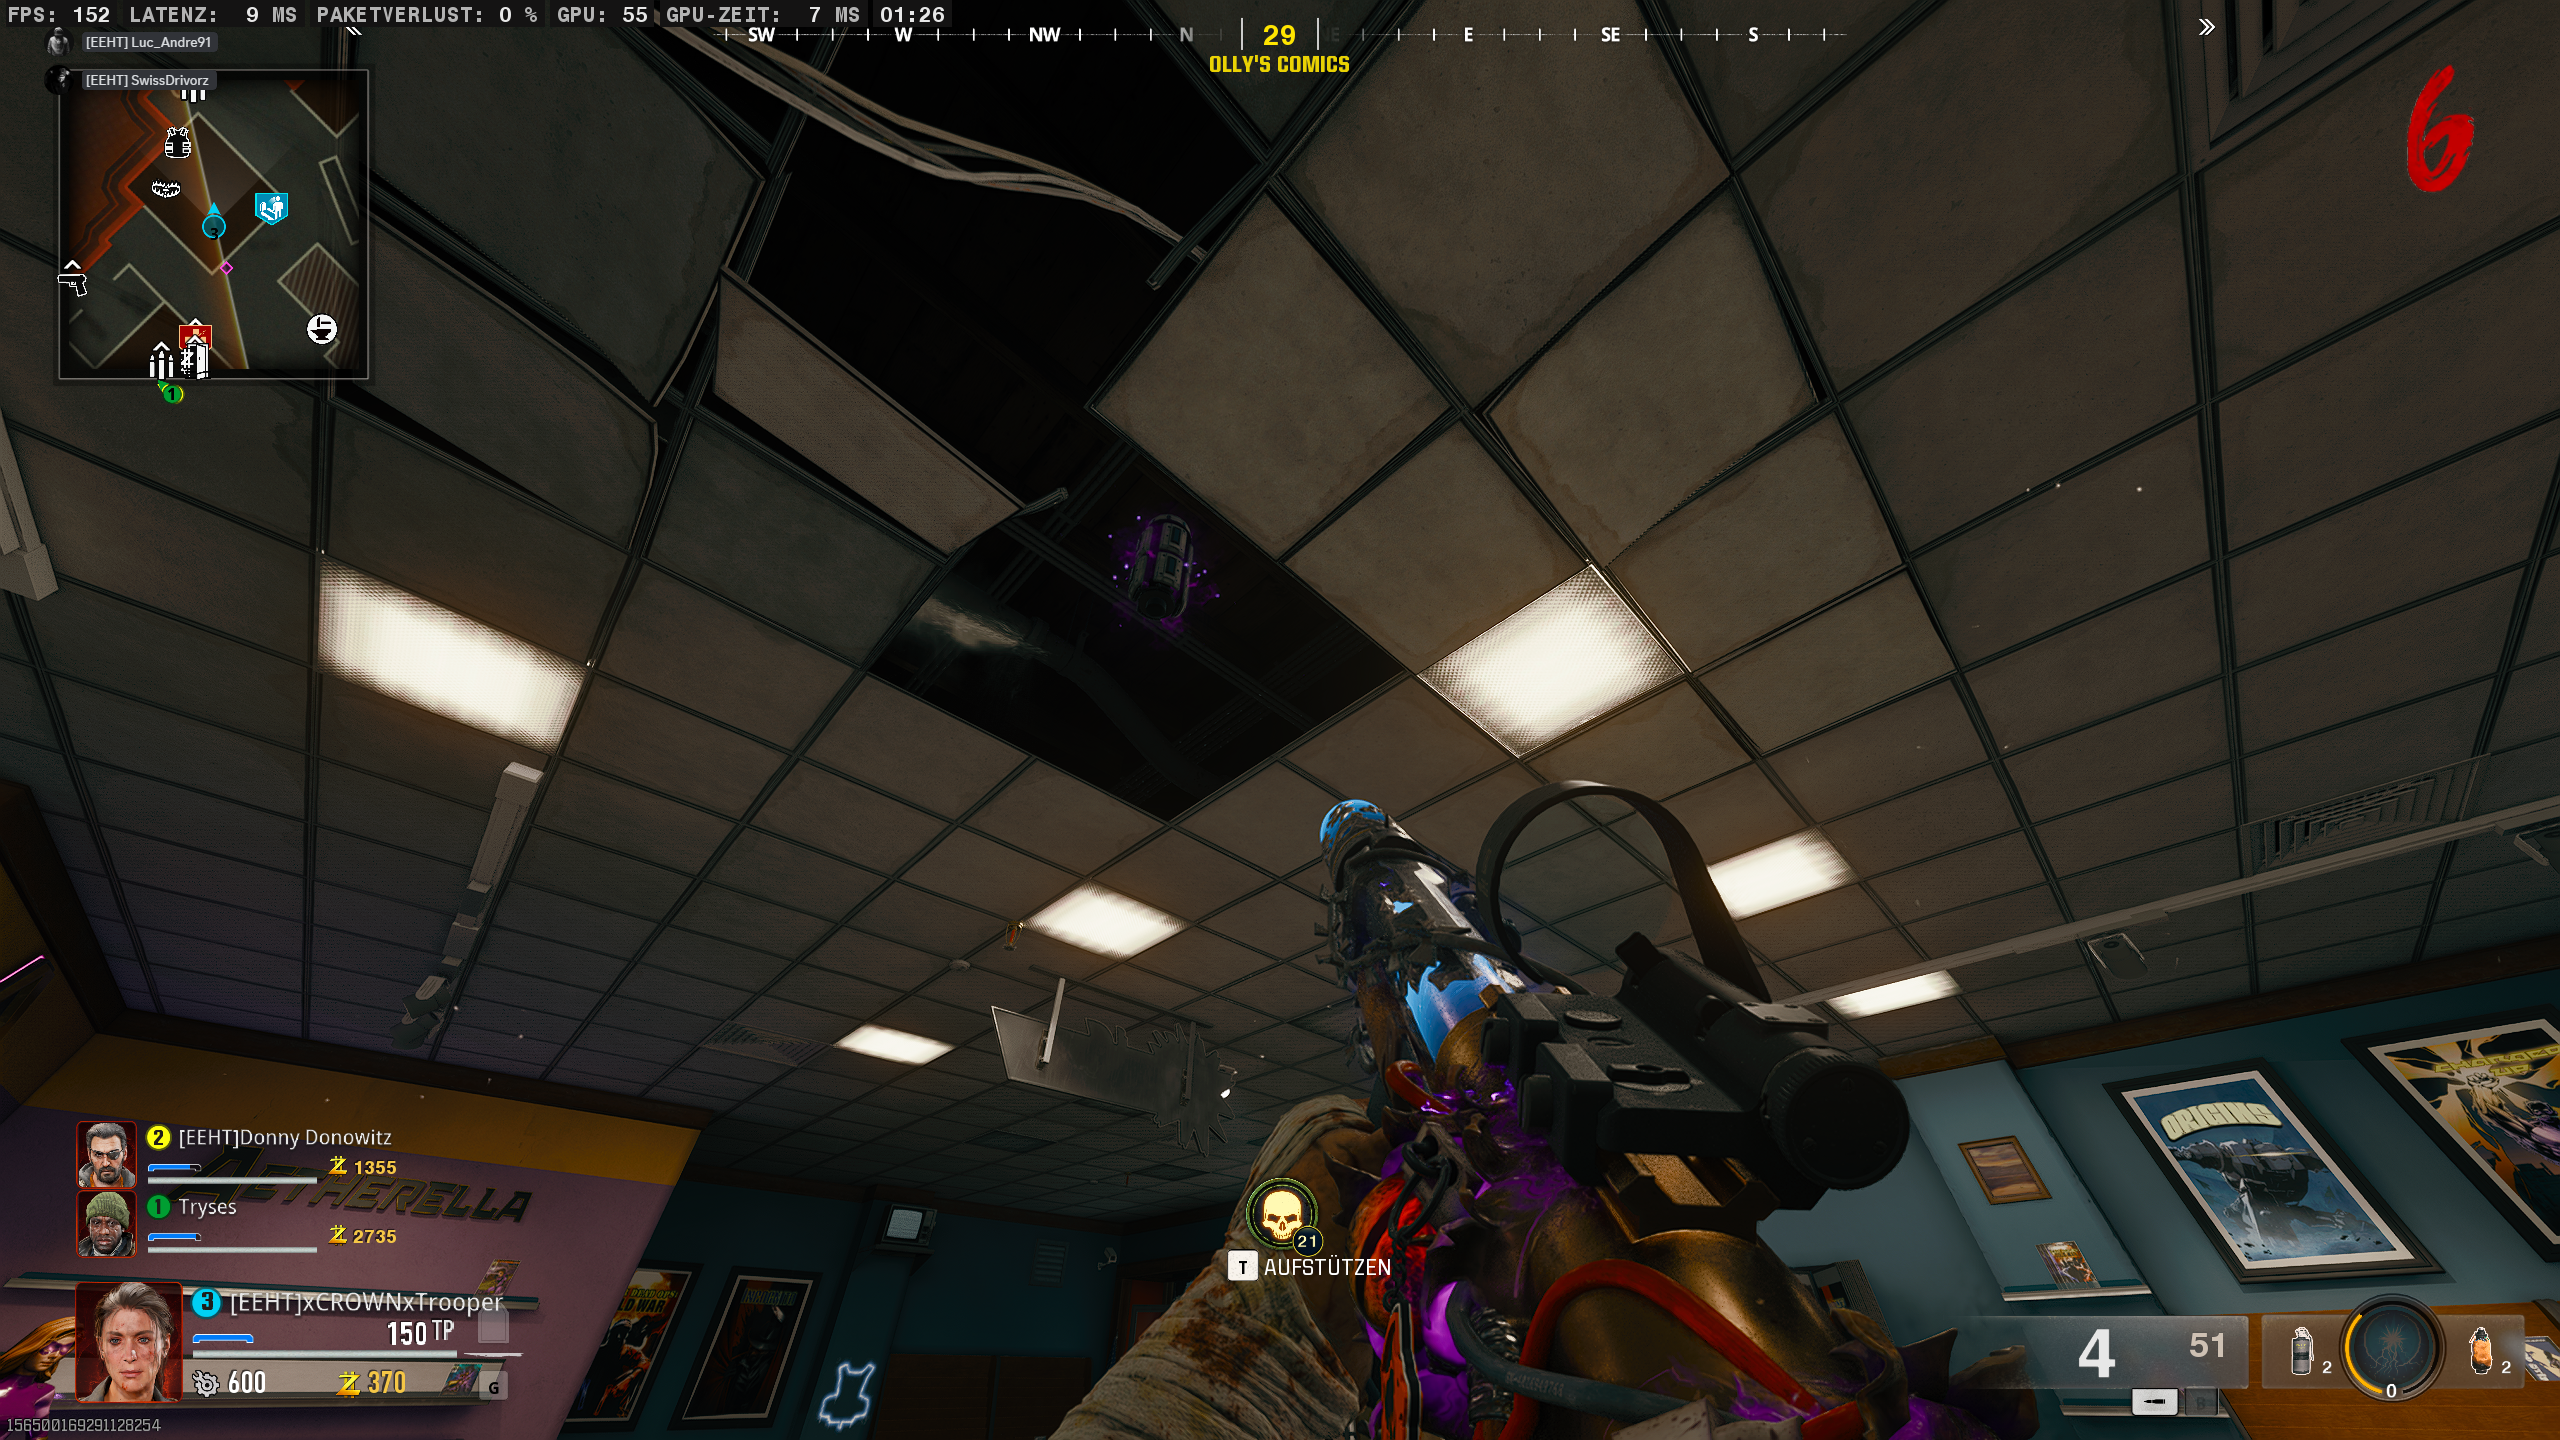
With the newly crafted Jetgun, you can now build the L.T.G (Limited Transdimensional Gateway). For this, you will need three parts.
These three parts are located in the following places:
- Comicshop
- Above the barbershop
- Church
Use the suction function of the Jetgun to pull the parts towards you. Once you have all three parts, head to the roof of the bank, where you can craft the L.T.G.
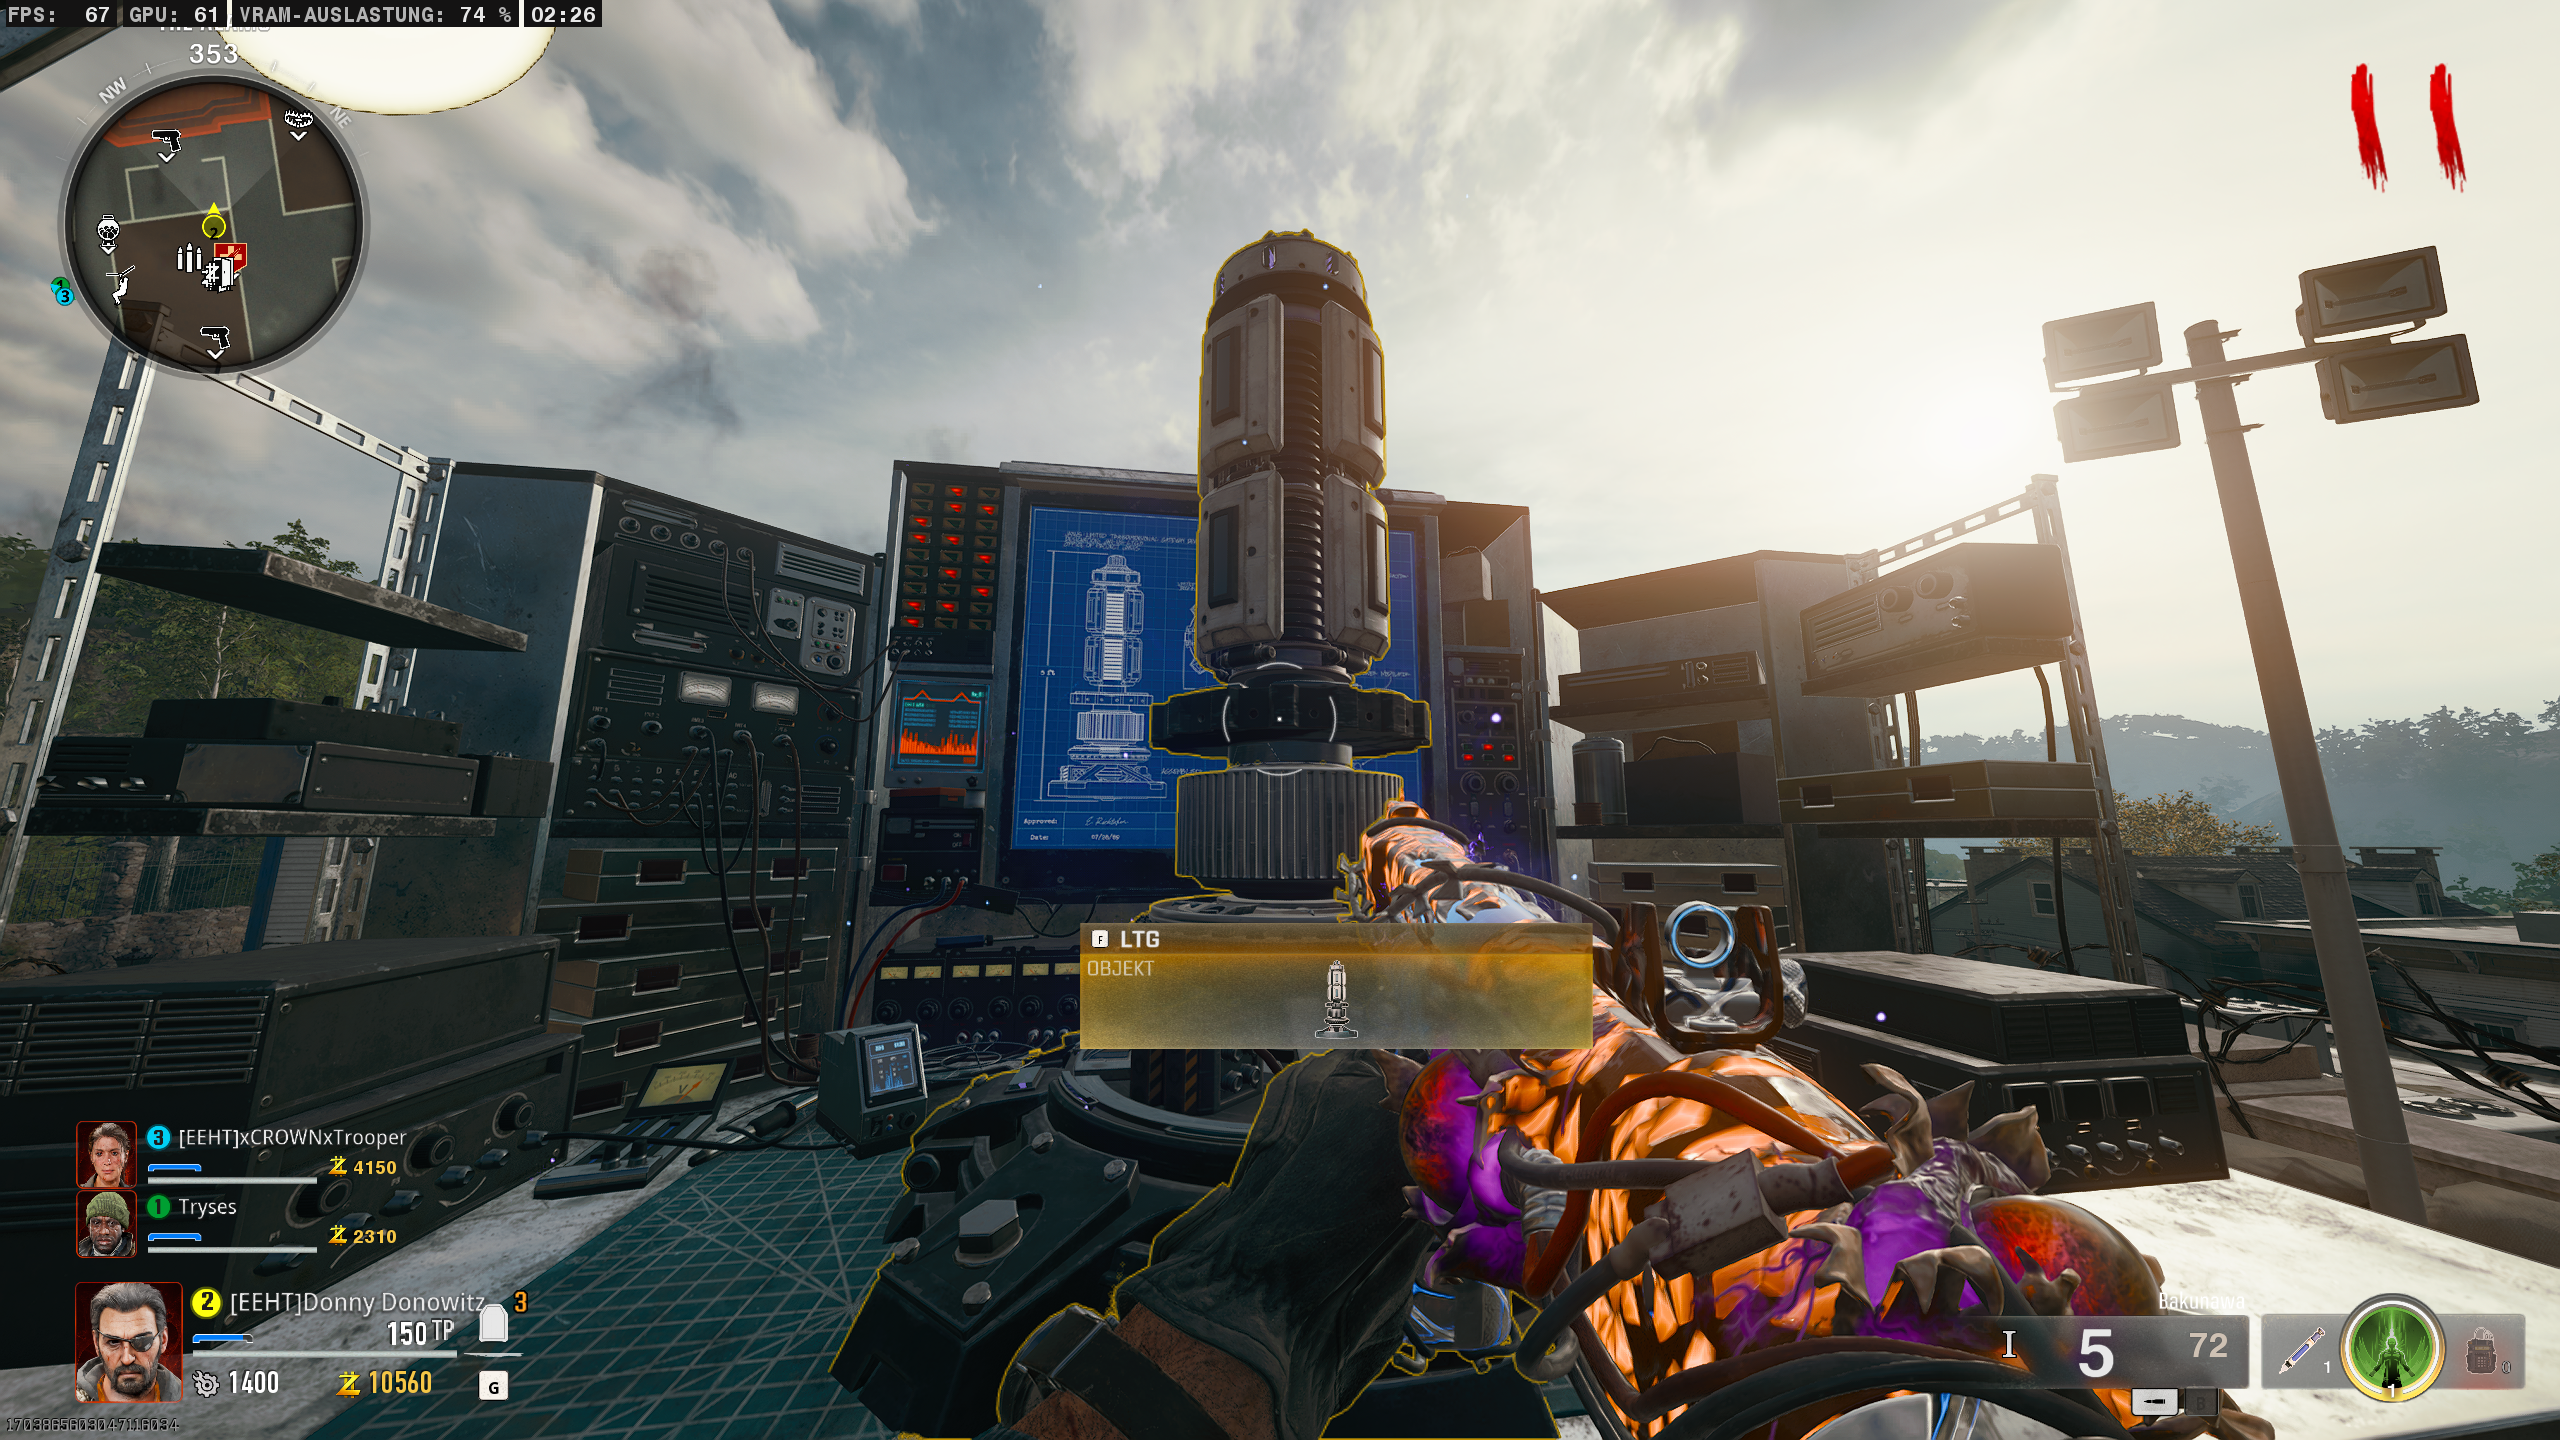
Pick up the L.T.G., and you have completed this step.
Now, go to the church and get an Aether Canister from the machine on the right wall.
Take the canister by interacting with the machine. It’s important to note that you cannot slide or perform other actions while carrying it.
Once you have the canister, place it at an Aether Trap.
After placing the canister, head to the graveyard.
When you interact with the plate on the ground directly beneath the cloud, you can place the L.T.G.
Interact with the placed L.T.G. to start an encounter. During this encounter, you must protect the placed device. If you fail, the round will end, and you can try again in the next round.
If you successfully defend it, a red Mangler will spawn from the cloud.
Deal damage to the Mangler until it’s nearly dead. Then, bring it to the trap with the placed canister and activate it. Kill the Mangler, and the Aether Canister will subsequently suck it in, indicated by the pink beam pulling into the canister.
If you fail, the round will end, and you can interact with the L.T.G. again in the next round. The Mangler will spawn again, allowing you to try once more.
After that, grab the canister, and you will have exactly 1 minute and 30 seconds to return it to the machine in the church.
Once you place the canister in the machine, a drawer will open on the left side. Take the bouquet counter from the drawer, which you need to unlock the next canister.
The counter will replace your tactical equipment. You can activate it by pressing and holding the corresponding button. In Liberty Falls, there are three “projectors” set up. You can interact with these, and you’ll see a light on the projector that starts glowing green.
By interacting again, you can change the color of the light from green to yellow, from yellow to red, and from red back to green.
The projectors are located in the following places:
- On the roof of the ice cream shop
- On the lawn by the stairs leading from the church to the bowling alley
- By the white house near the cabin where you obtained the handbrake for the Jetgun
With the bouquet counter, you can determine which color needs to be set on the projector. Pull out the counter at the projector and pay attention to the color of the screen:
- Green Screen: Set the projector to Red
- Yellow Screen: Set the projector to Yellow
- Red Screen: Set the projector to Green
After you’ve adjusted the projectors, wait for them to align and fire a laser beam. You will then receive a voice line indicating that the second canister has been unlocked.
This canister is located at the gas station. Go to it and interact with the apparatus.
Once the canister has emerged from the apparatus, pick it up and place it at the trap near the gas station.
Now, head to the L.T.G. that you placed at the cemetery and pick it up again. Then, bring it to the second cloud, right next to the large bus near the gas station area. This will start another encounter, and you must defend the L.T.G. until a red Abby (the three-headed monster) spawns.
Deal enough damage to it and kill it within the trap, just like you did with the red Mangler earlier.
You can tell if the attempt was successful by the pink beam being sucked into the canister. If you successfully completed it, take the canister, and you will again have 90 seconds to bring it back to the machine in the church.
If you fail, the round will end, and you can return to the L.T.G. to interact with it again. Abby will spawn once more.
NOTE: Once you place the canister in the machine, you can interact with it to transition to the final fight. However, there will be a vote where players decide whether to begin the final battle or not. We recommend playing a few more rounds to prepare adequately for the final encounter!
PREPARATION FOR THE FINAL FIGHT:
We recommend bringing the following equipment and weapons for the battle:
- Two strong weapons at least Pack-a-Punched to level 2.
- Both weapons at least at Rare tier.
- Armor at level 3.
- Monkey Bombs or Decoy Grenades.
- Casimir Grenade and Mangler Injection.
- Speed Cola & Juggernaut.
In the final fight, you will be trapped in the church, so you won’t have much space to maneuver. The final battle consists of three waves:
- First Wave: A mass of zombies, pests, and Manglers.
- Second Wave: Again, a mass of zombies, pests, and Manglers, plus one red Mangler.
- Final Wave: A mass of zombies, pests, regular and red Manglers, and a red Abby.
Survive these rounds, and you will have successfully completed the Easter egg on Liberty Falls, earning you the following calling card:
Note: This calling card will only be available until the Guided Mode (simplified and guided Easter egg mode) goes live. This is expected to happen with Season 1.


