Call of Duty®: Black Ops – Cold War „OUTBREAK“ PART 1 Easter Egg Guide
THE REGIONS
ZOO
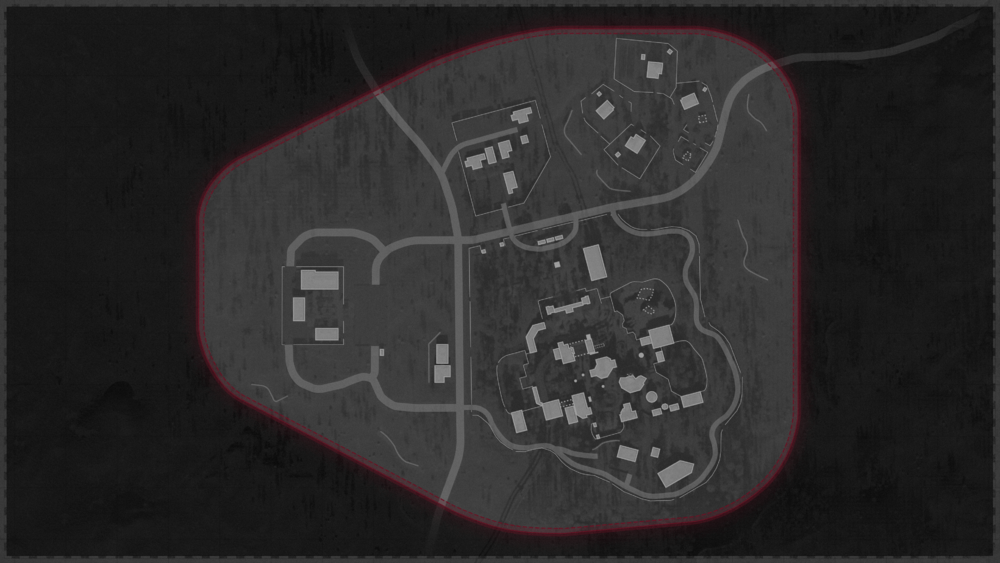
ALPINE
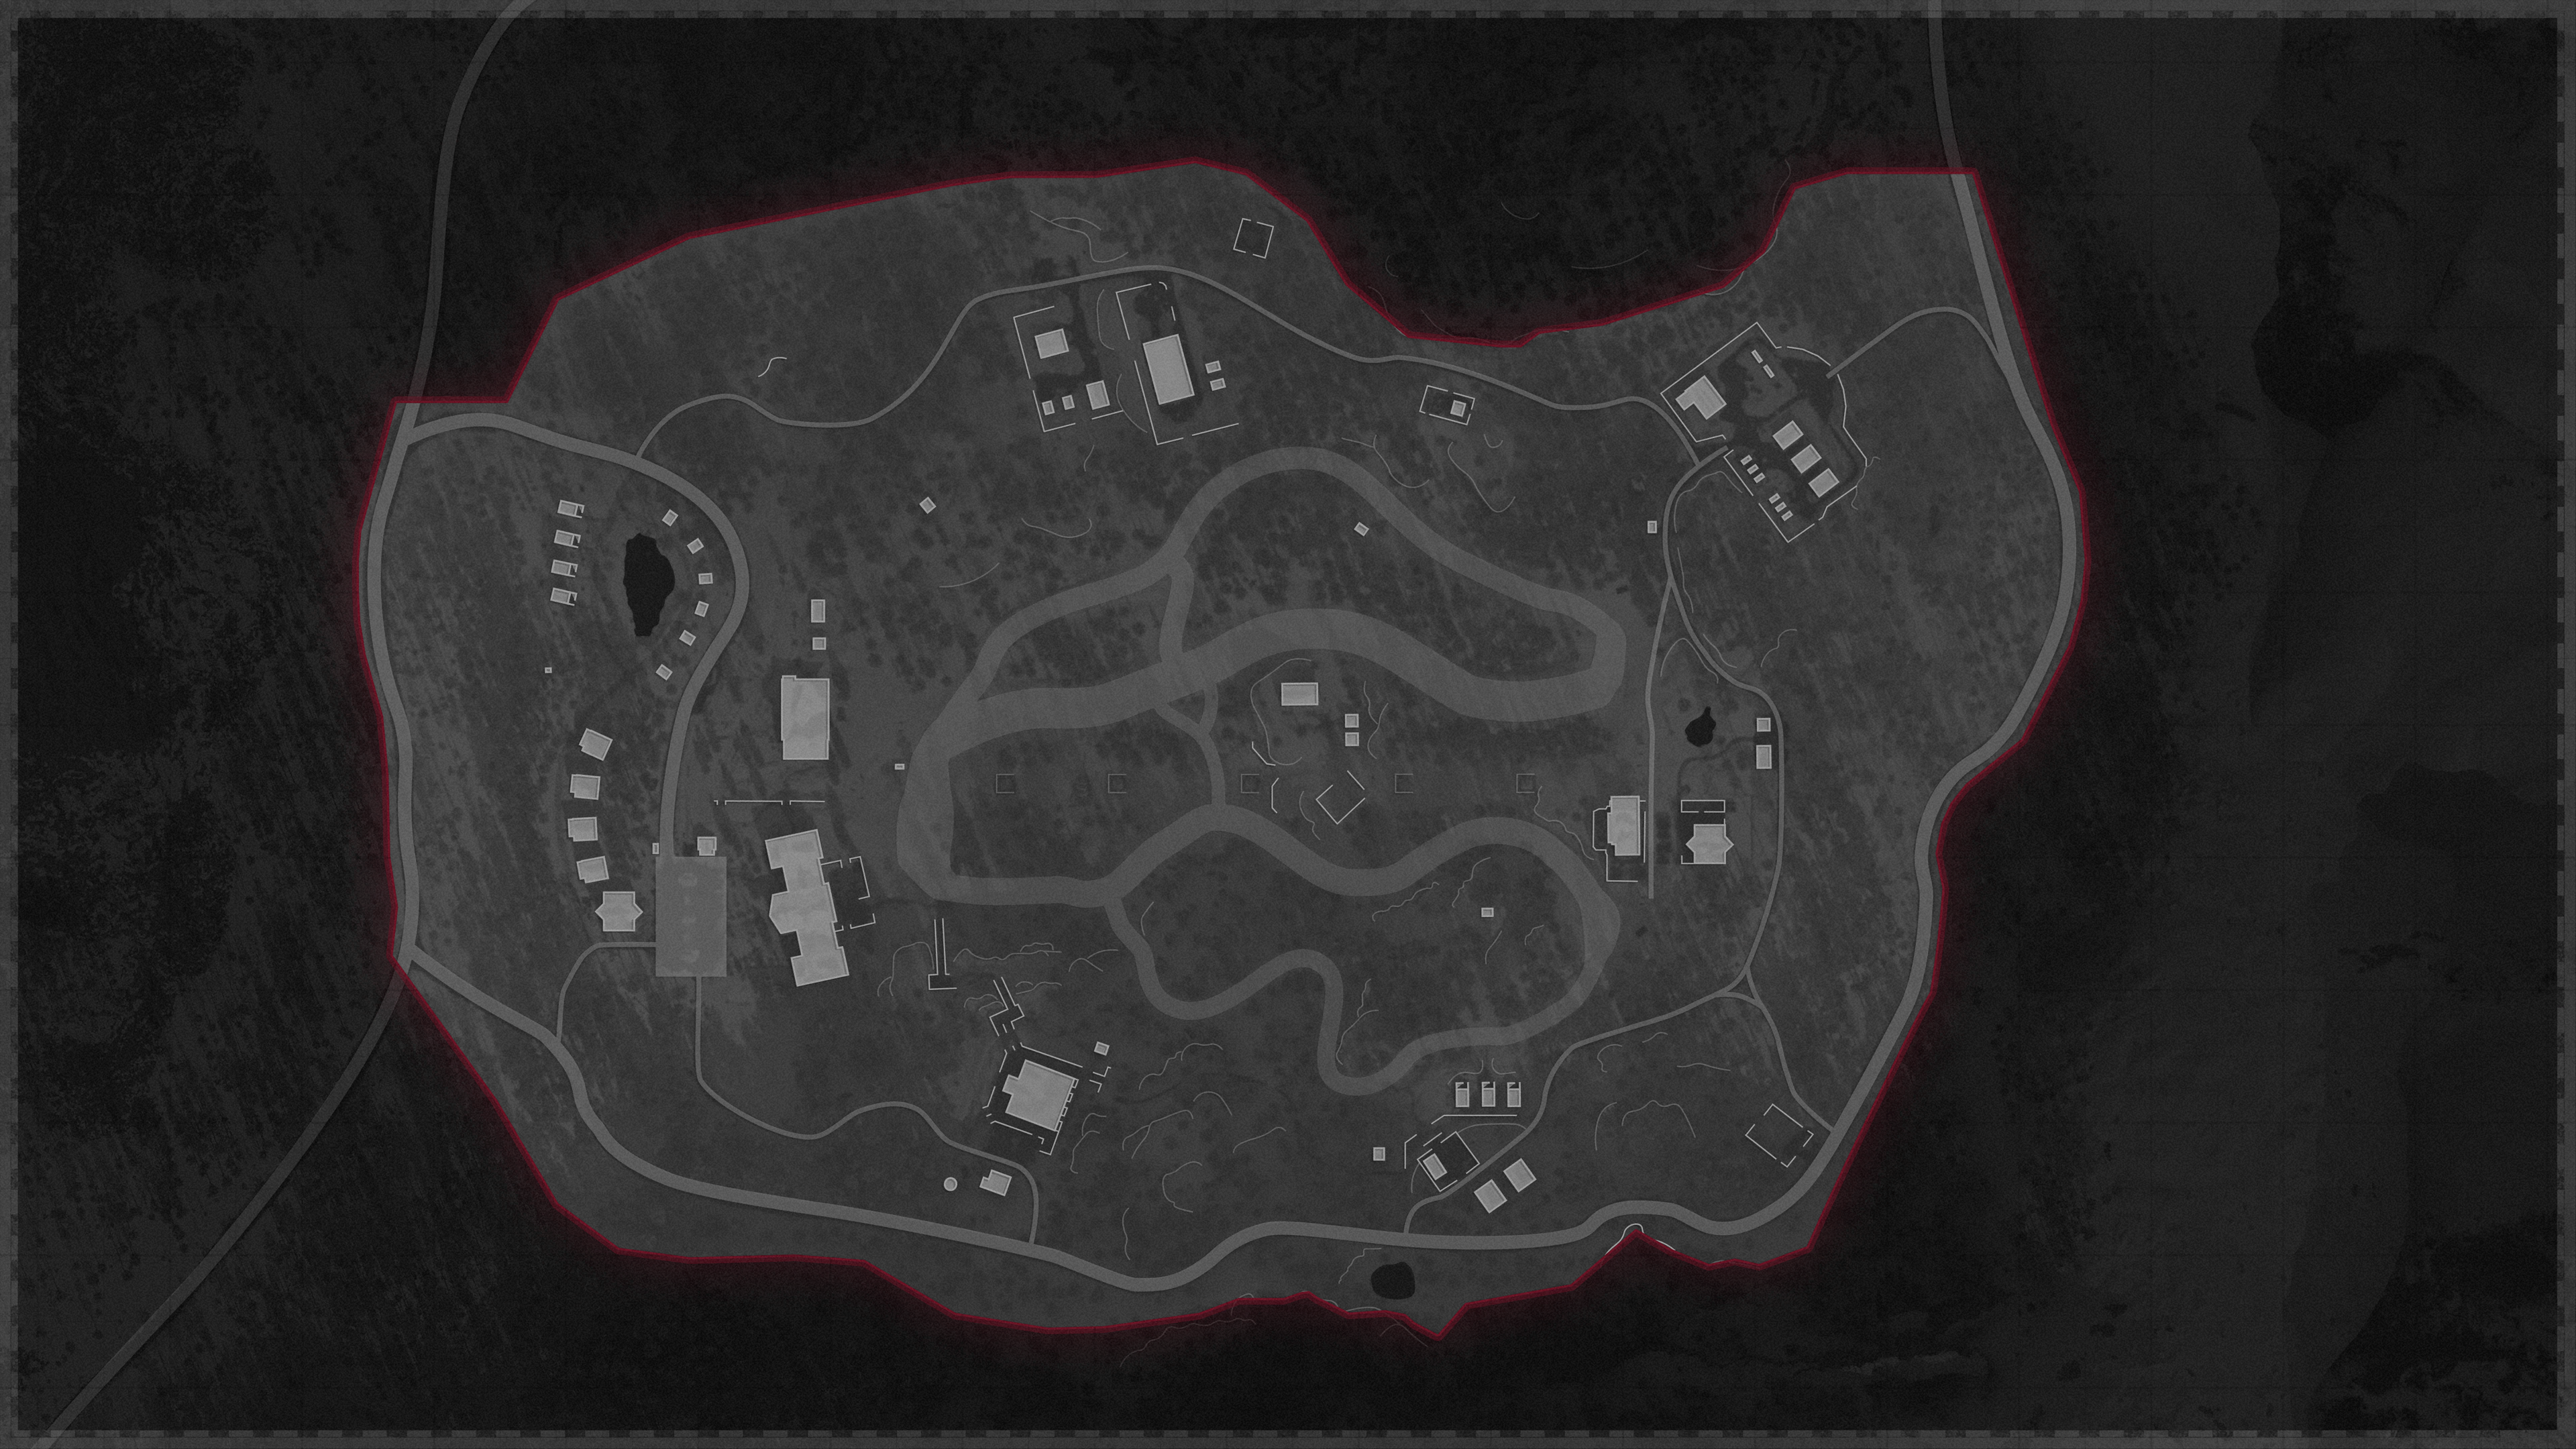
SANATORIUM
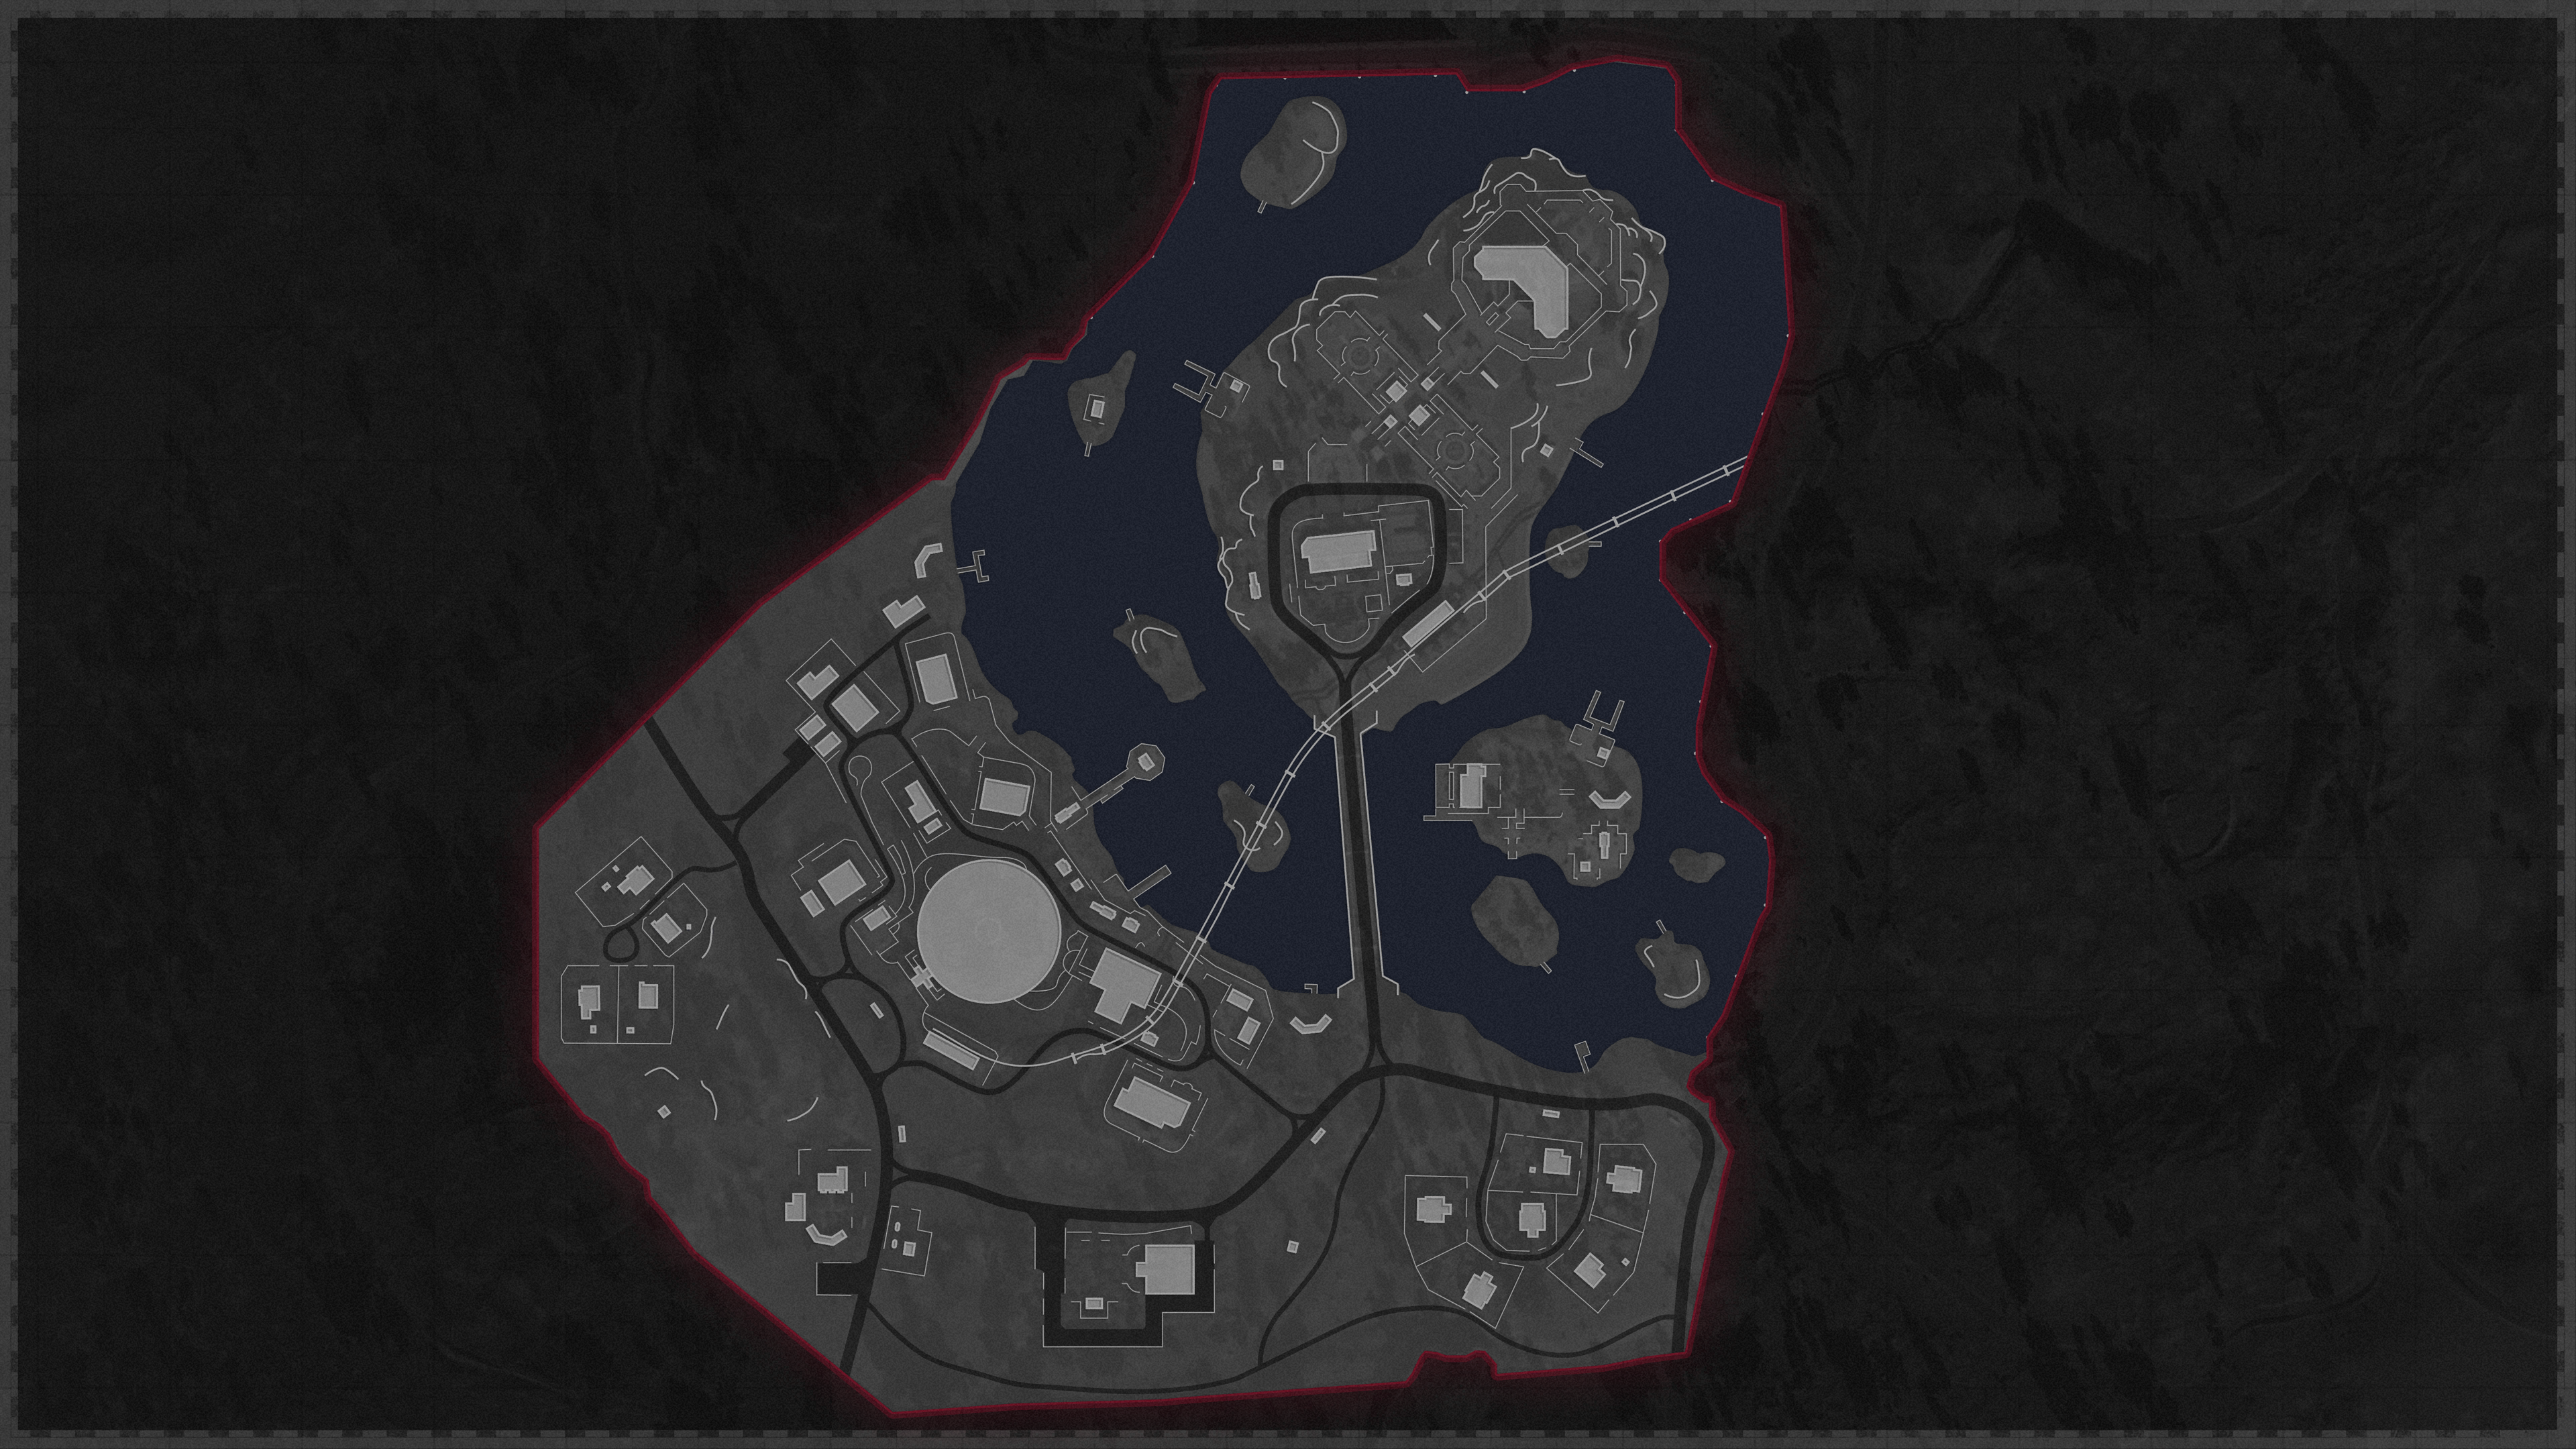
GOLOVA
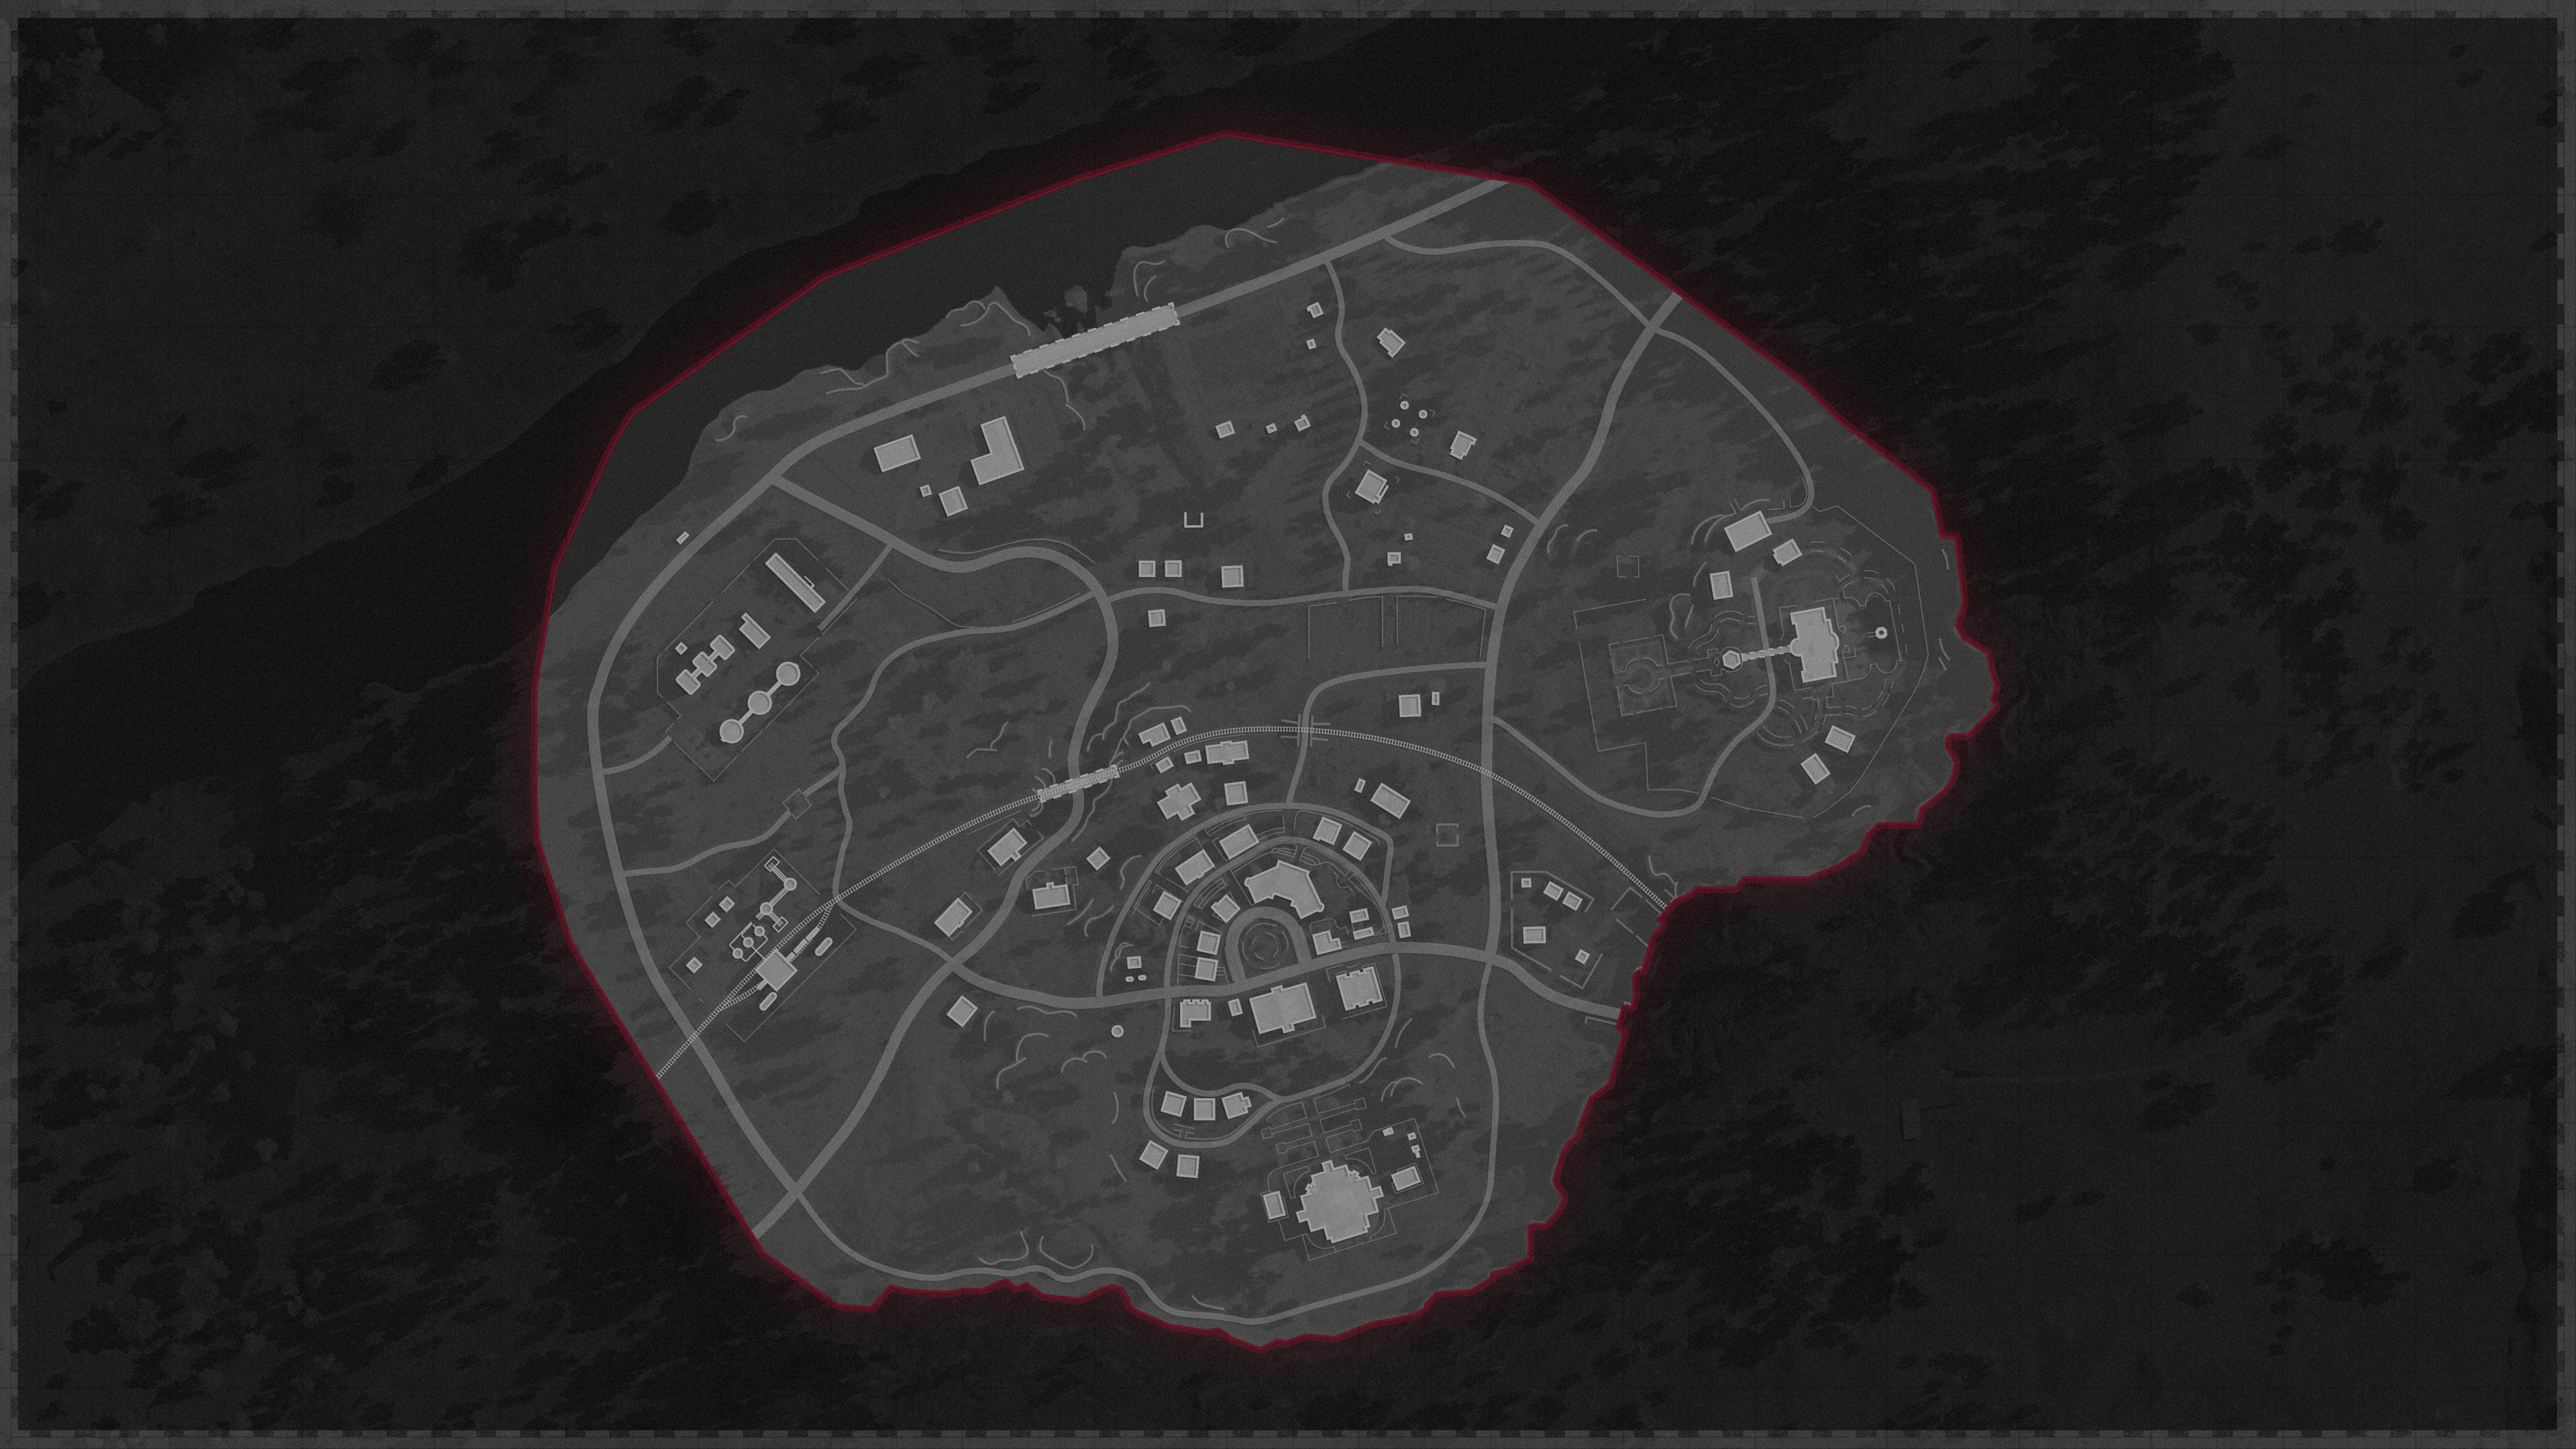
RUKA
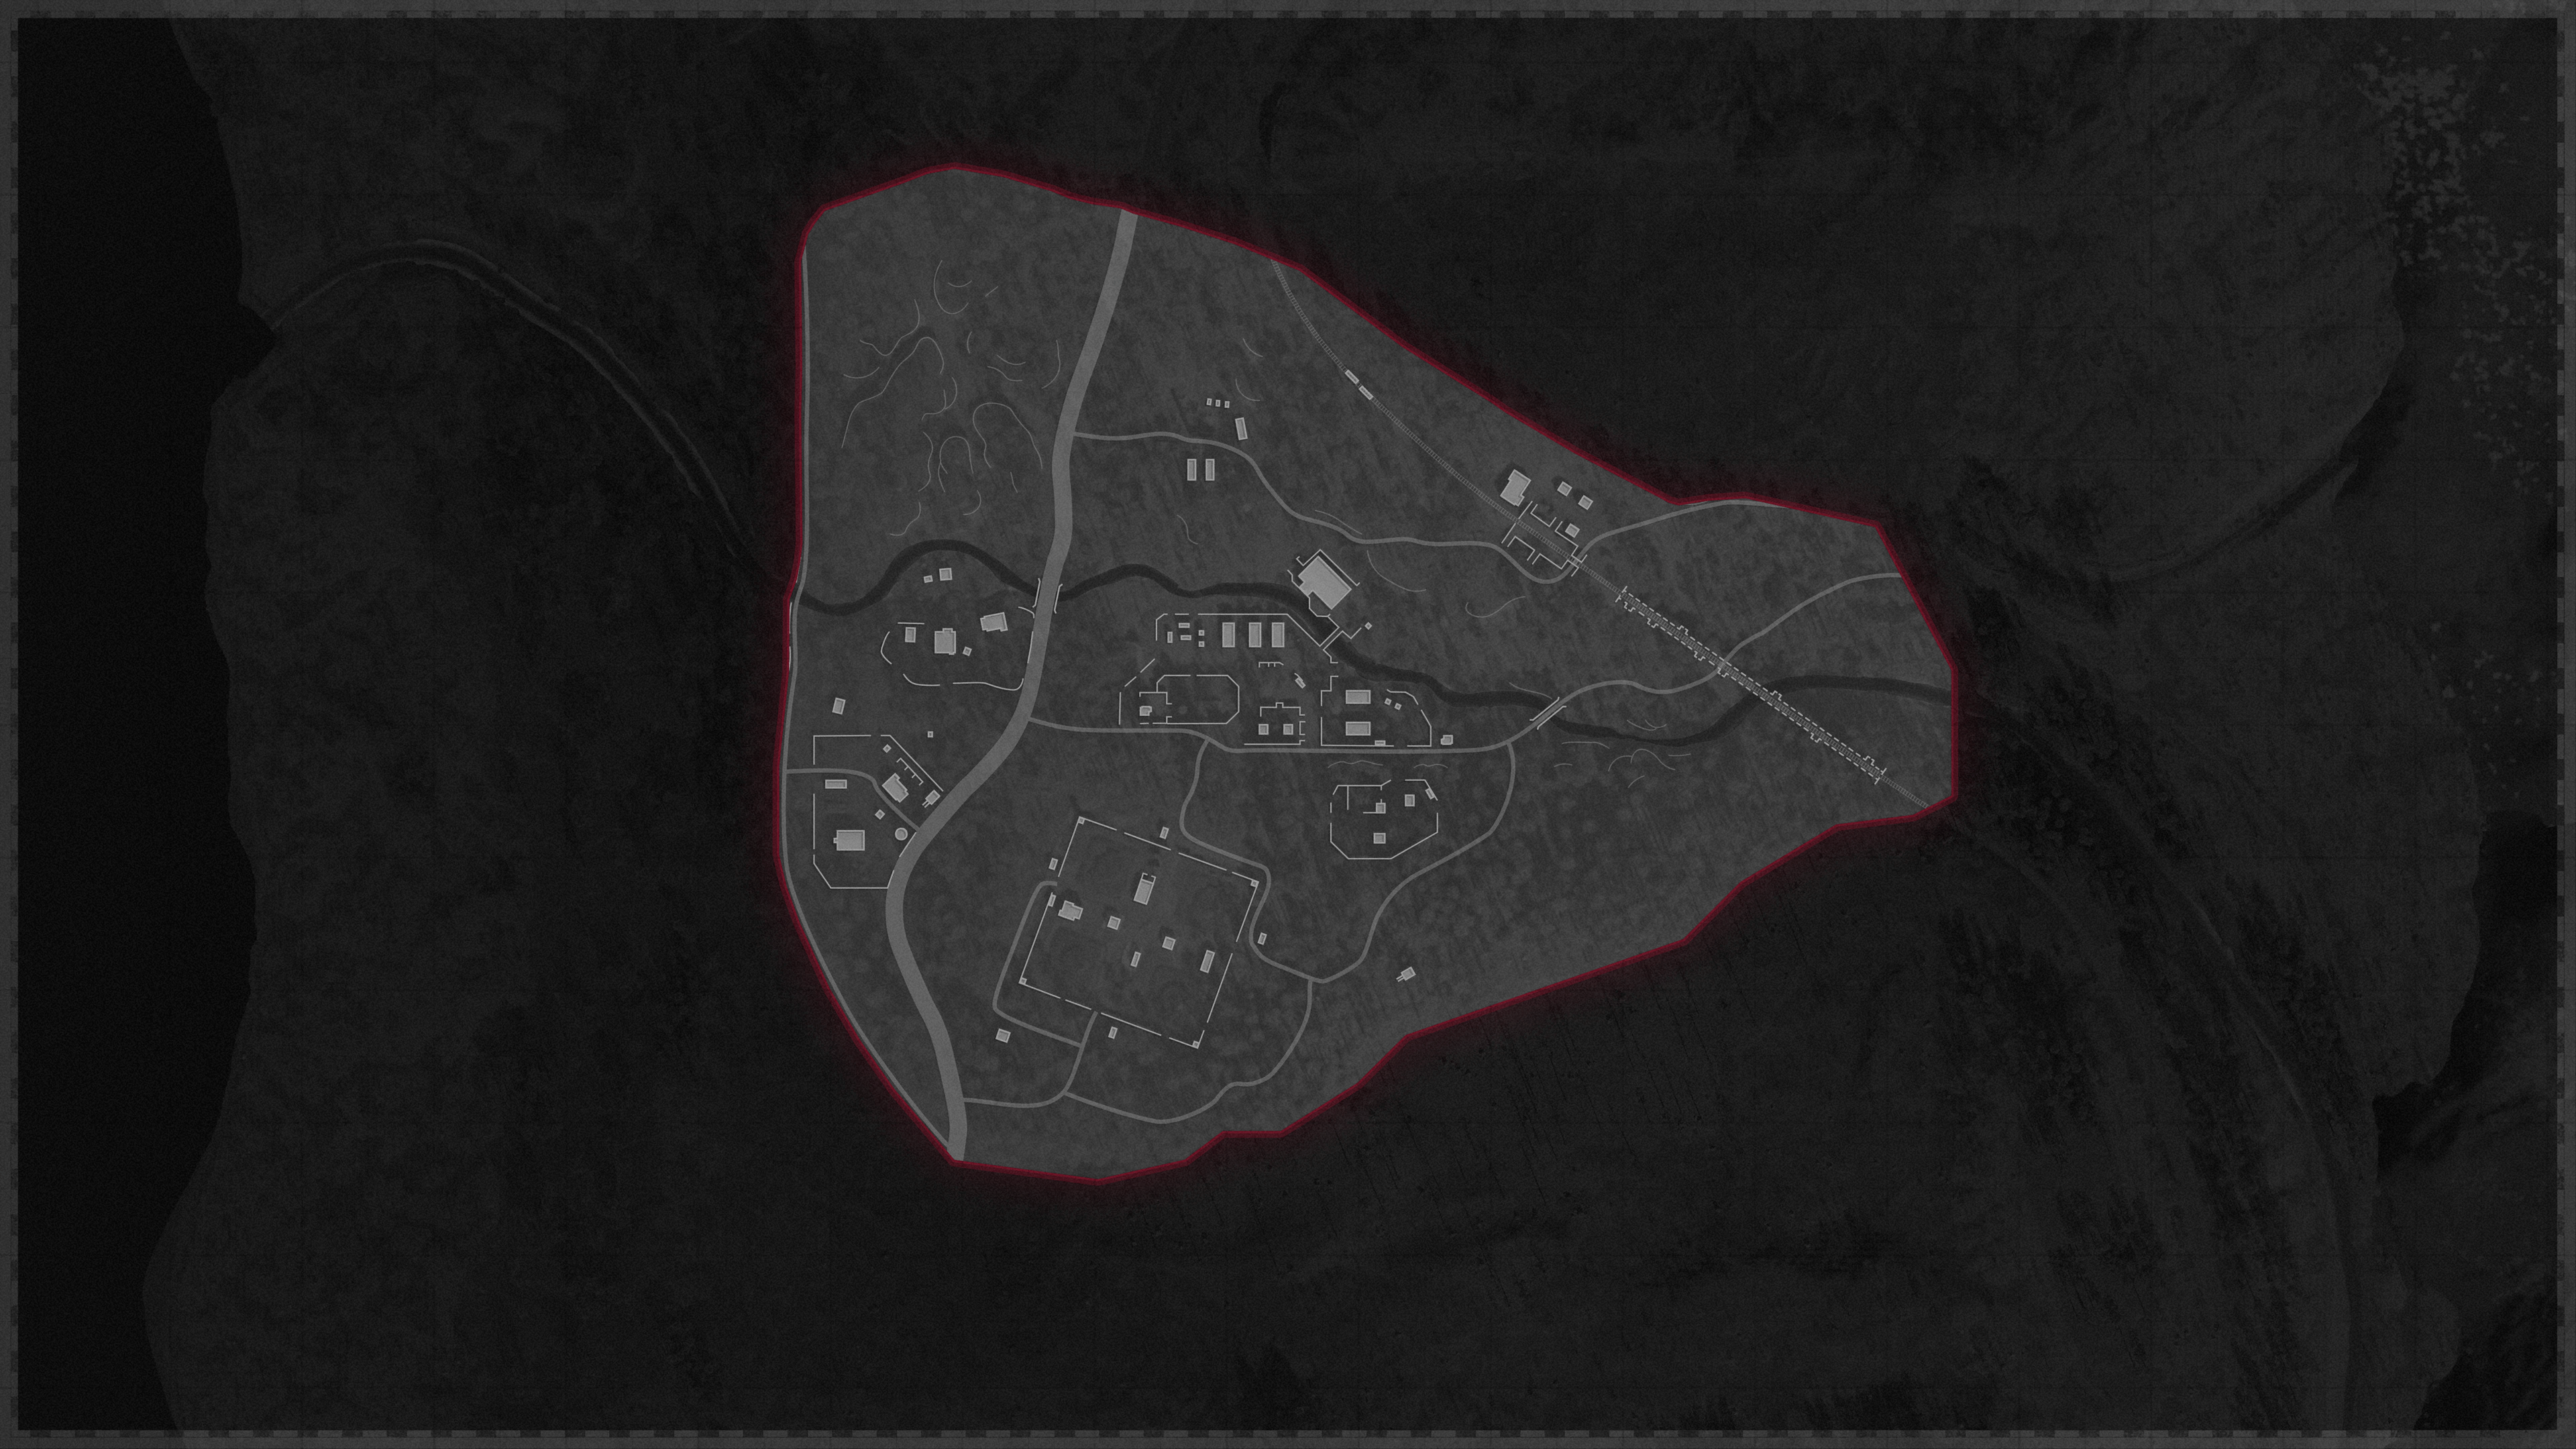
DUGA
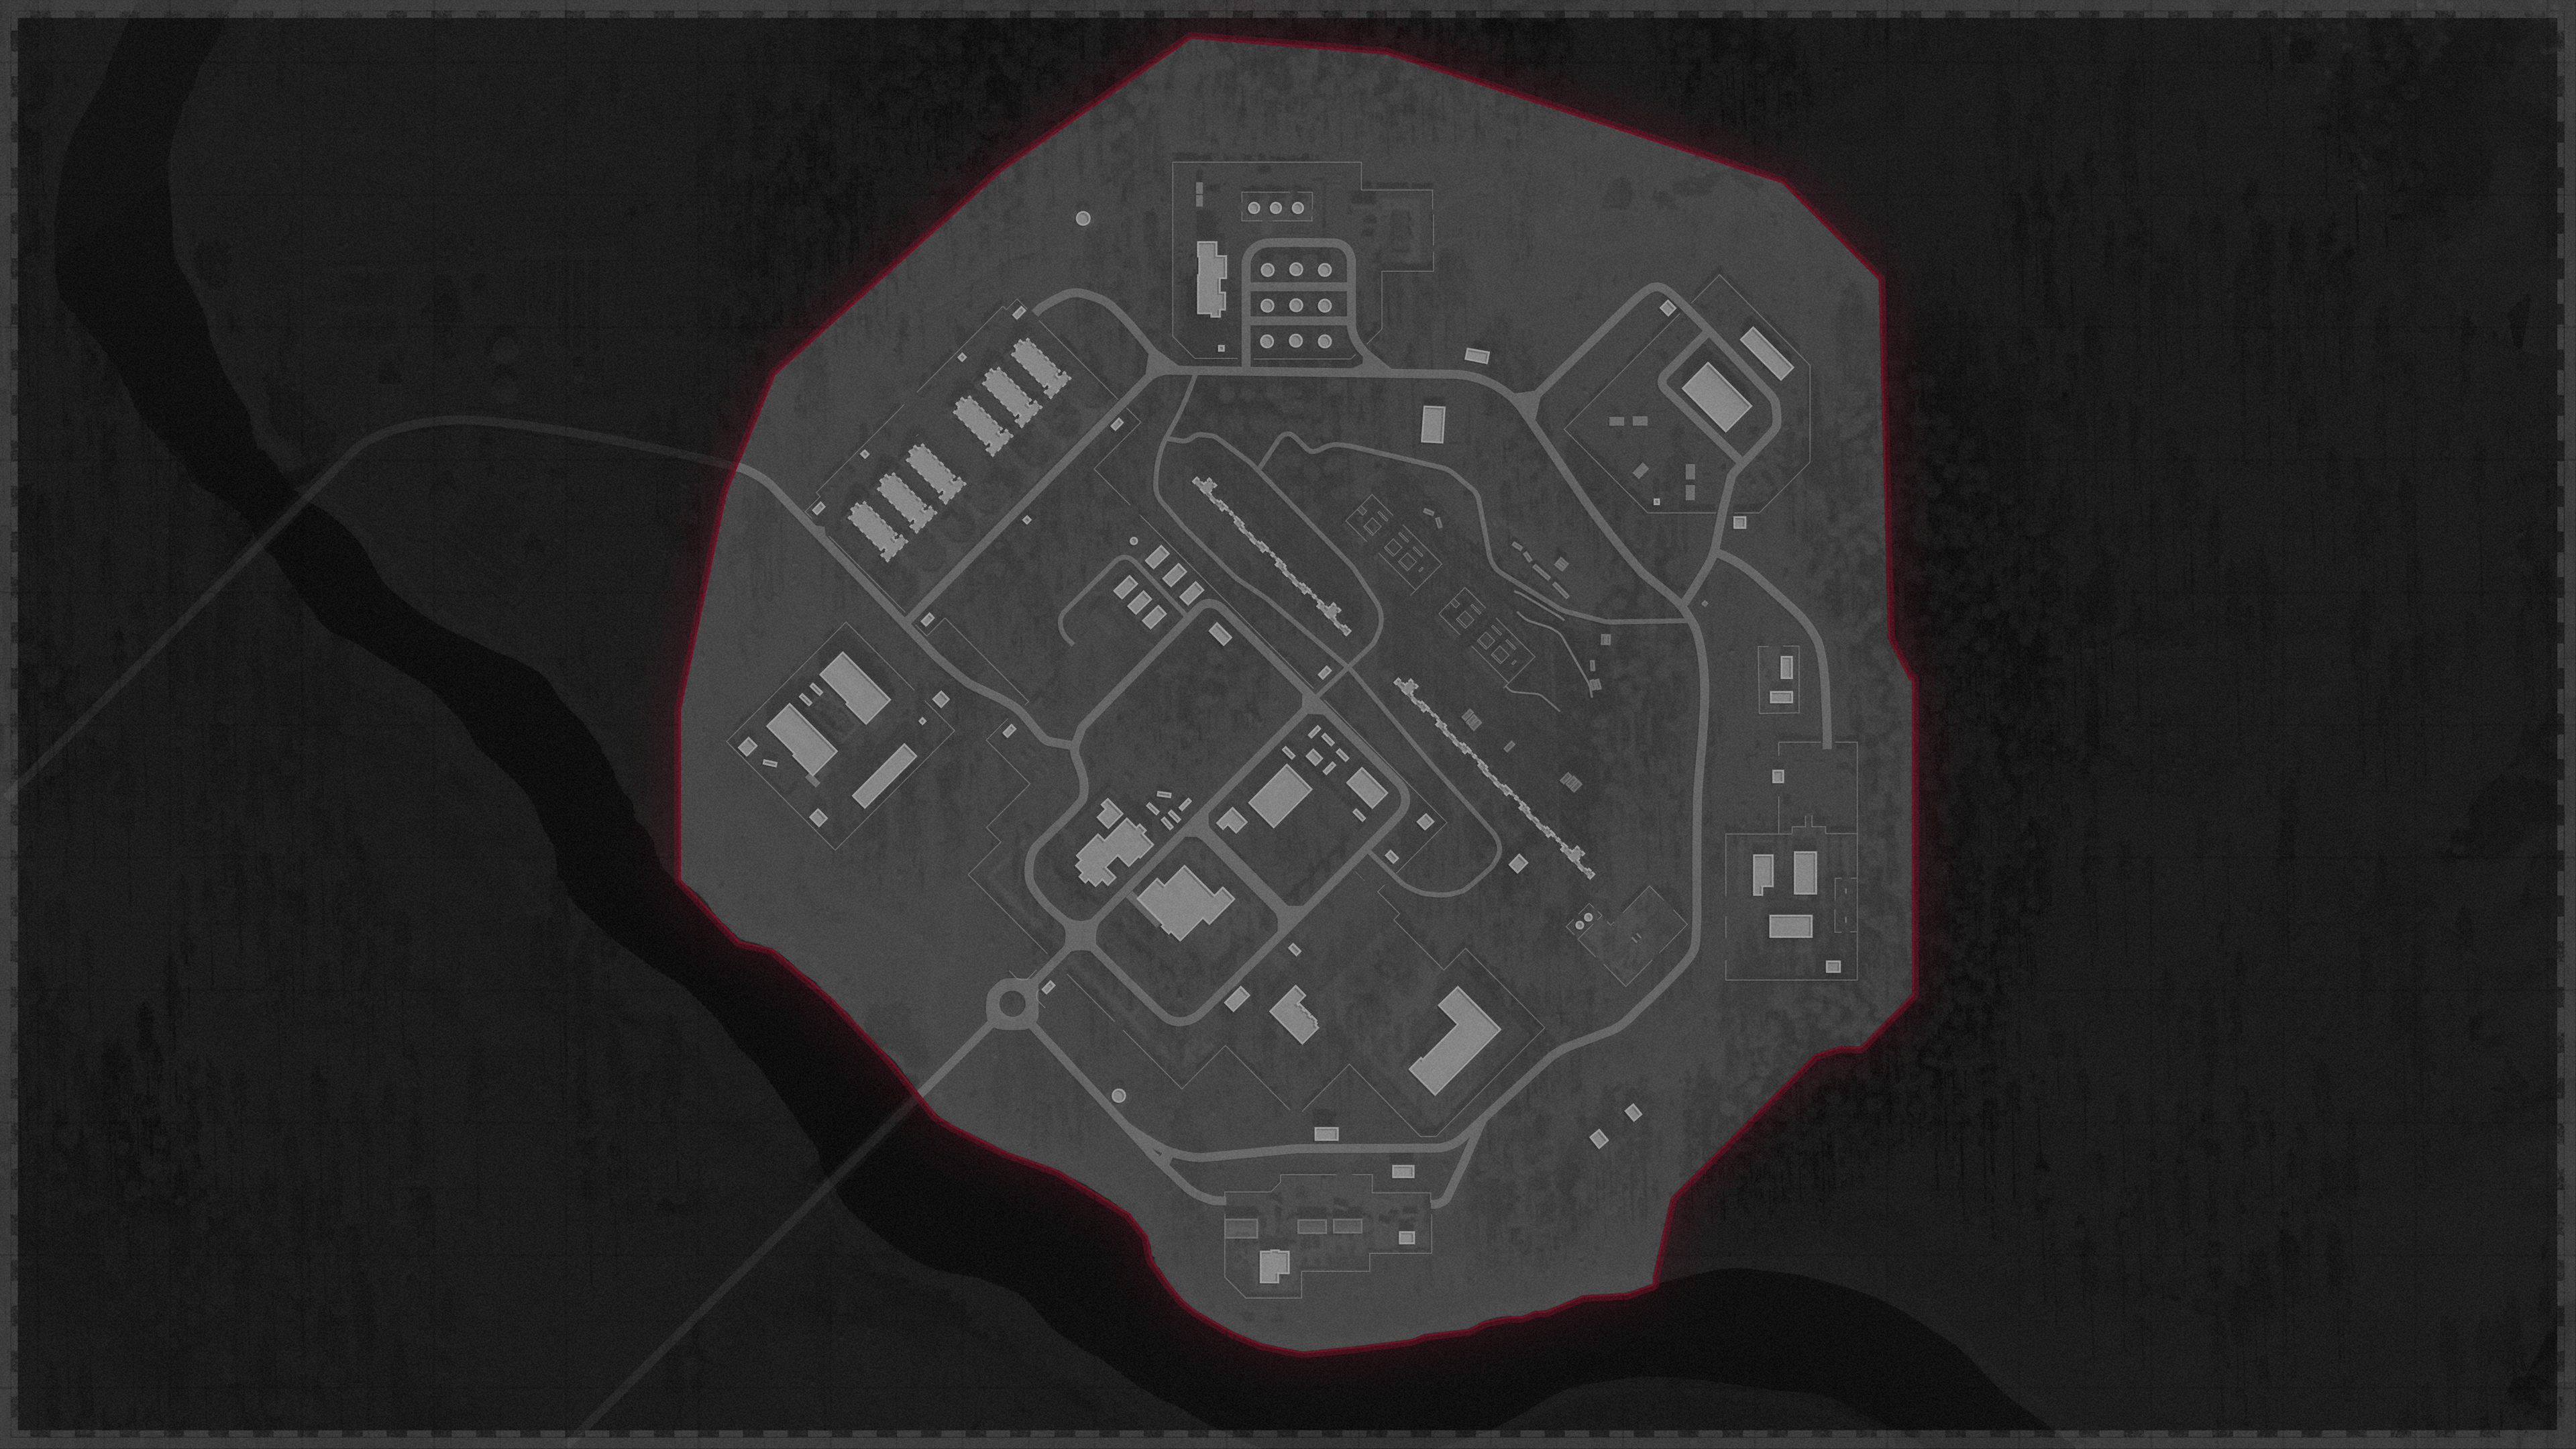
COLLATERAL
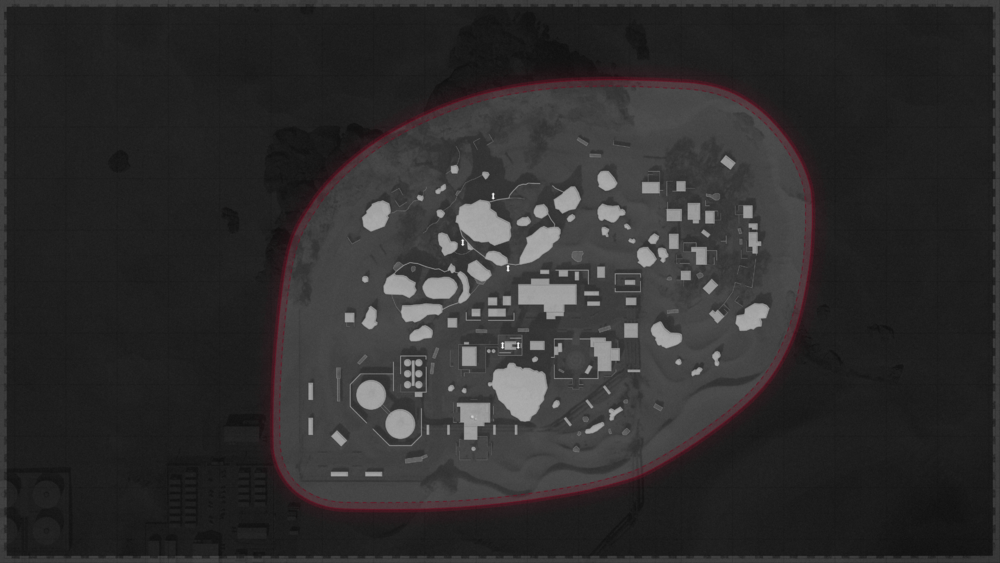
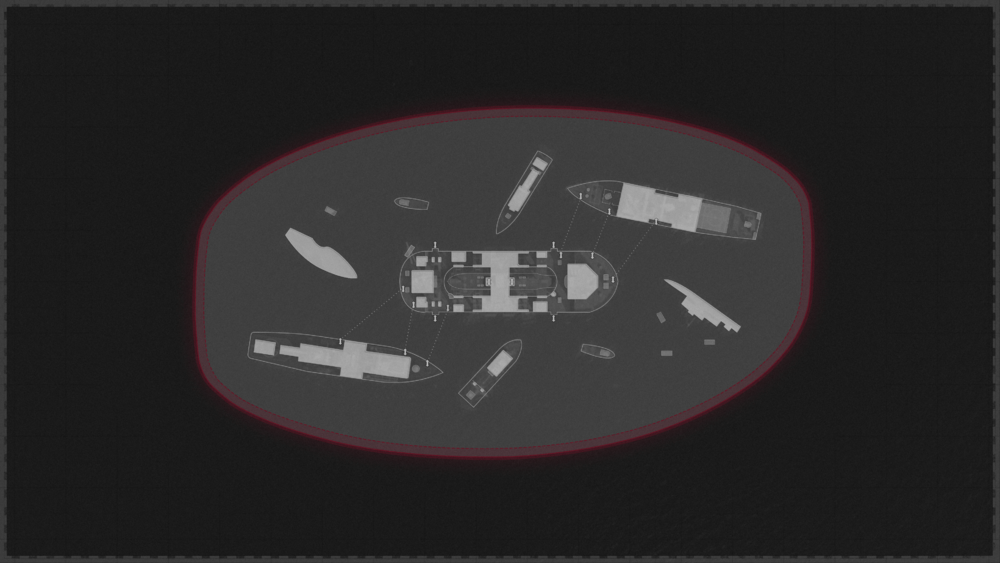
ARMADA
Reach round 3 to be able to start the Easter Egg.
As in every other Outbreak game, the goal is to make the most of the first few rounds to make sure you pack-a-punch your weapons, get wonder weapons, and acquire perks.
You can skip round 2 by shooting the orb above the machine while warping.
This will take you directly to round 3.
Somewhere on the map there is a radio to be found. It’s up to you whether you ignore everything else and just go radio hunting, but given the vastness of the environment, it might be better if you just play normally.
To do this, we recommend that you turn on the in-game subtitles, because when you approach the radio, the message “Radio: [inactive noise]” will appear, which means that it’s close by.
When you find it, go towards it and interargue with it: “Listen to signal”. It then emits a frequency feedback that sounds like crackling and ringing. This then triggers a big wave of zombies that you have to survive first, as always, so that this part of the Easter Egg can be done.
After you have survived the wave, the radio will show you a frequency (1-8). You will need this for the amplifiers.
While the radio continues to send feedback, you now need to find three amplifiers near the radio. As long as you have the in-game subtitles turned on, when you approach an amplifier you will get the message “Amplifier: [inactive idle noise]”.
Find all three and trigger them to activate. Interact with the amplifier until you are on the frequency of the radio. Again, you may experience frequency feedback, which again triggers a wave of zombies. After you have survived the wave, you can continue switching frequencies until you reach the frequency you need. Then go back to the original radio to hear a message from Samantha Maxis and get the part that produces the radio.
Once round 4 starts, you have to hunt for stone monkeys until you find the right one marked with an “M”. He should drop a microfilm slide when you shoot him.
This process can be lengthy and exhausting without the right knowledge. For this reason you can find here a list with all Locations:
- Alpine
- Number 1 can be found inside the house by the bathhouse on the shelf inside the attic
- Number 2 can be found inside one of the Hillside Cabins in the southeastern part of the region. It is sitting on a shelf directly at the main enterence.
- Number 3 is behind the electrical generator next to the Fire Aid Station at the northernmost point.
- Number 4 can be found in the west in one of the Suites on its balcony.
- Golova
- Number 1 is at the Train Loading area. It’s inside the elevated building.
- Number 2 is inside the church. Climb the ladders inside to te top. The Monkey will be on the pillar.
- Number 3 is in a small room at the Industrial Park (eastern border of the region).
- Number 4 is inside the Horse Ranch.
- Duga
- Number 1 is on top of a bus at Hilly Clearing.
- Number 2 will be found in the Bunkers (Bunker A). It will stand on top of a blue barrel.
- Number 3 is located at the base entrance area in the south. The Monkey is on the roof of the security guard room.
- Number 4 is at the Bus Depot behind a wall on the ground.
- Ruka
- Number 1 is located at the Silo Outskirts in a small garage.
- Number 2 is in the northwestern region next to a wrecked old car.
- Number 3 is standing at the Cargo Platform. He will be under the wooden platform.
- Number 4 is at the eastern border at the end of the Train Tresle under the bridge.
- Sanatorium
- Number 1 is inside the Administration Building on the upper floor. He is located on a bookshelf.
- Number 2 is sitting at the Carved Hills in the southwestern region near the border. There you will find a small cabin. You will find the Monkey inside the cabin on a shelf.
- Number 3 is in the bathhouse on a wooden beam.
- Number 4 is located under the main bridge
- Zoo
- Number 1 is at the northeastern part of the region. Inside one of the Cottages next to the stairs inside.
- Number 2 is located in one of the warhouses in the western Industrial Complex near the border.
- Number 3 is inside a Office Park office.
- Number 4 is at the Giraffe Exhibit.
- Armada
- Number 1 spawns in the cabin of the central Ship in Auxiliary Bridge.
- Number 2 is sitting on a chair in the control room of the ship wich is located northwest in the Bridge area.
- Number 3 will be found inside the Main Hall of the southwestern ship.
- Number 4 is located on the ship in the center and will be on one of the bunk beds in the Starboard room.
- Collateral
- Number 1 is on the roof of the Pump Room.
- Number 2 is located next to a red broken pipe structure at the Dunes Crash site.
- Number 3 can be found in the Narrows at the base of the cliffs west.
- Number 4 spawns in the Pottery area. You need to jump in between the two small buildings.
Once you have the film in hand, it’s time to find a projector to use the microfilm slides. Each map has different locations, of course, but here’s where you can find the projectors:
- Alpine – Central Lodge at Base Plaza, 2nd floor, south side (PAP building)
- Golova – Upper Town in the building with the Arsenal (Police Station)
- Duga – Administratives offices, 2nd floor, large L-shaped buildiung, on the south side of Duga
- Sanatorium – Administation building on the top left of the map
- Zoo – Main entrance Office
- Armada – Control room of the Ship on the top right of the map
- Collateral – Main warehouse
IMPORTANT NOTICE:
Before going any further with the Easter Egg, we advise you to complete all the missions on this map and make sure that you have punched your weapons as well as possible and have drunk all the required Perks and have a full armor.
Once you are sufficiently equipped, head to the marker that contains an elevator that will take you to the depths of the silo below. Go to Silo A and unlock it by disabling a switch.
A cutscene will play.
Then you’ll get a new task: “Find the launch keys”. According to the rule of three, you have to find them all and they are all in the depths of the silo.
Here is where you can find all the launch keys:
Key One:
It is located in the round main computer room in a dead end.
CAUTION:
When you enter this room there are tons of items scattered around the room. As soon as you approach them, they turn into mimics. We advise you to kill one or two mimics step by step. Until all the objects in the room have been killed.
Then go to the dead end. You will see a corpse shimmering red at the end. Interact with it and kill the mimic that spawns. He will then give you the first code.
Key two:
In this step you have to collect etherum crystals. Go to Silo B to activate the collection unit.
On the map you will find large purple crystals on the walls. Fire at these crystals and collect the small crystals that fall to the ground.
Collect 20 of them and bring them back to the collection unit. Placing the crystals takes some time. We advise you not to place all 20 crystals at once. During this process, zombies and elites keep spawning.
After you have placed all 20 crystals, you can pick up the collection unit and then go to the jellyfish, which is nearby.
Go to the stairs, find the place with the glowing grass and stand in the direction of the jellyfish (if you don’t find any, you are on the wrong stairs). Then use the ability of the collecting unit and you will be pulled into the jellyfish.
Inside the jellyfish you will see a corpse. Always look at it and press the button (the one you used to pick up the other key) again and again until you pick up the key.
Key three:
Collect a food trap from another dead end in Silo A. It is on a pallet with metal barrels. Then go into the silo where you hear a monkey. Look for a blue glowing vent in this silo. Set the trap under the vent, go back and wait for a monkey to get caught in the trap and get trapped. You will recognize it by an audio sequence that something is near the trap and is ready to be sucked in. Activate the trap and you will get the third and last key.
TIP:
Before you do this step, fill up your armor completely and buy a Selfrevive and a Deathbringer if possible. If you still have enough points try to punch your weapon again.
Now you can do the last step before the boss fight.
In each of the 3 silos there is a world map on the wall and below it a kind of computer. If you stand in front of it you can interact with it and use the keys.
You have to insert the keys in the right order. You have 30 seconds to do this. If it was the right sequence you will be told by a voiceline. If you have the wrong sequence, you have to wait until you can initialize it again.
After you have successfully started the sequence, the game will mark a waypoint again. From this point on you have 9 minutes to complete the Easter Egg.
After you get to the surface you will realize that it is a rather monstrous boss with a huge health bar.
To reduce the health bar you must first destroy the armor.
Once this is done, the Legion will go down and 4 electric bullets will appear next to it. Gather all your firepower and shoot one of the 4 orbs at a time. Once one of the orbs is destroyed the health bar will decrease by 1/3.
Again, keep playing this game until the Legion is defeated.
Congratulations you have solved the, most difficult Easter Egg in Black Ops Cold War.
CAUTION:
Keep an eye on the enemies that spawn and split up smartly.
